Google Docs provides a straightforward solution to change the orientation of a page from portrait to landscape or vice versa.
This feature is quite useful when you need to create a document that contains a mix of text and images or when you want to print a document that requires a specific orientation.
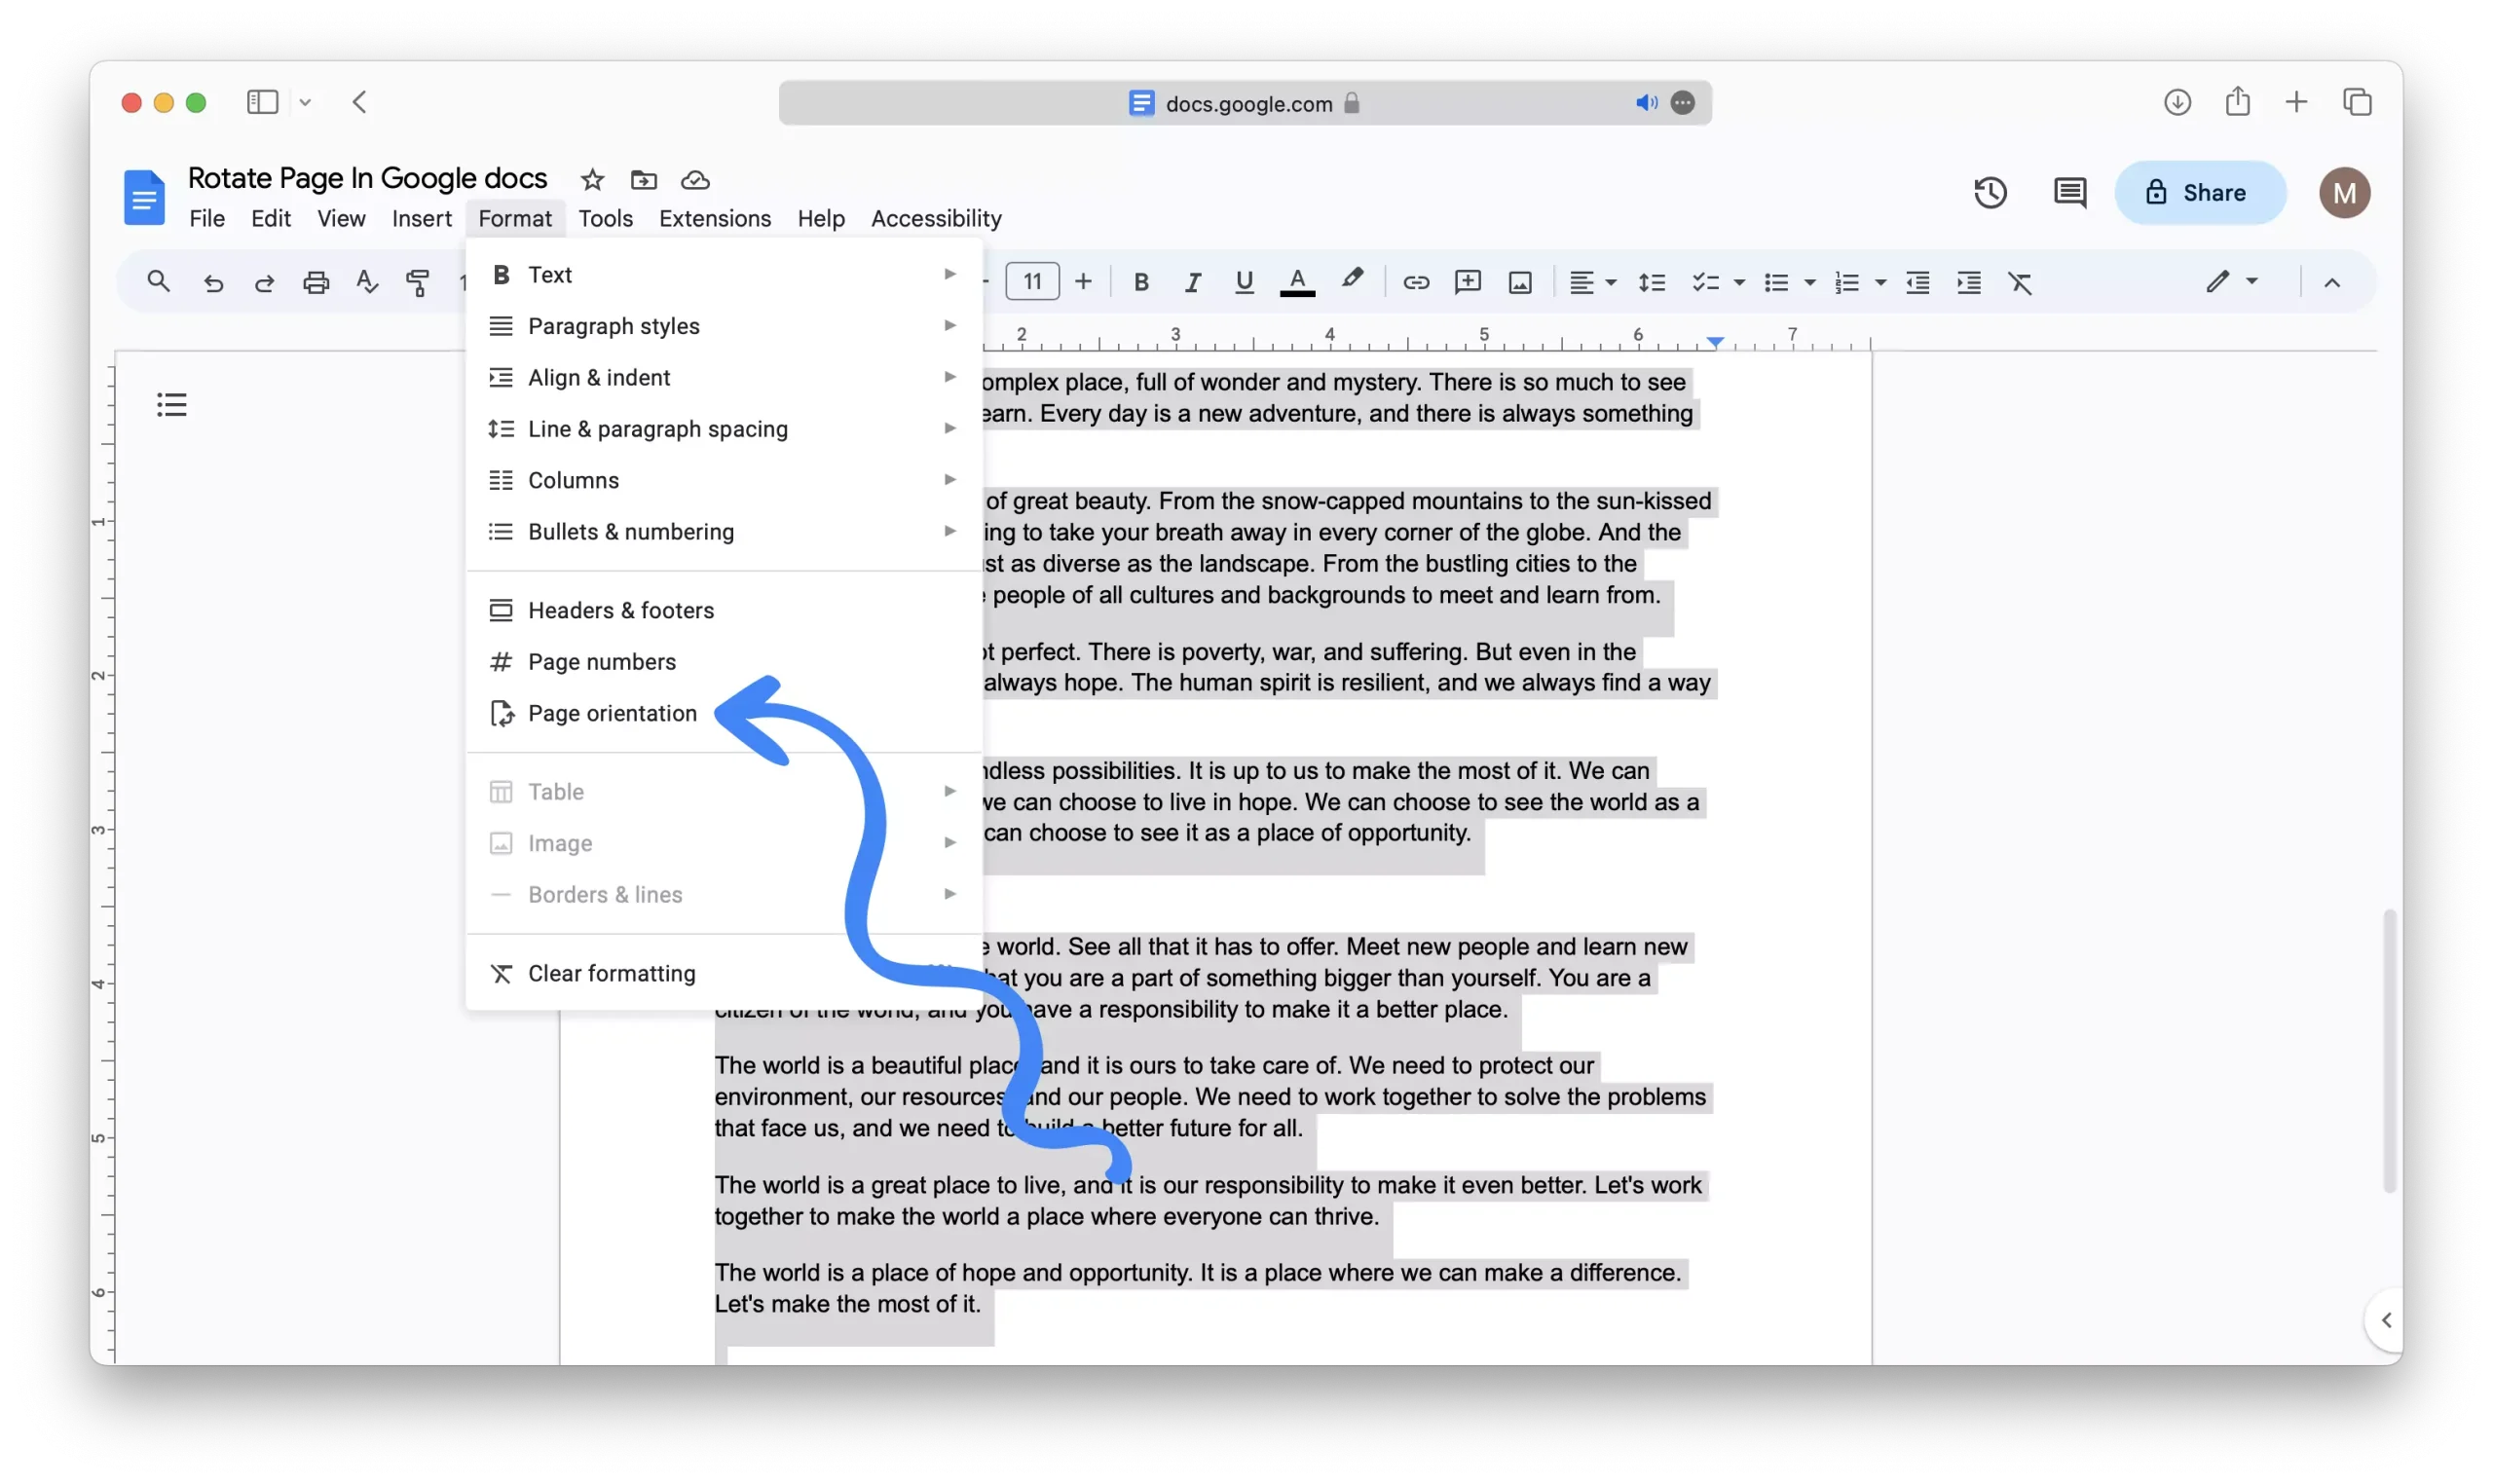
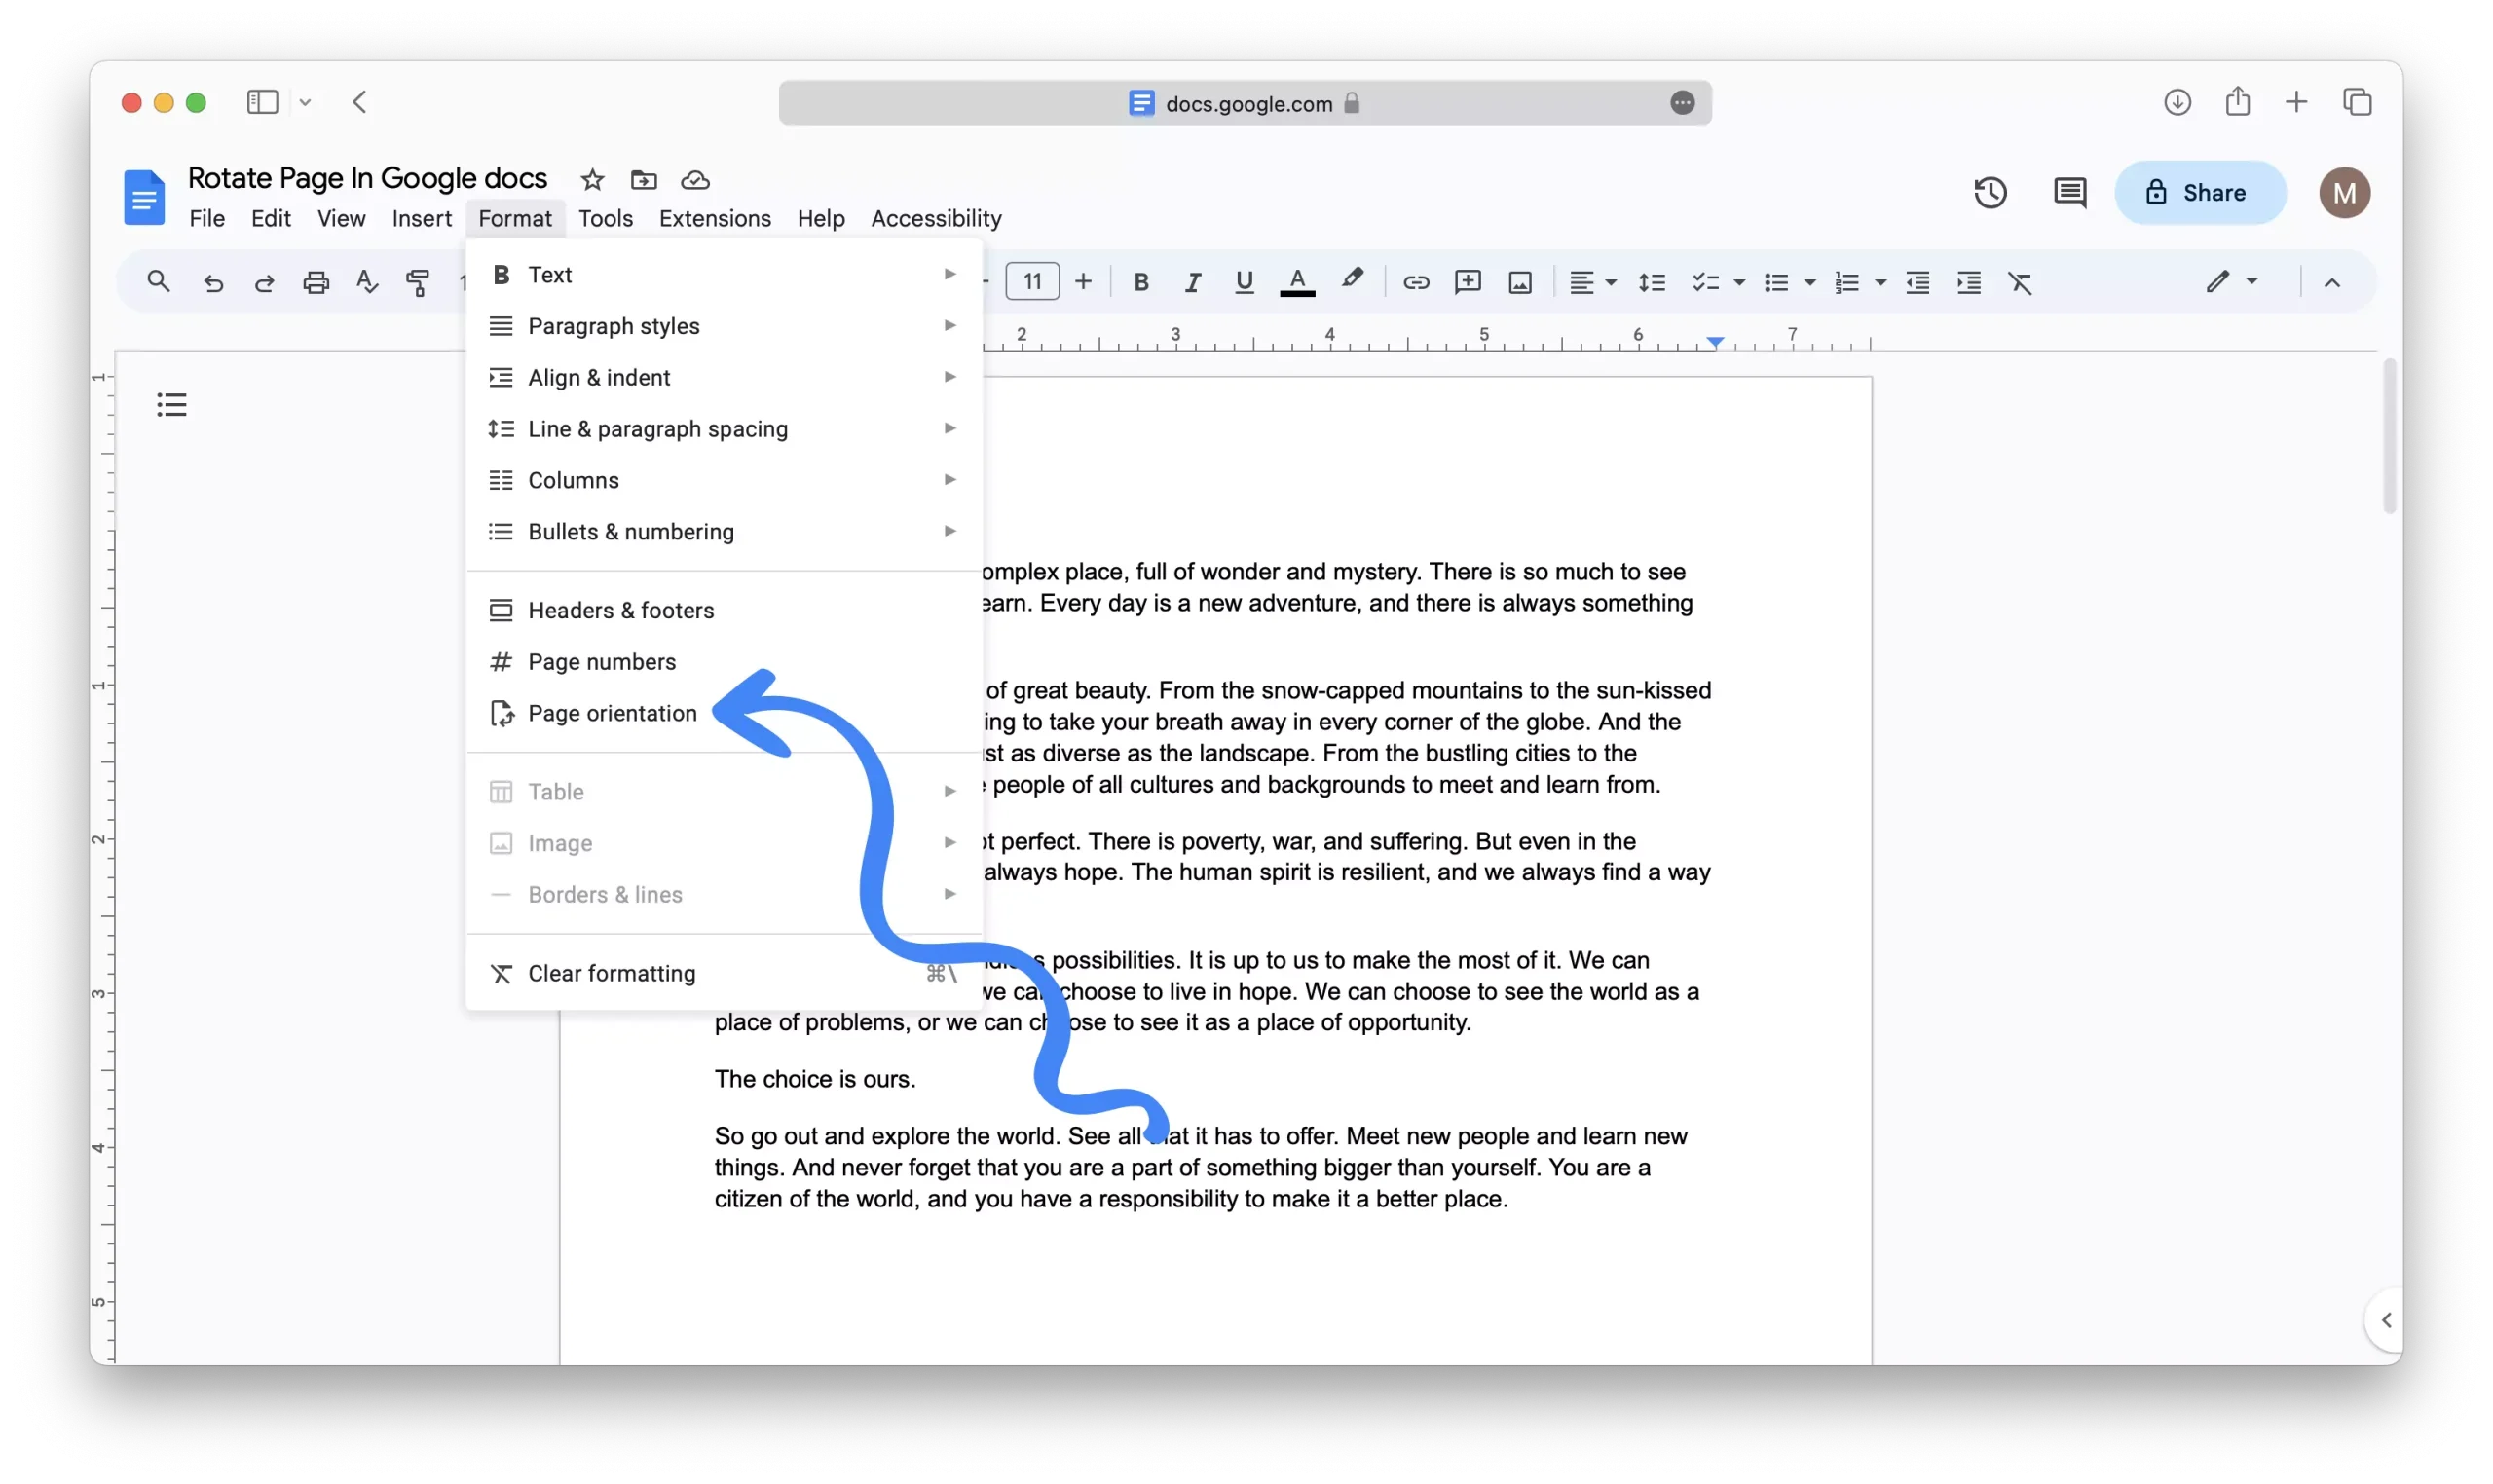
To rotate a page in Google Docs, begin by opening your document. Next, click on “Format” in the toolbar and then select “Page Orientation” from the dropdown menu.
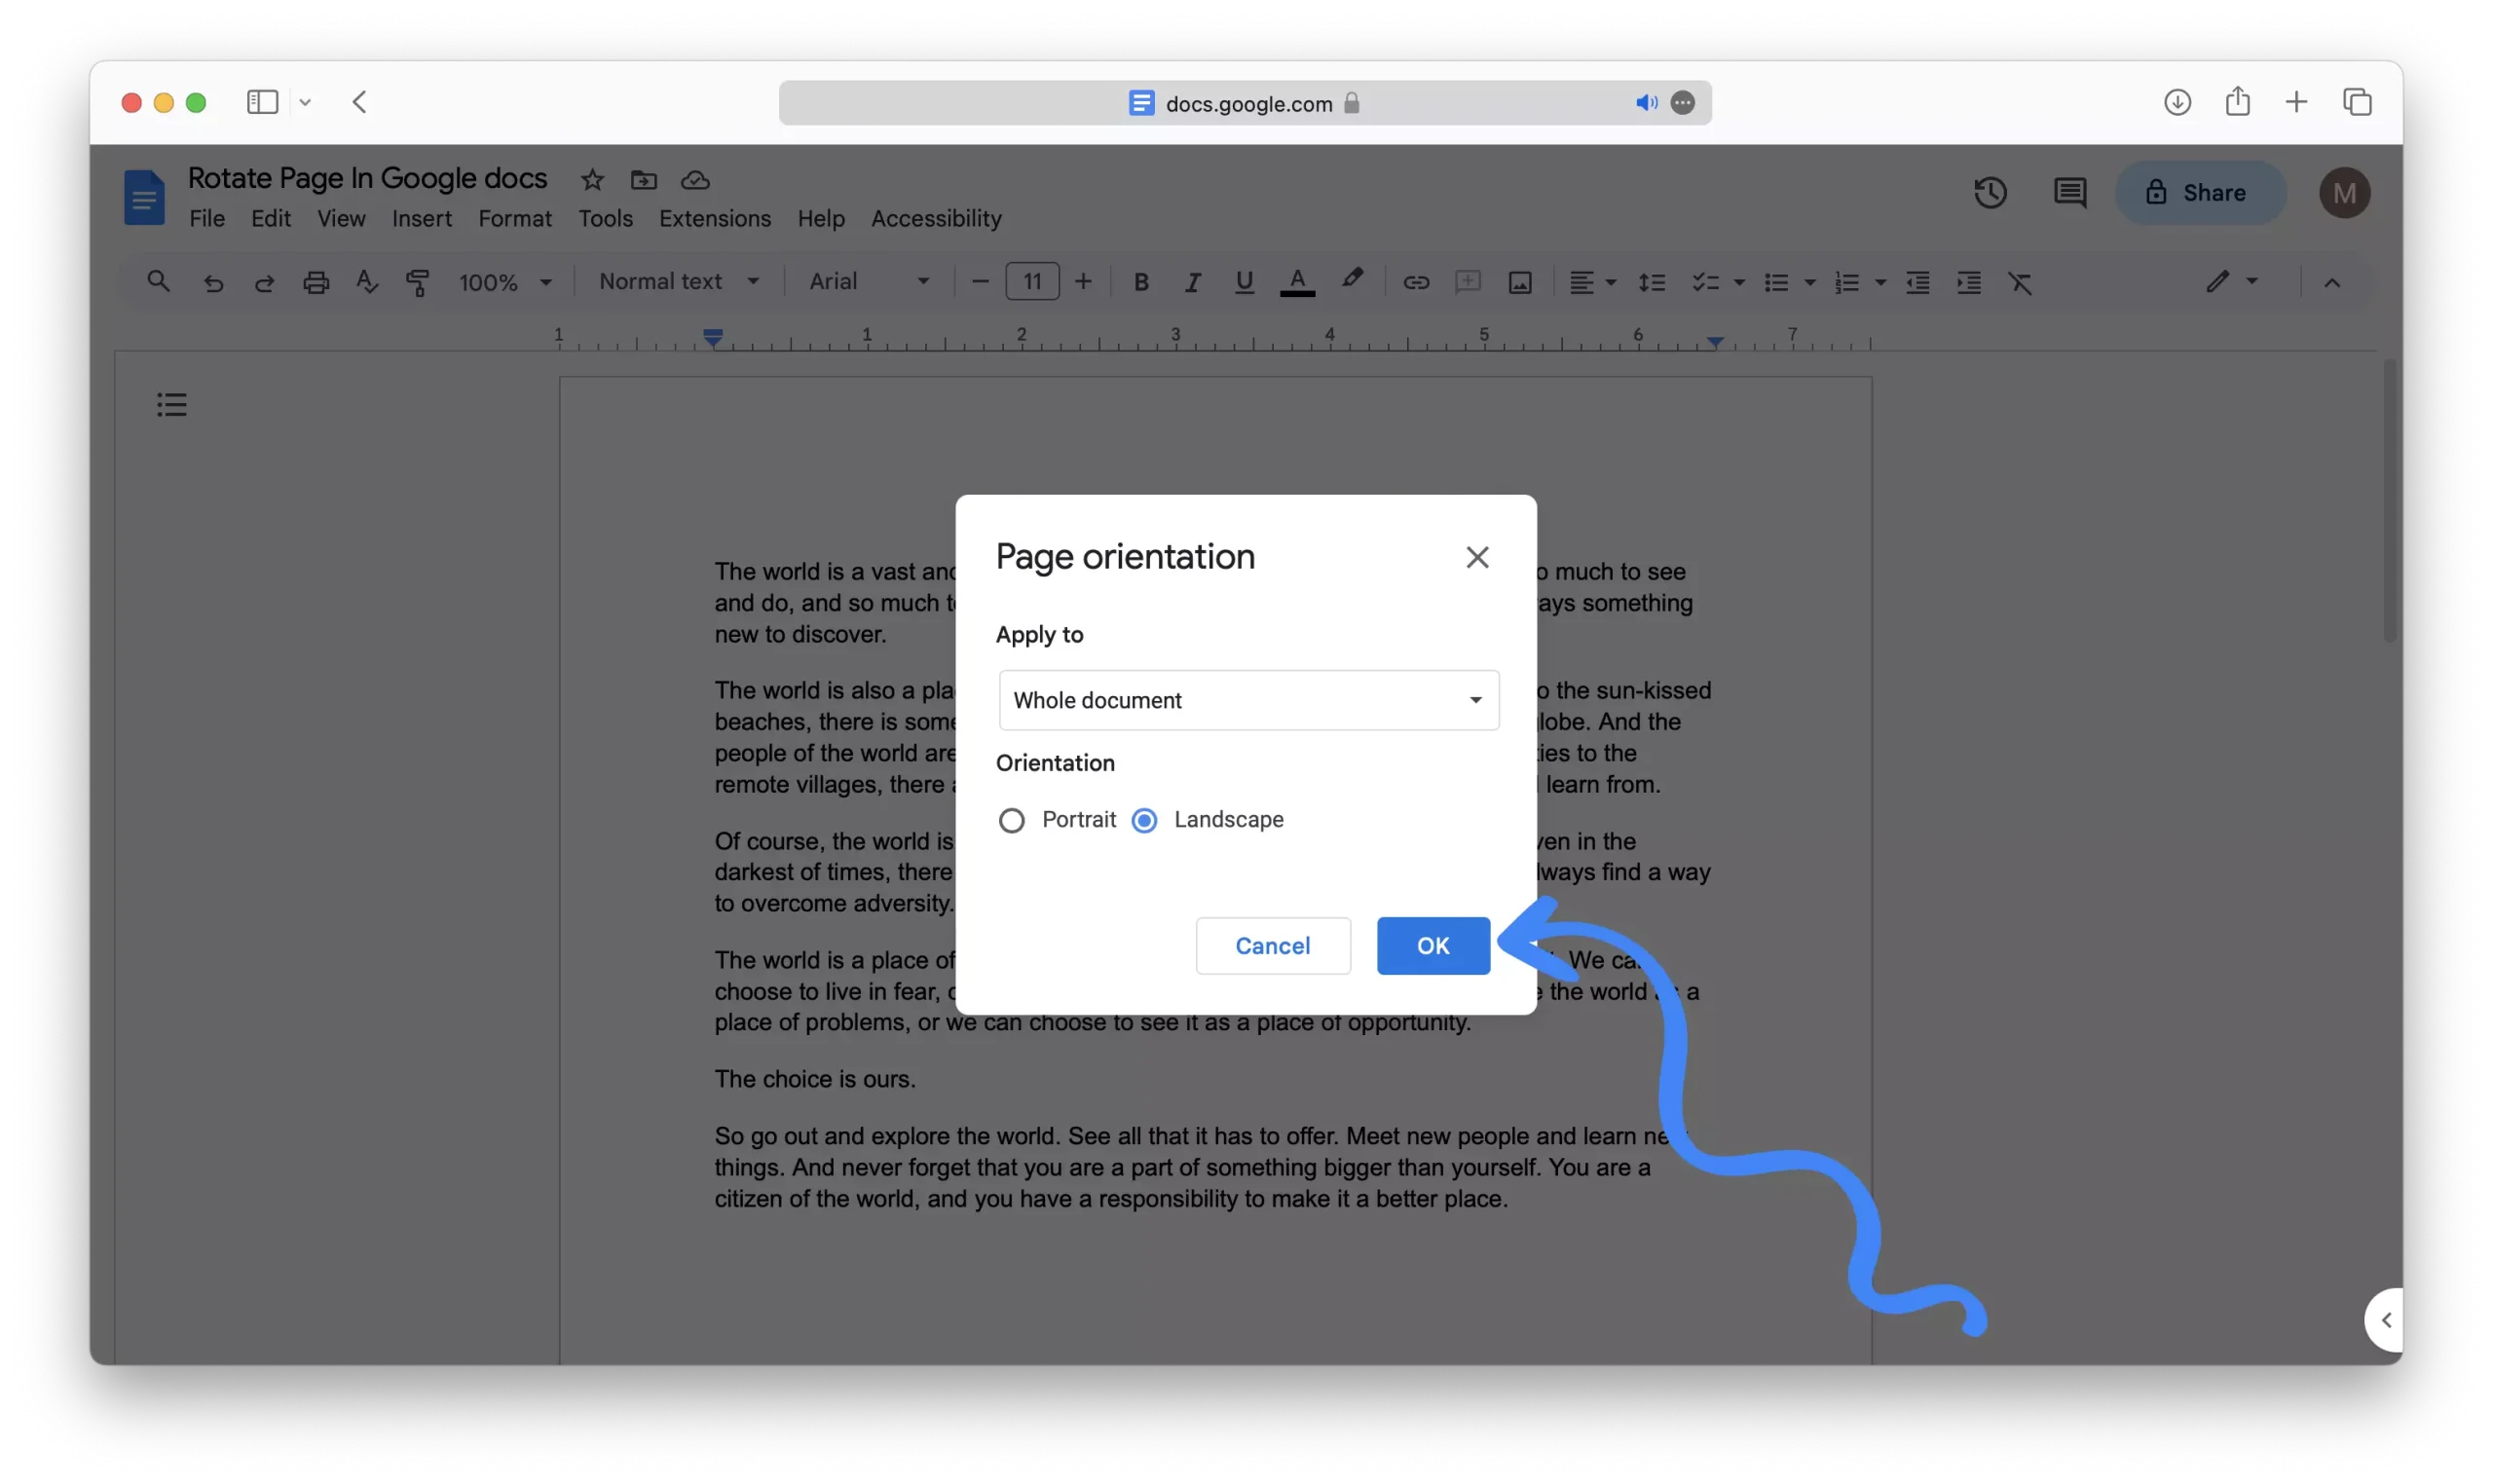
In the page orientation popup, choose either portrait or landscape and then click on “OK.”

In this article will walk you through the step-by-step process of rotating pages in Google Docs. Whether you need to rotate a single page, multiple pages, or even just those beyond a specific point in your document, we’ve got you covered.
How to Rotate a Single Page in Google Docs
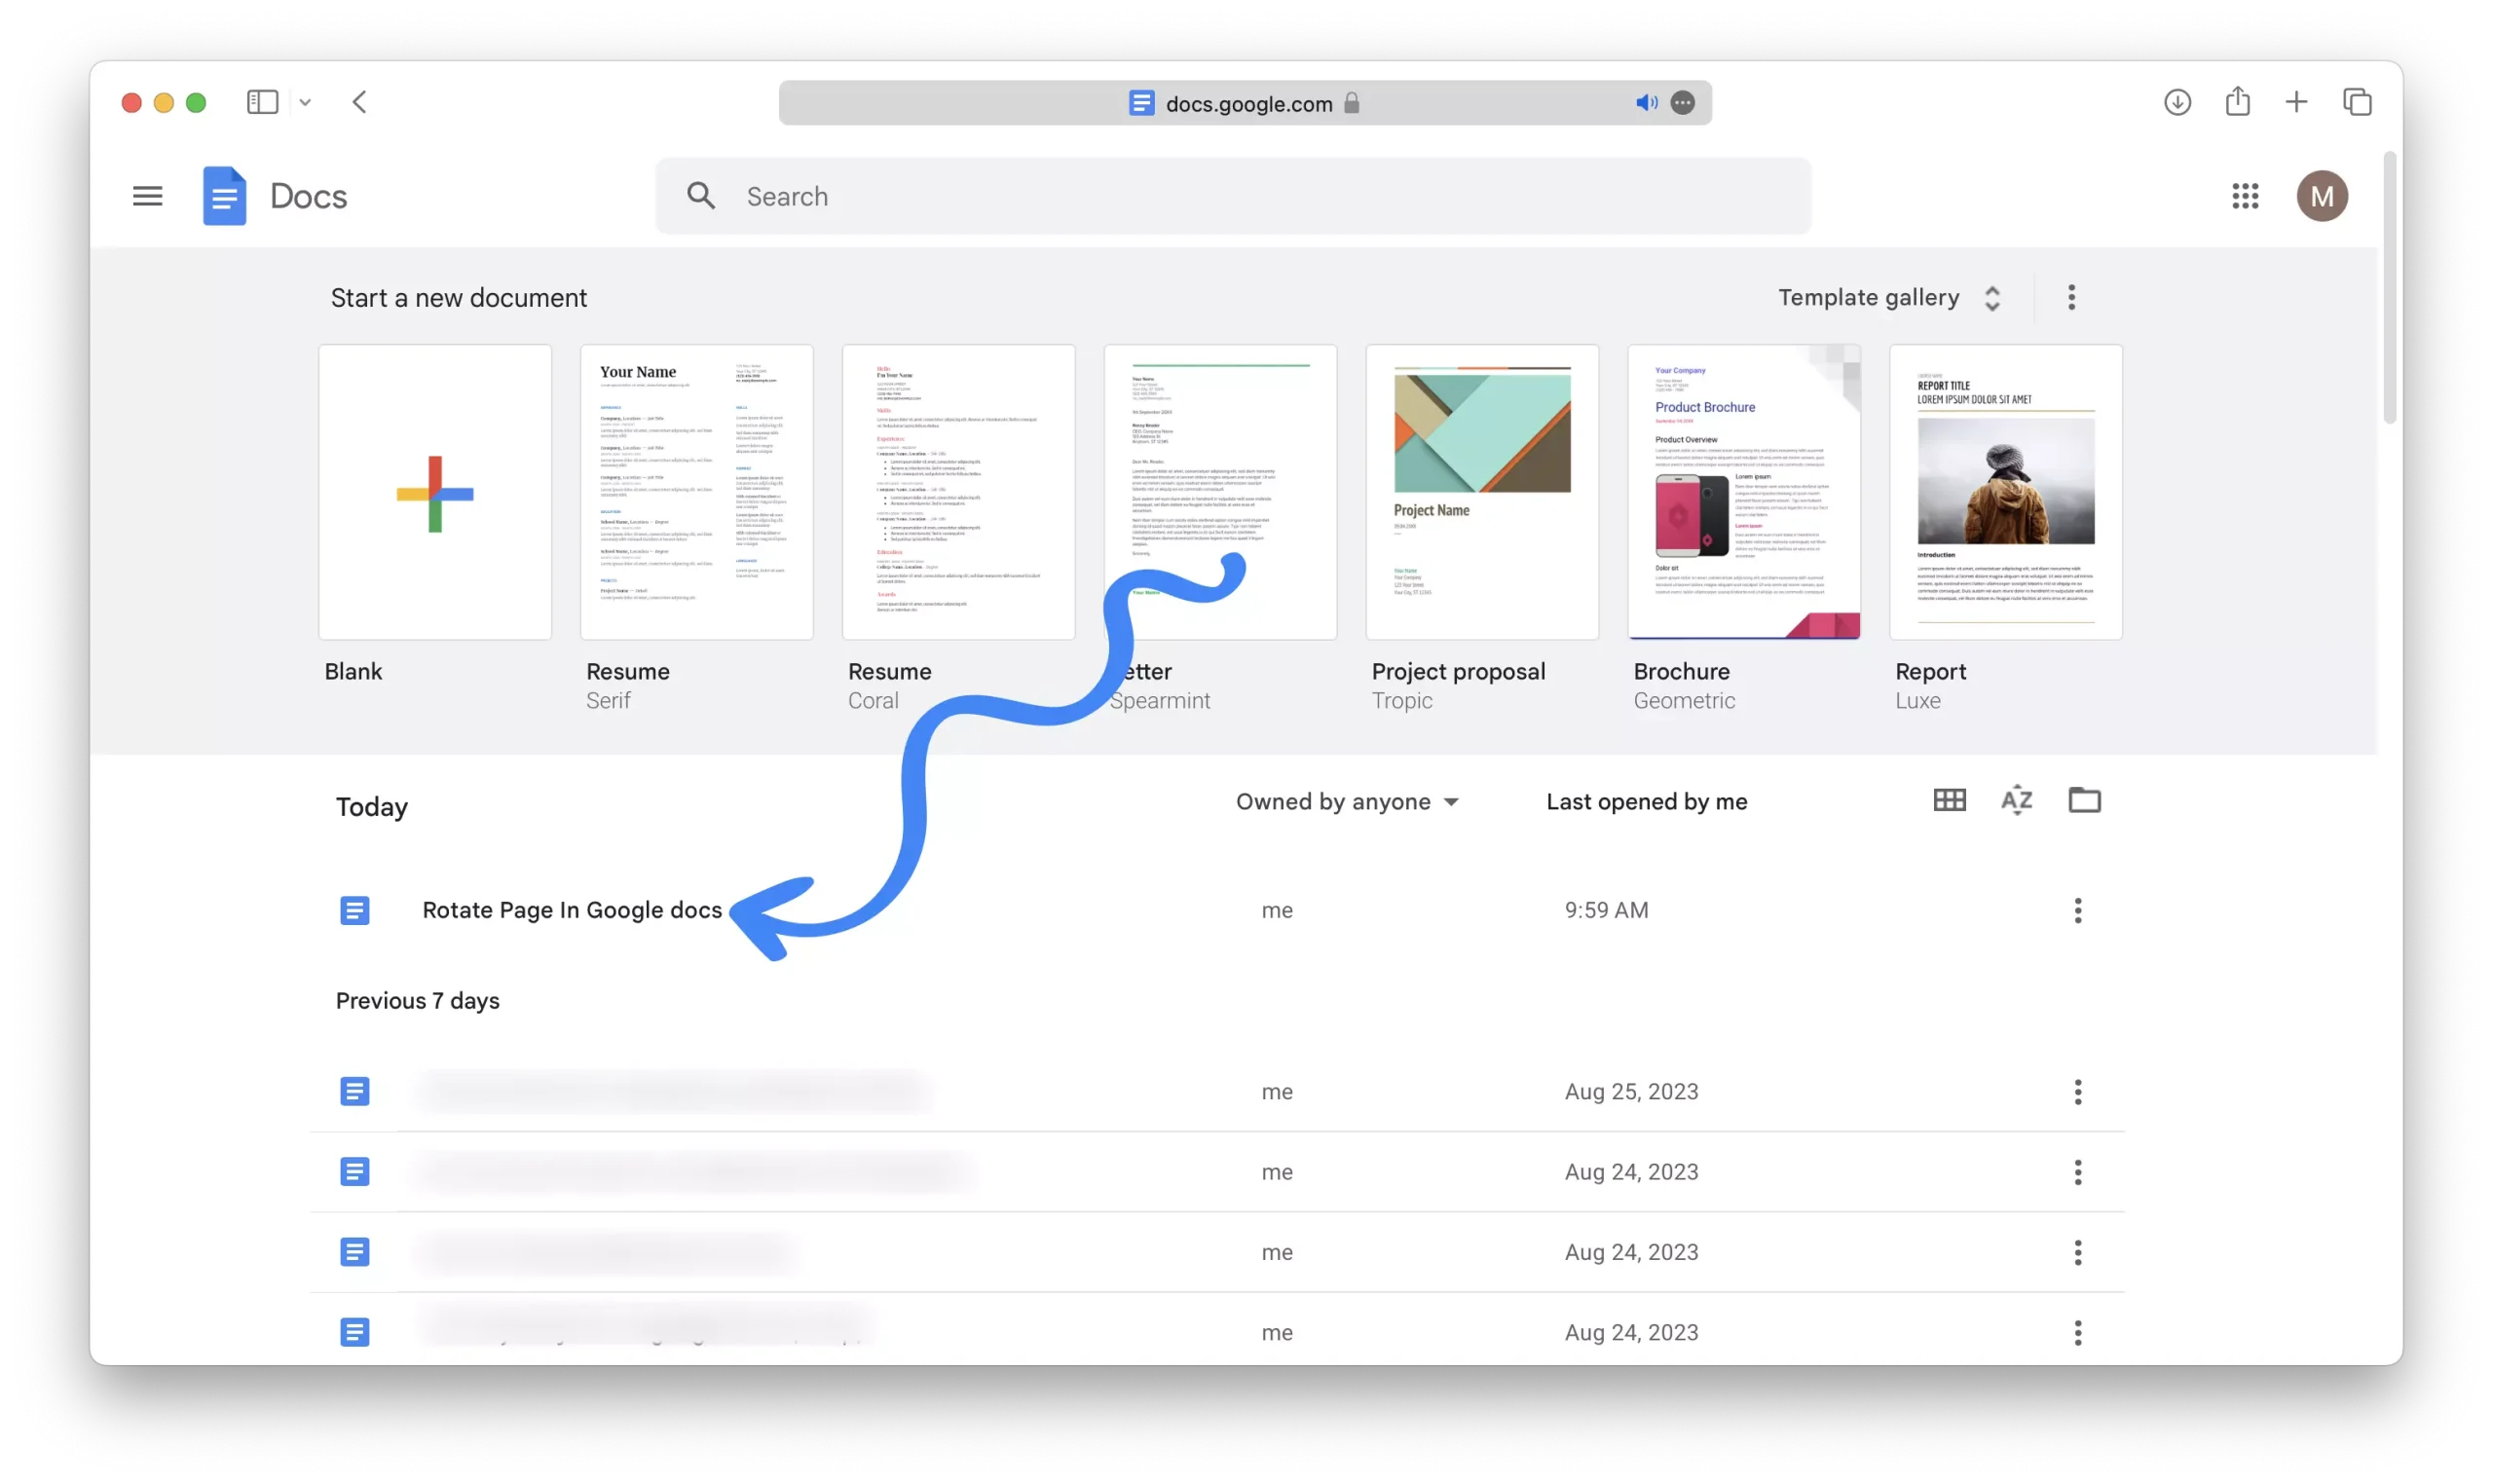
1 – Begin by opening your desired document in Google Docs.

2 – Locate the specific page you wish to rotate.
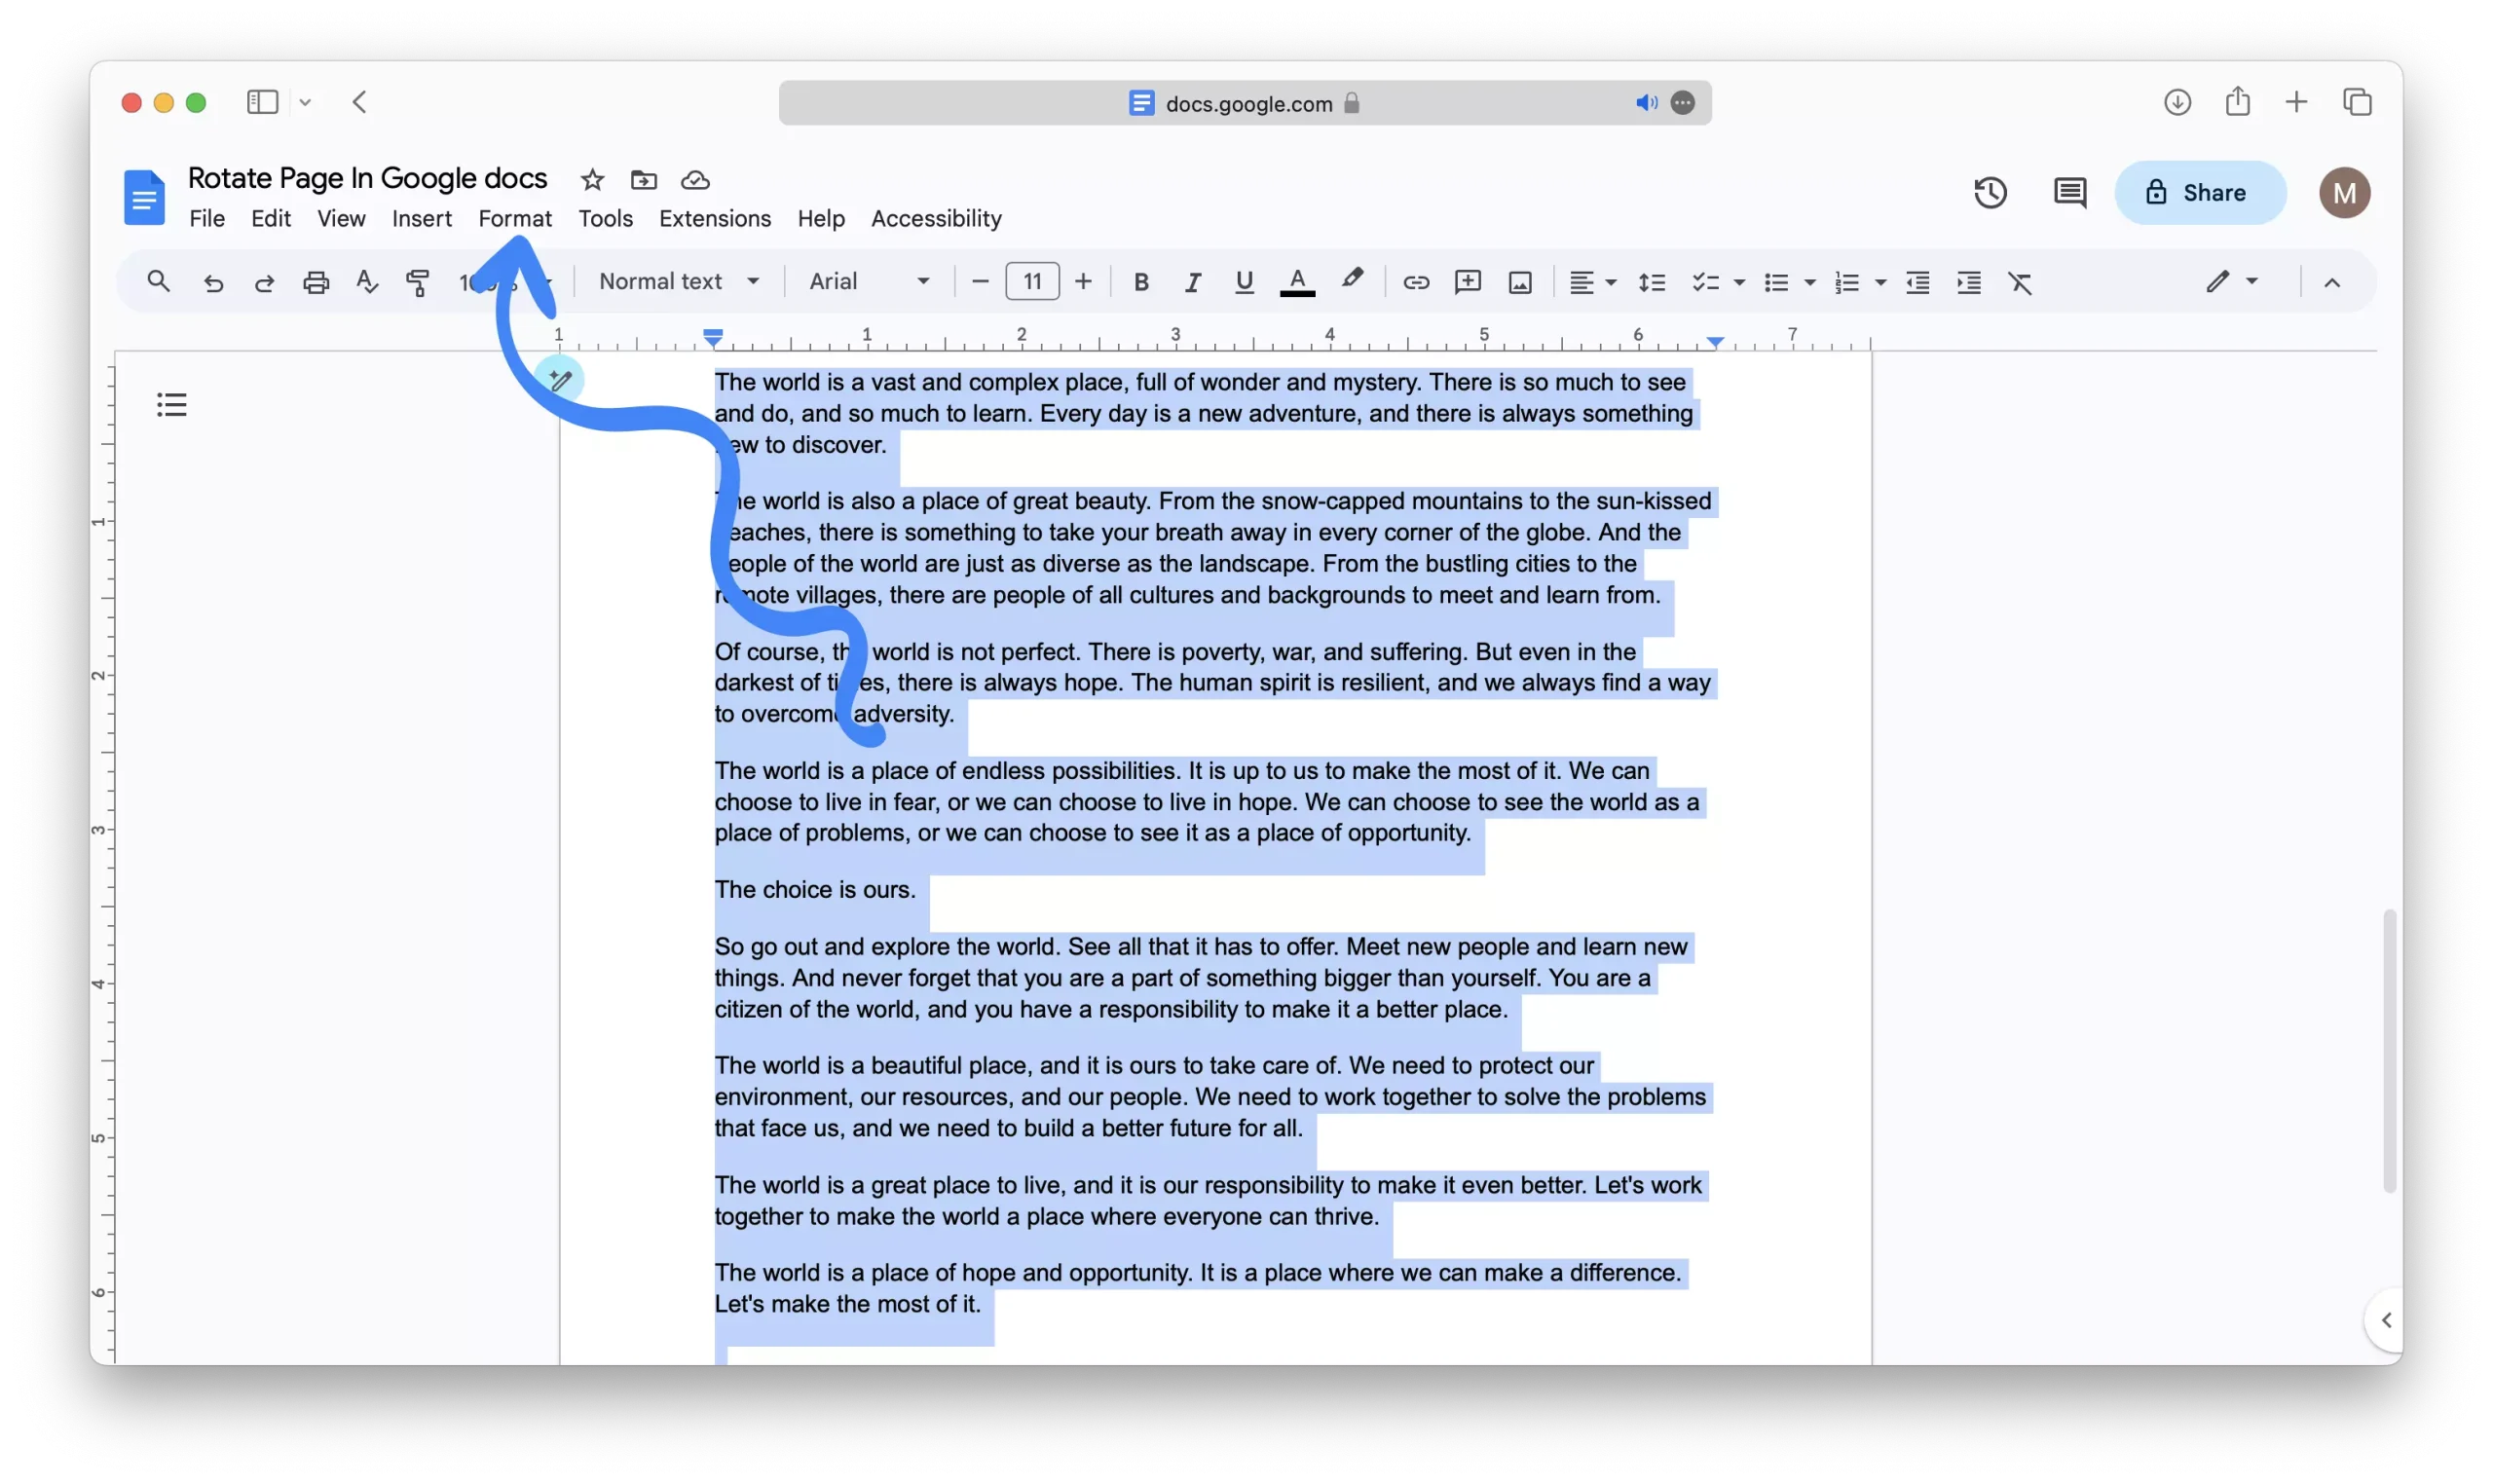
3 – Highlight all the content on that particular page using your mouse.

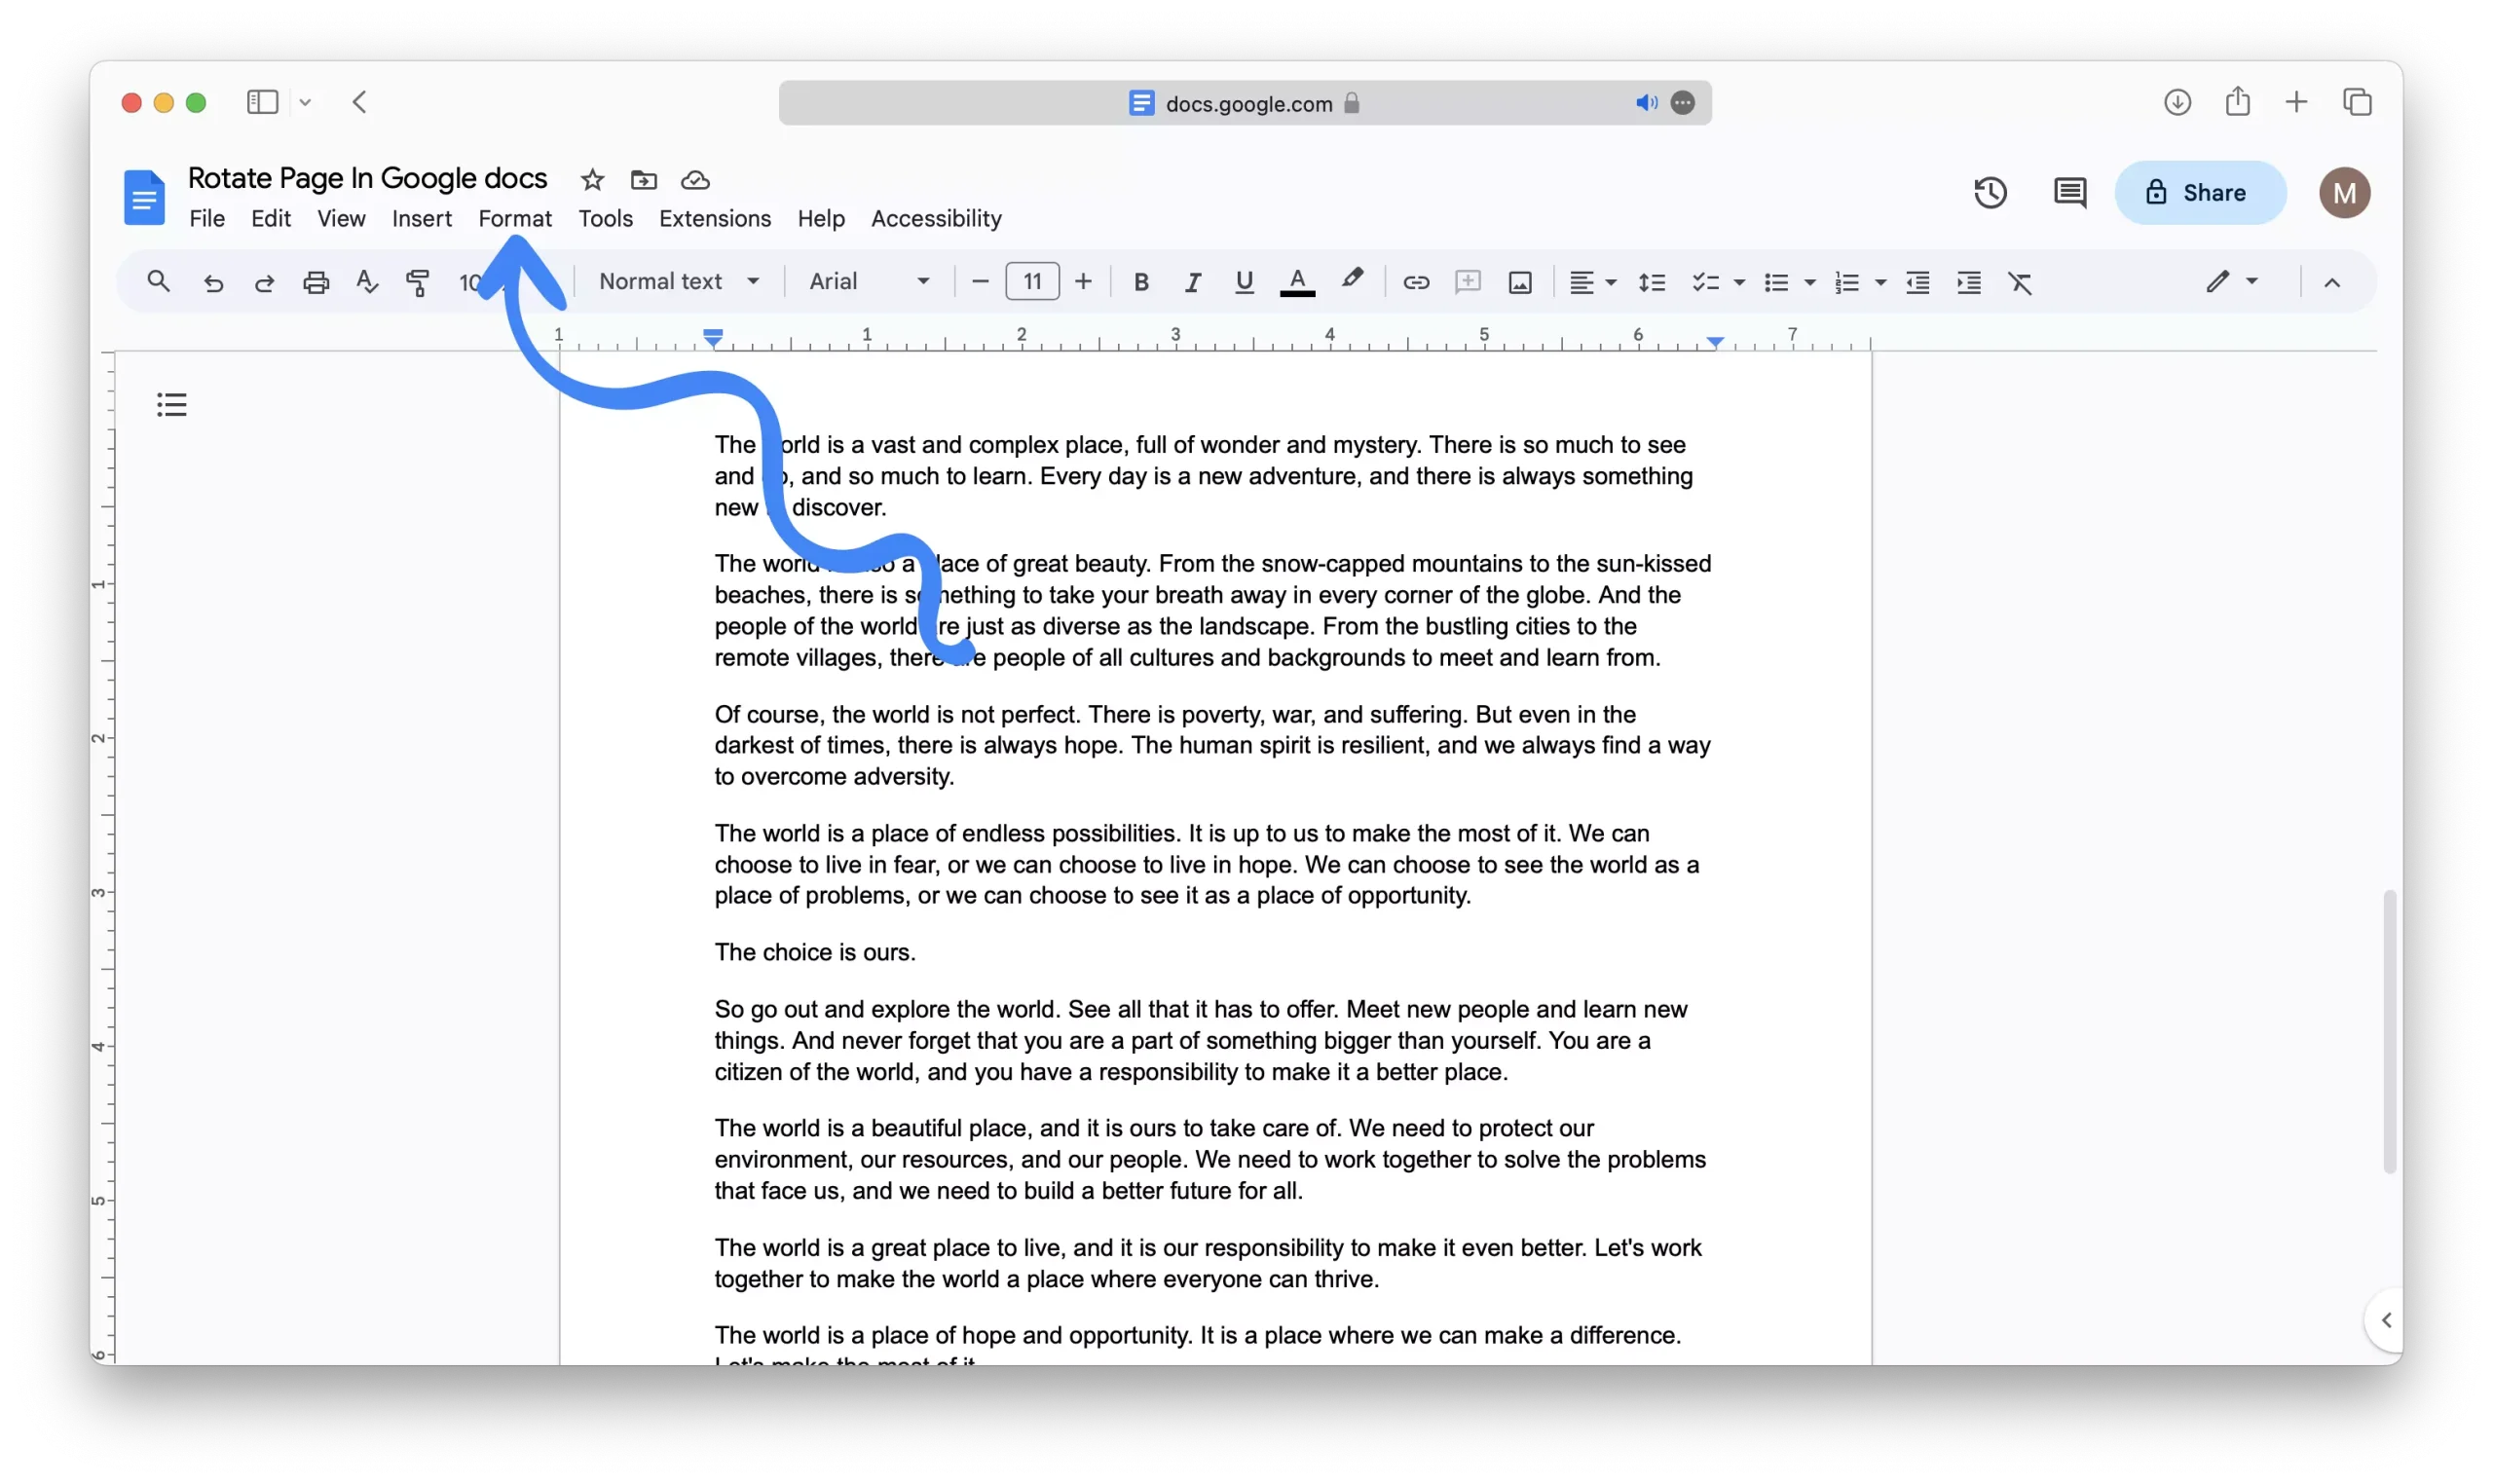
4 – Navigate to the toolbar and click on “Format”.
5 – In the dropdown menu, find and select “Page Orientation.”
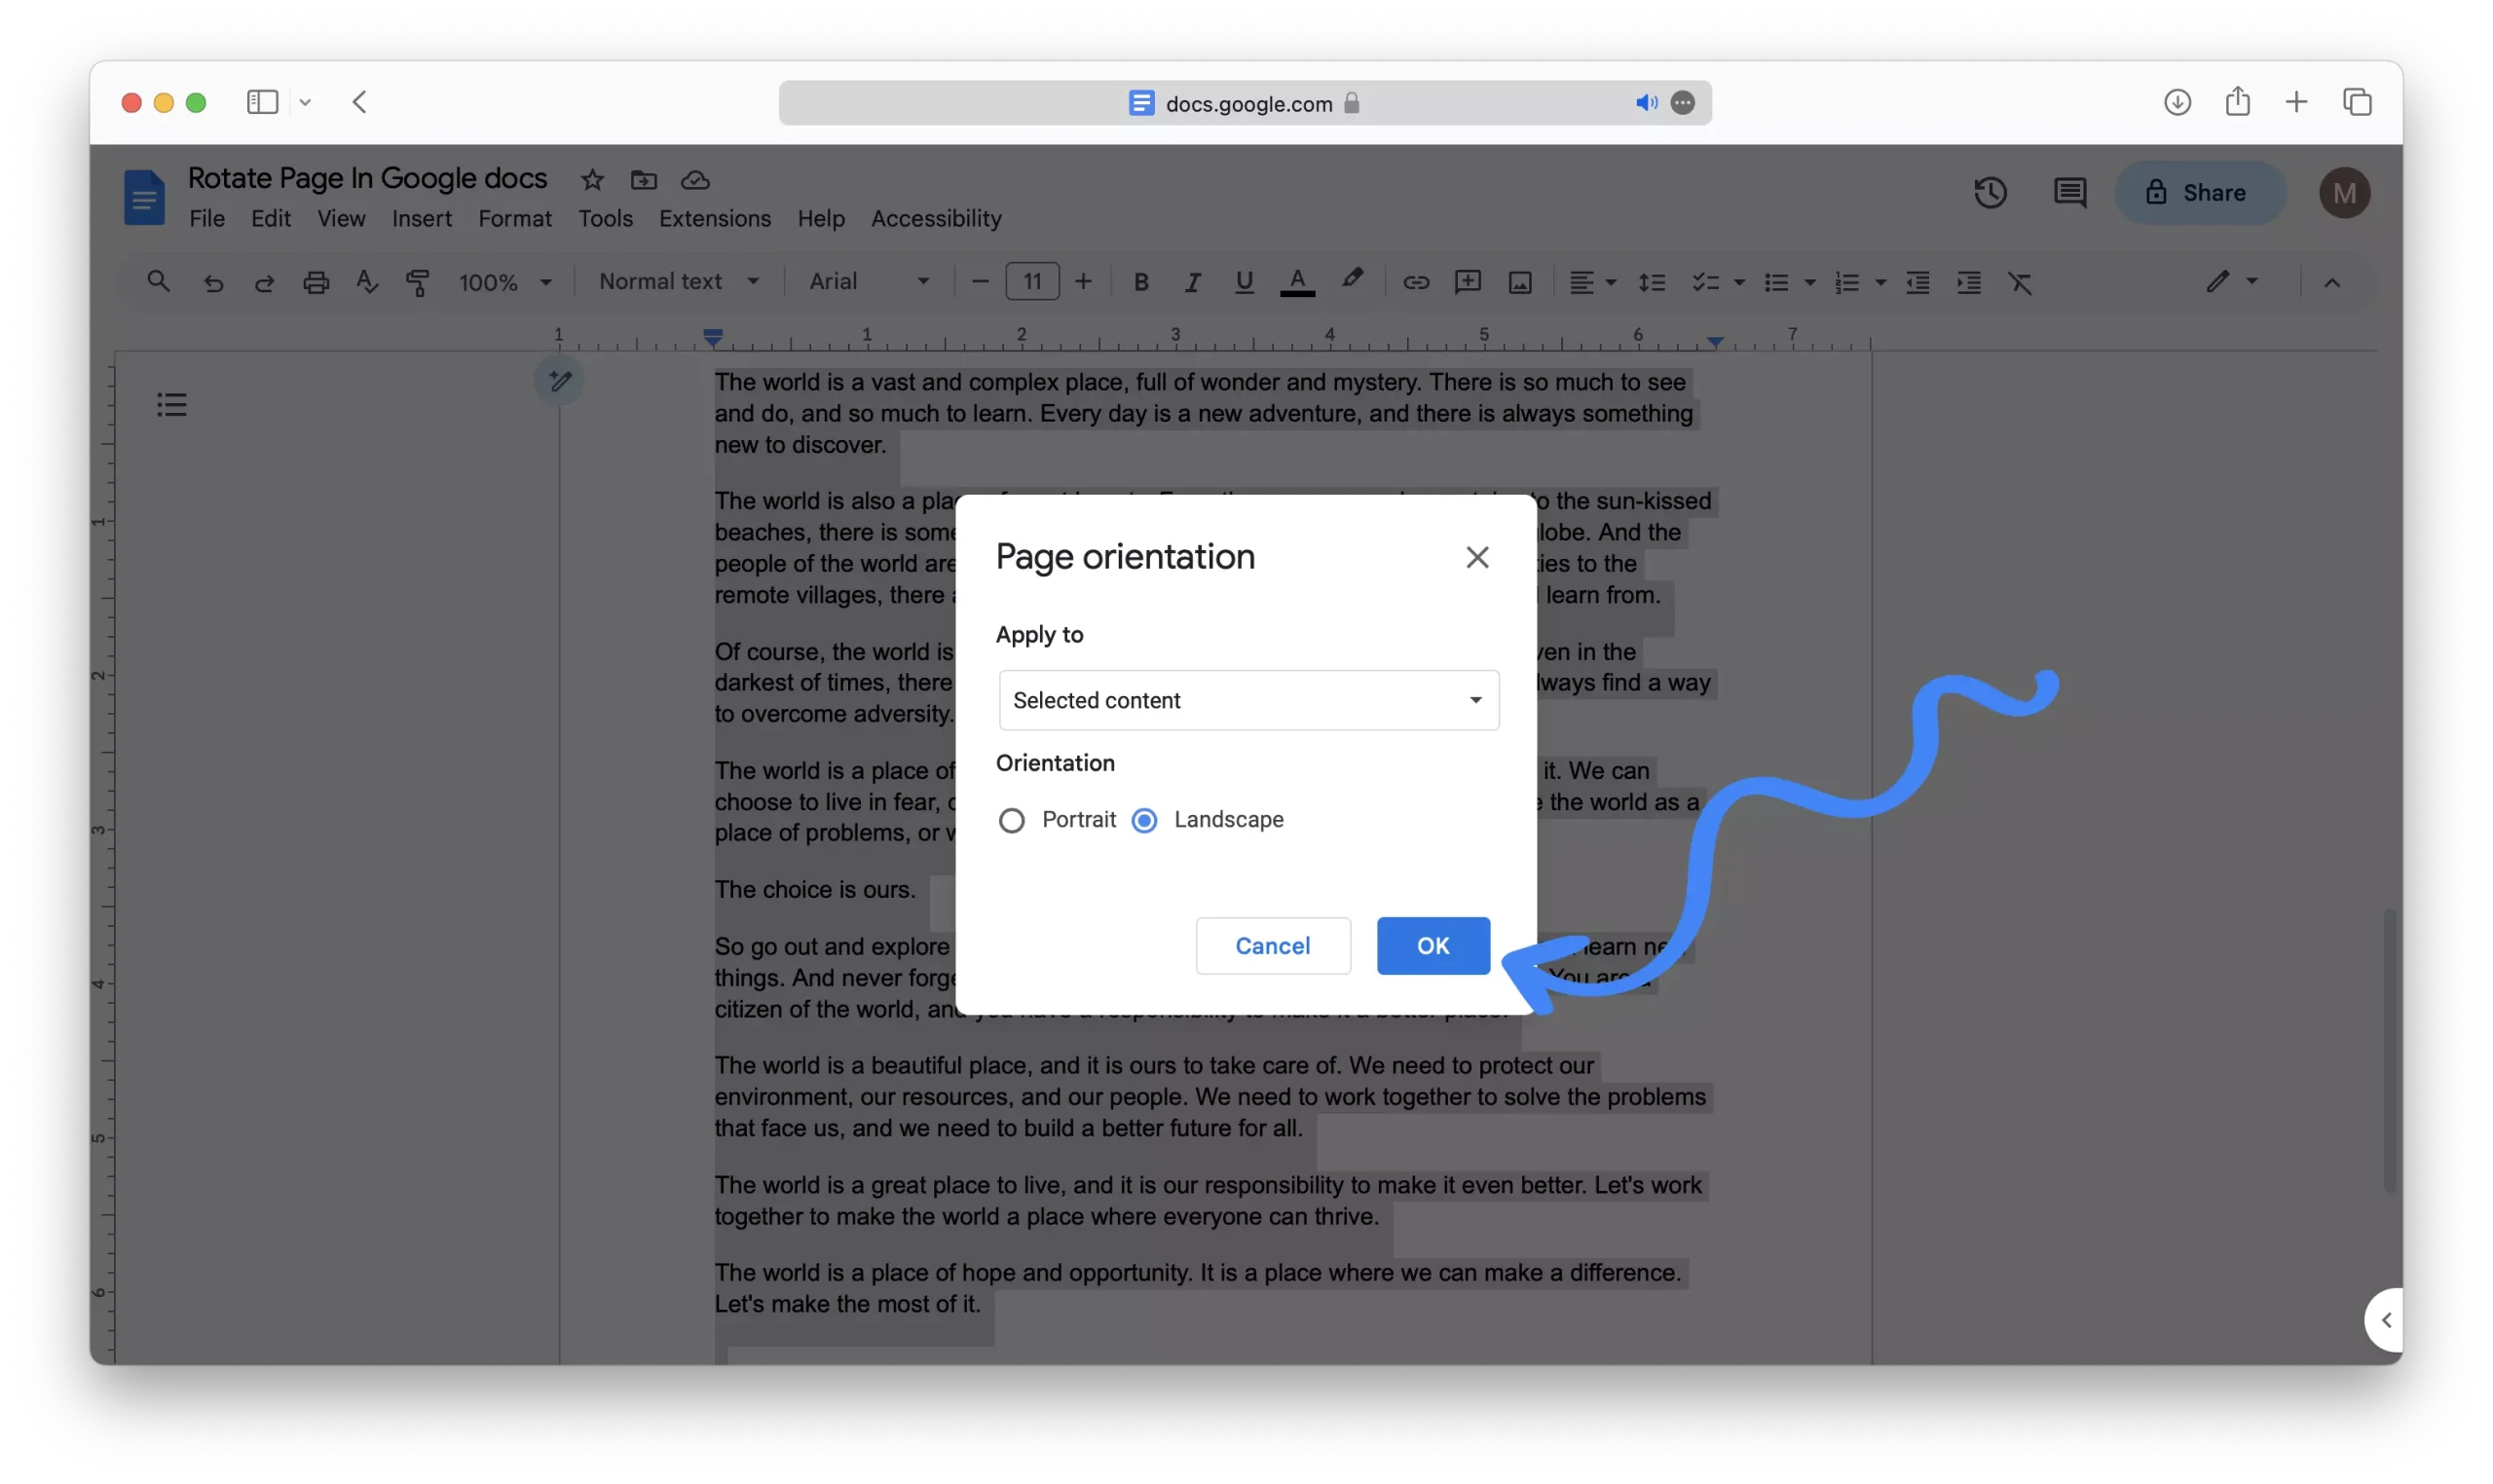
6 – In the “Apply to” dropdown, ensure that it is set to “Selected Content.”
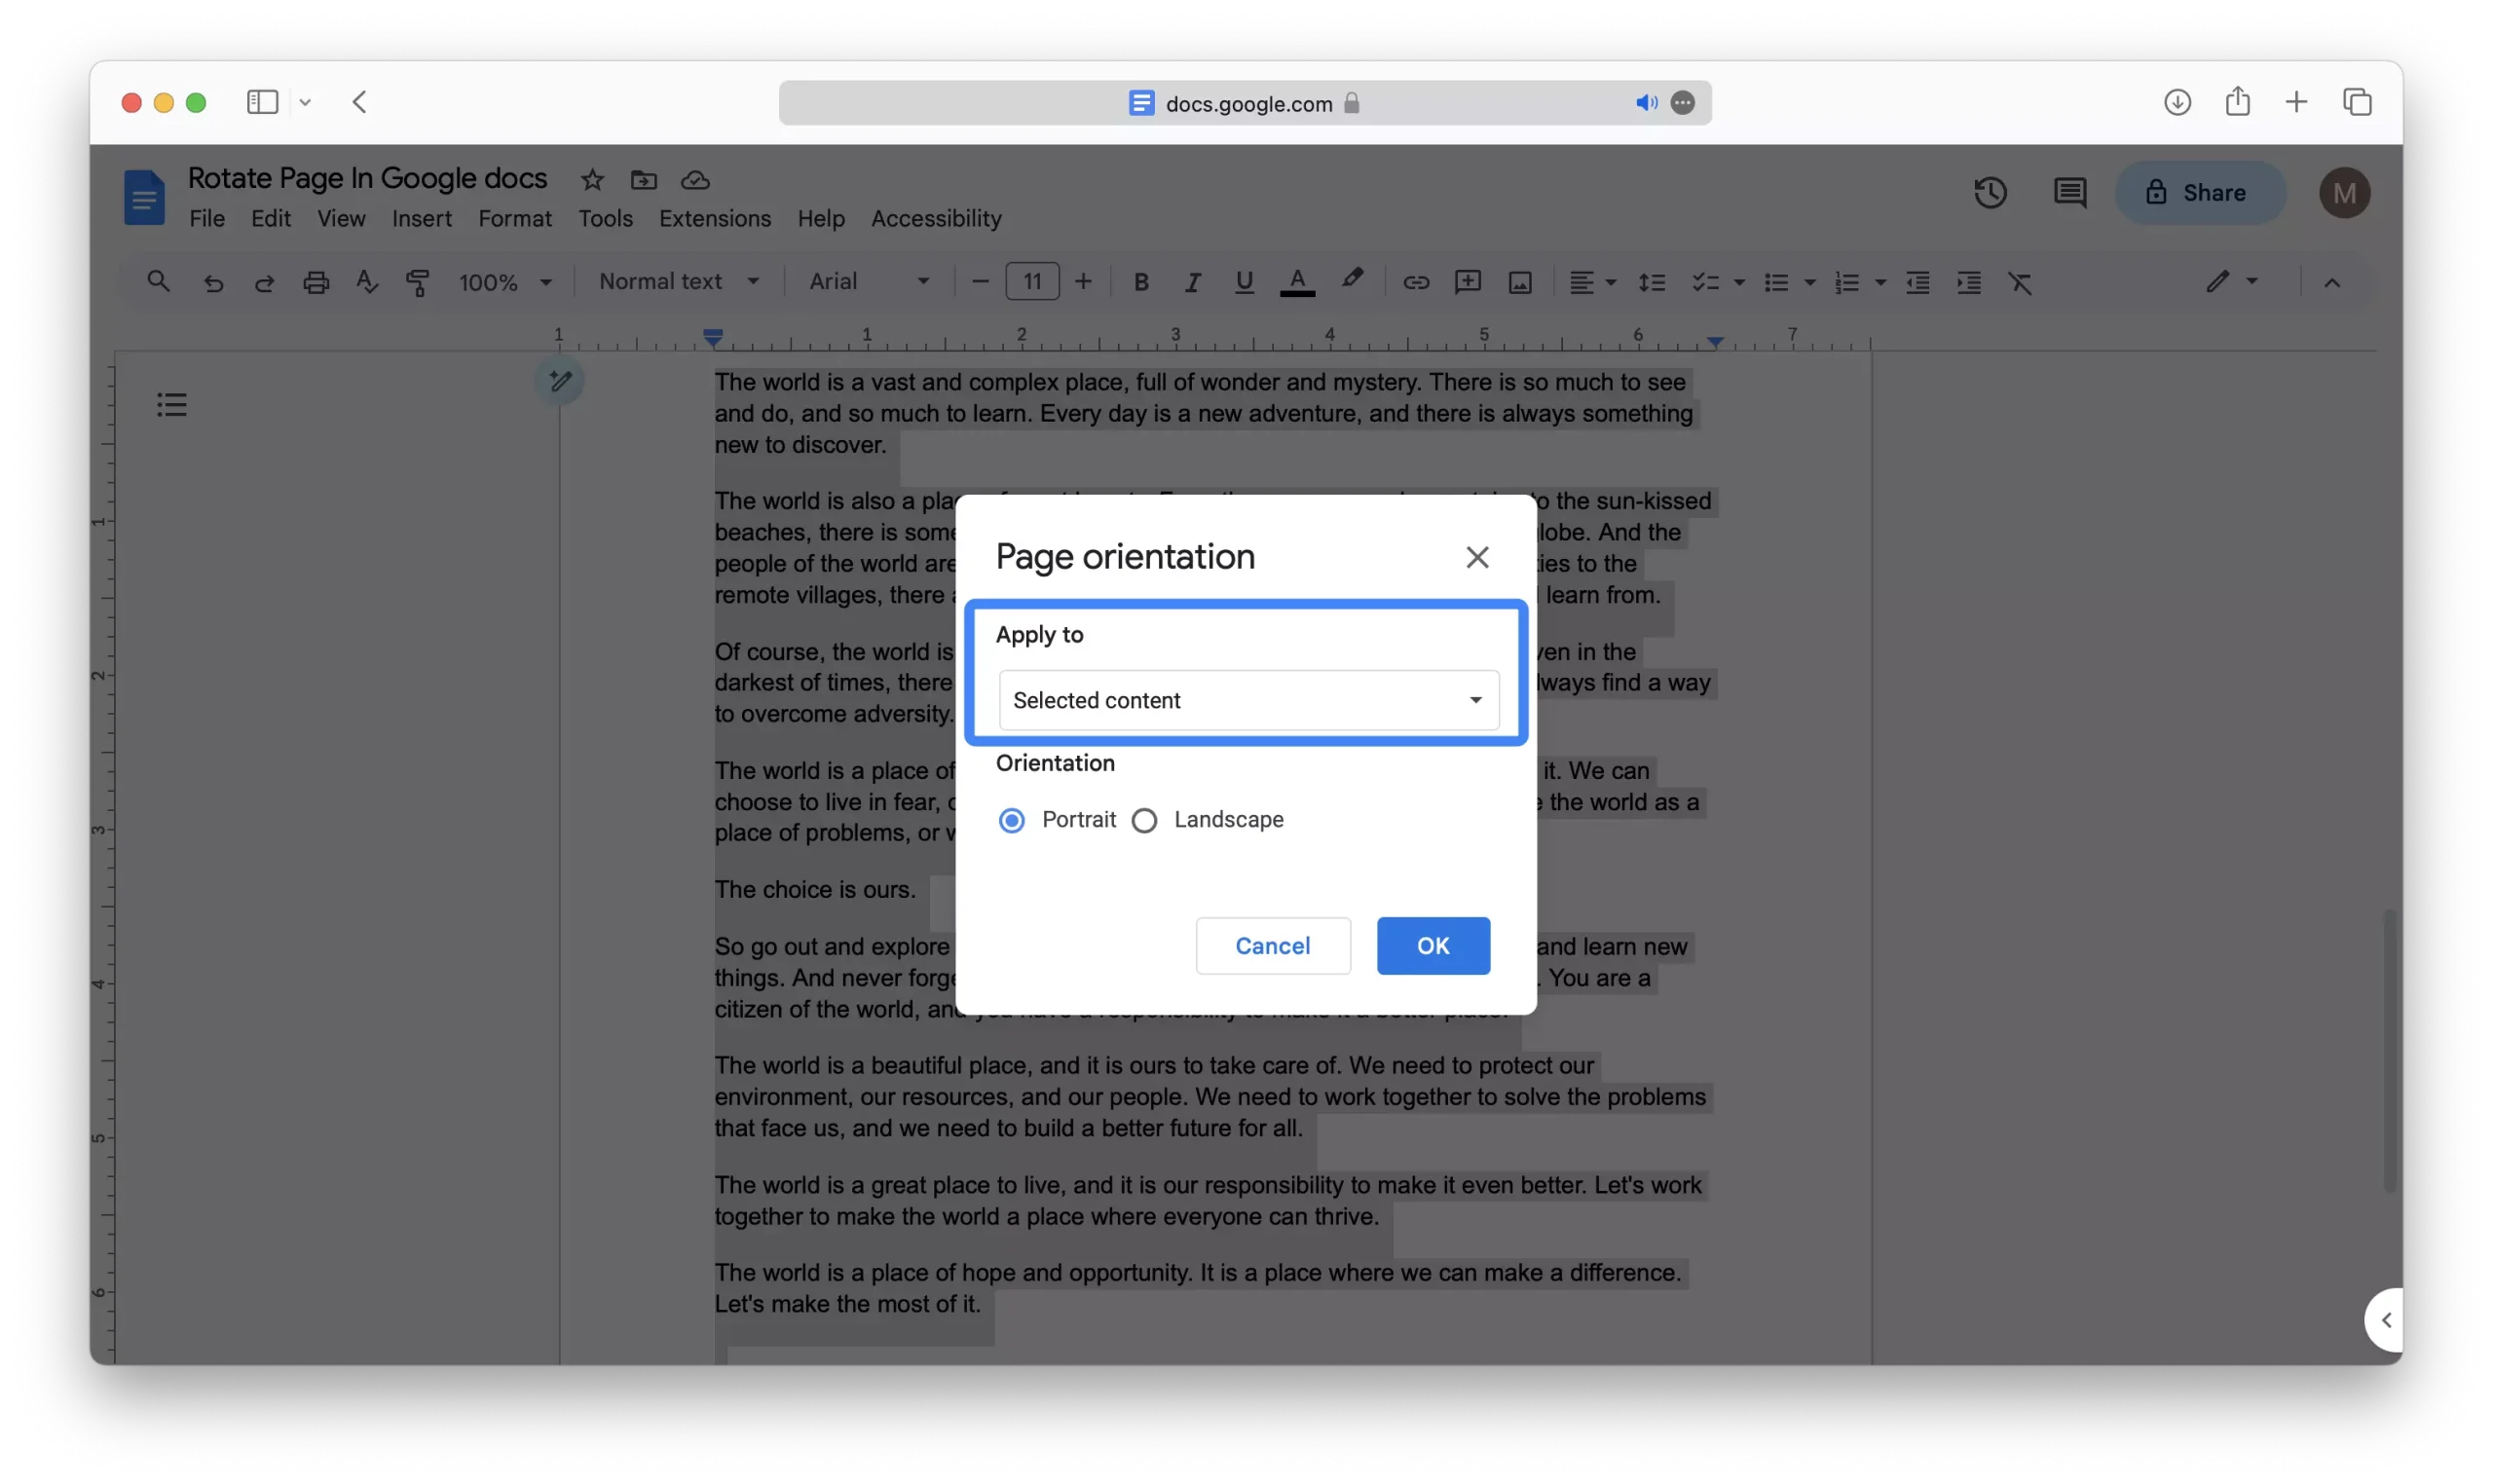
7 – Within the “Orientation” section, choose either “Landscape” or “Portrait” to set the page’s new orientation.
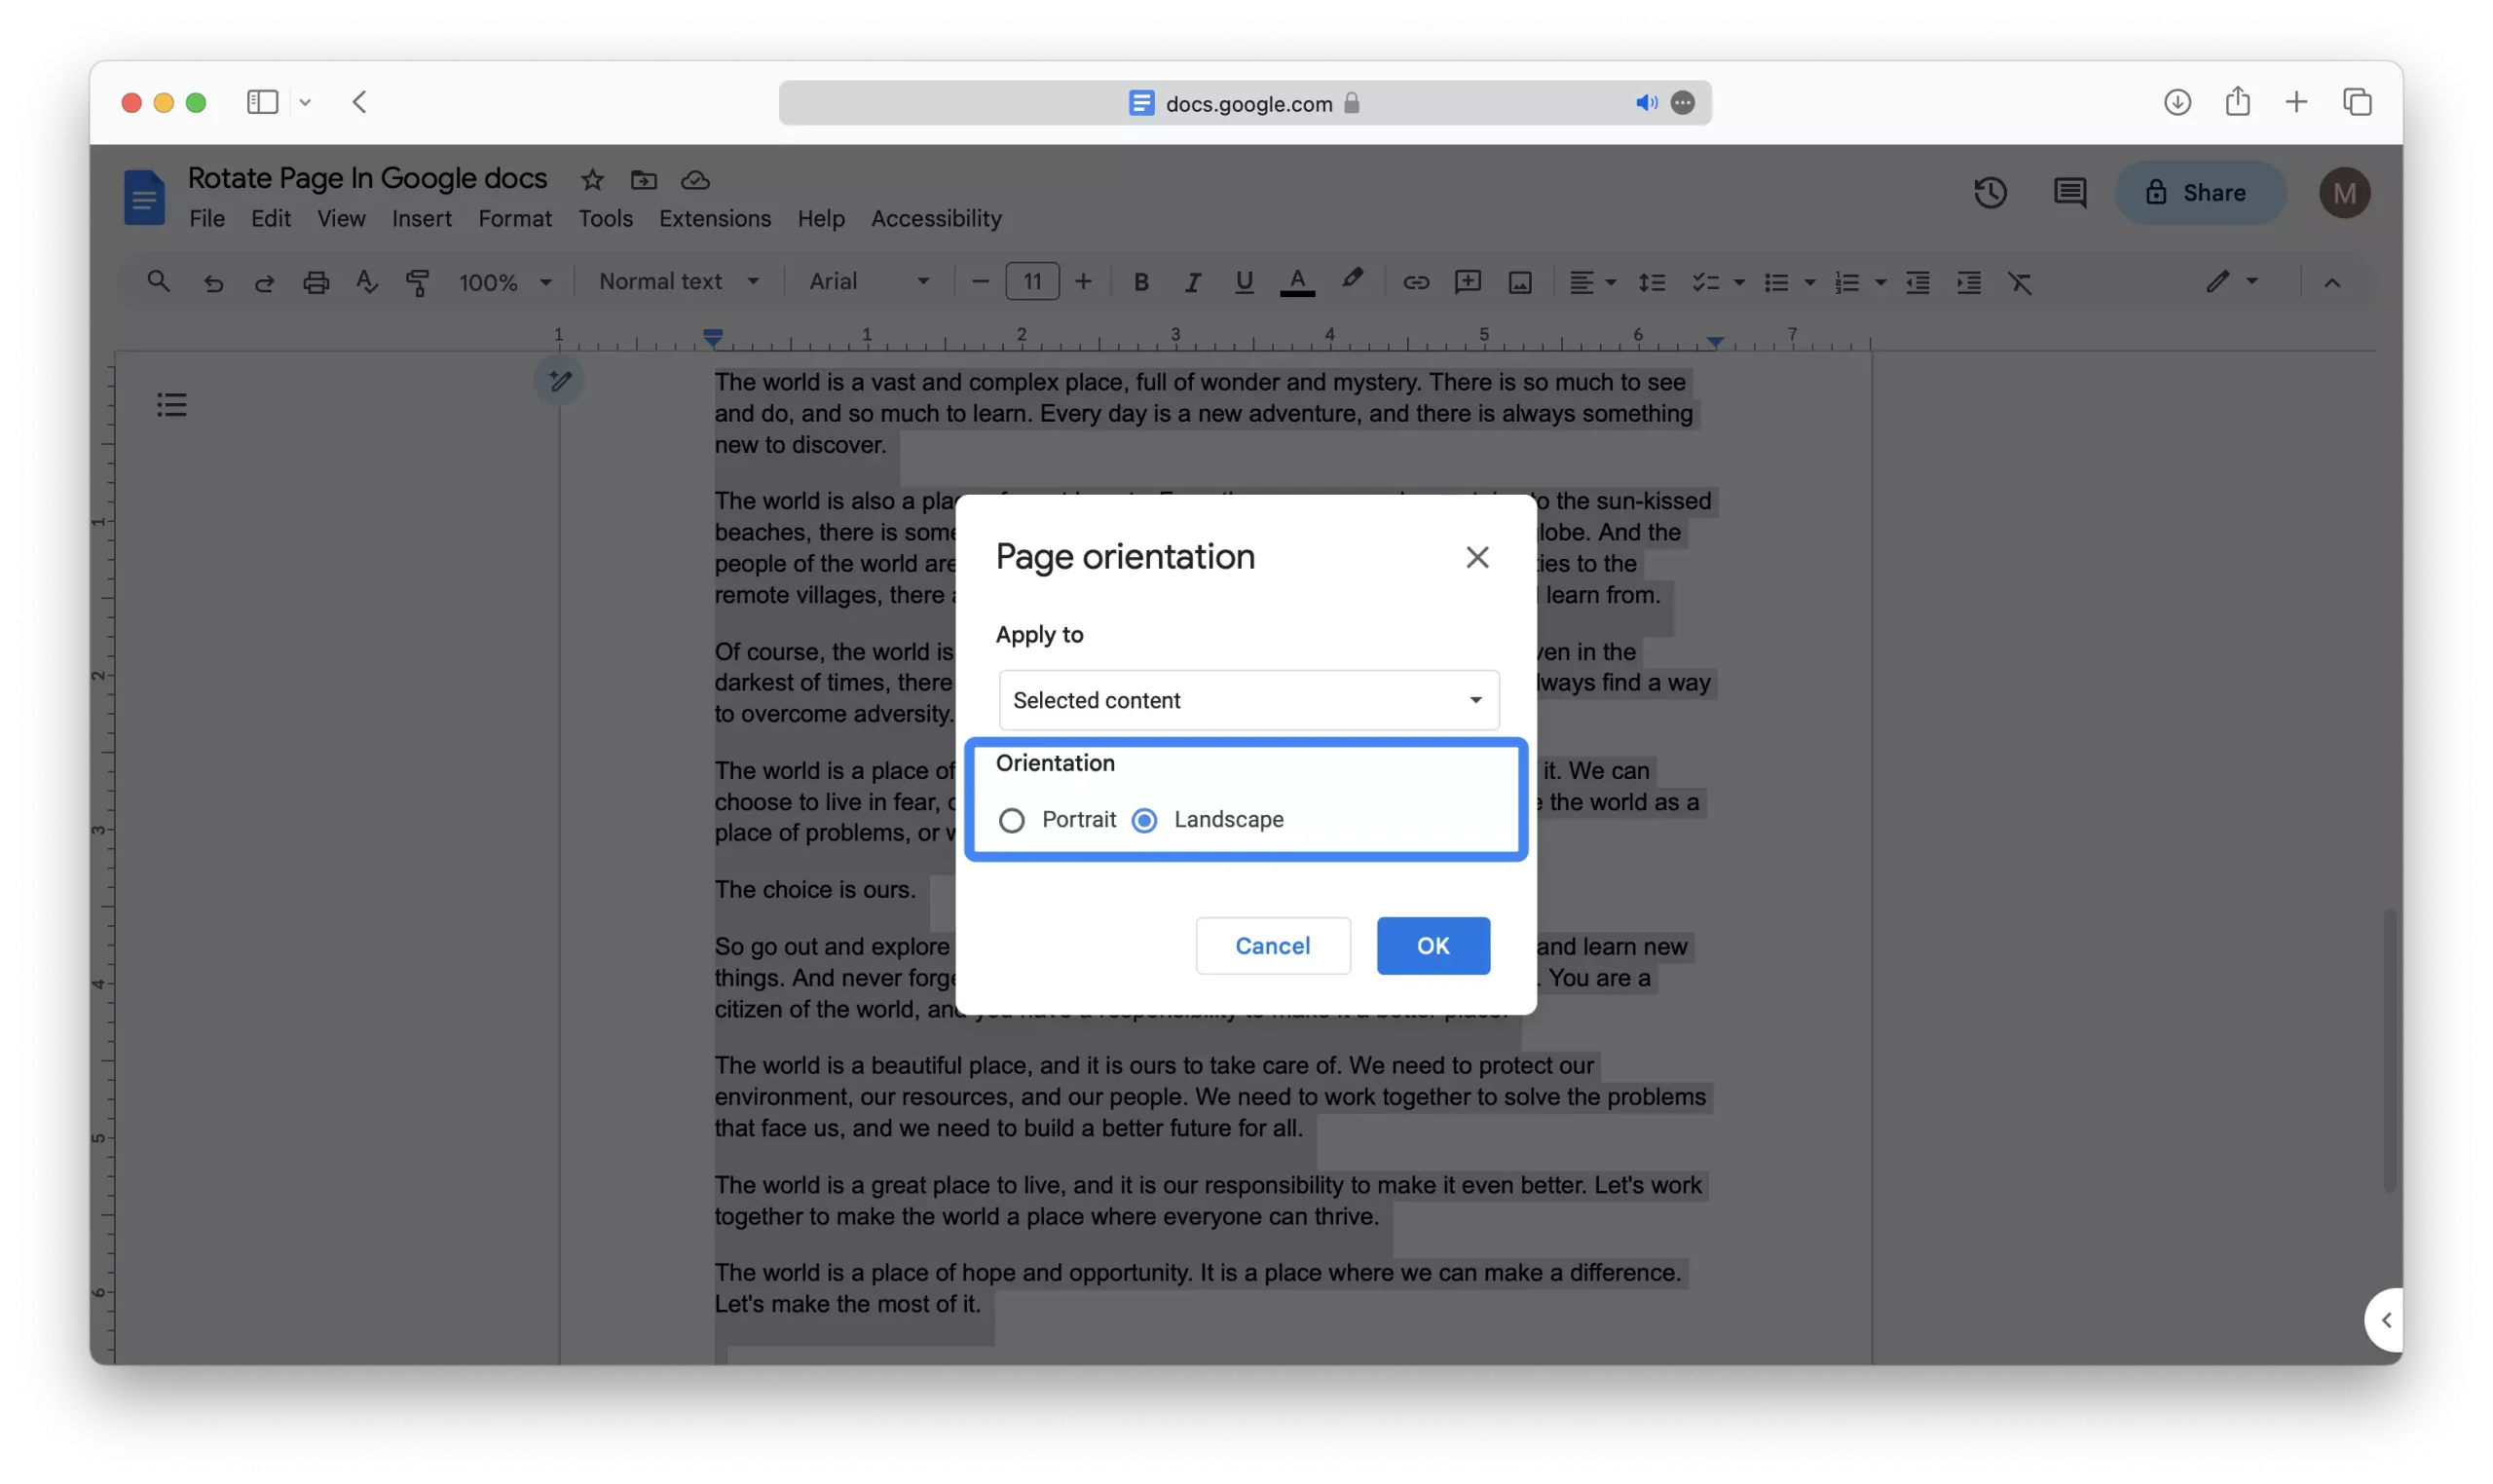
8 – Confirm your selection by clicking “OK.”
How to Rotate All Pages in Google Docs
1 – Begin by opening the document you intend to rotate in Google Docs.

2 – Locate the toolbar at the top of the page and click on “Format.”
3 – From the dropdown menu, select “Page Orientation.”

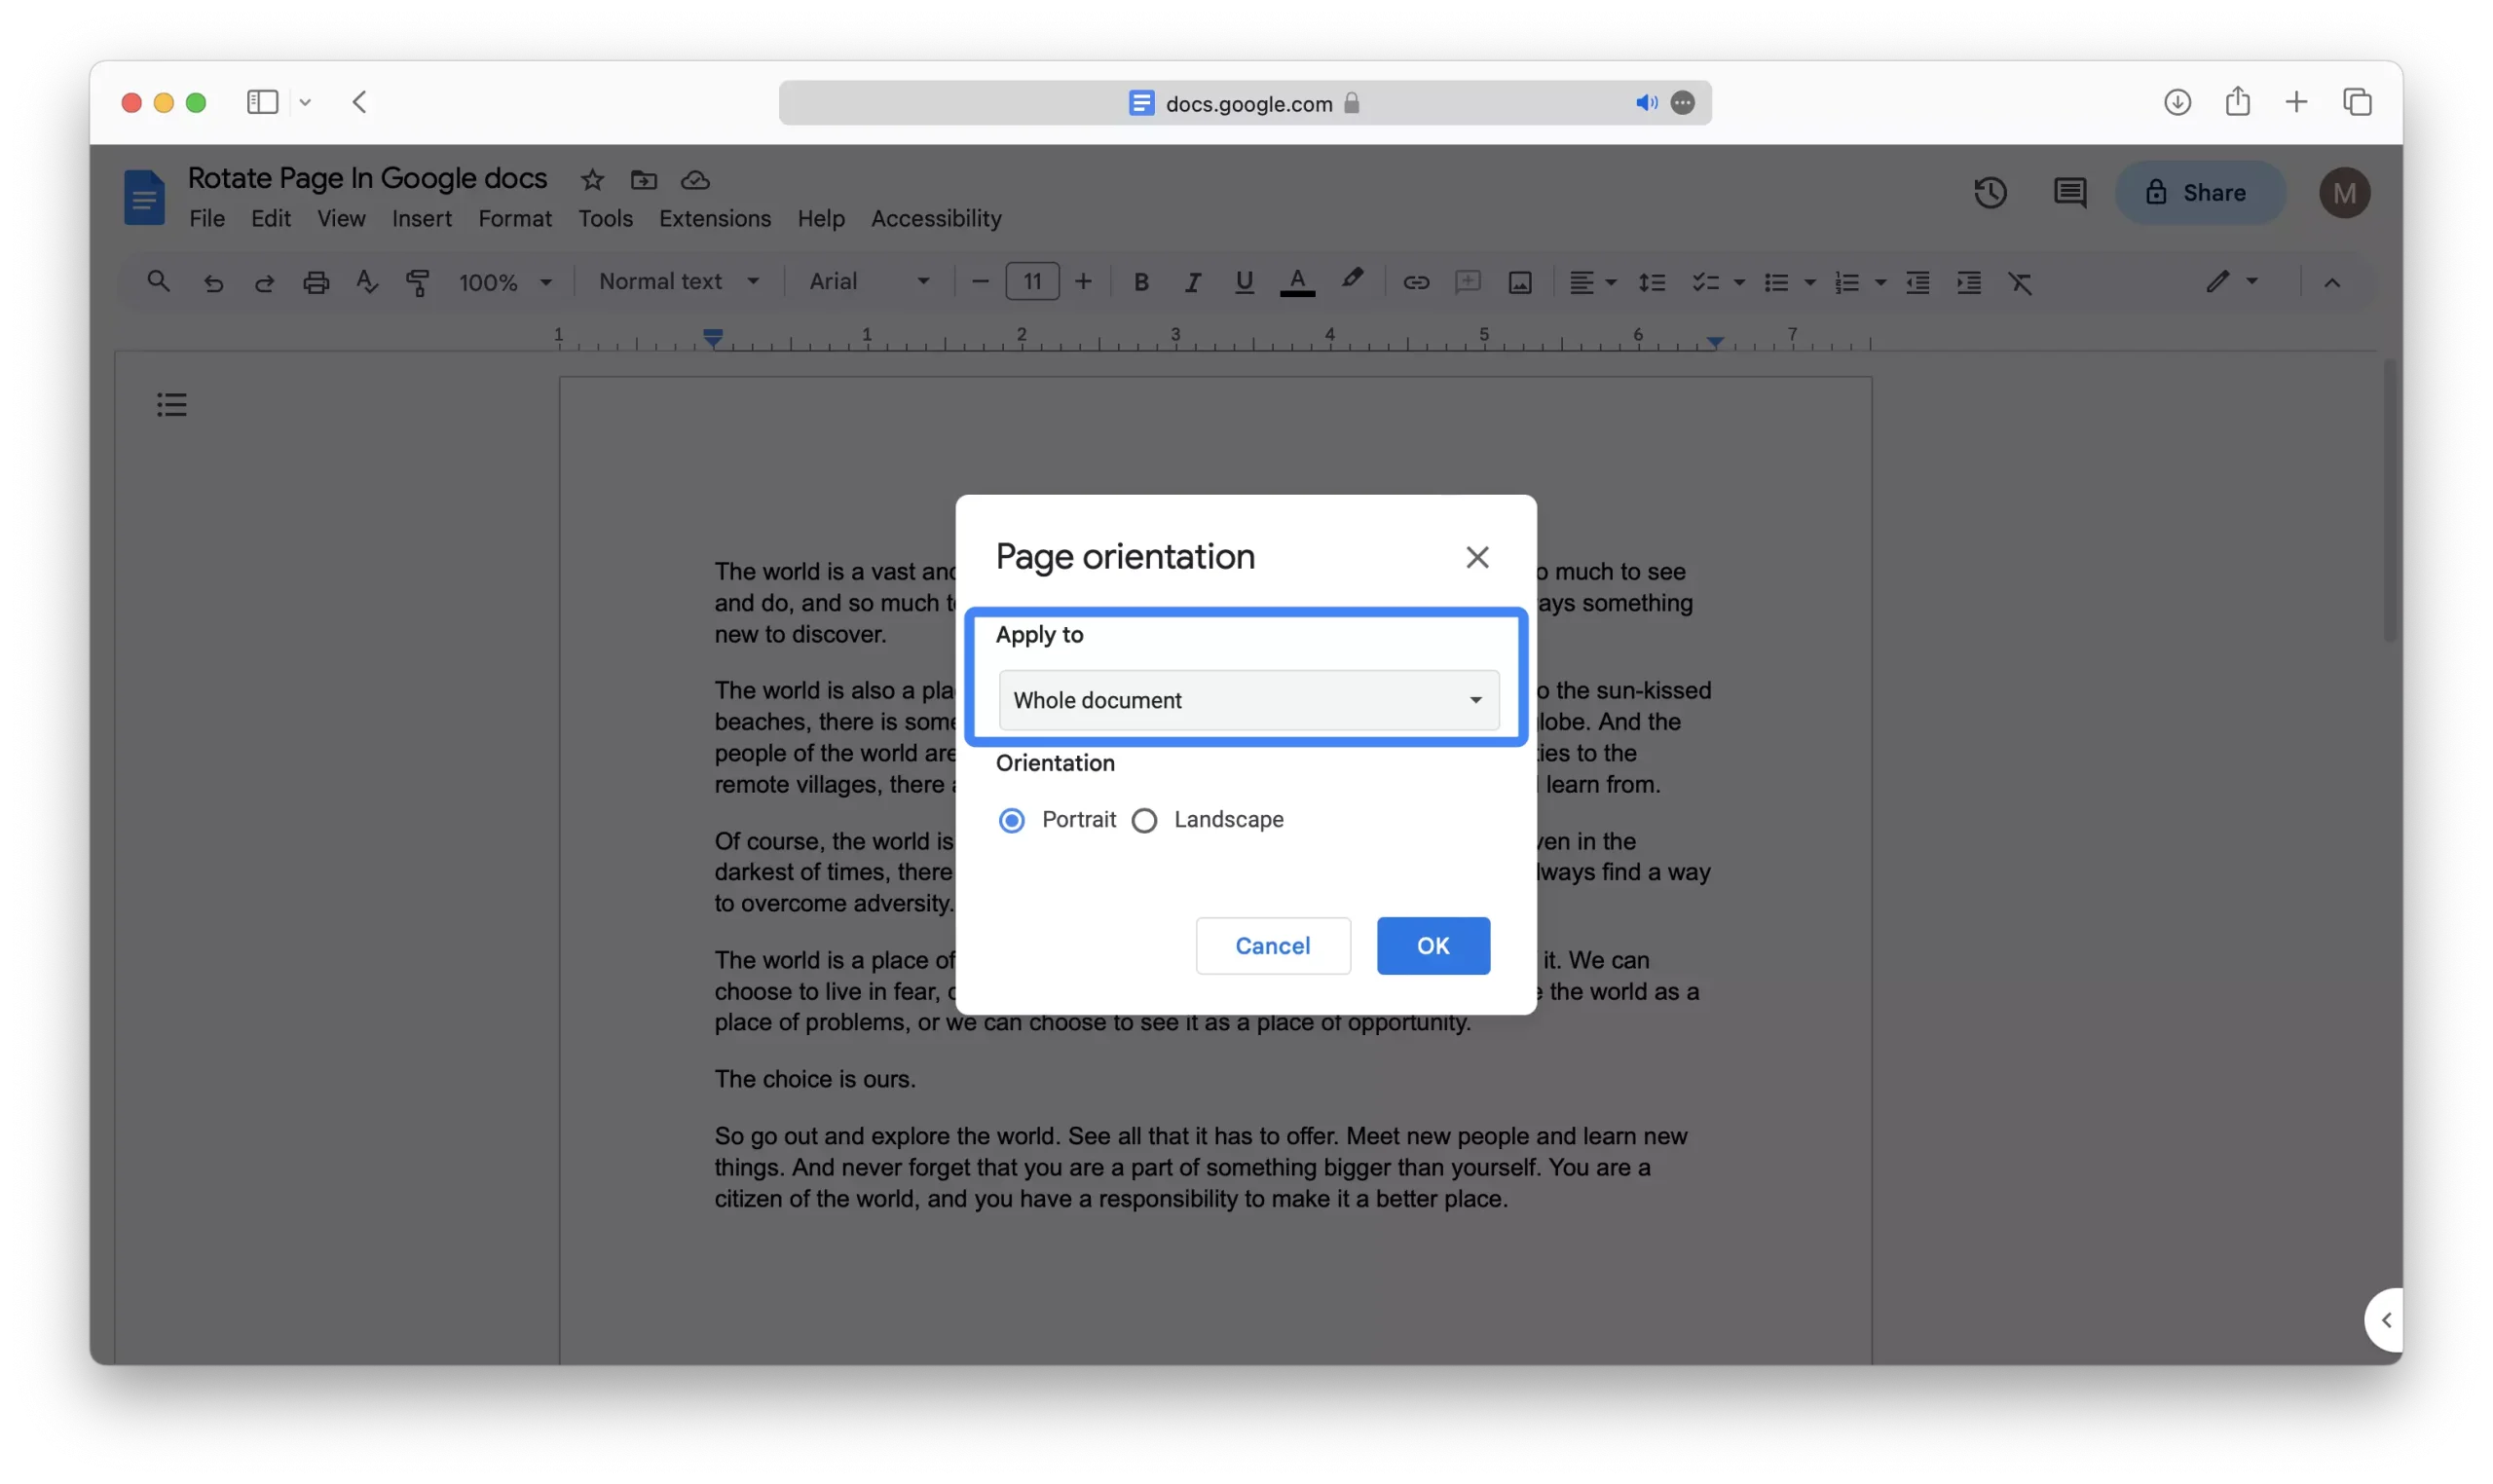
4 – In the “Apply to” dropdown, ensure that it is set to “Whole Document”
5 – In the “Page Orientation” window, select the “Landscape” option.
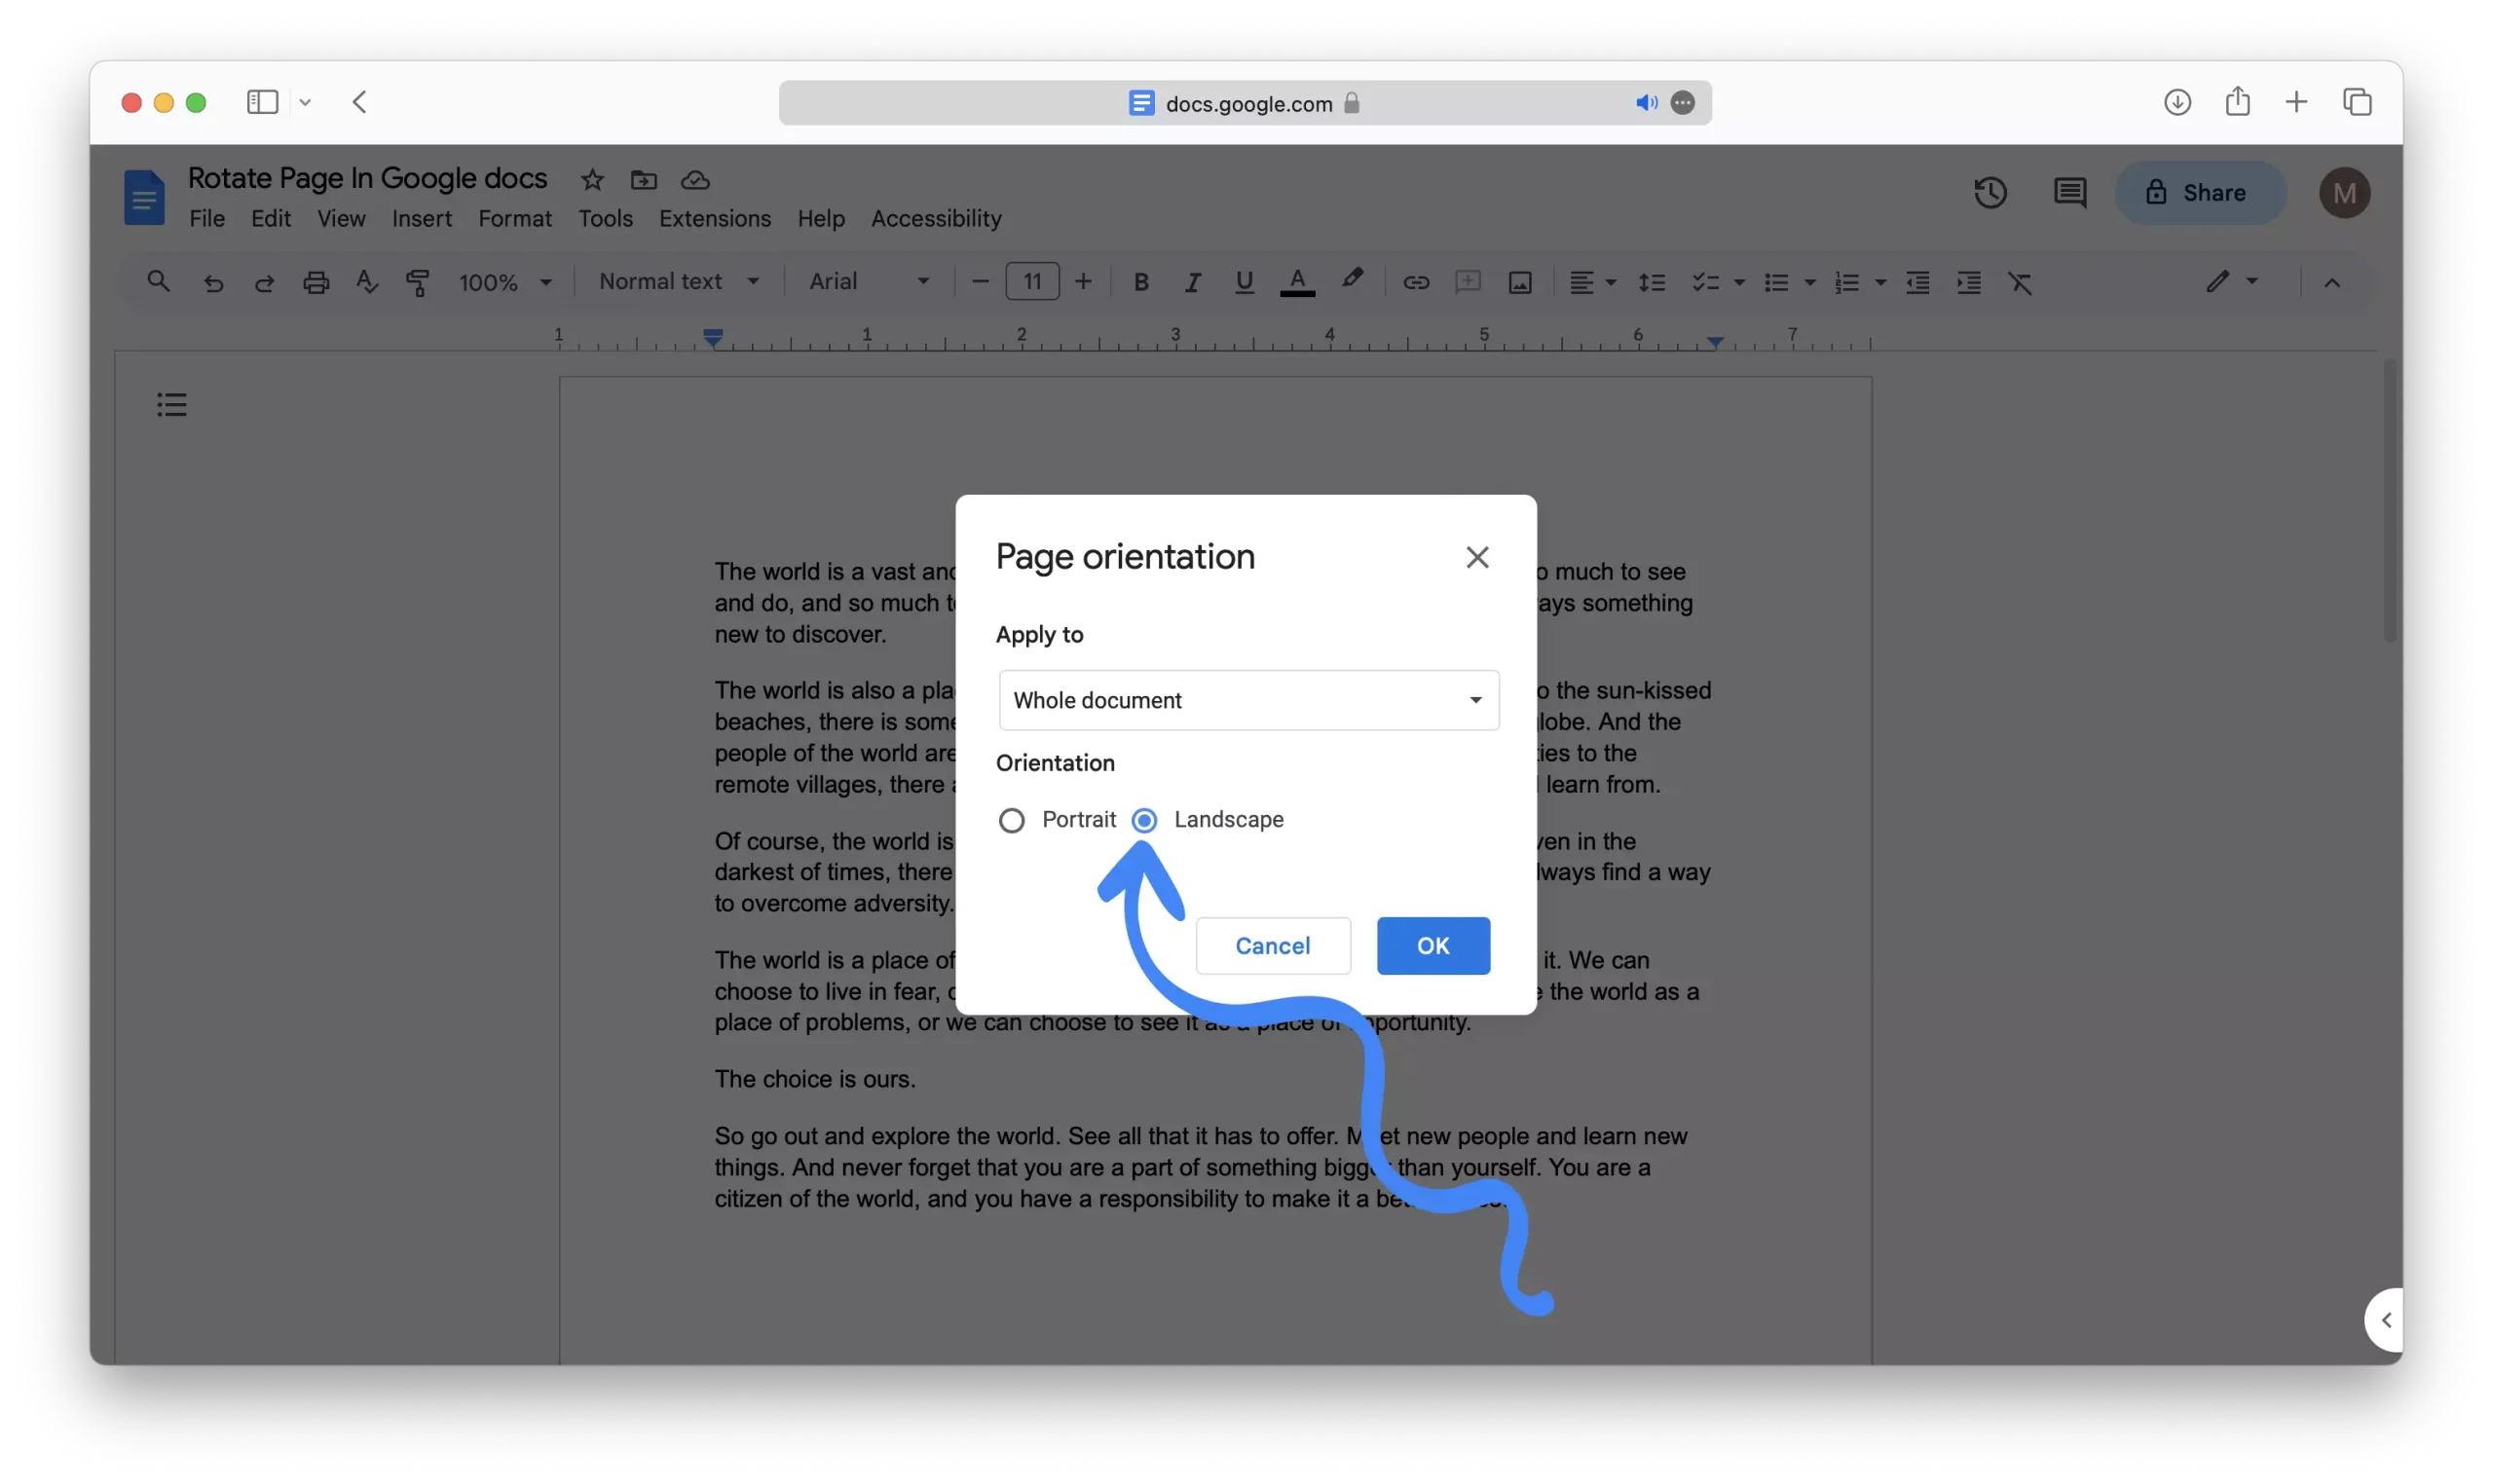
6 – Click “OK” to apply the changes.
How to Rotate Pages After a Specific Section in Google Docs
1 – Start by opening your document in Google Docs
2 – Navigate to the page that you wish to rotate.
3 – Position your cursor either at the beginning of the page that you want to rotate or at the end of the preceding page.

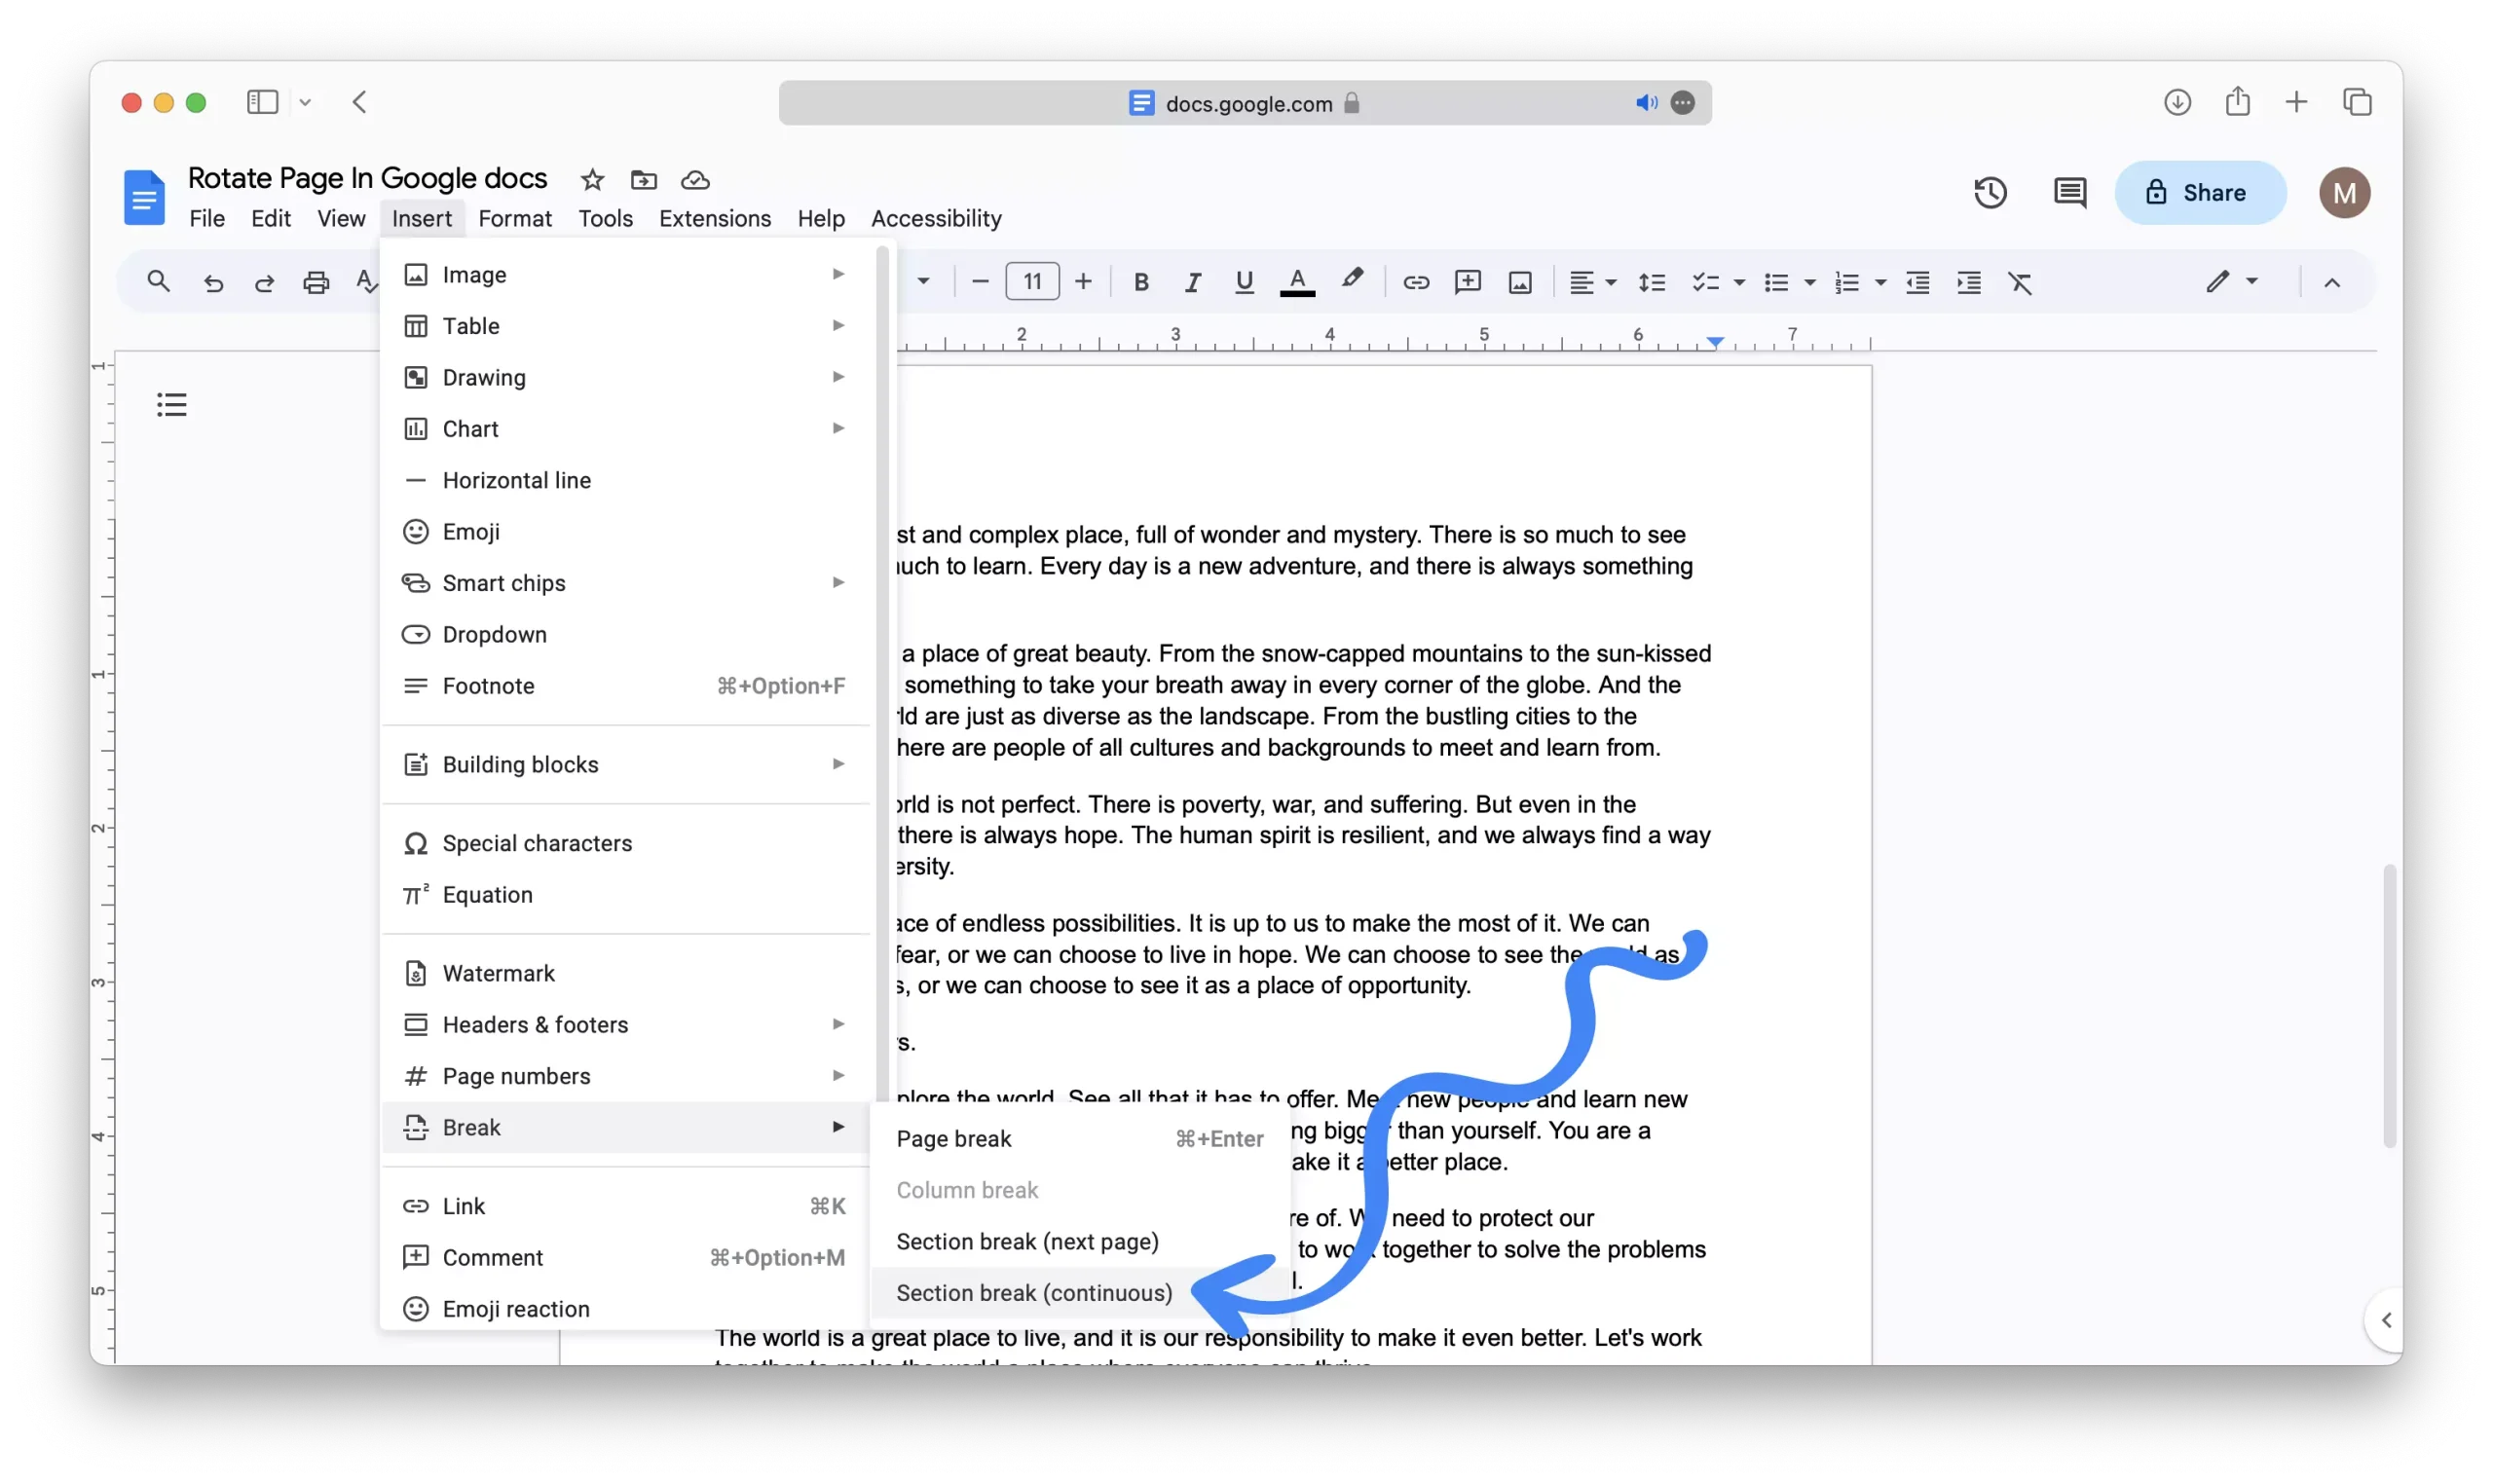
4 – Next, click on “Insert” in the toolbar, hover your cursor over “Break,” and then choose “Section break (continuous).”
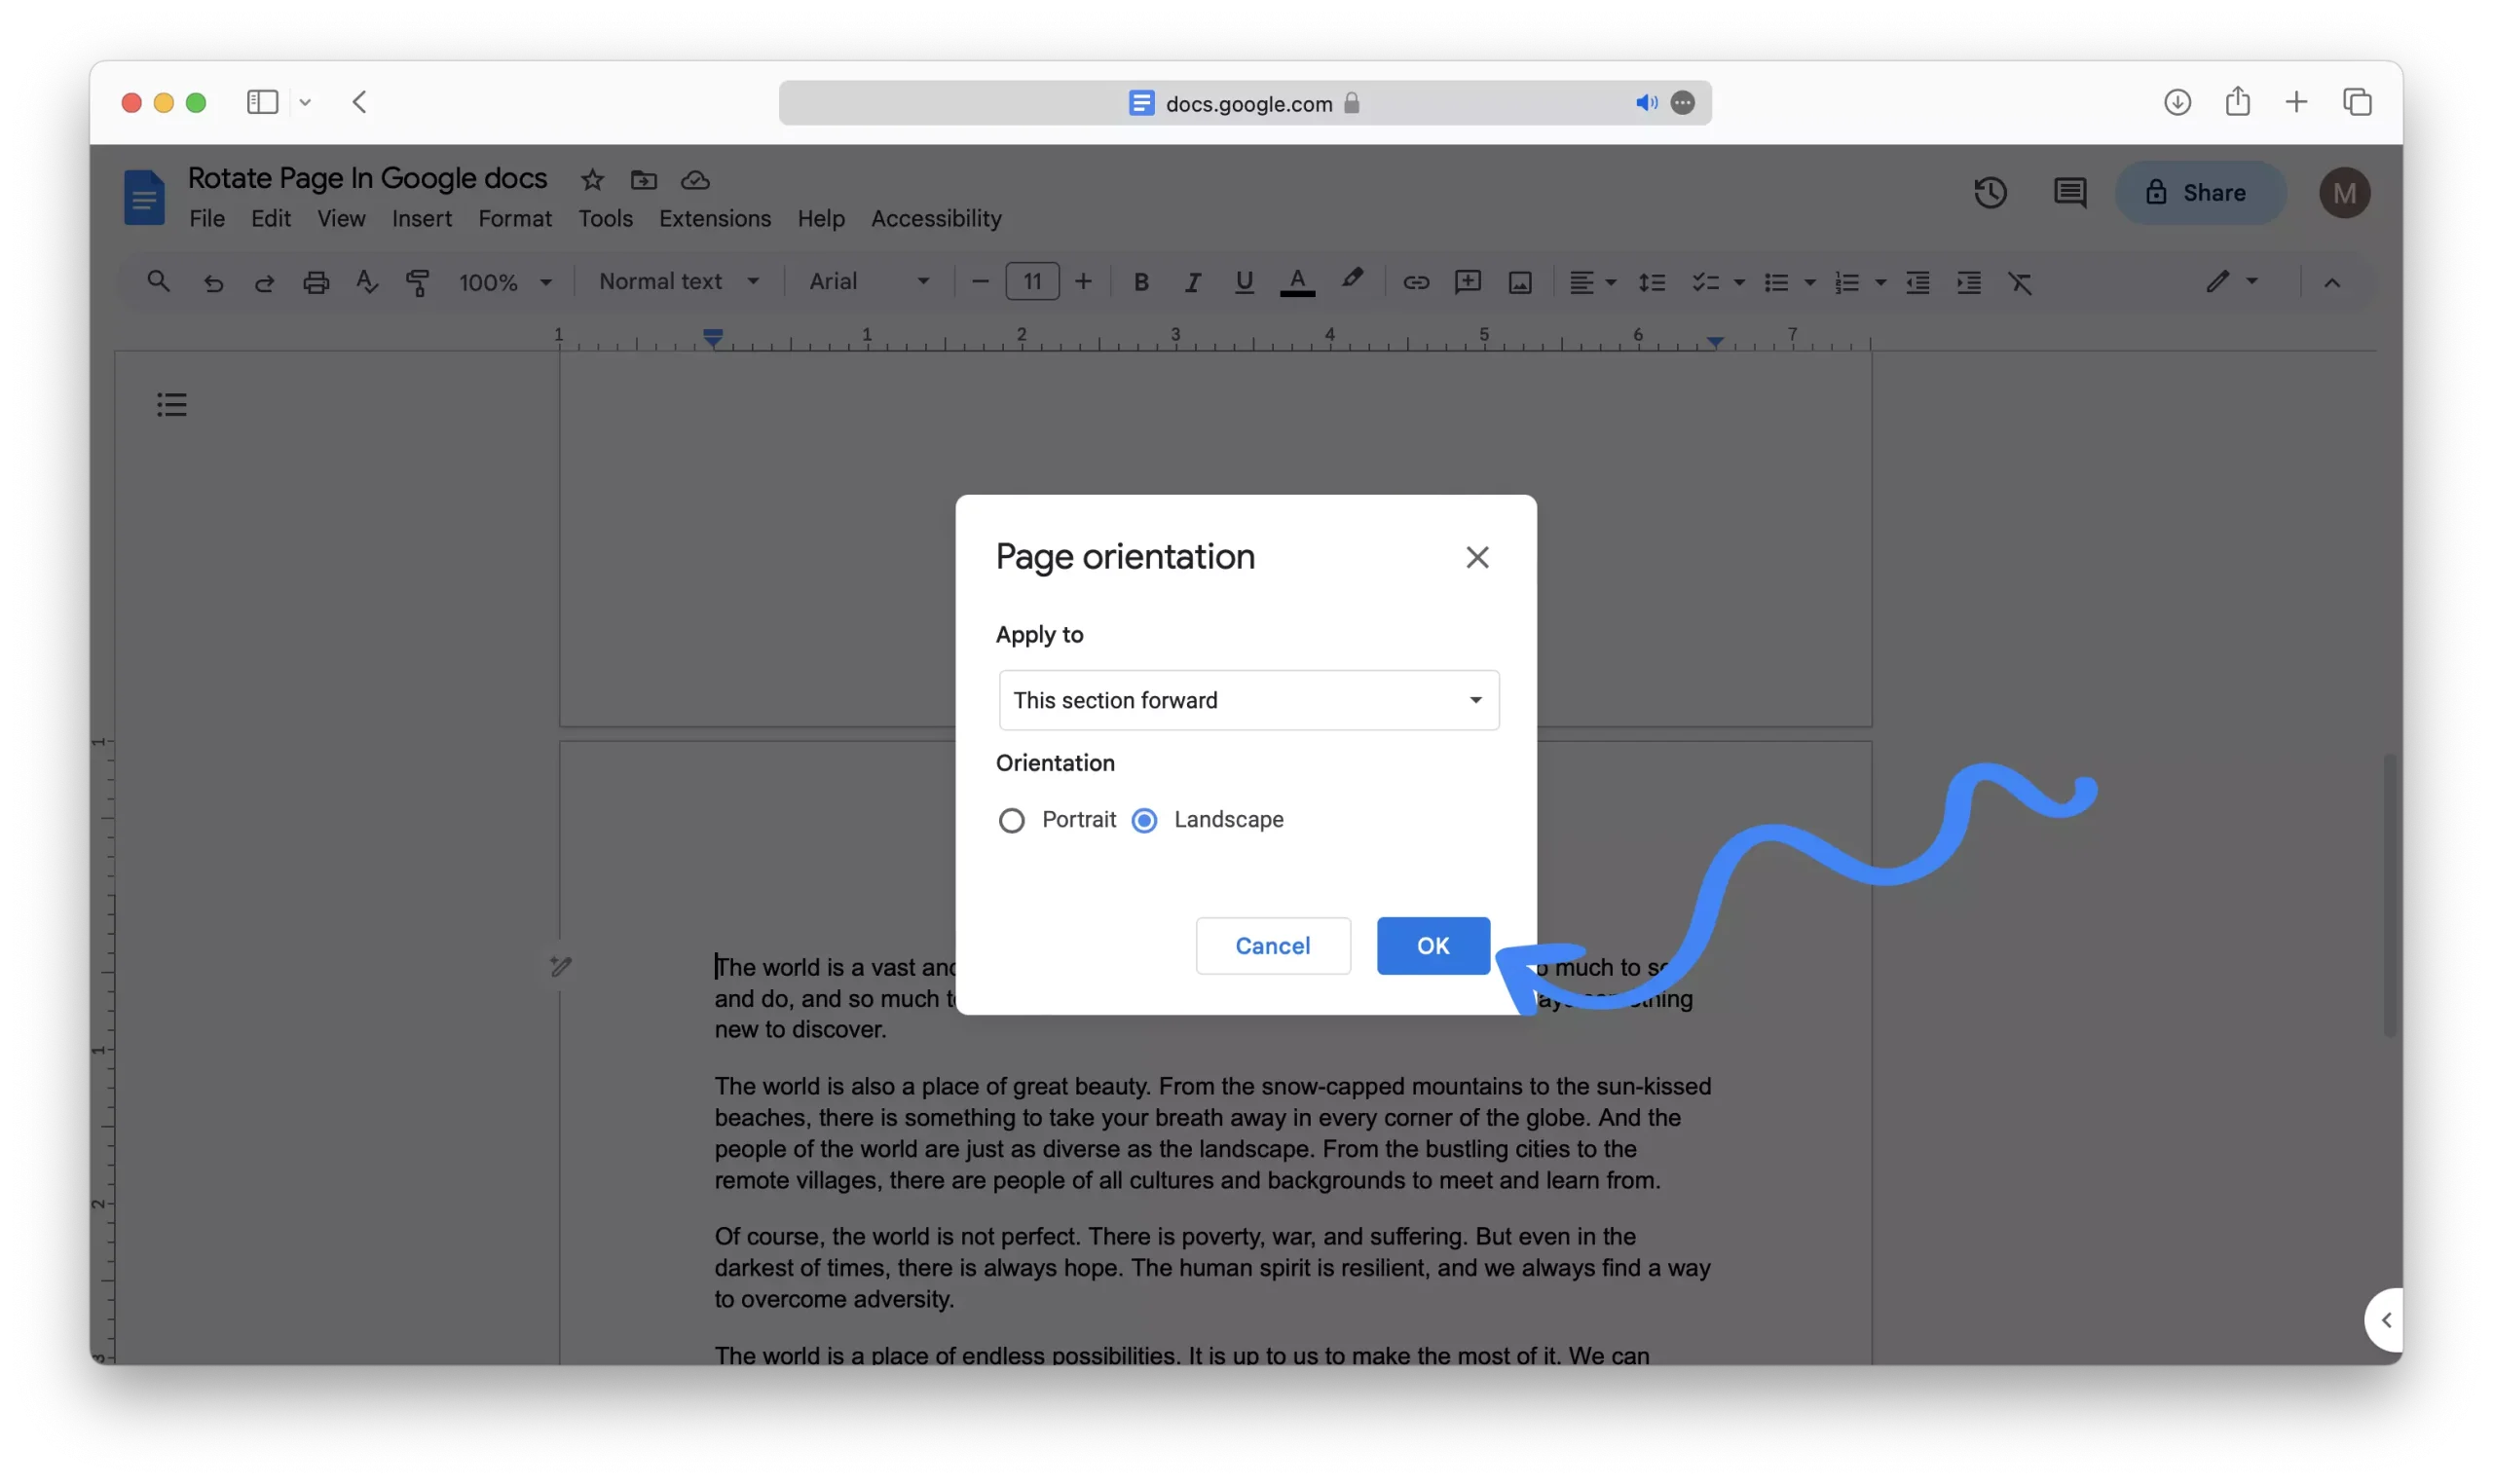
5 – Now, click on “Format” in the toolbar and select “Page orientation” from the dropdown menu.
6 – Beneath “Apply to,” ensure you select “From this section forward” to exclusively apply the landscape orientation to all pages following the section break.

7 – Inside the “Page orientation” dialog box, select “Landscape.”

8 – Click “OK” to save the changes.
What’s Next?
The tutorial provided here is exclusively tailored for rotating pages within Google Docs.
If your objective is to rotate text within Google Docs, we have an alternative tutorial available.
In that tutorial, we demonstrate how you can utilize the ‘Drawing’ tool to create a text box and adjust its orientation to meet your specific requirements.