To Justify text in Google Docs, highlight the text you wish to justify, then click on the “align” icon in the toolbar and select the “justify” option.
Alternatively, you can expedite the process by selecting the text and using the keyboard shortcuts “Ctrl+Shift+J” (Windows) or “CMD+Shift+J” (Mac) for the same effect.

In this article, we’ll walk you through these steps, enabling you to justify your text in Google Docs, resulting in more refined and organized documents.
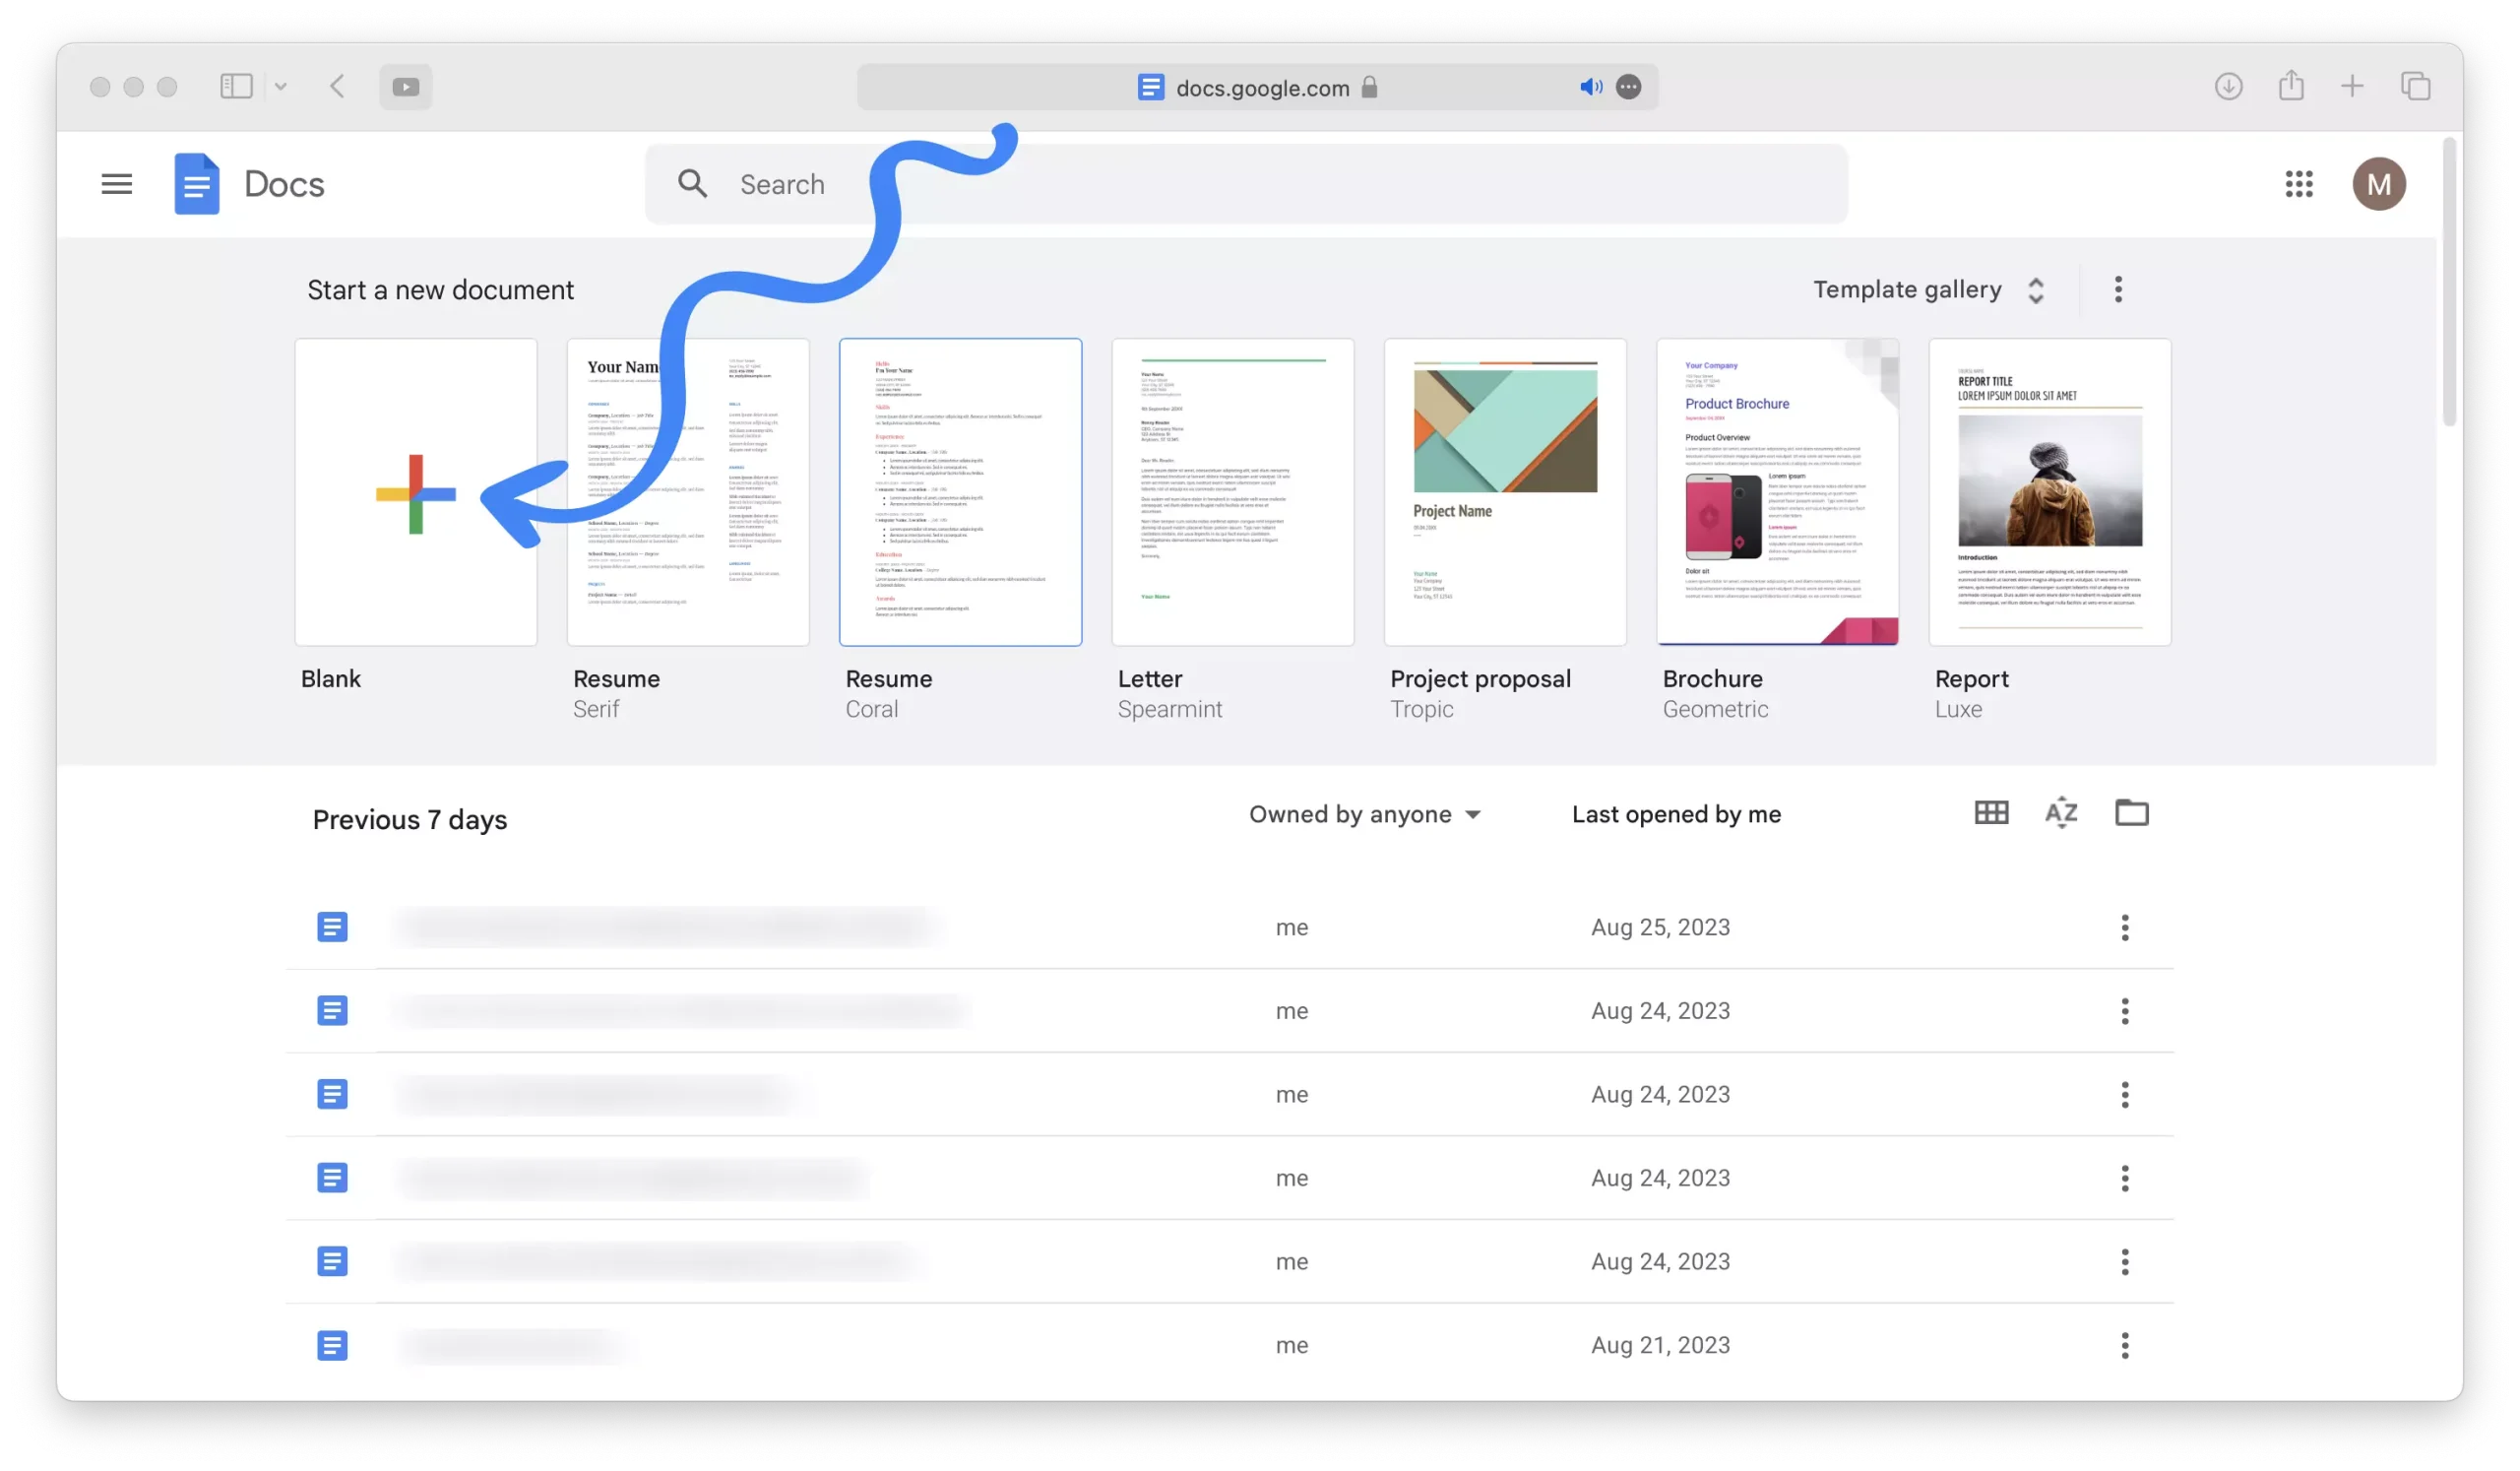
Step 1 – Access Google Docs
Go to Google Docs and either open an existing document or create a new one.
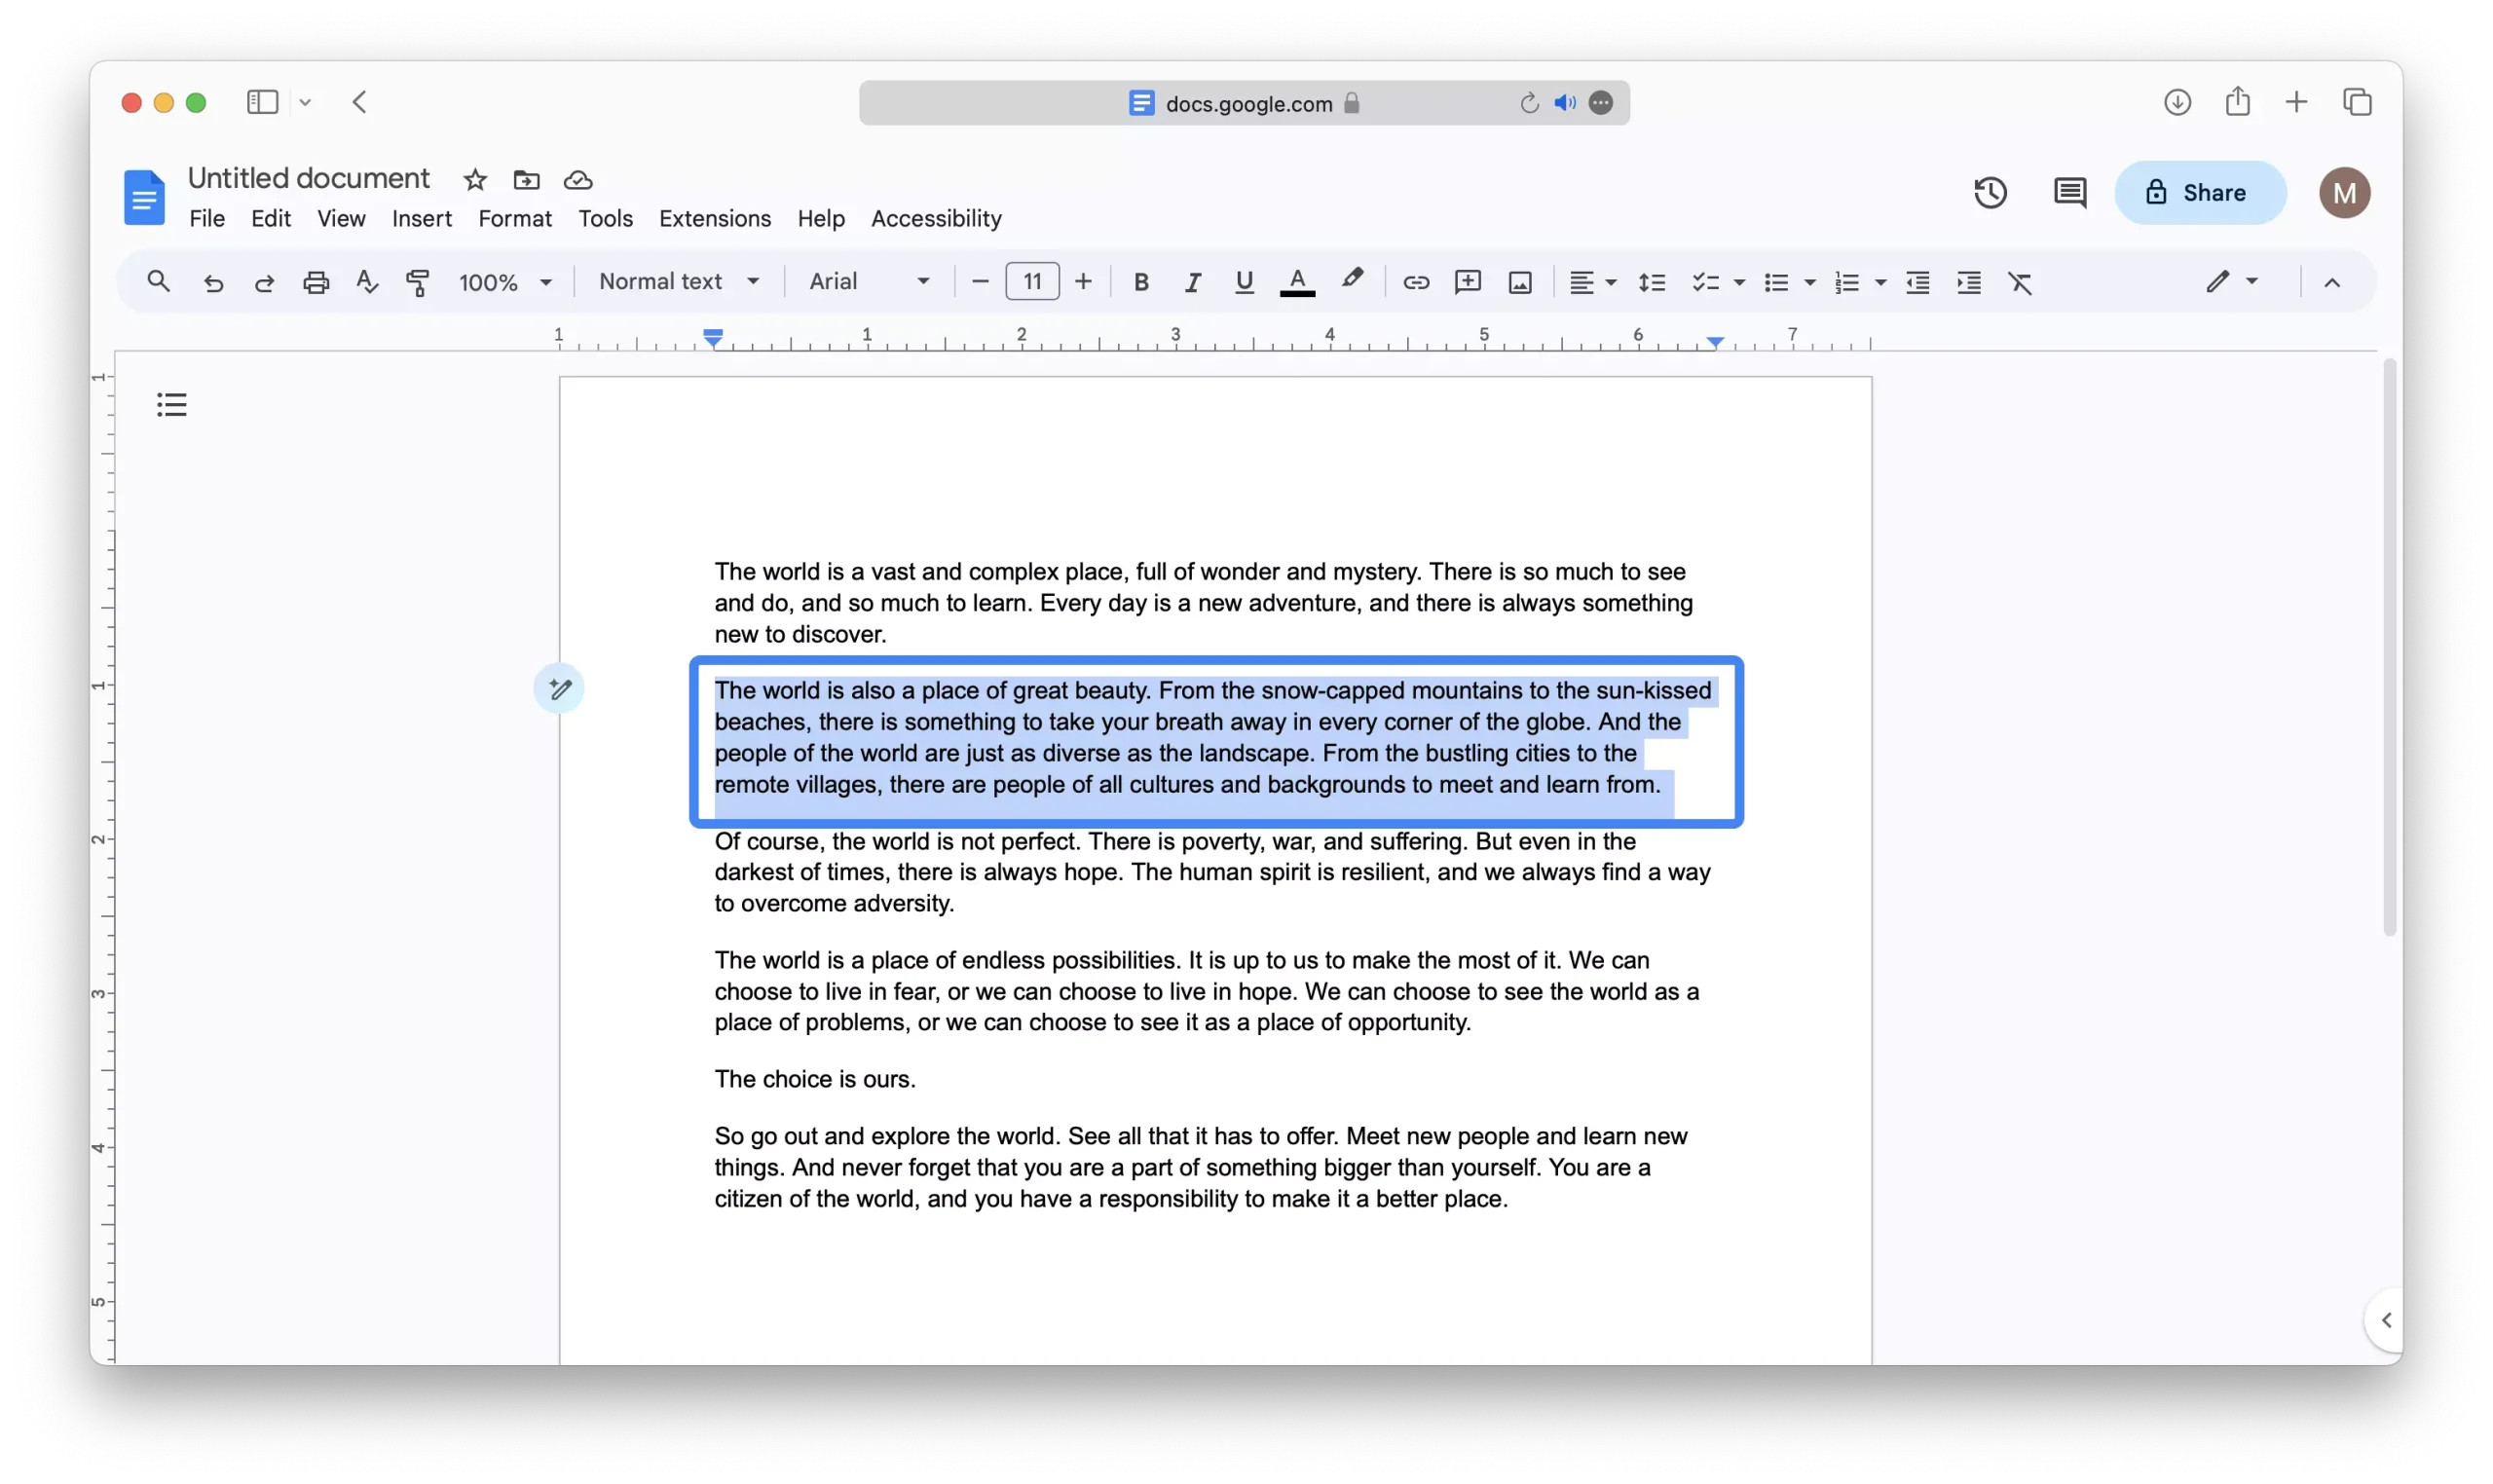
Step 2 – Highlight Your Text
Select the text you wish to justify by clicking and dragging your cursor across it.
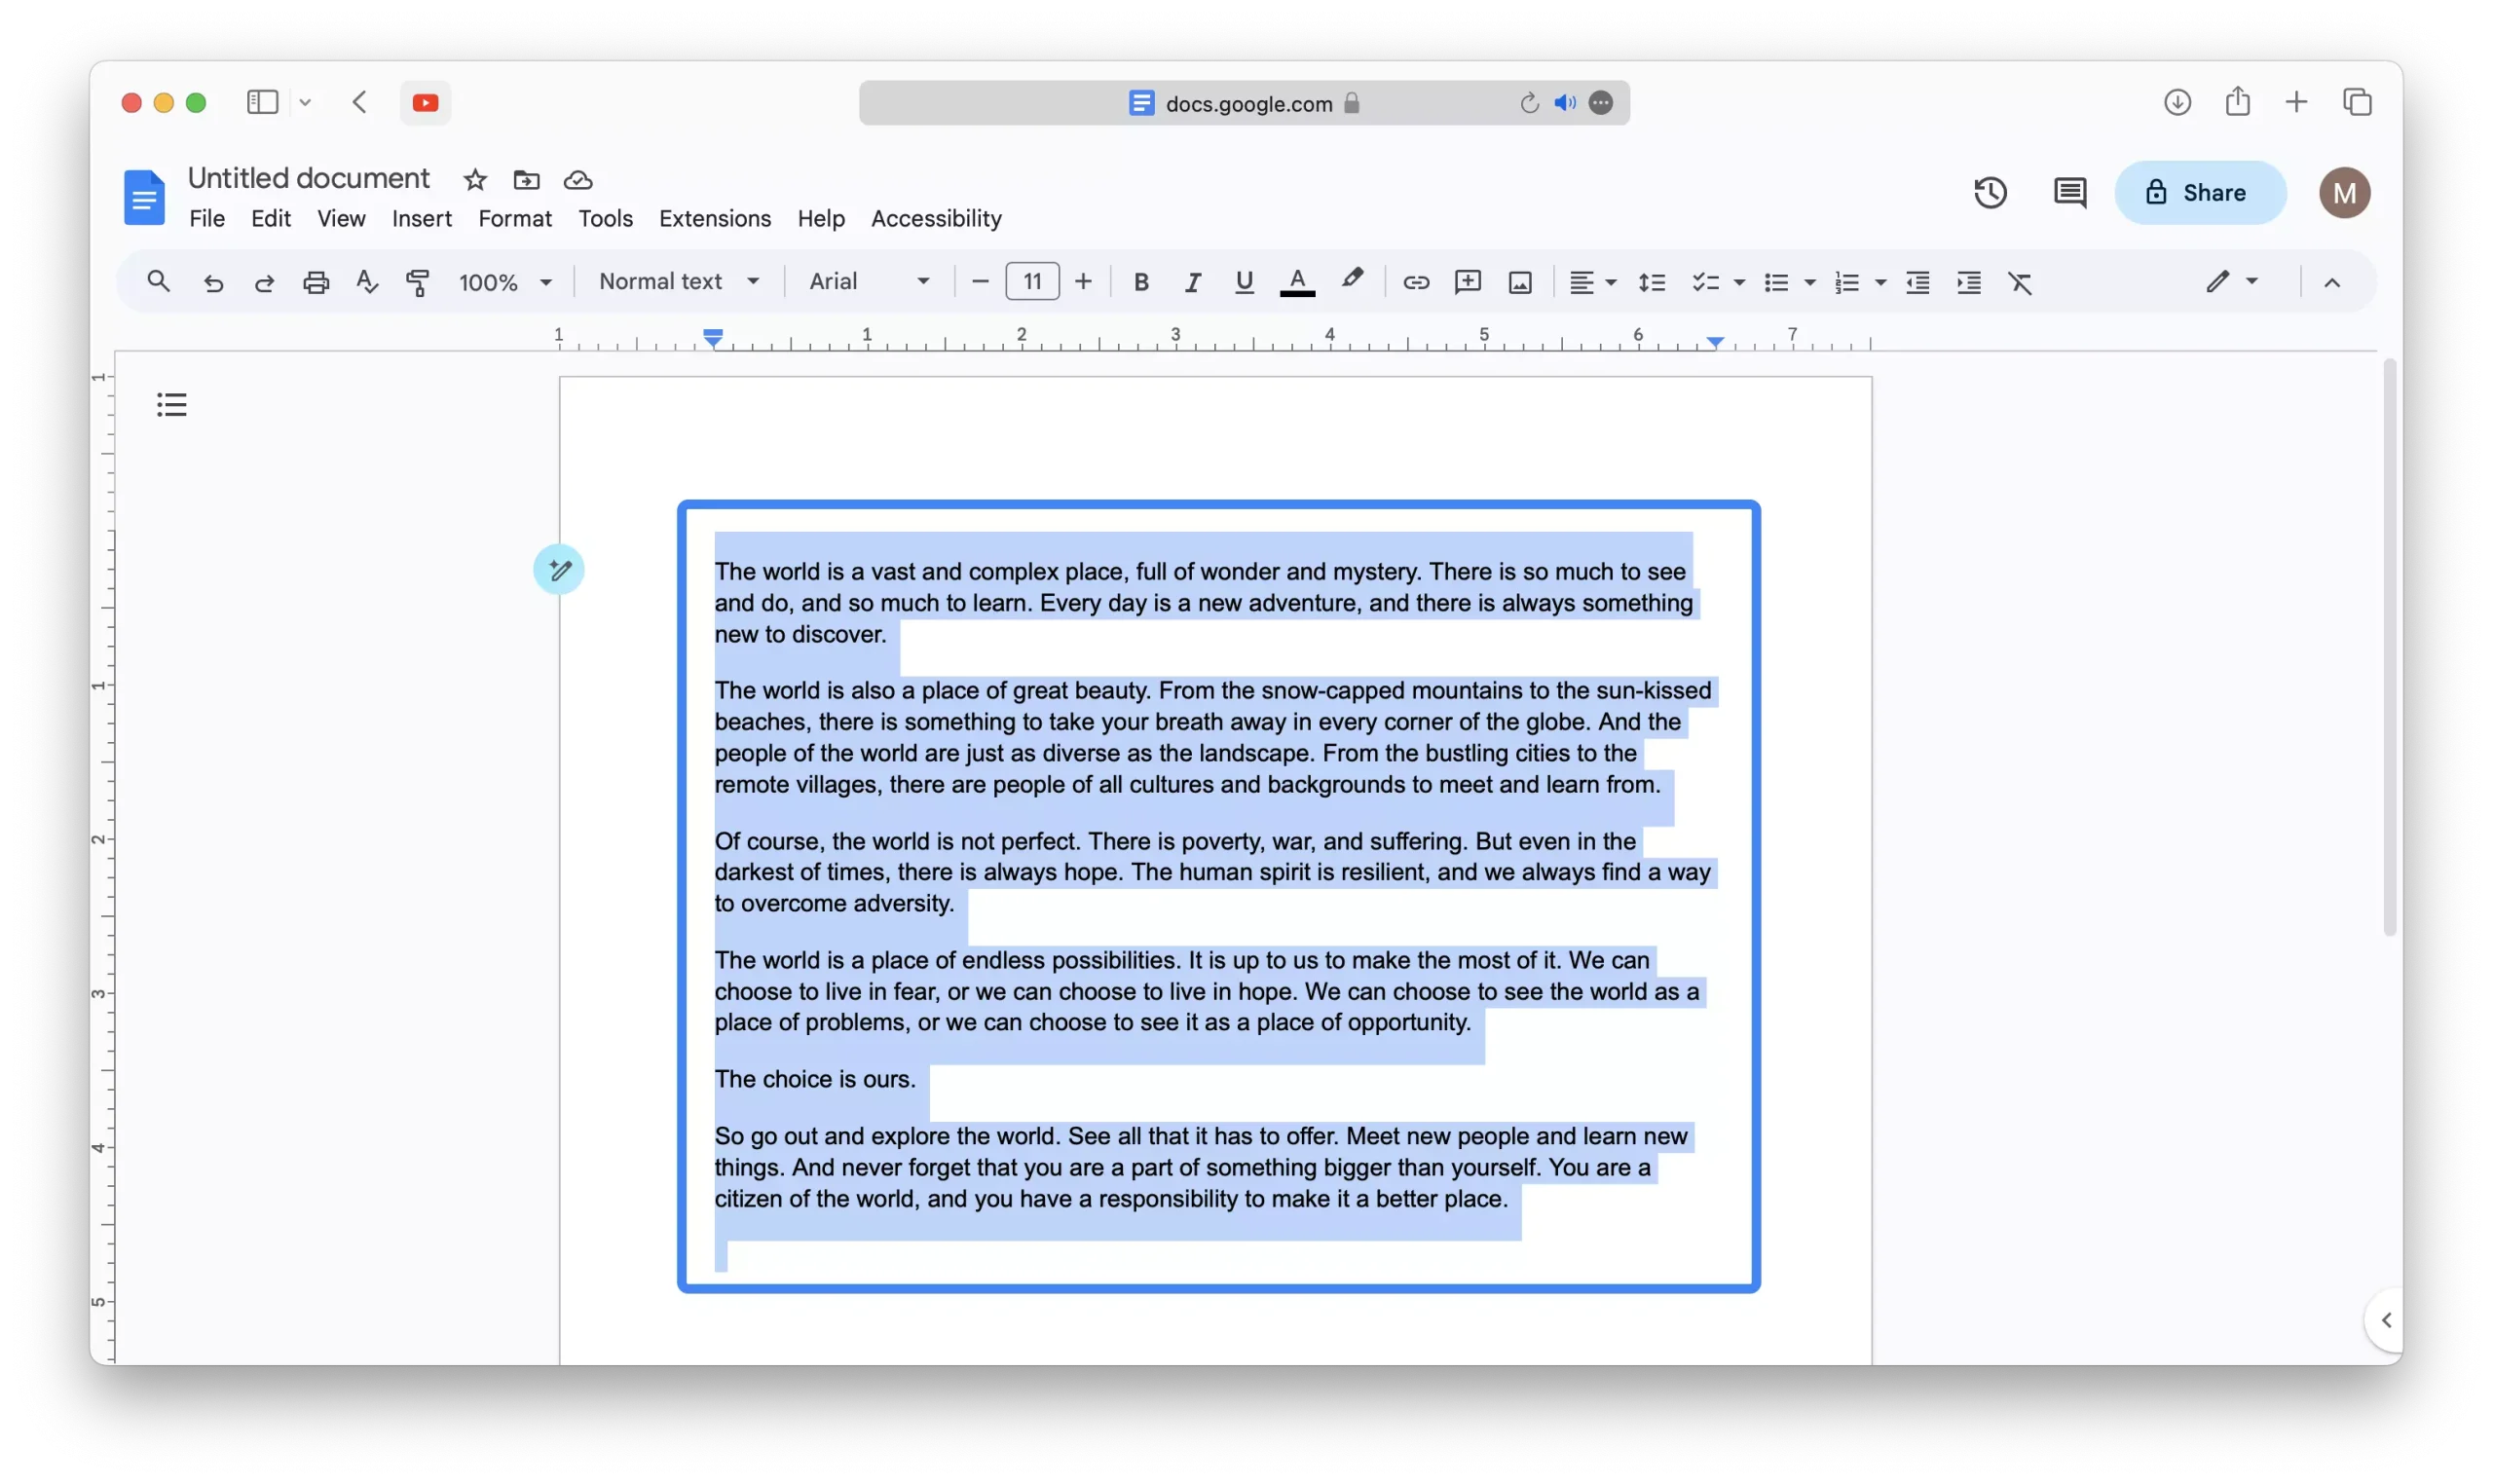
If you wish to justify the entire document then you can use the keyboard shortcut: “Ctrl+A” (Windows) or “Command+A” (Mac) to select the entire document.
Step 3 – Justify Your Text
1 – Begin by locating and clicking on the “Align” button located in the toolbar at the top of your document.
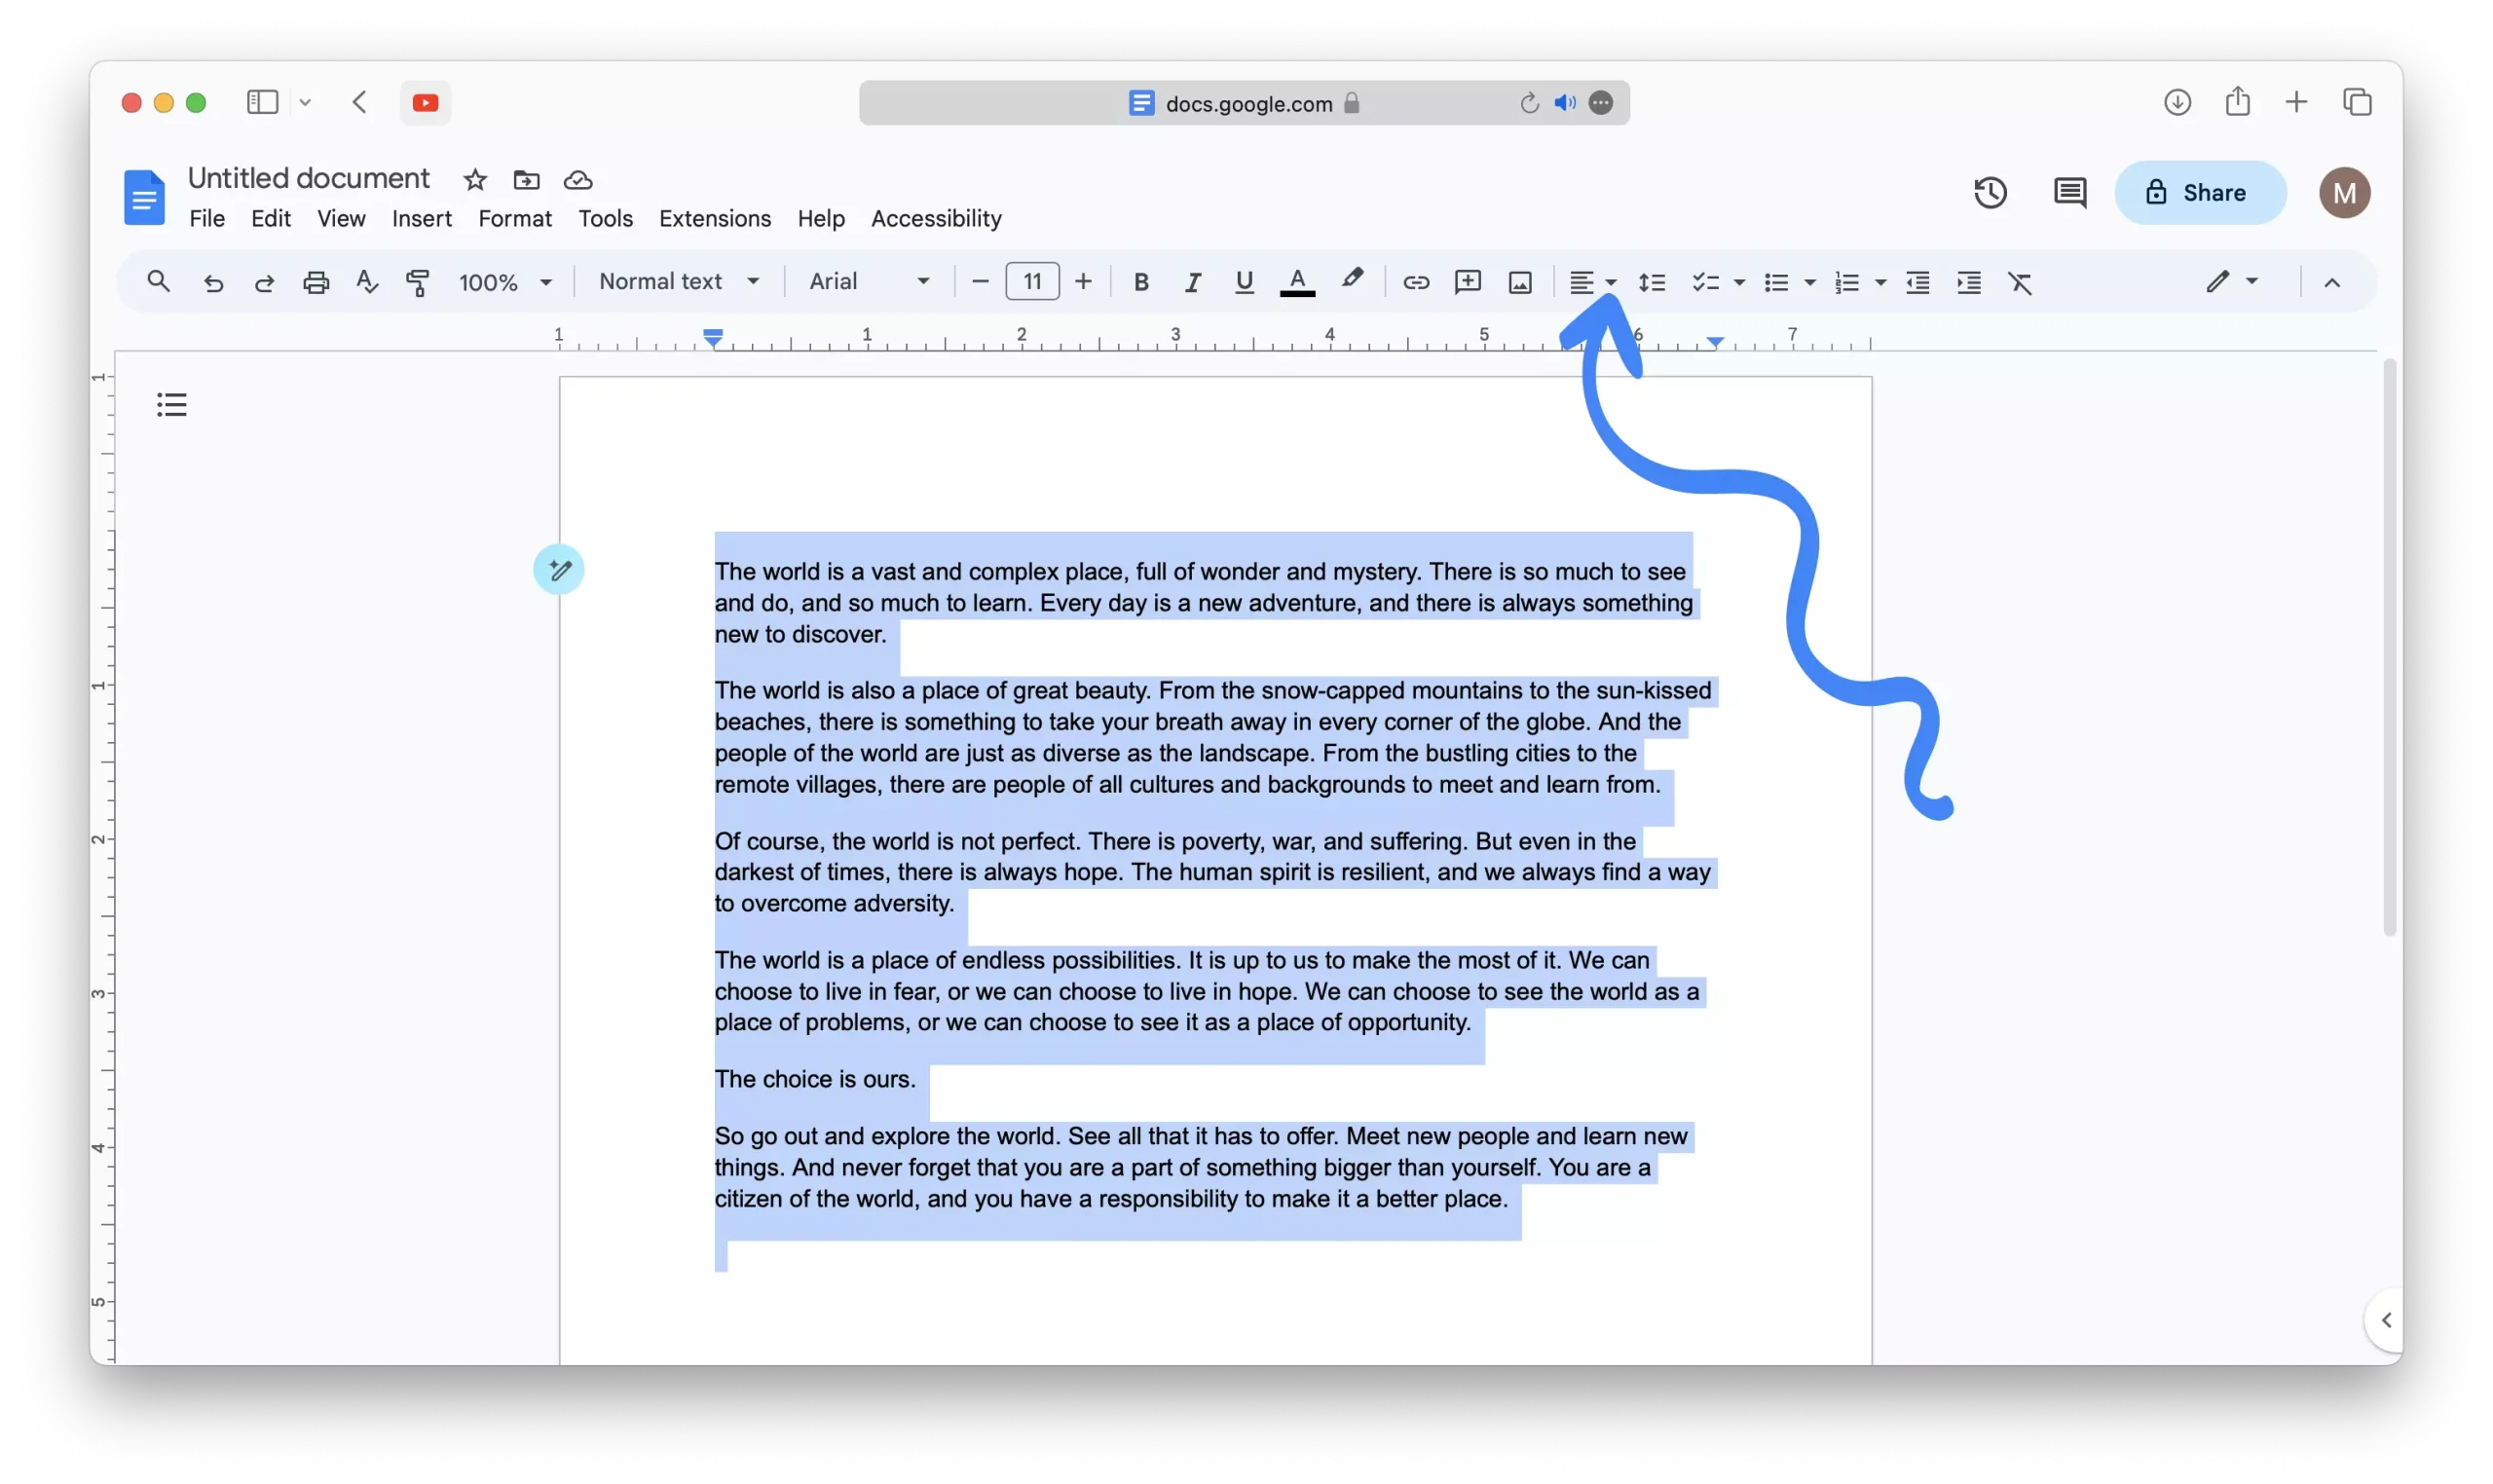
2 – From the dropdown menu of alignment options, choose “Justified.”

Alternatively, you can swiftly achieve the same effect by utilizing a keyboard shortcut: “Ctrl+Shift+J” (Windows) or “Command+Shift+J” (Mac) to justify the text instantly.
A Caution Regarding Text Justification
It’s crucial to be mindful that justifying text may occasionally lead to uneven spacing between words. Therefore, it’s advisable to exercise restraint and employ this formatting option judiciously, reserving it for situations where it’s truly essential.