First of all, it is impossible to upload a theme or install a plugin on WordPress.com without upgrading to the $299 per year WordPress.com business plan. The only way to install themes and plugins without a business plan is to migrate your existing website from WordPress.com to the self-hosted WordPress.org platform.
The process of migrating your website from one WordPress platform to another may sound intimidating, but as you’ll see in this step-by-step guide it is actually quite easy and much cheaper than upgrading to the WordPress.com business plan.
At the end of this guide, you will be able to install any theme or plugin that you like, and since this is a full website migration you won’t lose any of the data from your existing WordPress.com website.

What You Would Need
- Your website data from WordPress.com
- A custom domain name if you don’t have one already
- A Hosting plan
How To Export Content From WordPress.com
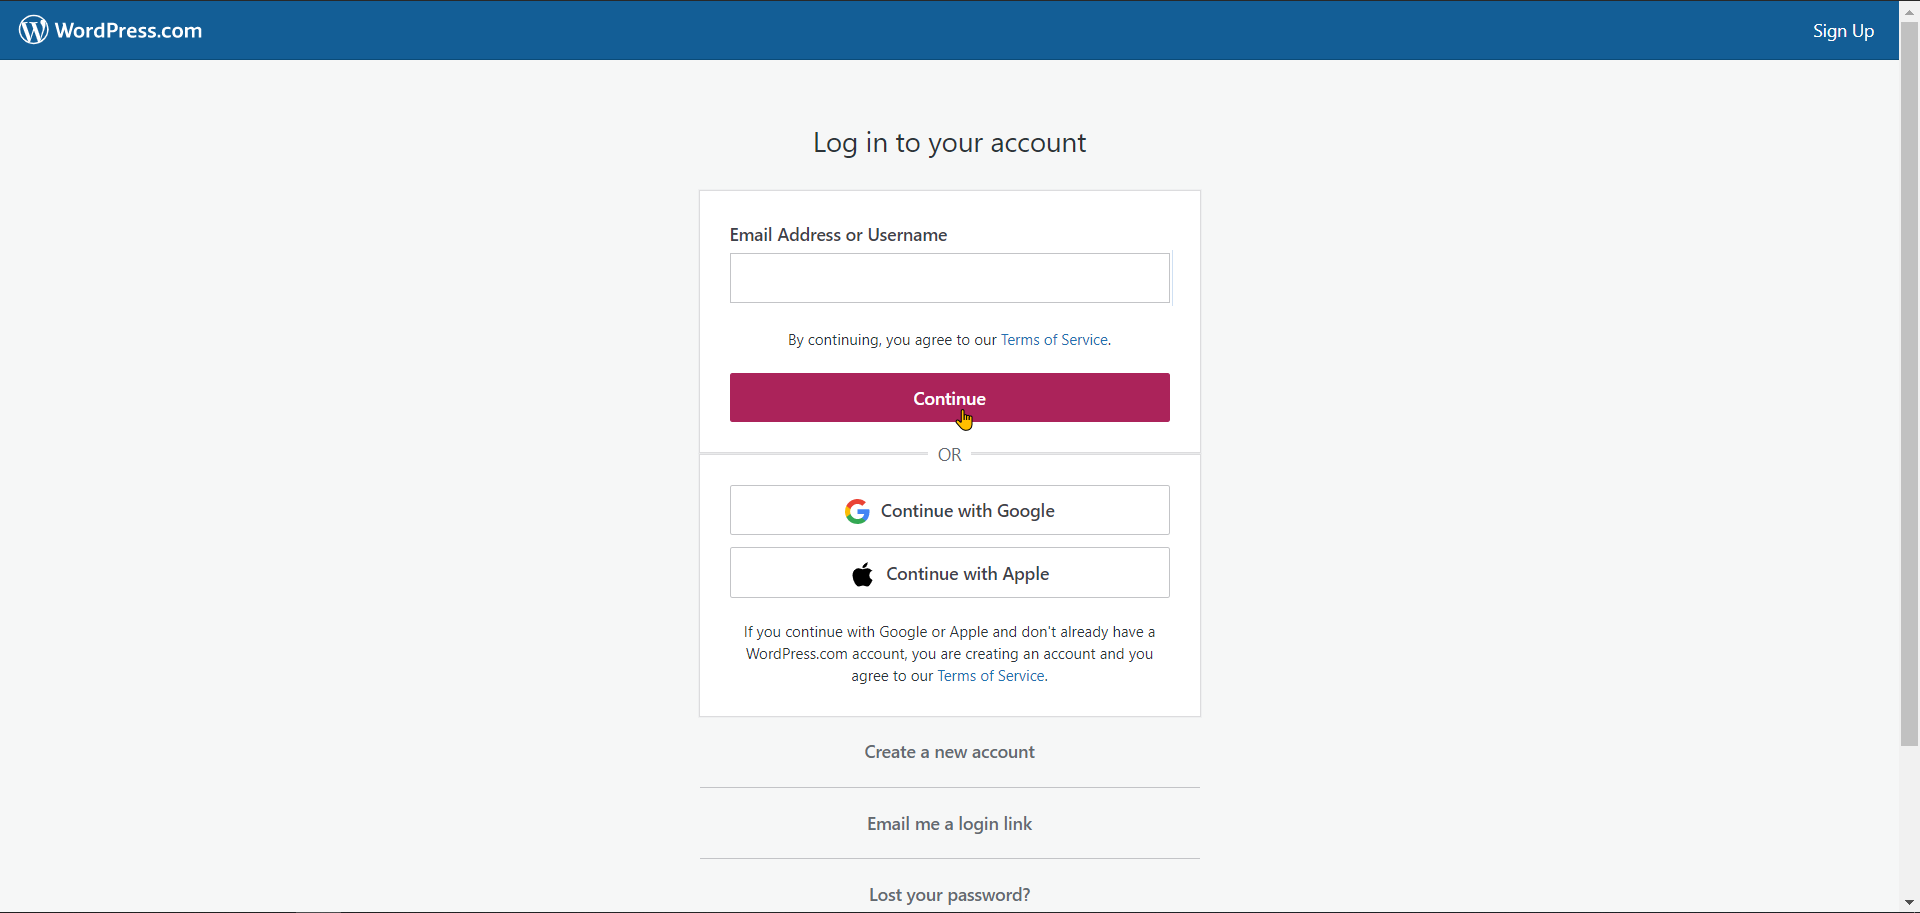
Start by heading over to WordPress.com and log into your admin dashboard.
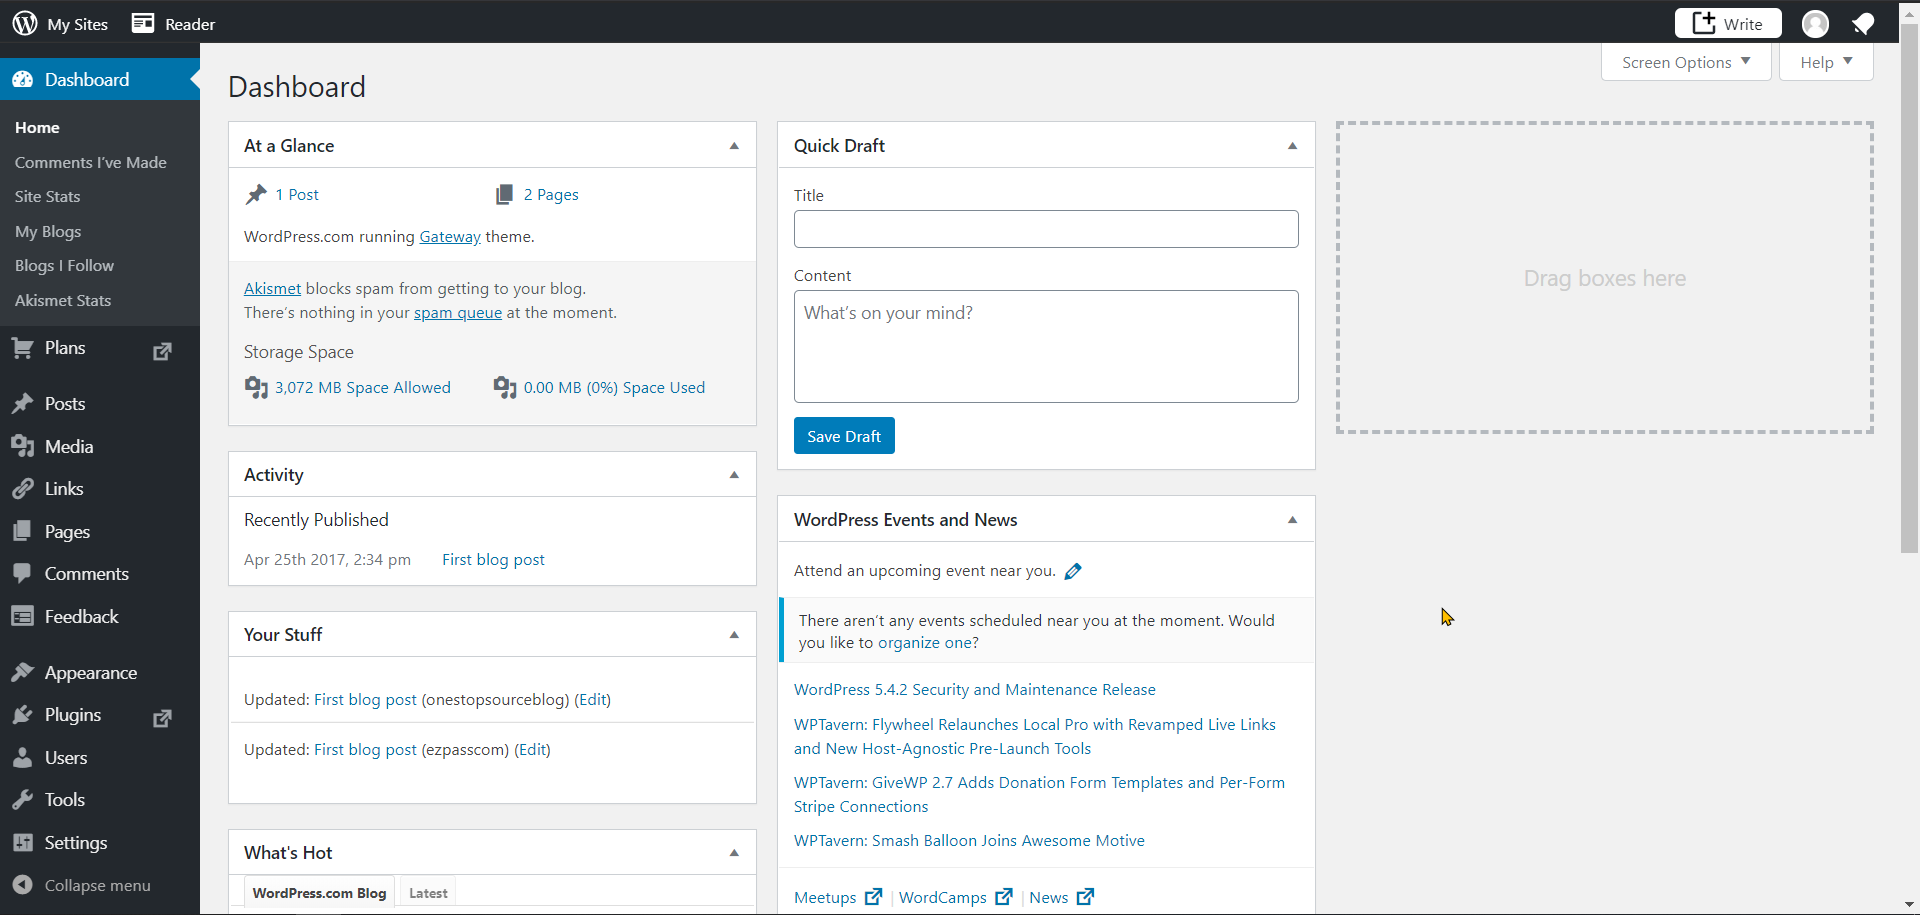
Navigate to the “My Site” tab and locate the menu item “WP Admin” which is located in the menu on the left.

This would bring you to your WordPress dashboard.
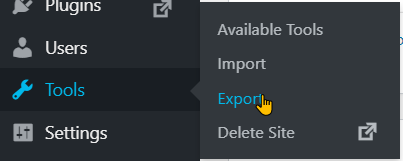
From here in the menu to the left hover over the menu item “Tools” and then click on “export” from the slide-out menu that appears.
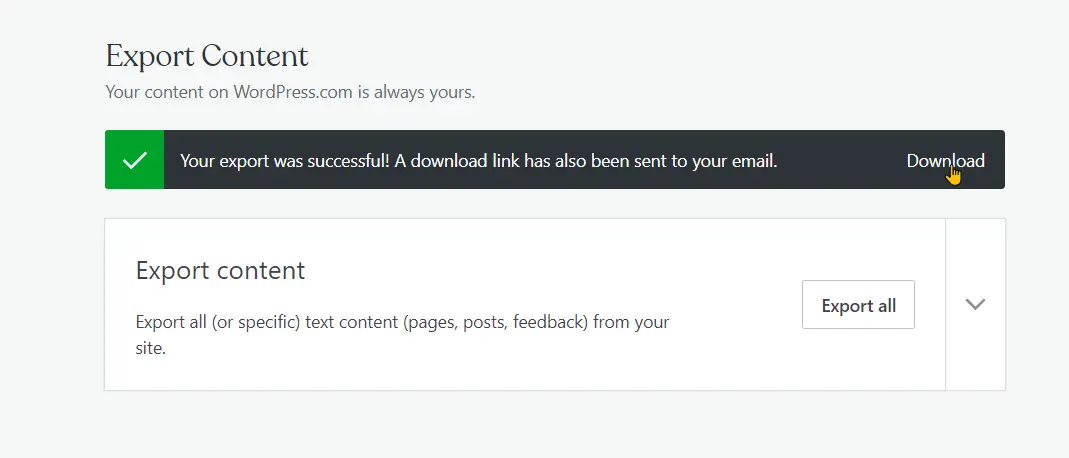
On the following screen, click on “export all”
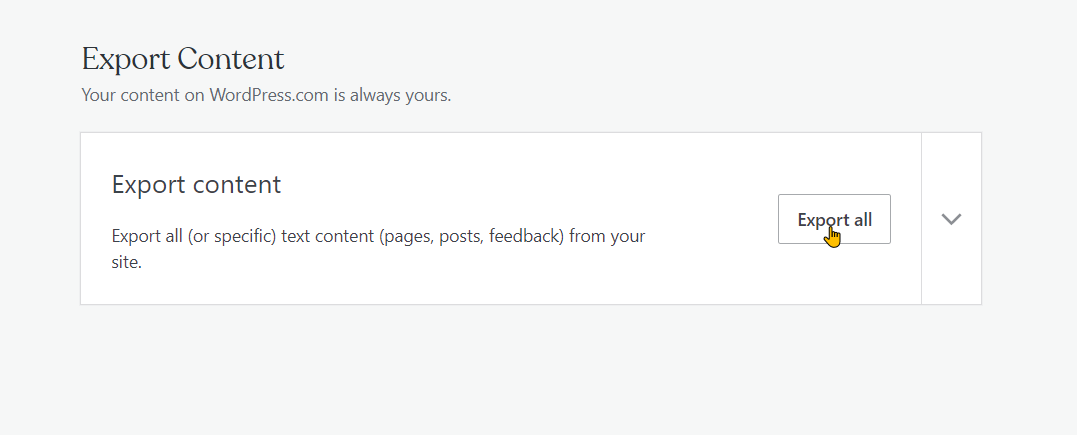
When the export is completed a banner will appear with a download link to your exported content, click on “Download”. WordPress.com will also send a download link to your email address.
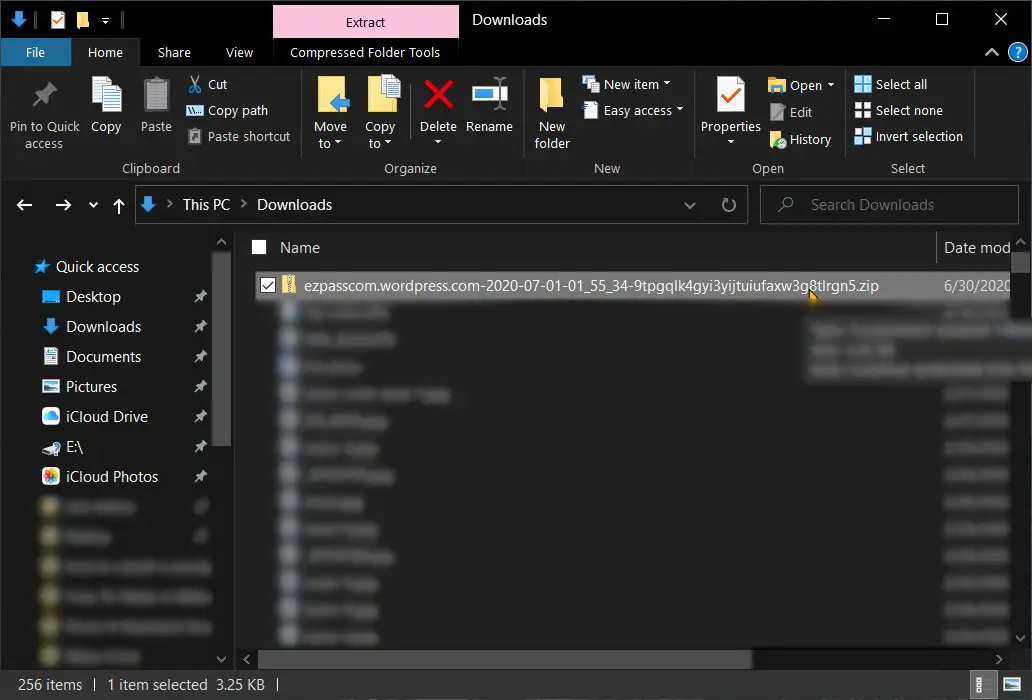
This will download a compressed .zip file that contains a custom XML file that contains all of your website data from WordPress.com.
Congratulation you’ve just exported and downloaded your website data. Now its time to get a hosting plan and a unique domain name.
How To Host A WordPress.org Website
WordPress.com provides an all-in-one solution where they provide hosting and a domain name so all you have to worry about is creating the content for your website.
WordPress.org is a bit different, it is a self-hosted platform which means you’ll need to host your own website. To host your website you will need to purchase a hosting plan from a reputable web hosting provider.
My website (the one you are currently reading this article on) uses Siteground’s managed WordPress hosting, and I couldn’t be happier with their service.
The best part? Their plans start at just $2.99 per month, which is incredibly affordable.
I continue to use and recommend SiteGround because of their commitment to speed, security, and customer support.
My website loads quickly, and I feel confident knowing that SiteGround’s top-notch security features are keeping my site safe from threats. Plus, whenever I have an issue, their team of experts is always available to help me out.
I highly recommend SiteGround to anyone transitioning from WordPress.com to a self-hosted WordPress website.
When you’re ready to purchase your hosting plan, follow this link to the SiteGround managed WordPress hosting page. Here you’ll be greeted with a welcome screen with a choice of three hosting plans.
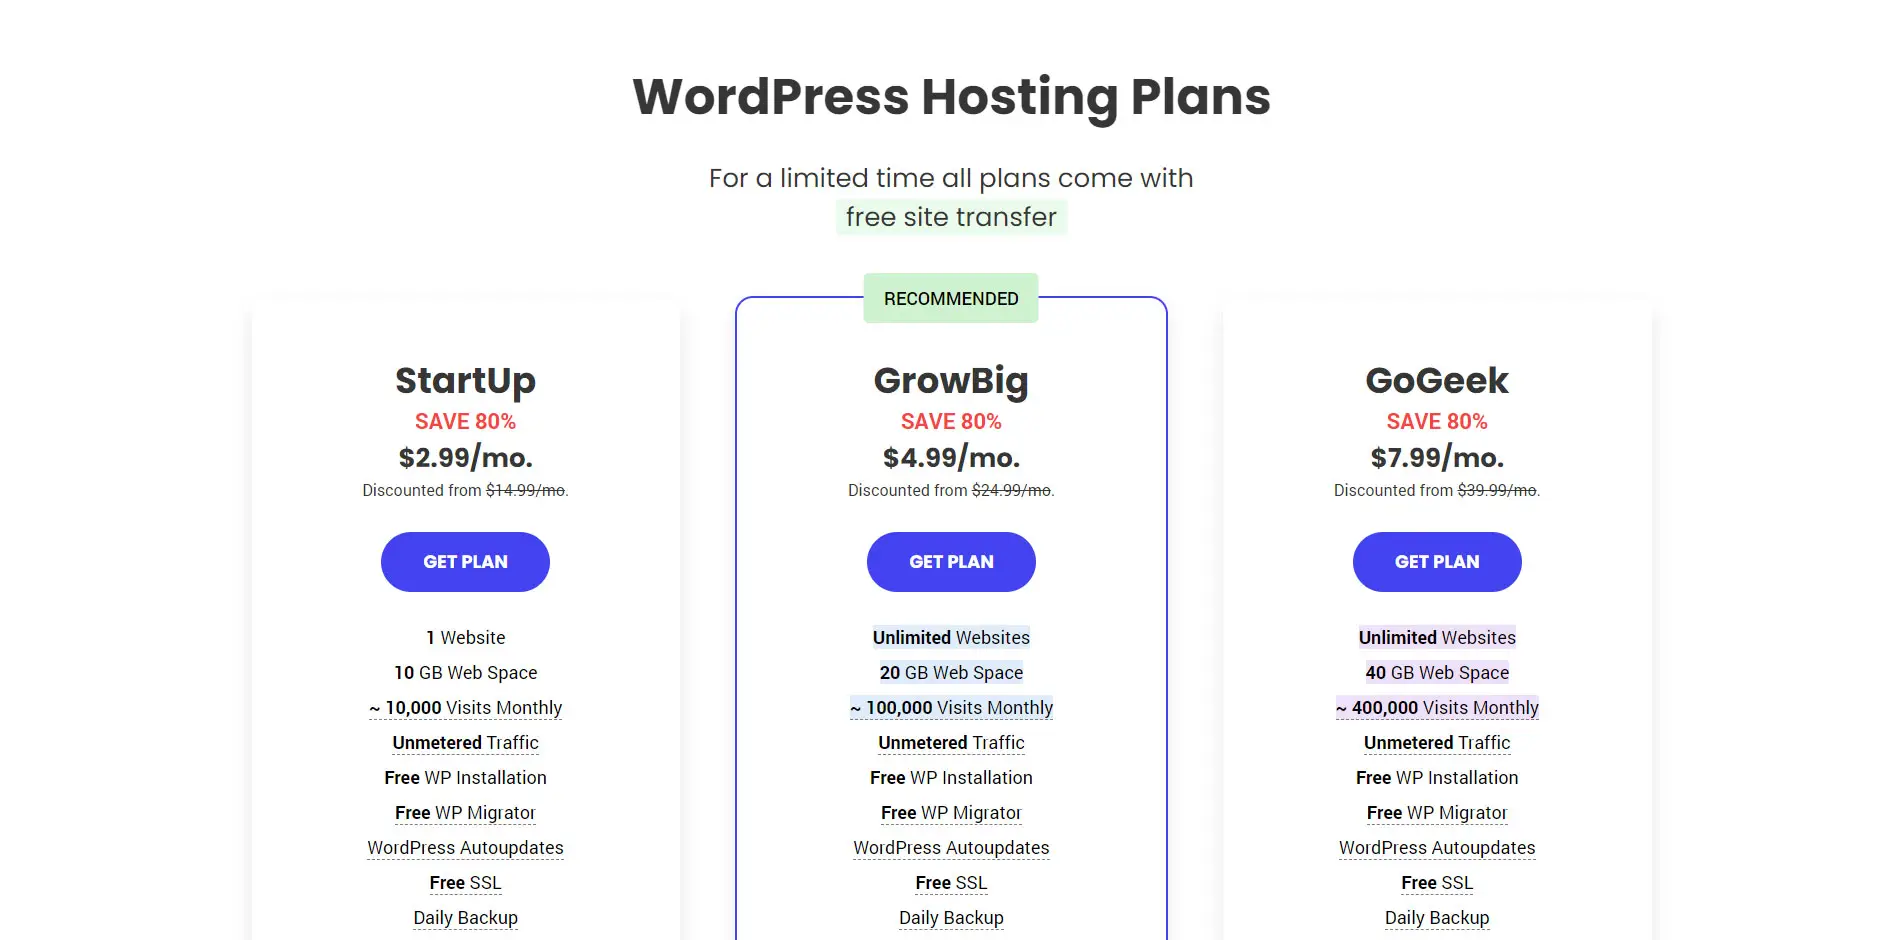
I recommend that you select the Startup plan even though we are migrating your existing website. The reason being you can always upgrade your plan as your site grows.
Unless of course, your existing website receives a large number of visitors each month. If that’s the case then you should select the GoGeek or GrowBig plan.
After you’ve selected your plan its time to register a unique domain name. Select “register a new domain” and enter a domain name of your choice in the field below. This could be the name of your business or the domain you were using on WordPress.com without the WordPress.com extension.
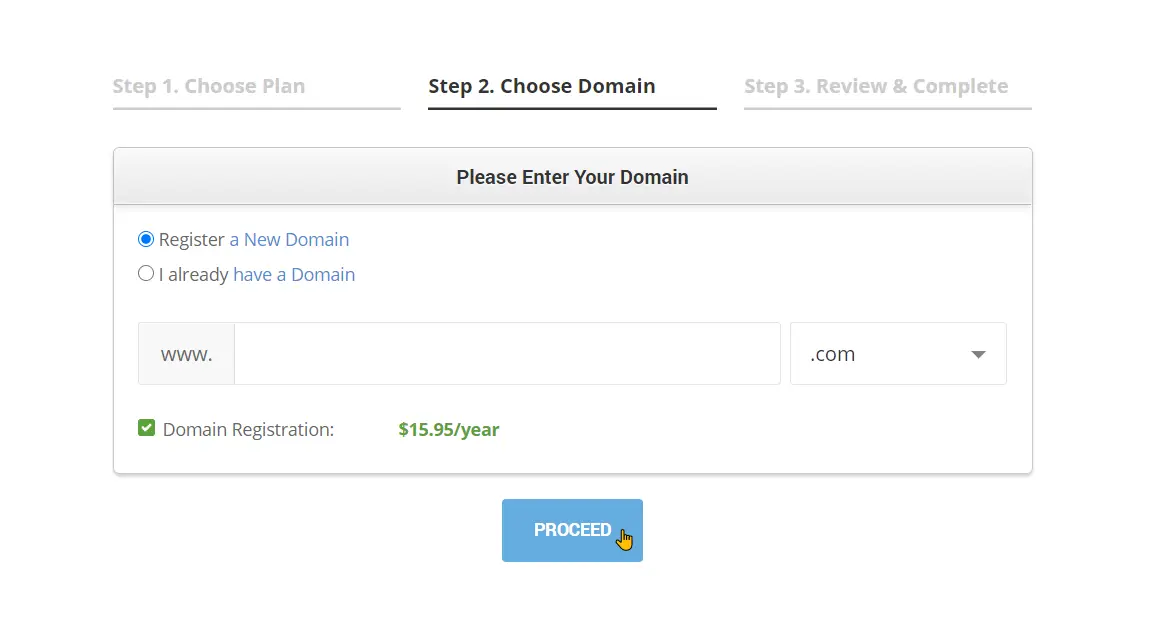
If you already register a domain name on WordPress.com select “I already have a domain” and enter your domain in the field below.
How can you tell if your WordPress.com website has a registered domain? Well, it won’t have wordpress.com in the URL.
A free domain from WordPress.com would look like:
- www.yourdomainname.wordpress.com
A unique domain name would look like:
- www.yourdomianname.com
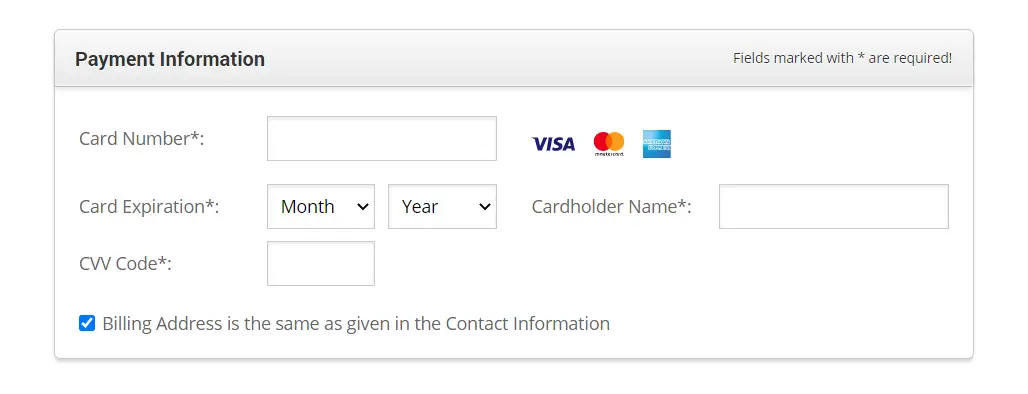
Next, you’ll need to enter your :
- Account information
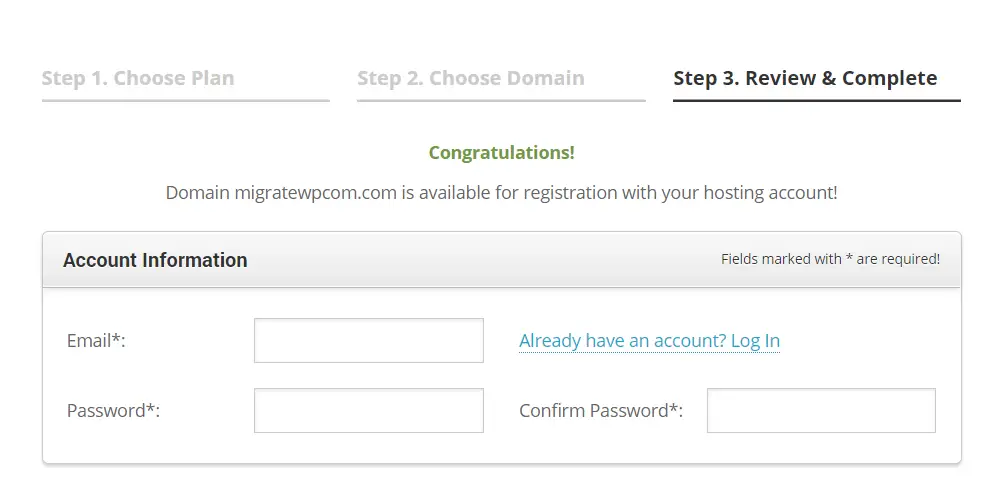
- Client information
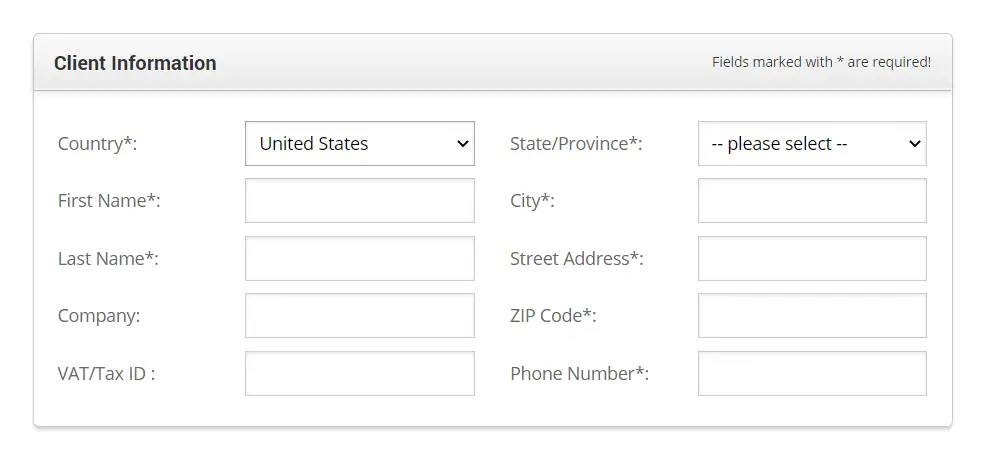
- And payment information.
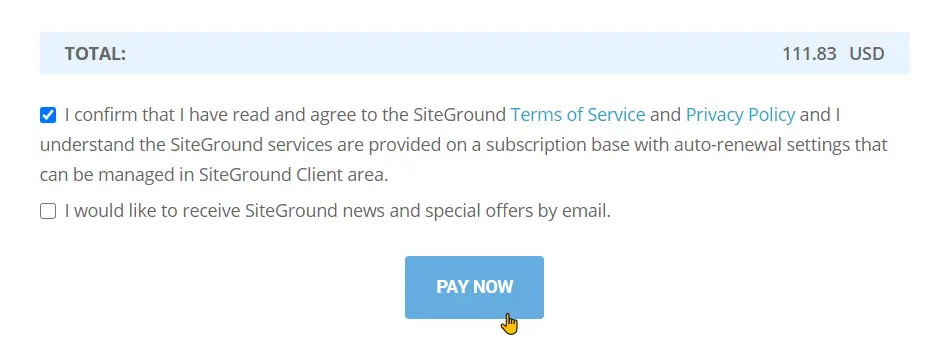
Under the “purchase information” section set your hosting duration to 12-month to get the best deal.
Then select domain privacy if you are not comfortable with your personal information such as your name and address being available on Whois services.
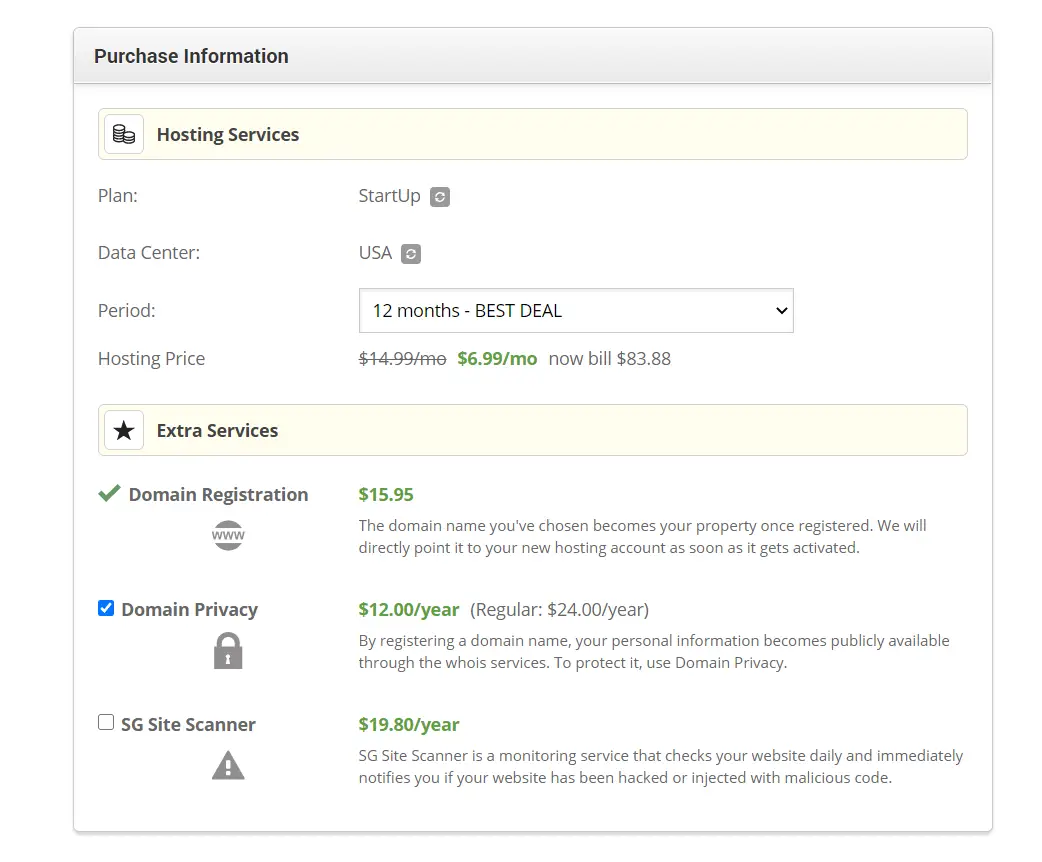
Next agree to the terms and conditions then click on “pay now”.
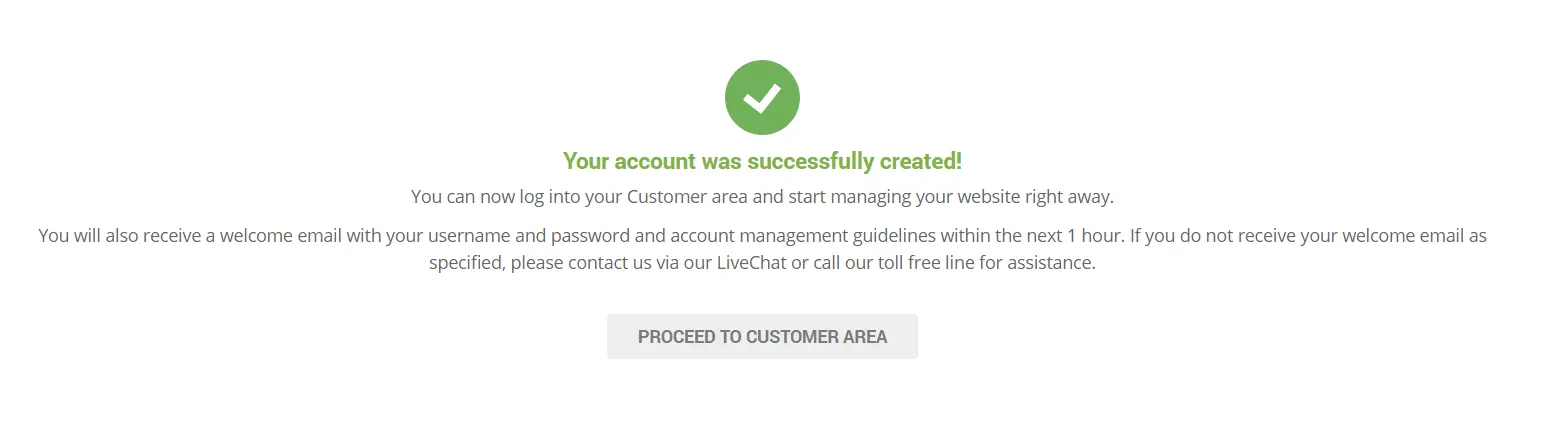
SiteGround will then process your order. When it’s done click on “proceed to customer area”.
How To Install WordPress On SiteGround
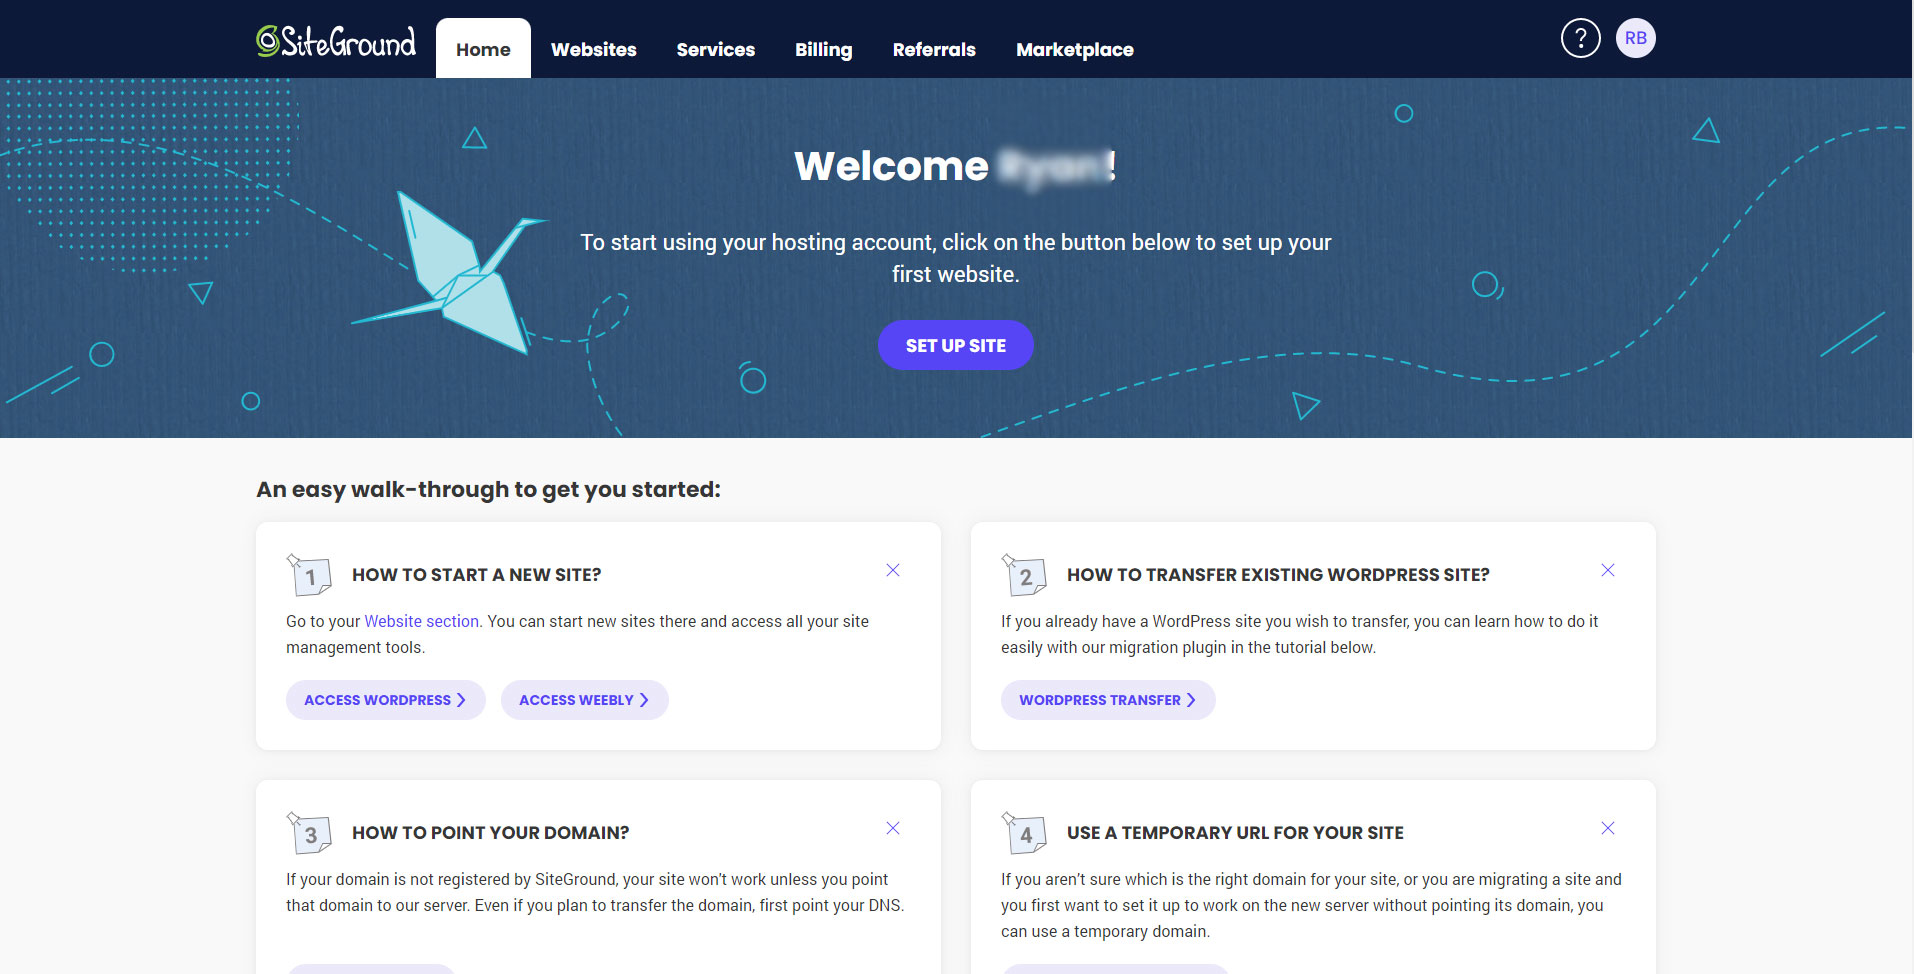
From the customer area, you’ll see a banner with a button that says “set up site” click on it to begin installing WordPress.
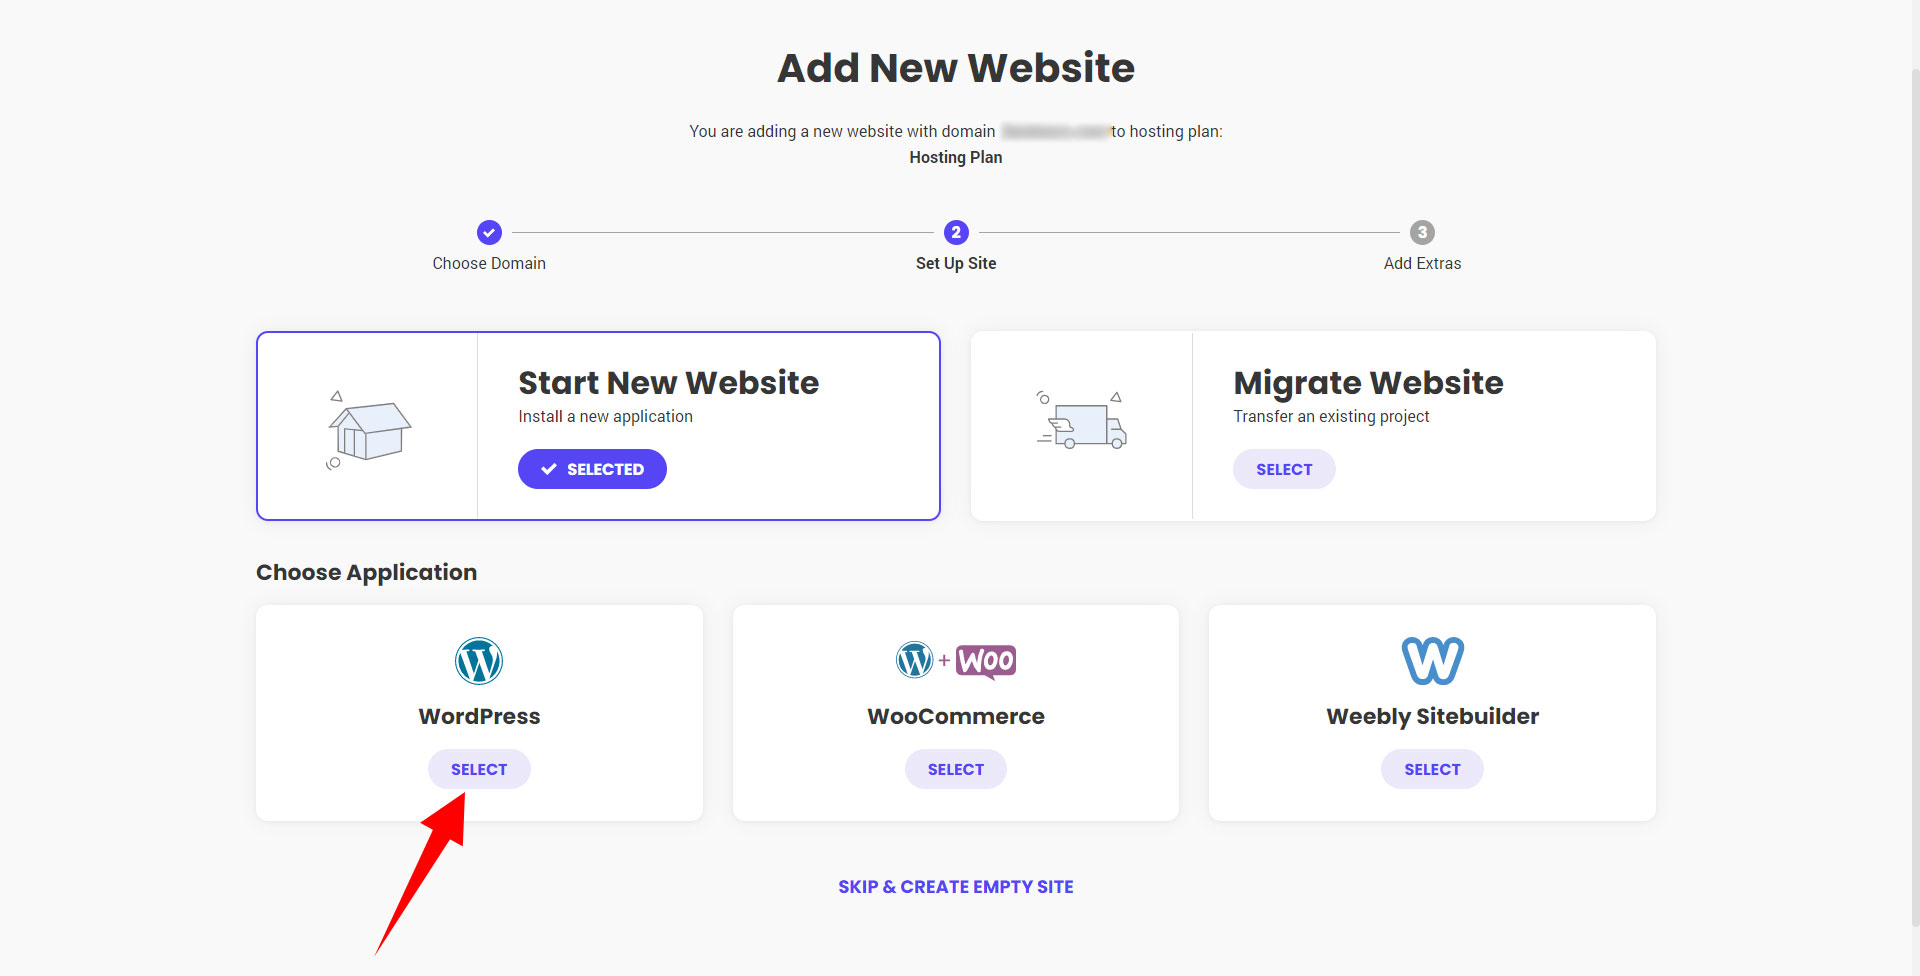
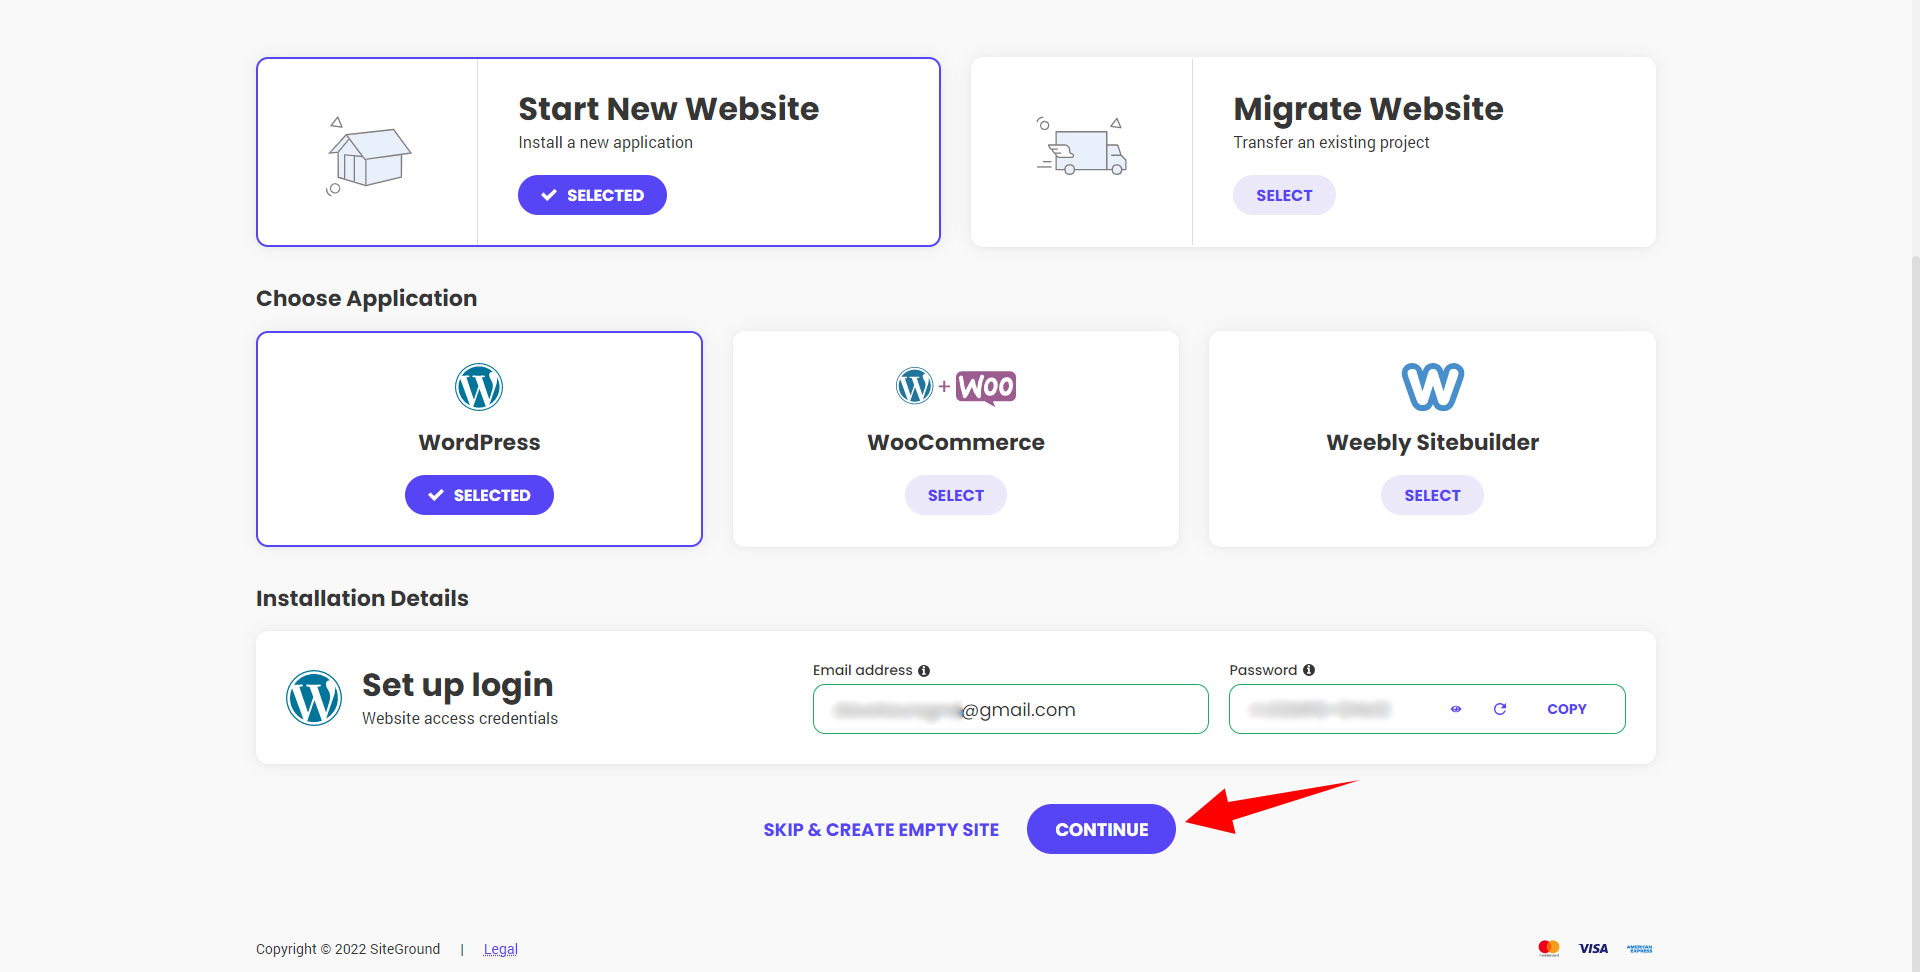
On the next screen click on “start new website”

Then select “WordPress” under choose application section.
Next, you will need to create a username and a password that you will use to log into the admin area of your new website.
Siteground will then prompt you again to purchase a few extra add-ons. SG scanner isn’t necessary at this moment however I would recommend you pick up domain privacy unless it does not fit within your budget.

You’ll then be given the choice to view your new WordPress website or go to site tools. Select “Site Tools”.

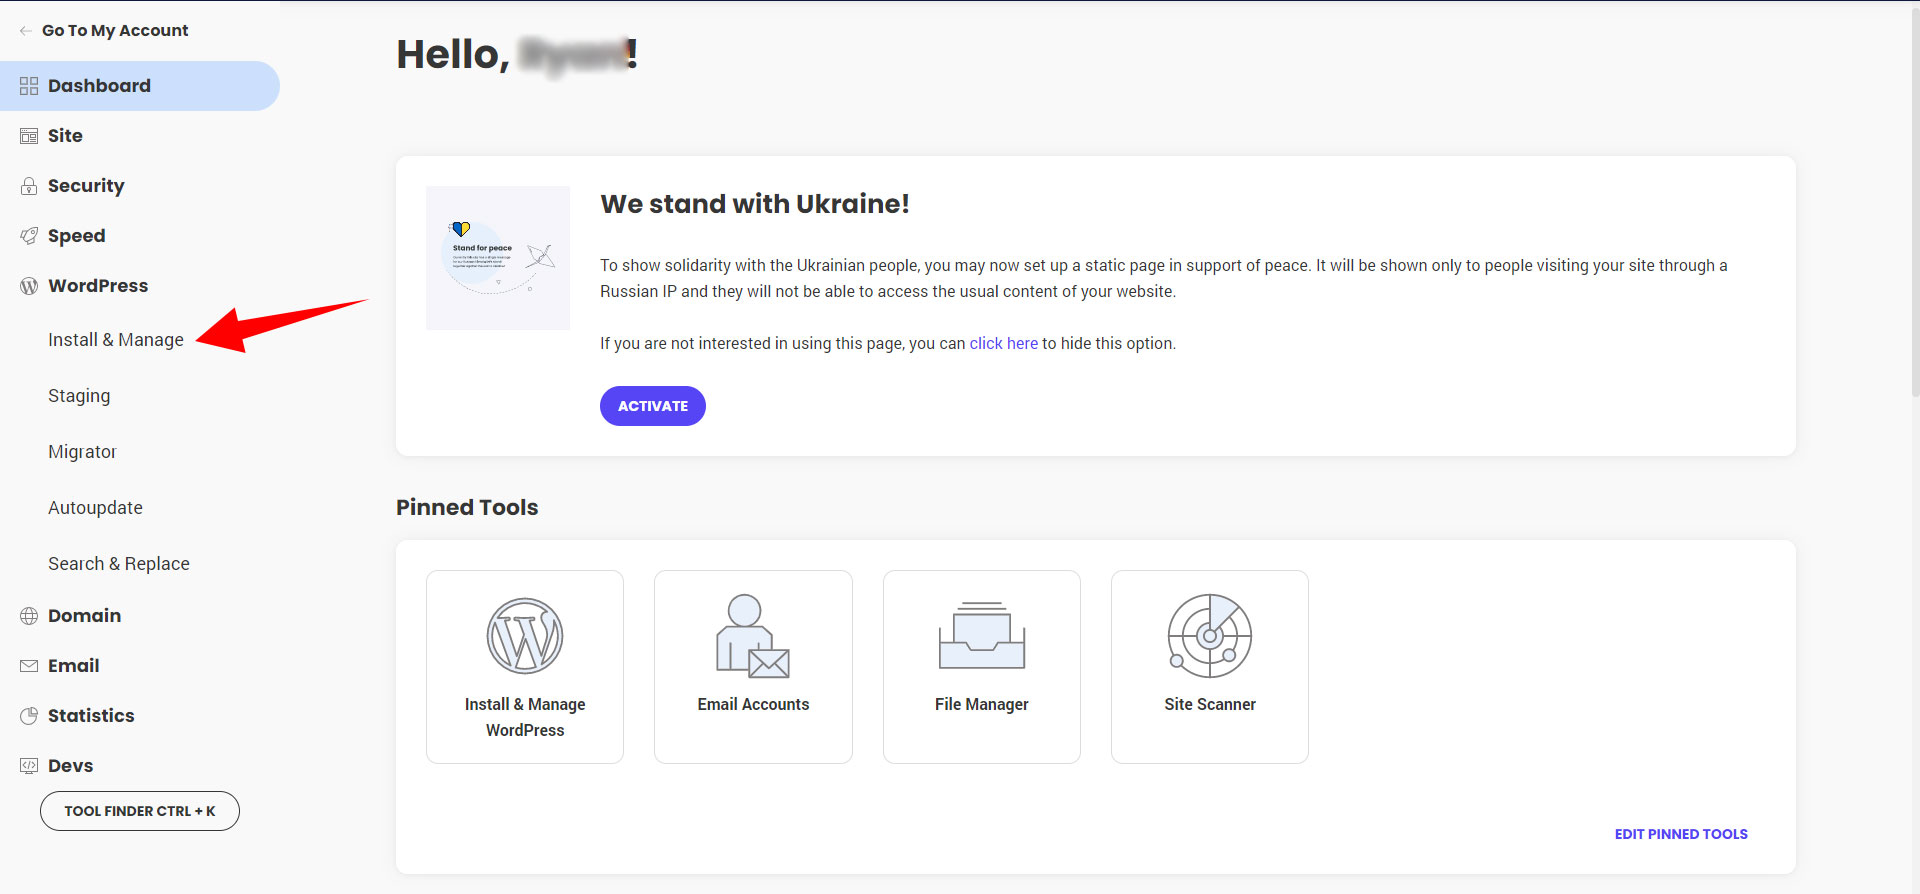
Within your site tools dashboard click on the Install & Manage option in the menu to the left.
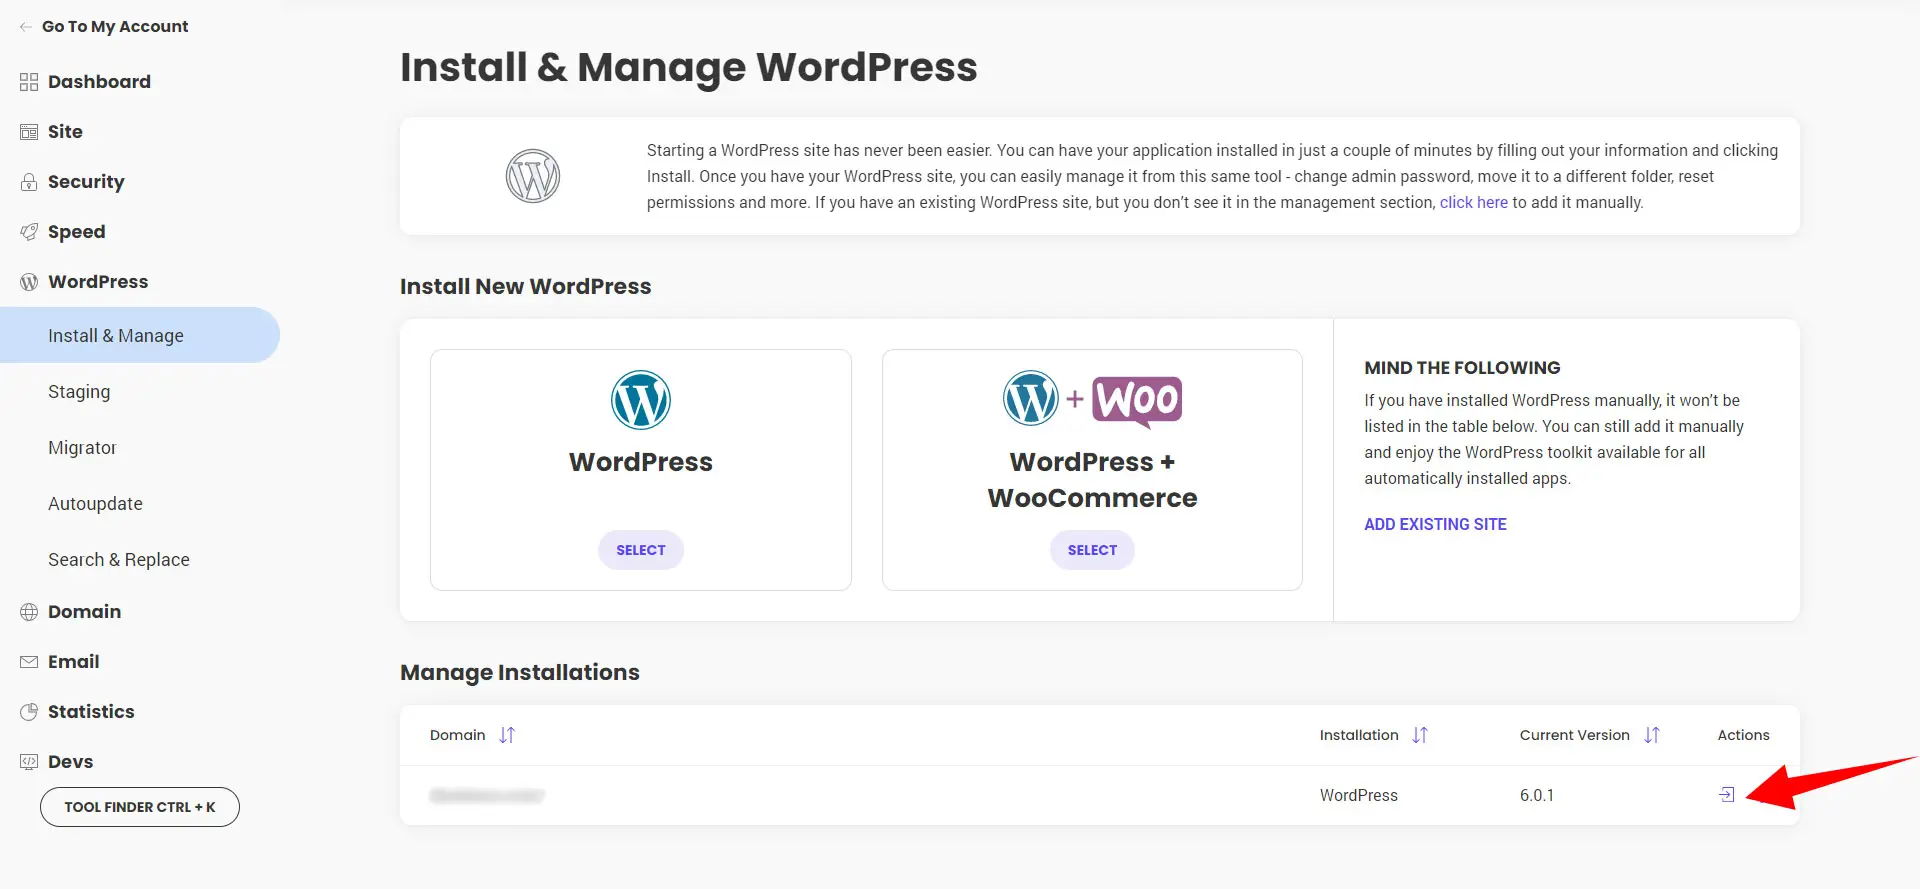
From the Install & Manage WordPress page, click on the “log in to admin button” under the actions heading
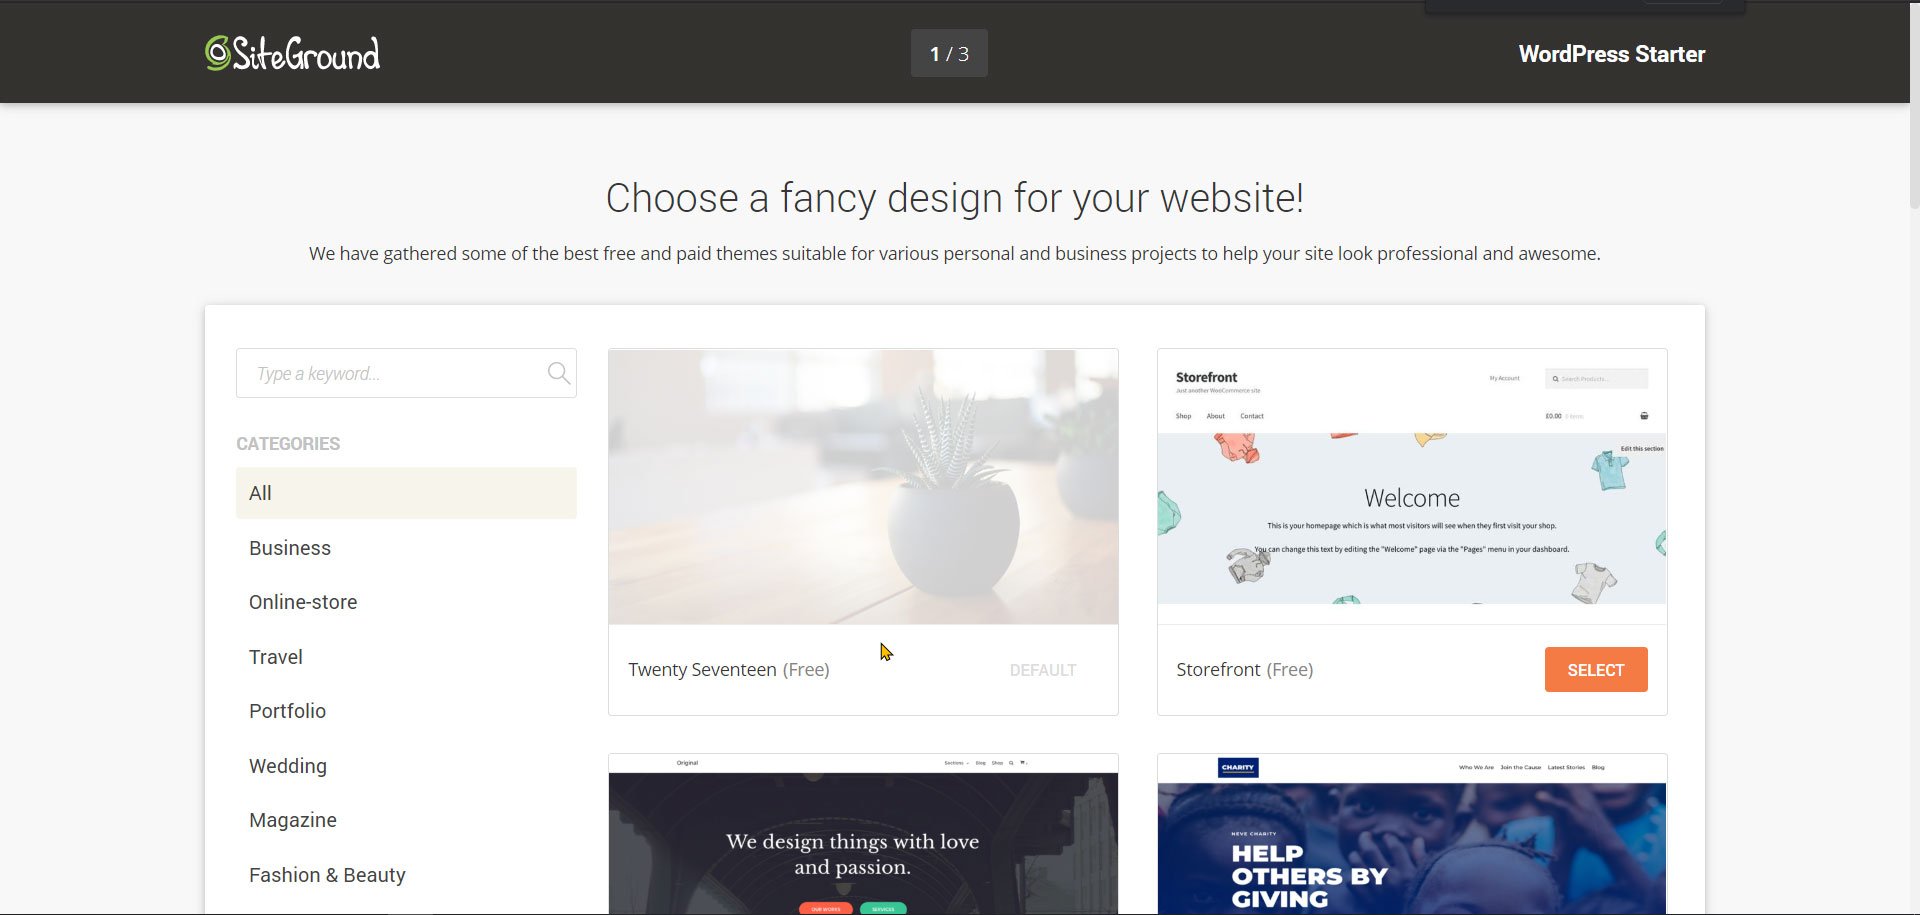
SiteGround will then launch the WordPress starter setup wizard, click on “start now”.

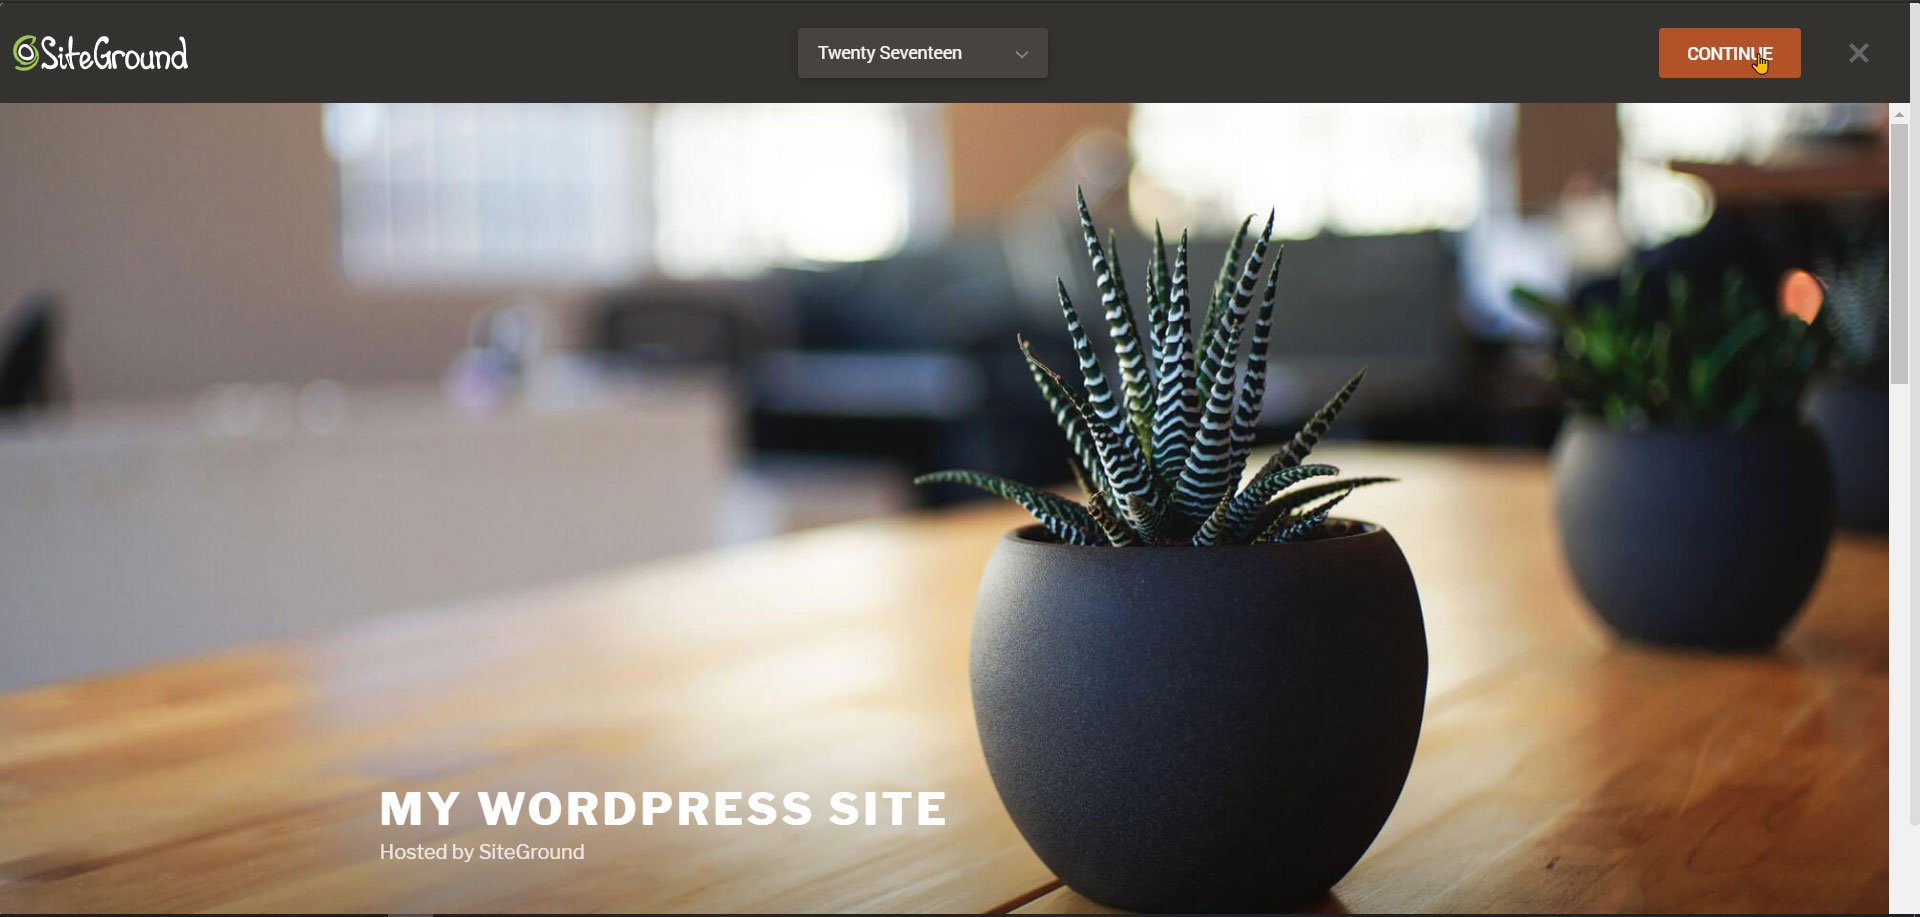
Next, select a theme that you like then click on “continue”.
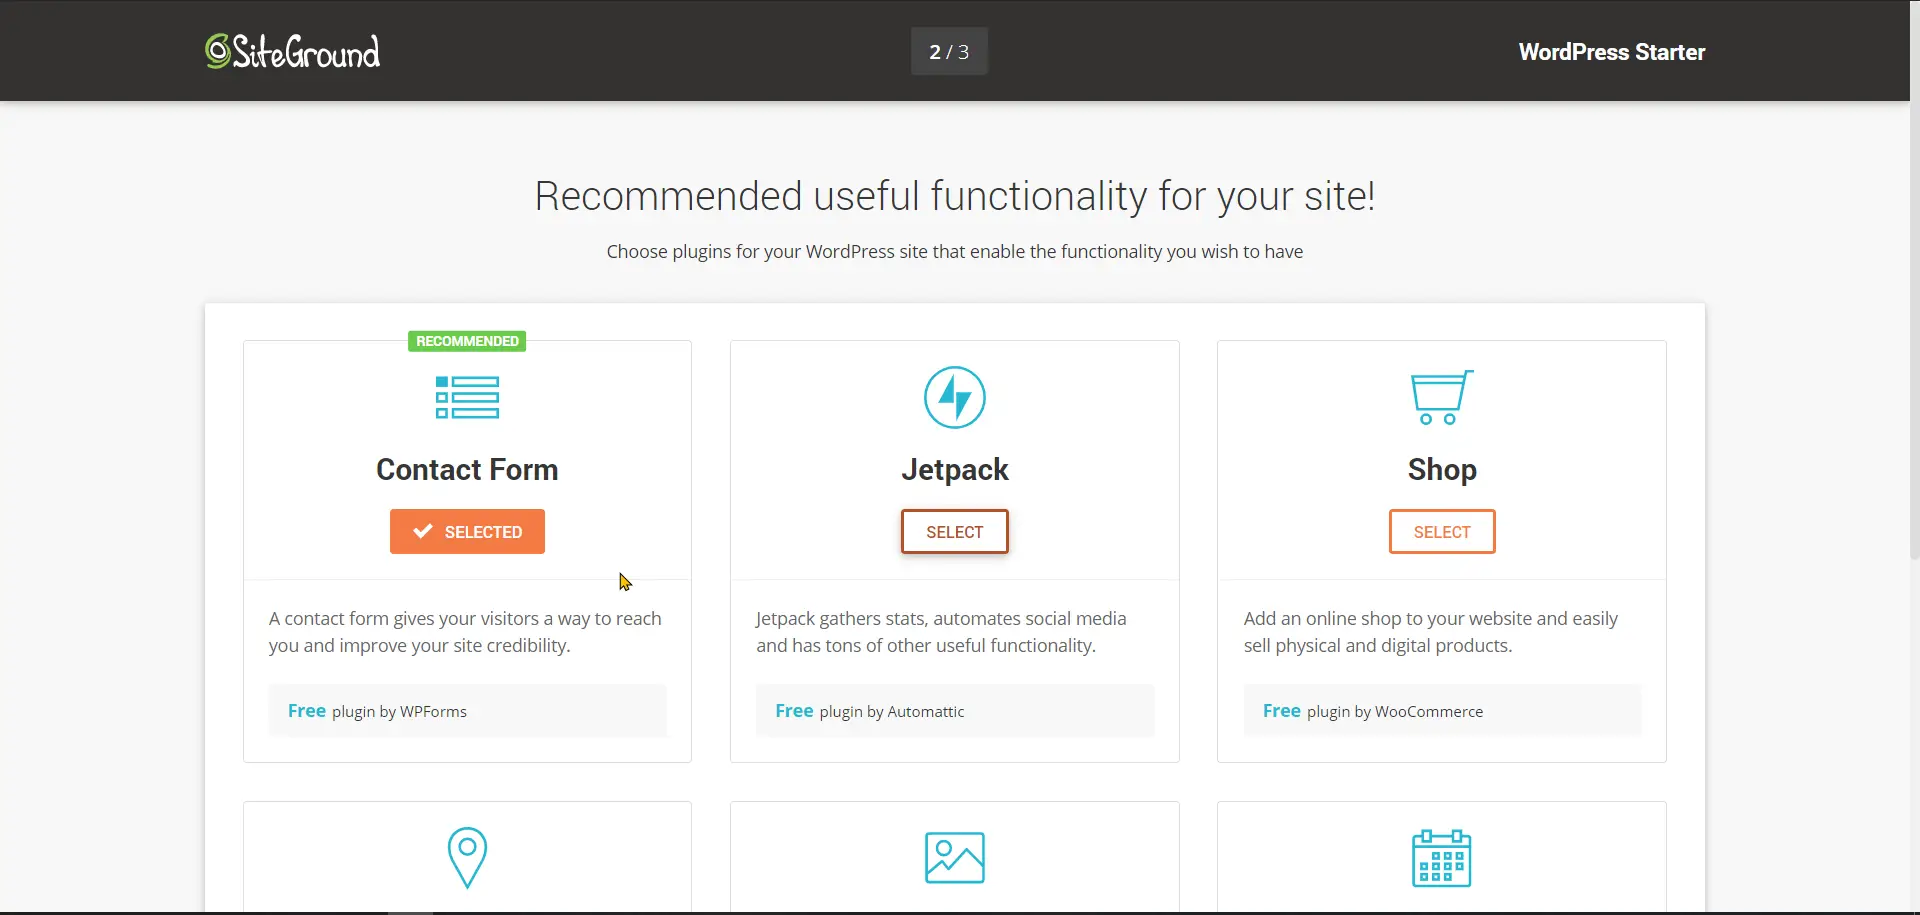
Then select any of the following plugins from the recommended section. Don’t worry about your selections at this point you will be able to install any of these plugins later.
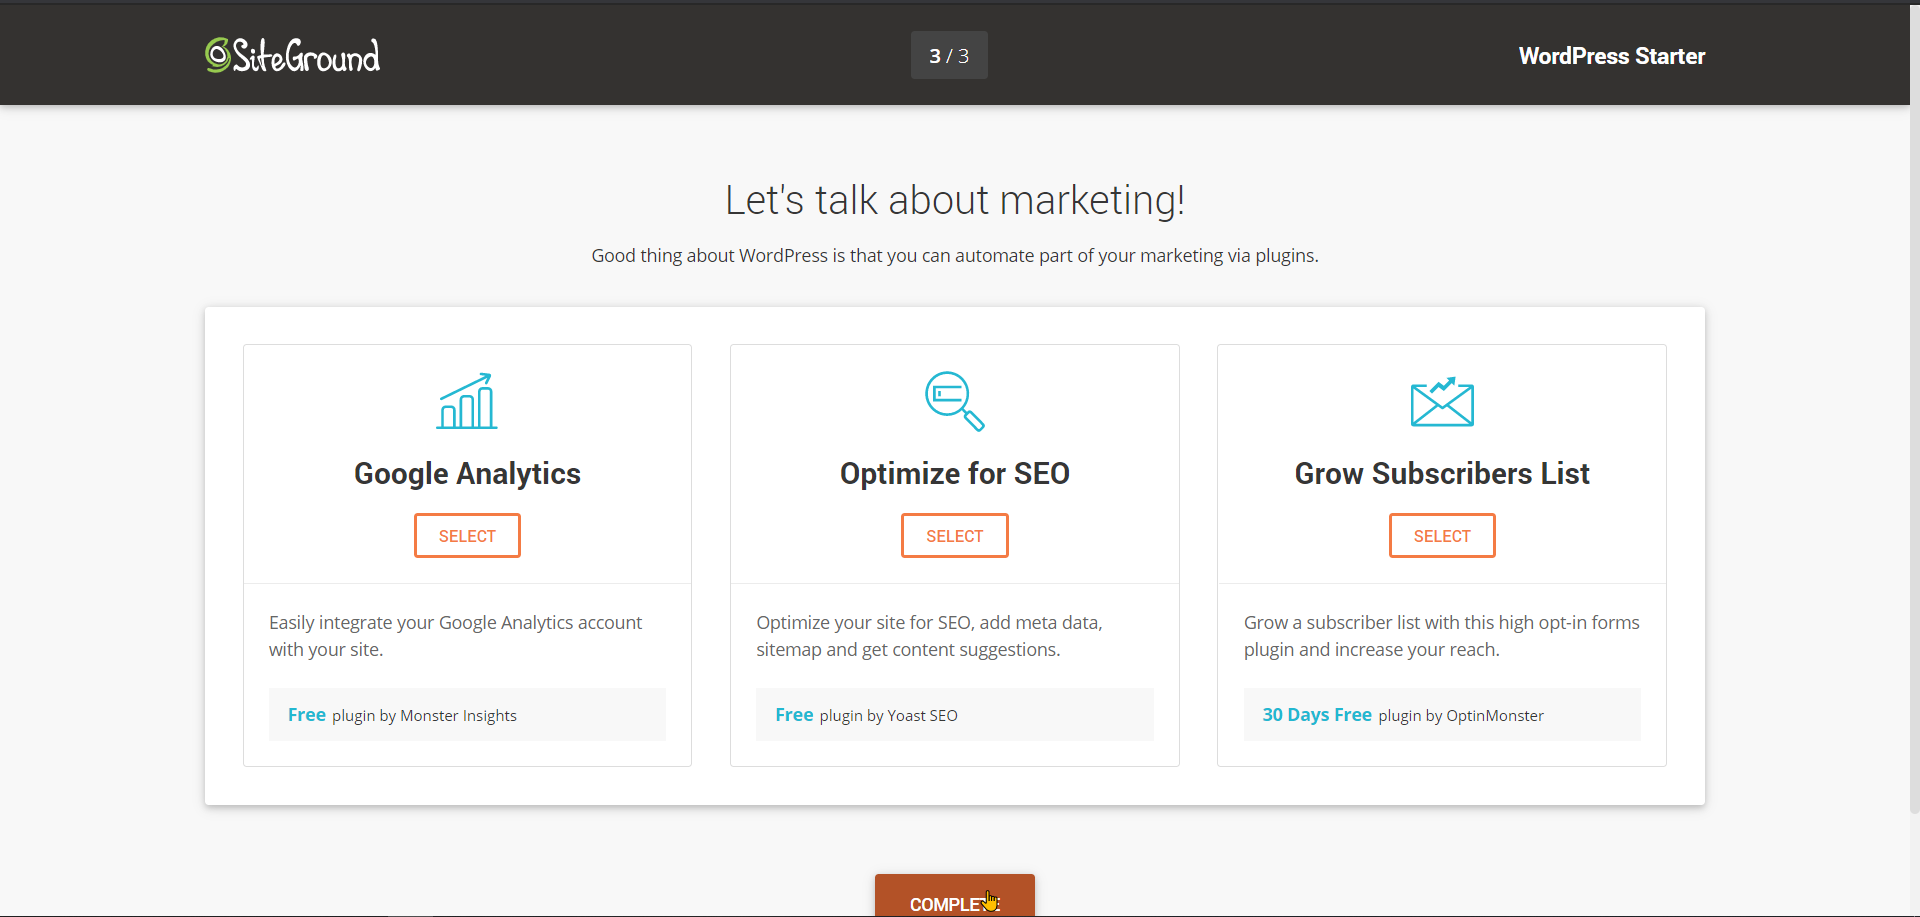
Do the same for the marketing plugins.
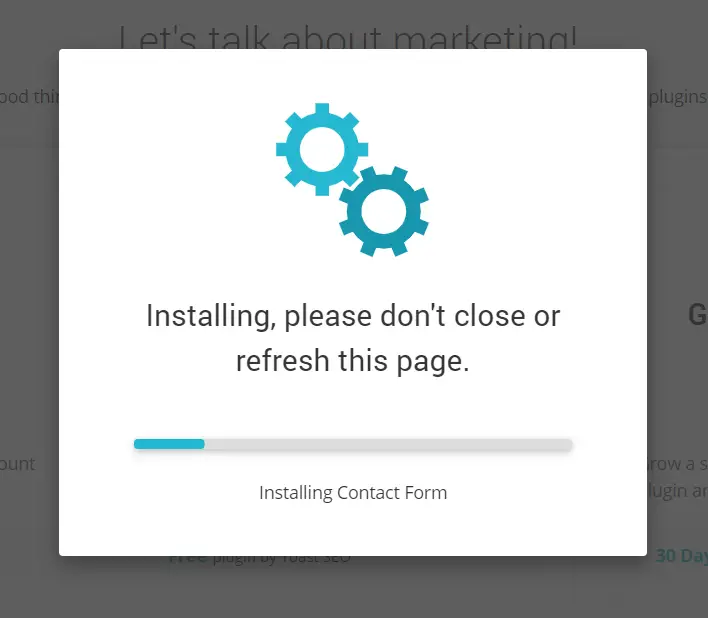
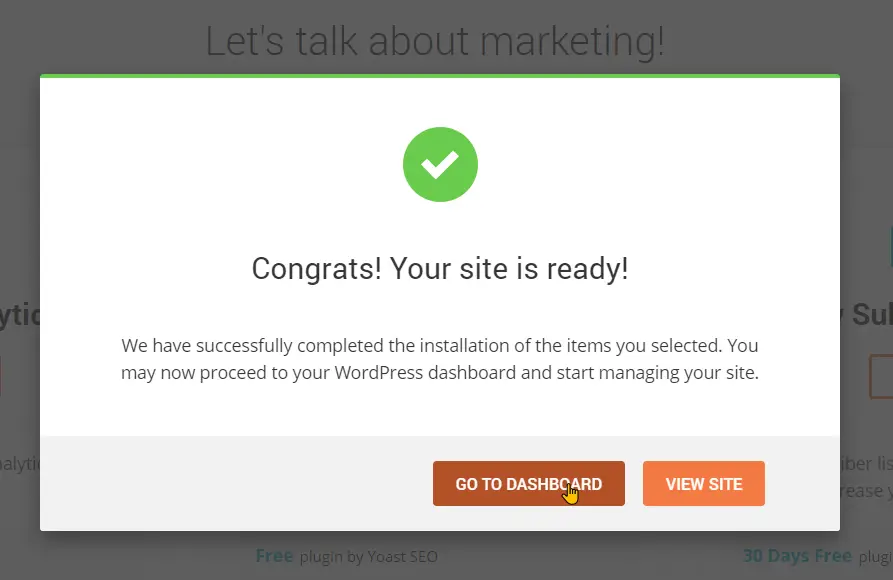
SiteGround will then proceed to install WordPress, your theme, and the plugins that you selected.
When its finished installing click on “Go to dashboard”
This is what your new WordPress dashboard will look like with the SiteGround starter plugin installed.
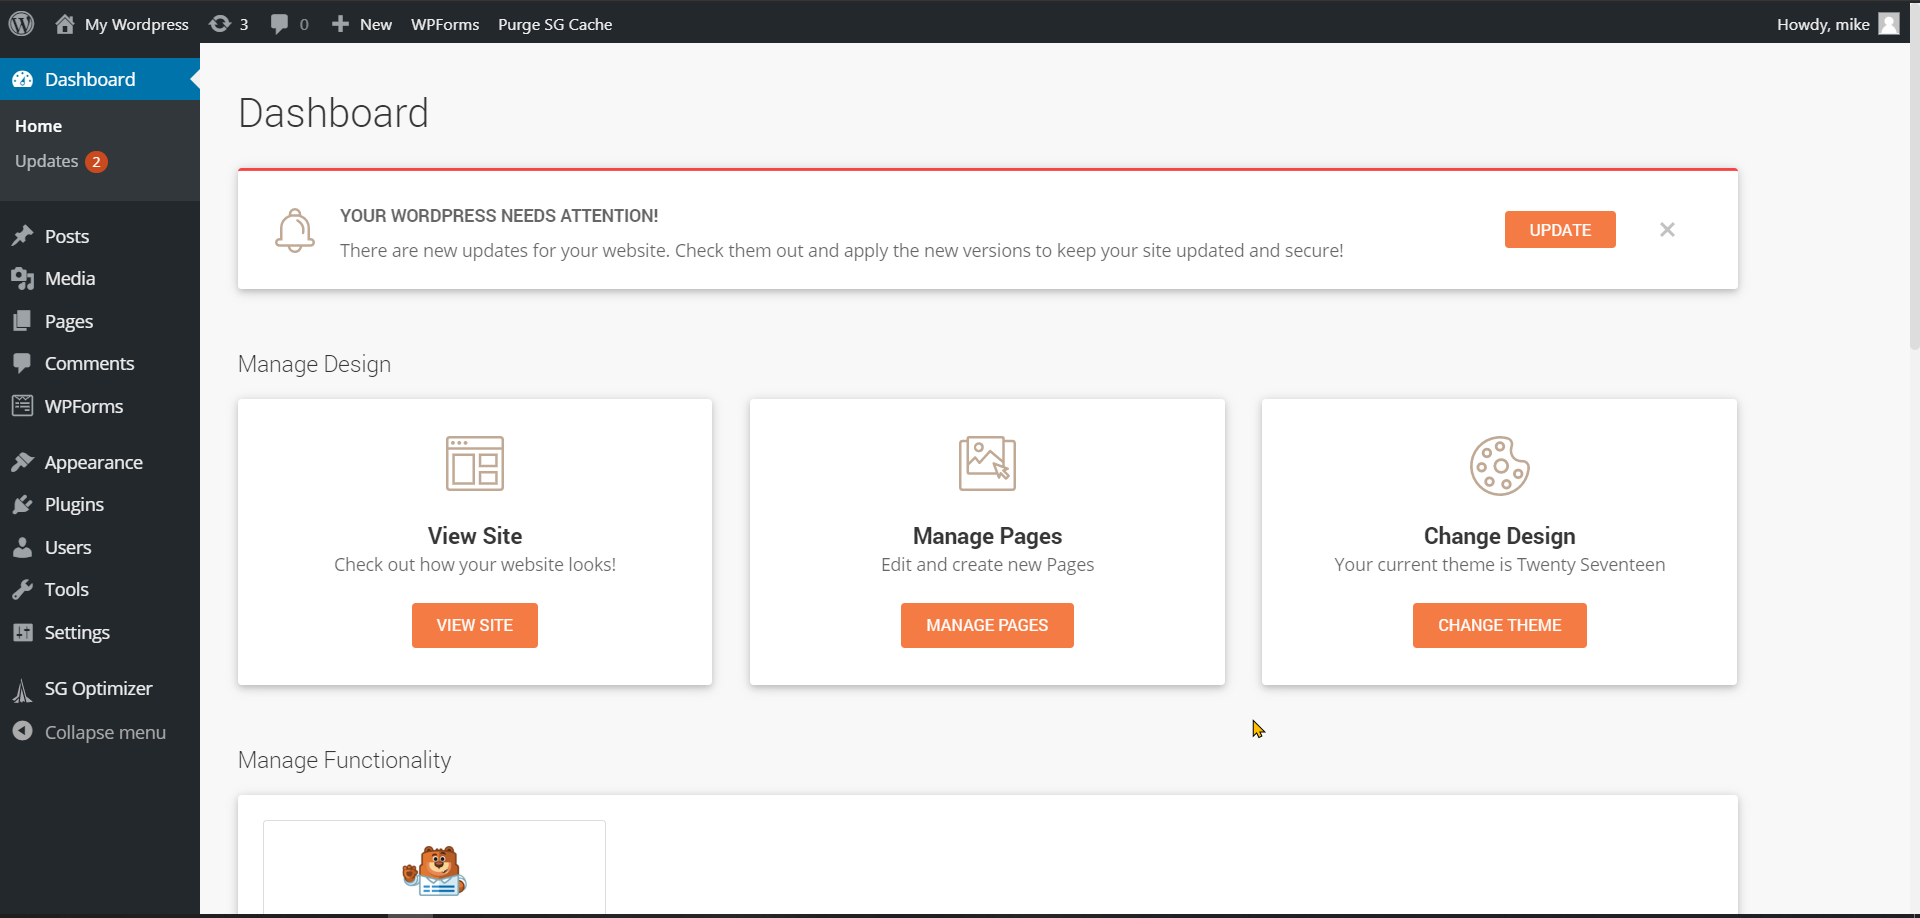
If you prefer the look of the normal WordPress dashboard you can uninstall the SiteGround starter plugin.
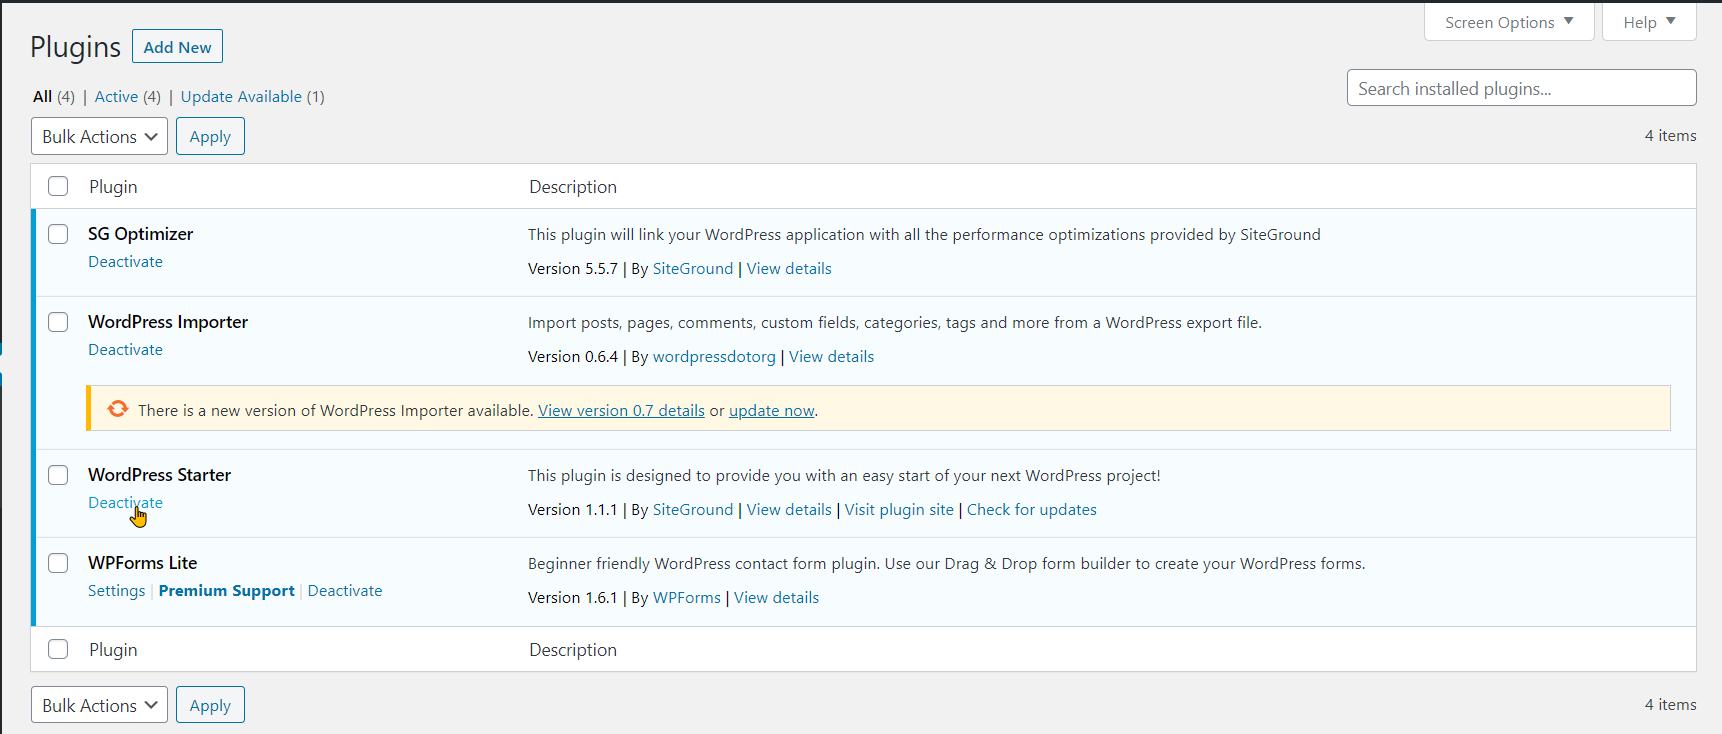
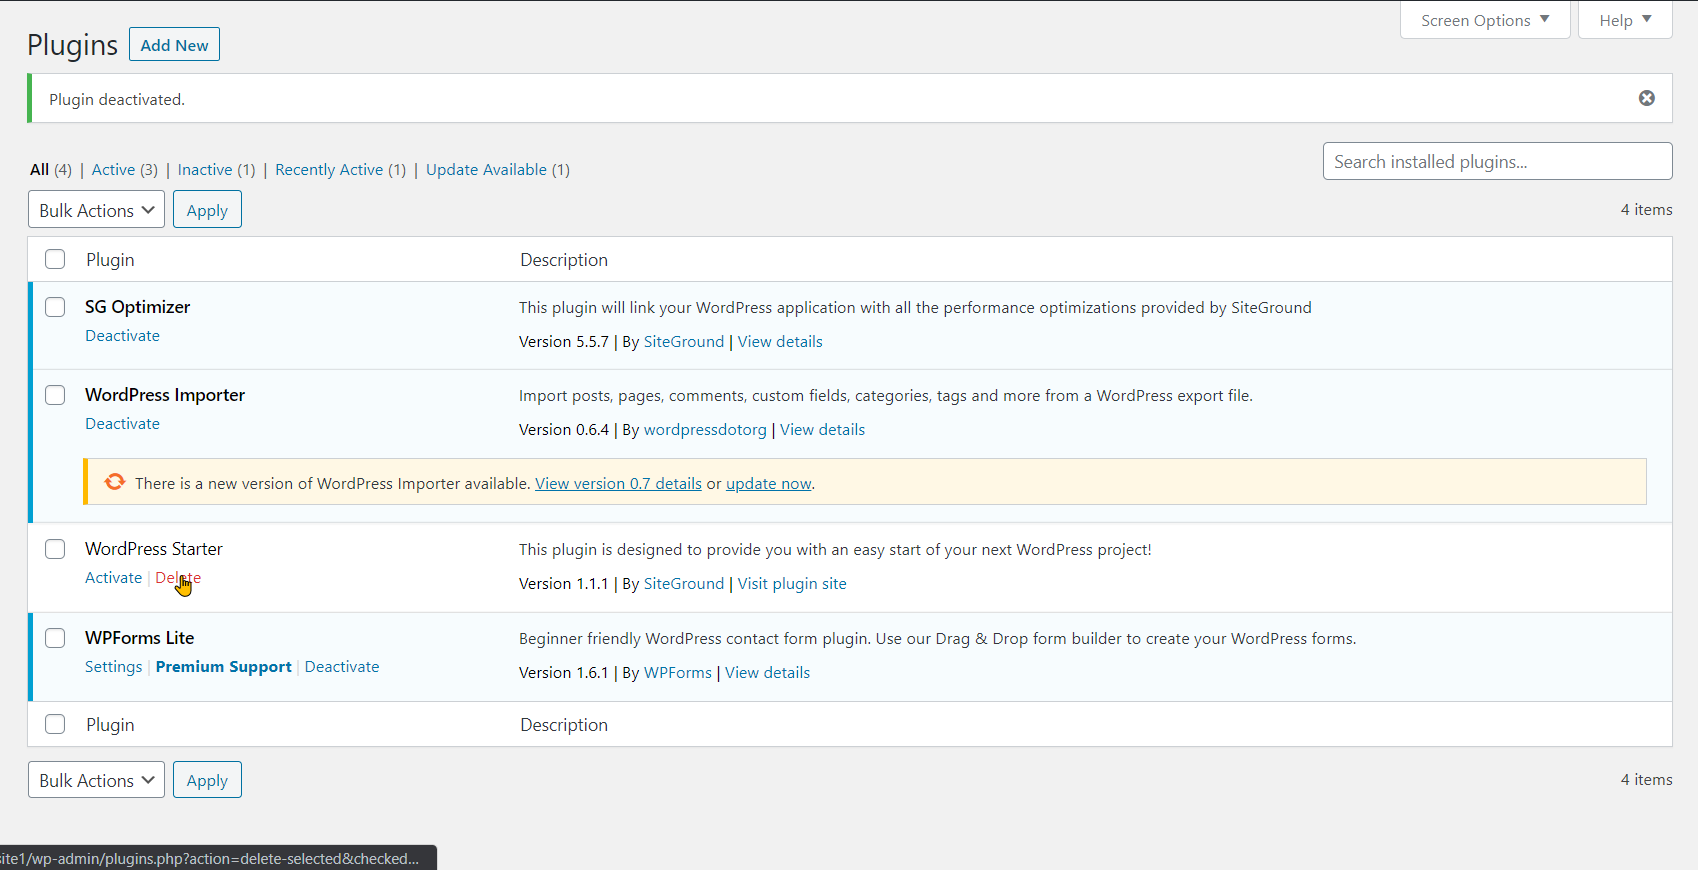
In the menu to the left hover over plugins and click on “Installed plugins”.

Next, find the WordPress Started plugin, click on “deactivate”, then click on “Delete”.
Okay great now that you have WordPress installed on your new site it’s time to upload the data you exported from your WordPress.com website.
How To Import Data From WordPress.com To WordPress.org
Remember that compressed zip file we got from your WordPress.com website? Here is where we’re going to use it.
First, locate the .zip file on your computer. It should have been downloaded to your “downloads folder”. When you’ve found it you will need to extract it. To do this right-click on the file and click on “extract all”.
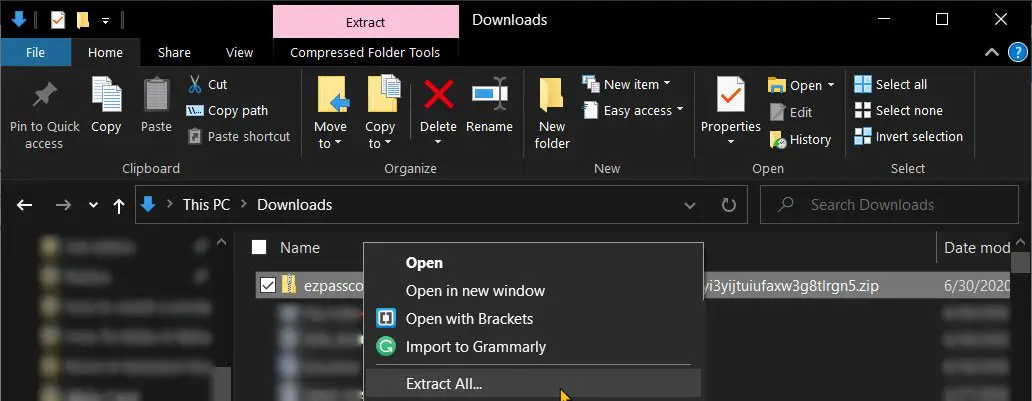
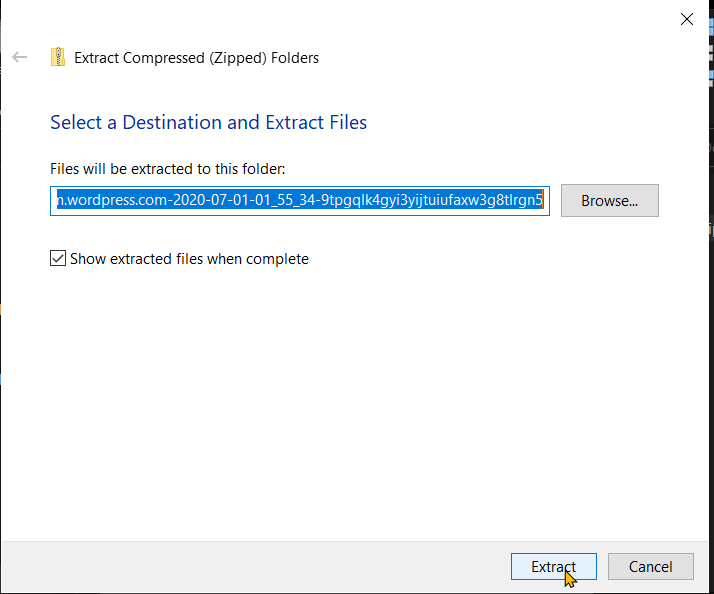
Then click on “extract”. This will open a new folder with the extracted file close to it for now but remember its location.
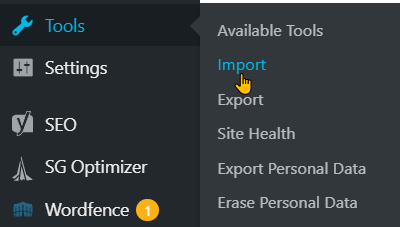
Now head back to your new WordPress dashboard hover over tools and click on “import”
On the import screen, you will see a list of platforms that you can import data from. Since we are migrating a WordPress.com website click on “install now” under the WordPress option.
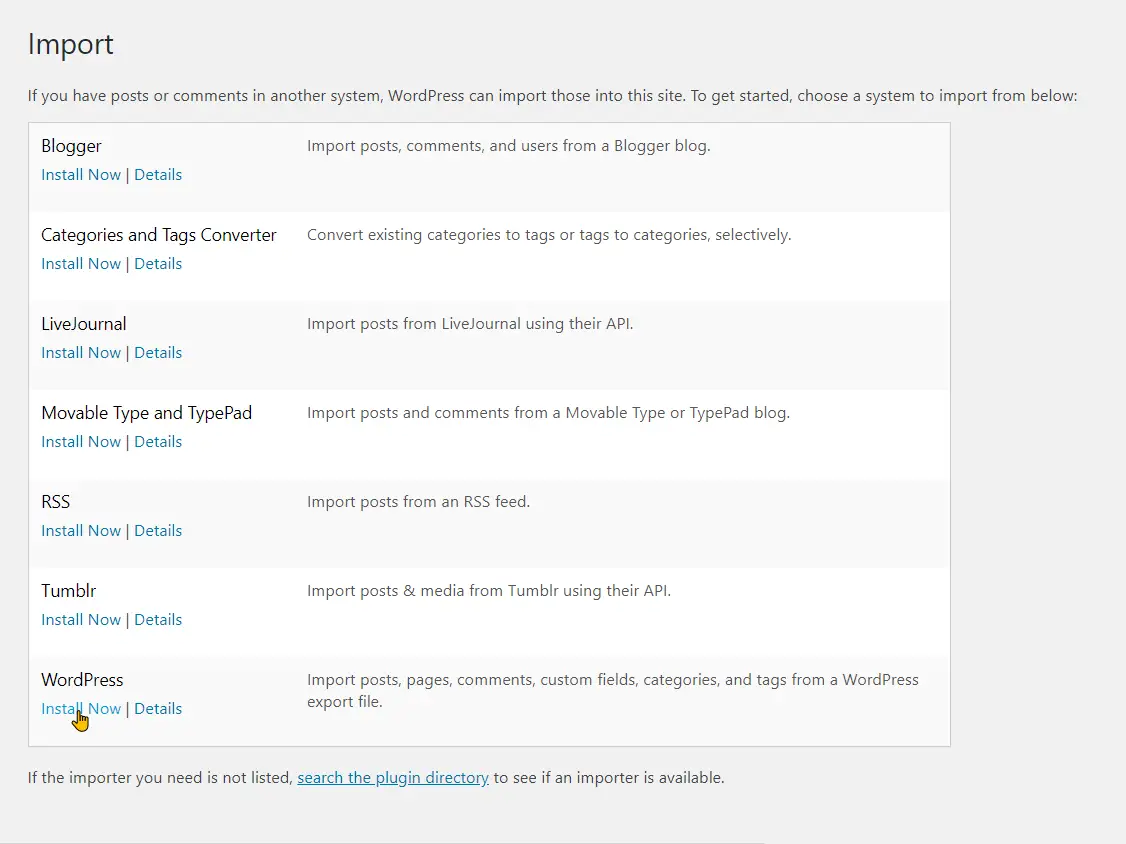
When the install is completed you then need to click on “run importer”.

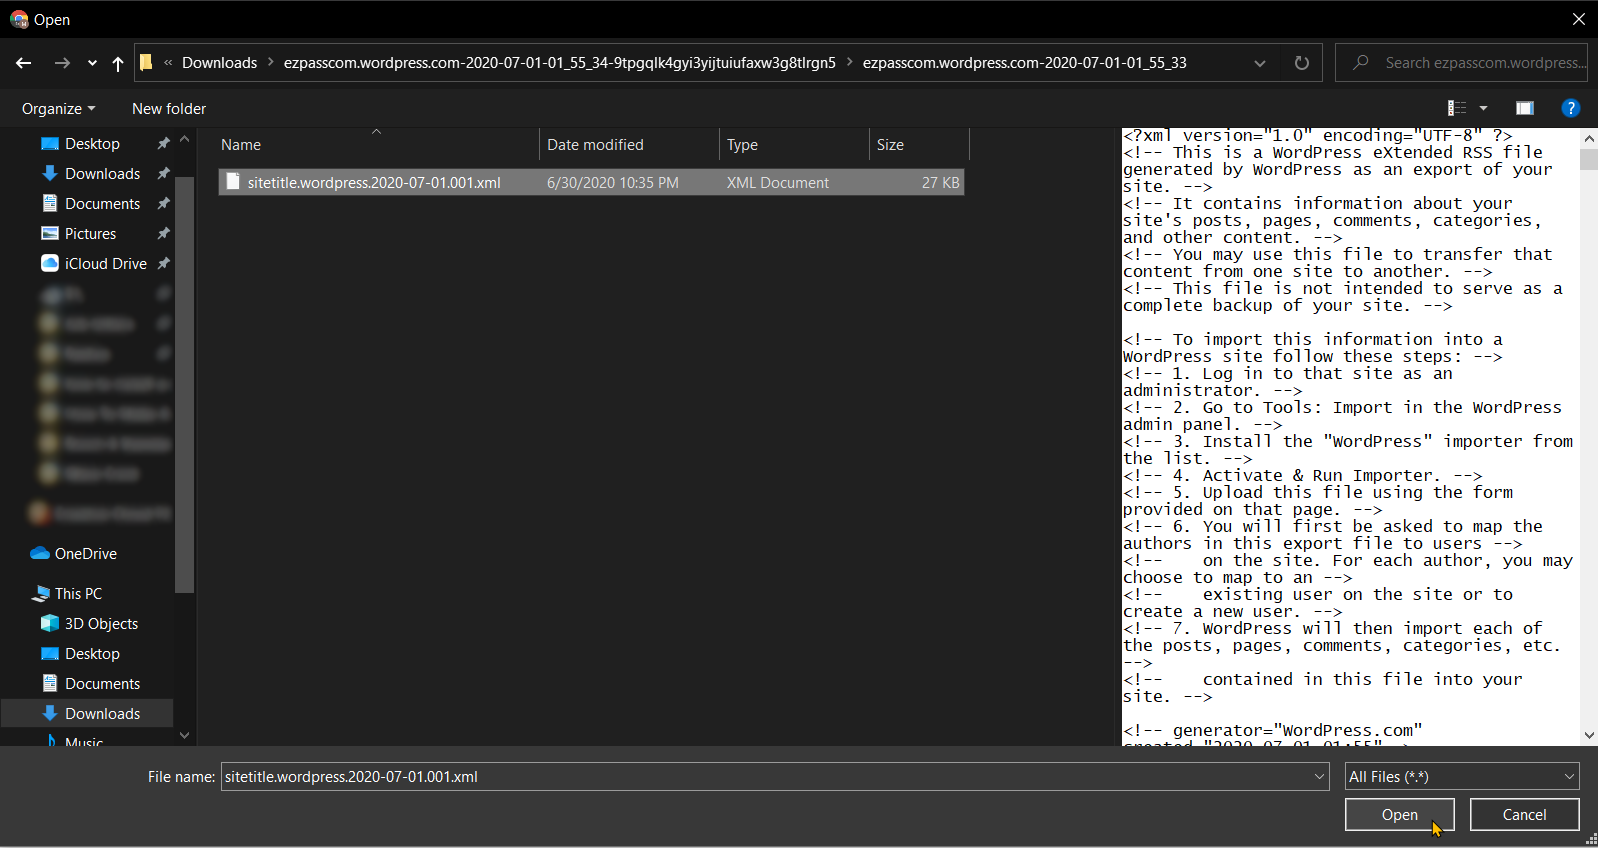
Next, click on “choose file”.
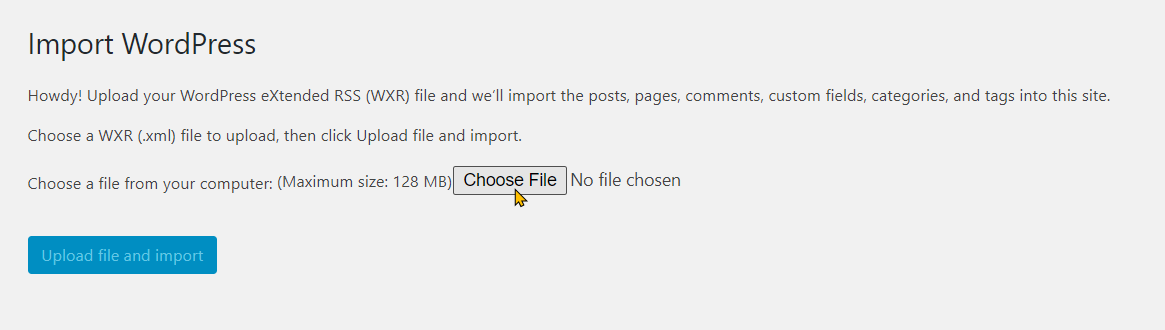
Then select the XML file we exported from WordPress.com, located within the newly extracted folder.
Finally click on “upload file and import”.
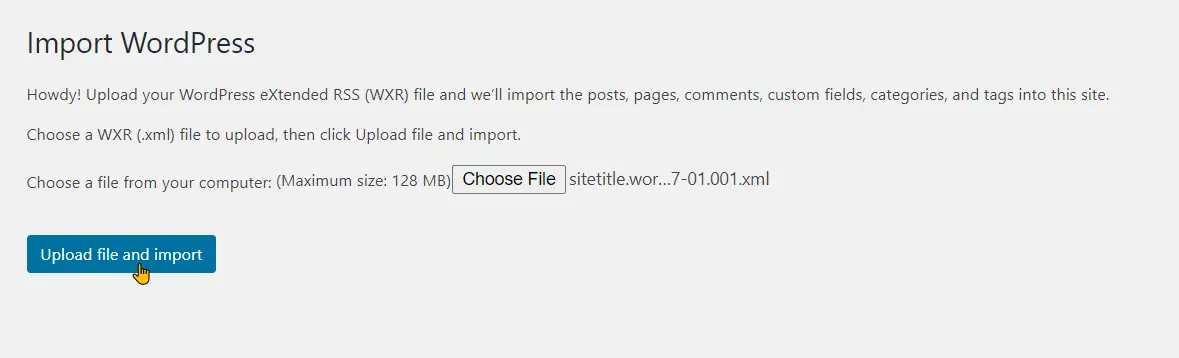
Siteground’s managed WordPress hosting plans offer a generous upload limit of 128mb unlike other web hosting services so you shouldn’t have an issue uploading your website data.
On the following screen, you will see a few author settings for your posts. Here you will be able to create a new user to be the author or select one from the drop-down menu.
Since we are importing data from your existing website we can leave the default author which would be the same author from your WordPress.com website.
Next, select “download and import file attachments” and then click on the submit button

Redirect Existing Visitors To Your New Website
Great now that your new website is live and all of your content has been transferred over from WordPress.com, it is time to set up a redirect from your old WordPress.com website to your new one.
There are two ways in which you can do this. You can either create a new post informing your current readers on WordPress.com that you have moved your site to a new domain and that you would no longer be publishing new posts on your old site. Please note that this post should contain links to your new website so that your readers can find your new website.
The other method is to use WordPress.com’s paid redirect service which costs $13 per year.
A redirect will allow your current users to seamlessly be transferred to your new website whenever they try to access your old one. This option will maintain your current audience and search engine rankings.
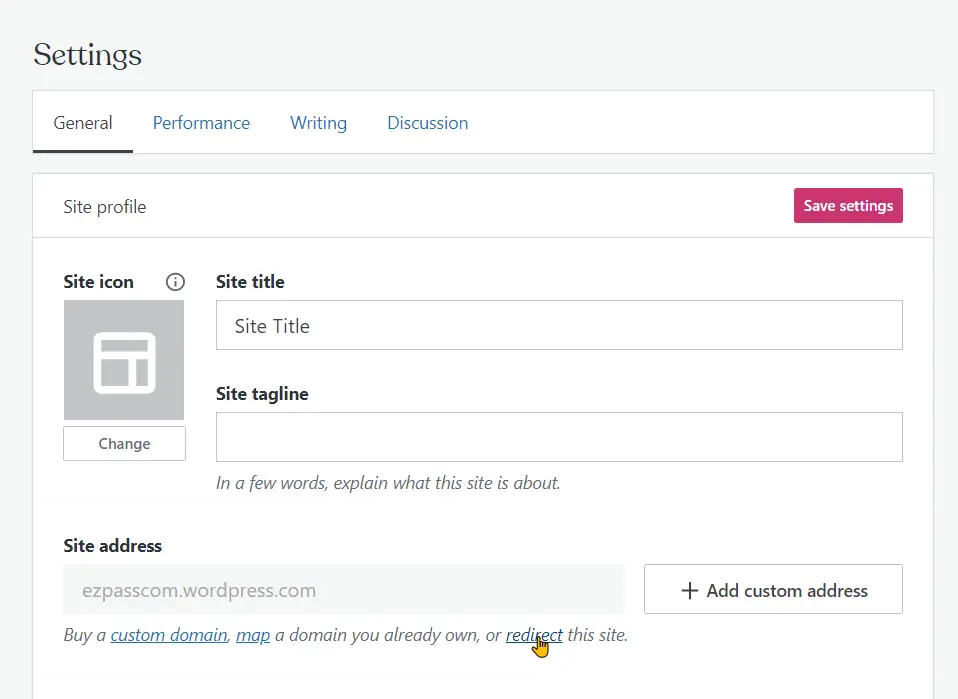
To use WordPress.com’s paid redirect service you’ll need to go to your dashboard then click on “manage” and in the drop-down menu click on “settings”.
On the setting page under the site address heading click on “redirect”.
You will then be asked to enter the domain that you would like to redirect to. Here you will enter the domain of your new website.
Next click on “go”, all you need to do from here is enter your payment information and complete your purchase.
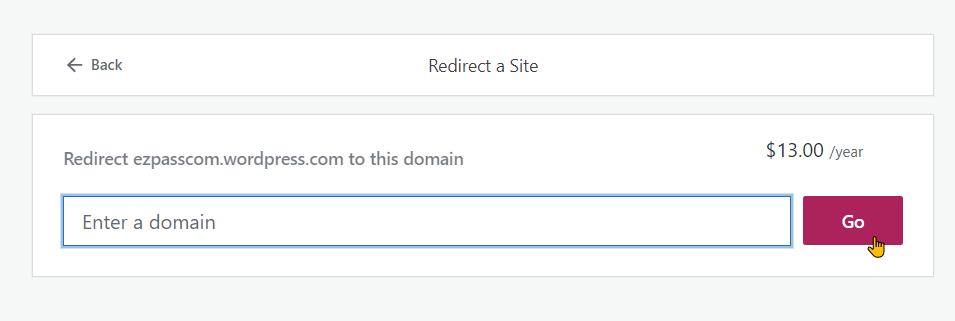
Remember this service will renew every year at the price of $13. It’s your choice to use this service for however long you need. The recommended period to keep redirects from an old website is two years. But this timeline is for an established website. If you don’t have that many visitors then one year will be fine.
Set Your WordPress.com Website To Private
If it’s a case where your old website hasn’t yet been picked up before transferring it to WordPress.org then you can set it to private.
This would prevent the issue of having two websites on the internet with the same exact content.
To do this head over to your WordPress.com dashboard hover over settings then click on “reading”.

Next under the “user site visibility” section select “I would like my site to be private, visible only to myself and users I choose”.

Remember is always better to redirect your visitor than to leave them wondering why your website is no longer available.
Final Checks
Congrats you have successfully migrated your WordPress.com website to the self-hosted WordPress.org platform.
You will see that you can now go ahead and install a free theme from the WordPress theme directory or you can upload a theme that you purchased or downloaded from a third-party provider. You’ll even notice that you can also install plugins without any restrictions.
While this is all great we still need to check over the migration to make sure everything is there.
First, let’s check to see if all your images came over. This is a common error that some people encounter when migrating a website to a new location.
If you’ve noticed that any of your images are missing you will need to use the Auto Upload Images plugin to fix this issue.
Finally, you’ll need to check the links in your blog posts. If you added links within your post to other posts on your website there is a good chance that they kept the same URL from WordPress.com. You will need to go through each post and change these links.
Hope your website migration was successful and best of luck on your new website.