Thinking of starting a blog? Well, what’s the holdup? There’s never been a better time than now to start your blog. You may not believe it but it’s actually quite easy to set up a blog in 2020. In this article, I’m going to show you just how easy it is to start a blog using WordPress.org. Why WordPress.org? Well because it is the best blogging platform available. So you’re probably wondering what you would need to get started?
Simple you would need the following:
- A topic/niche (What your entire blog would be about)
- A domain name (The web address of your blog e.g www.myblog.com)
- Reliable web hosting (The place where your blog will live on the internet)
That’s pretty much it so if you’re ready follow along and let’s get your blog online today.
Select a Topic or Niche
Before we get into any of the technical stuff we need to first decide on a topic or niche. This is probably the most important step in creating your blog because your topic/niche determines what your entire blog will be about.
The worst thing that could happen when starting a blog is being in a situation where you no longer like your topic or you’ve run out of content ideas because your niche is too small.
Most people will give you a list of steps to help you find a great topic however I don’t think that approach is as effective, so instead, I’m going to share my experience on how I came about selecting the topic for my blog.
In all honesty, this is my second blog. What happened to the first one? Well in short it failed. The topic wasn’t a bad one and some else with that topic can have a successful blog but it just wasn’t for me.
My first blog was about beekeeping, a topic I knew nothing about and had little interest in.
It was painful to do the research and write content for that blog mainly because I felt like I wasn’t giving the best information simply because I wasn’t a beekeeper.
I am actually a web developer. That’s what I studied at university and that’s what I do at my current job so it made more sense to start a blog around web development, web design, and technology.
These are the things that I’m interested in and passionate about and also very knowledgeable on so that’s what my blog is all about.
I’m not saying that you need to be an expert on a topic to blog about it. As long as you are passionate, interested, and have some knowledge of it you should be fine. If you are an accountant and beekeeping is your hobby then you can have a successful blog about beekeeping.
Also, don’t be discouraged if you think that you’re the only person interested in a particular topic. If you do a google search on it you will see that there are so many people in the world who are interested in the same things as you.
No topic is too small as long as it is not super specific about something. In the beginning, you can be very specific but always leave room to branch out and grow your blog. So don’t start a blog about beehives because it will limit what you can talk about. Instead, start a blog about beekeeping and in the beginning focus on beehives as you slowly branch out to blog about everything beekeeping.
Choose a Blogging Platform (WordPress.com vs WordPress.org)
Great now that you’ve chosen your topic it’s time to choose a blogging platform. When it comes to creating a blog there are two main players WordPress.com and WordPress.org. This article focuses on creating a blog with WordPress.org because it is the superior platform between the two and here’s why.
WordPress.org is a self-hosted platform which means that you’re required to provide your own domain name and web hosting. This may not seem like a benefit but by doing so you will be able to do things like upload custom themes, install plugins, and monetize your blog however you want.
On the other hand, WordPress.com offers an all in one solution to starting a blog where they take care of all the technical stuff for you making it easy for beginners. What’s even more appealing to users is you can start a blog on WordPress.com for free however there is a catch.
Their free plan is loaded with a ton of limitations that become more apparent as your blog grows. The only way to get rid of these limitations without migrating your blog to WordPress.org is to upgrade your free WordPess.com plan to a premium one. Each level of their paid plans gives you more freedom over the previous one with their best plan being upwards of $530 per year. Ouch, that’s quite expensive.
Direct Comparison Between WordPress.org and WordPress.com
| Features | WordPress.org (SiteGround StartUp) | WordPress.com (Free) | WordPress.com (Personal) | WordPress.com (Premium) | WordPress.com (Business) | WordPress.com (eCommerce) | ||||||
| 24/7 Support Via Phone, Chat & Tickets | WordPress.org (SiteGround) | YES | WordPress.com (Free) | – | WordPress.com (Personal) | – | WordPress.com (Premium) | – | WordPress.com (Business) | YES | WordPress.com (eCommerce) | YES |
| Custom domain as default web address | WordPress.org (SiteGround) | YES | WordPress.com (Free) | – | WordPress.com (Personal) | YES | WordPress.com (Premium) | YES | WordPress.com (Business) | YES | WordPress.com (eCommerce) | YES |
| Remove WordPress.com Ads | WordPress.org (SiteGround) | YES | WordPress.com (Free) | – | WordPress.com (Personal) | YES | WordPress.com (Premium) | YES | WordPress.com (Business) | YES | WordPress.com (eCommerce) | YES |
| Advanced Design Customization | WordPress.org (SiteGround) | YES | WordPress.com (Free) | – | WordPress.com (Personal) | – | WordPress.com (Premium) | YES | WordPress.com (Business) | YES | WordPress.com (eCommerce) | YES |
| Accept Payments On Website | WordPress.org (SiteGround) | YES | WordPress.com (Free) | – | WordPress.com (Personal) | YES | WordPress.com (Premium) | YES | WordPress.com (Business) | YES | WordPress.com (eCommerce) | YES |
| Subscriber Only Content | WordPress.org (SiteGround) | YES | WordPress.com (Free) | – | WordPress.com (Personal) | YES | WordPress.com (Premium) | YES | WordPress.com (Business) | YES | WordPress.com (eCommerce) | YES |
| Paid Newsletters | WordPress.org (SiteGround) | YES | WordPress.com (Free) | – | WordPress.com (Personal) | YES | WordPress.com (Premium) | YES | WordPress.com (Business) | YES | WordPress.com (eCommerce) | YES |
| Pay with PayPal | WordPress.org (SiteGround) | YES | WordPress.com (Free) | – | WordPress.com (Personal) | – | WordPress.com (Premium) | YES | WordPress.com (Business) | YES | WordPress.com (eCommerce) | YES |
| Display Ads | WordPress.org (SiteGround) | YES | WordPress.com (Free) | – | WordPress.com (Personal) | – | WordPress.com (Premium) | YES | WordPress.com (Business) | YES | WordPress.com (eCommerce) | YES |
| Google Analytics Integration | WordPress.org (SiteGround) | YES | WordPress.com (Free) | – | WordPress.com (Personal) | – | WordPress.com (Premium) | YES | WordPress.com (Business) | YES | WordPress.com (eCommerce) | YES |
| SEO Tools | WordPress.org (SiteGround) | YES | WordPress.com (Free) | – | WordPress.com (Personal) | – | WordPress.com (Premium) | – | WordPress.com (Business) | YES | WordPress.com (eCommerce) | YES |
| Install Plugins | WordPress.org (SiteGround) | YES | WordPress.com (Free) | – | WordPress.com (Personal) | – | WordPress.com (Premium) | – | WordPress.com (Business) | YES | WordPress.com (eCommerce) | YES |
| Upload Themes | WordPress.org (SiteGround) | YES | WordPress.com (Free) | – | WordPress.com (Personal) | – | WordPress.com (Premium) | – | WordPress.com (Business) | YES | WordPress.com (eCommerce) | YES |
| Remove WordPress.com Branding | WordPress.org (SiteGround) | YES | WordPress.com (Free) | – | WordPress.com (Personal) | – | WordPress.com (Premium) | – | WordPress.com (Business) | YES | WordPress.com (eCommerce) | YES |
| Automated Backup & One‑Click Rewind | WordPress.org (SiteGround) | YES | WordPress.com (Free) | – | WordPress.com (Personal) | – | WordPress.com (Premium) | – | WordPress.com (Business) | YES | WordPress.com (eCommerce) | YES |
| SFTP (SSH File Transfer Protocol) and Database Access | WordPress.org (SiteGround) | YES | WordPress.com (Free) | – | WordPress.com (Personal) | – | WordPress.com (Premium) | – | WordPress.com (Business) | YES | WordPress.com (eCommerce) | YES |
| eCommerce Features | WordPress.org (SiteGround) | YES | WordPress.com (Free) | – | WordPress.com (Personal) | – | WordPress.com (Premium) | – | WordPress.com (Business) | – | WordPress.com (eCommerce) | YES |
| Storage Space | WordPress.org (SiteGround) | 10GB | WordPress.com (Free) | 3GB | WordPress.com (Personal) | 6GB | WordPress.com (Premium) | 13GB | WordPress.com (Business) | 200GB | WordPress.com (eCommerce) | 200GB |
| Cost of Hosting | WordPress.org (SiteGround) | $6.99 | WordPress.com (Free) | FREE | WordPress.com (Personal) | $4 | WordPress.com (Premium) | $8 | WordPress.com (Business) | $25 | WordPress.com (eCommerce) | $45 |
The table above shows a comparison between launching a blog with WordPress.org and launching a blog using WordPress.com.
The table breaks down the most important features to consider when deciding on a platform to launch your blog .
As you can see the only WordPress.com plan that provides as much value as hosting a blog with SiteGround and using WordPress.org is the WordPress.com eCommerce plan which costs $45 per month. This costs significantly more than using WordPress.org and SiteGround which is just $6.99 per month.
Even after your initial term is over and SiteGround re-bills you at the regular renewal price of $14.99 per month it is still a lot cheaper than both the WordPress.com Business plan ($25 per month) and eCommerce plan ($45 per month).
Select a Domain Name
Now that we’ve got our niche and decided to use self-hosted WordPress we need to get a domain name and purchase a hosting plan.
Your domain name will be the address of your website, this is what users will type into their browser to visit your site.
Your web host will be the home where your blog lives without these two things your blog cannot exist online.
What Makes a Good Domain Name?
- Your domain name should be easy to read and easy to remember.
- Make sure it’s not too long a maximum of three words is ideal.
- Do not include special characters like hyphens (dashes) or numbers.
- Make it relatable to your topic however don’t make it too specific, you always want to leave room to branch out.
- If you are creating a personal brand blog then its fine to use something like your name.
Purchase a Web Hosting Plan
Once you’ve decided on a domain name the next thing you will need to do is purchase a web hosting plan from a reliable provider. Personally, I host my blog using SiteGrounds Managed WordPress Hosting and I recommend anyone who’s starting a blog to do the same.
SiteGround provides excellent website speed with its best in class integrated caching plugin, a starter plugin for beginners, and exceptional reliability and customer support with plans starting at just $6.99 per month.
To purchase a hosting plan from SiteGround you will need to follow this link to the SiteGrounds Managed WordPress Hosting page. Here you will be presented with three plans the StartUp, GrowBig, and GoGeek. As a beginner, I recommend the StartUp plan.

You can always upgrade your plan later as your website grows and becomes more popular.
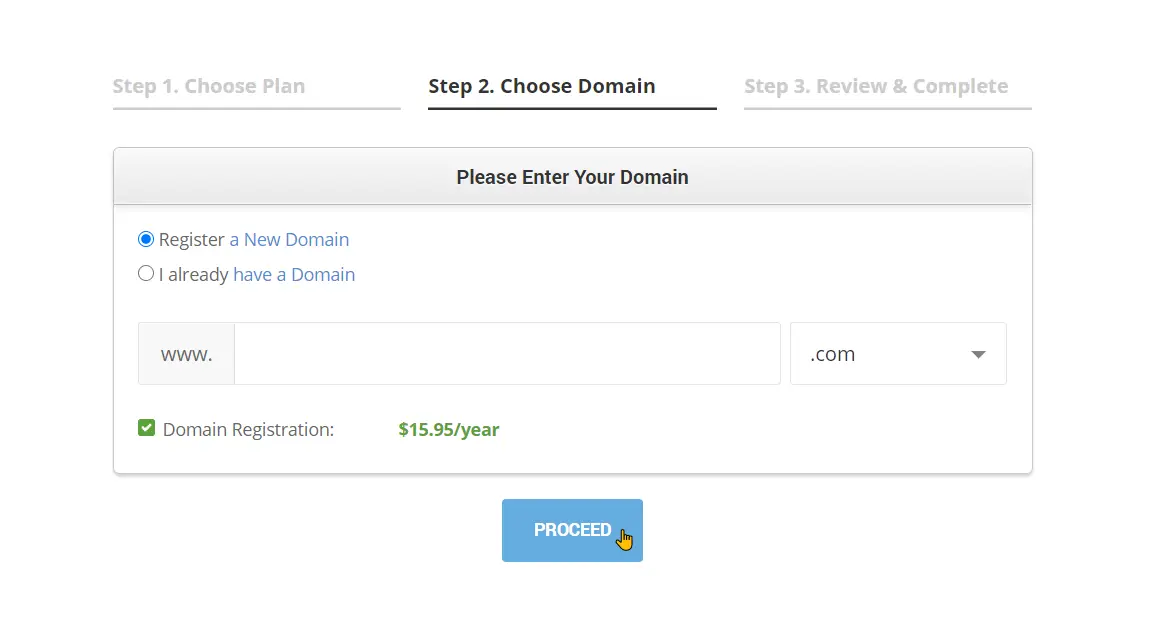
After selecting your hosting plan of choice on the next screen, select register a new domain and enter the domain name you came up with in the field below.
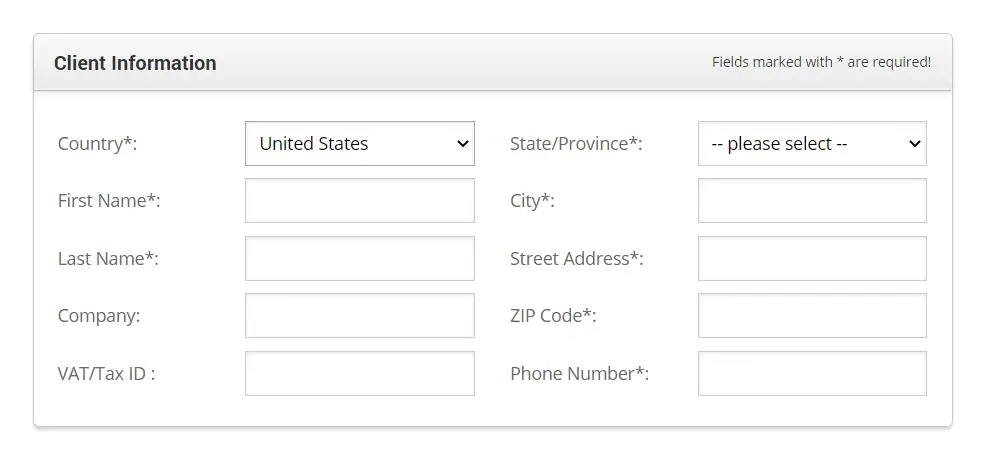
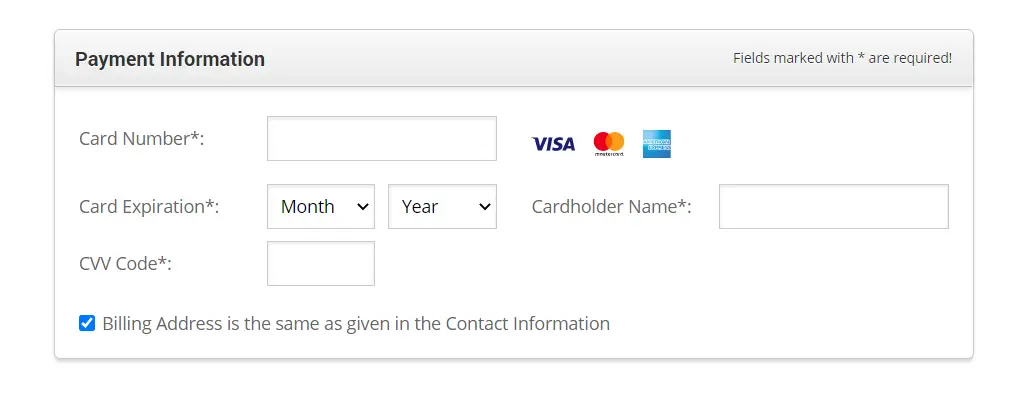
Next, you will need to enter a few details to set up your SiteGround account.
- Account information

- Client information
- Payment information
In the “purchase information” section select a hosting period of 12 months to get the best deal from SiteGround.
The extra services are optional and can be left out if it’s not in your budget. You can skip the SG scanner because you can install a free plugin that does the same thing.
However, you should consider domain privacy if you are not comfortable with your private information being available on whois services.

What is whois services? This is a global domain lookup service. If you don’t have domain privacy and someone uses whois to do a domain check your personal information such as your name will be available there for them to see.
When you’re done filling in this information accept the terms and conditions and click on “pay now”.

SiteGround will proceed to process your payment and when its complete a popup will appear, click on “proceed to the customer area”.

Install WordPress From Your Web Hosting Dashboard
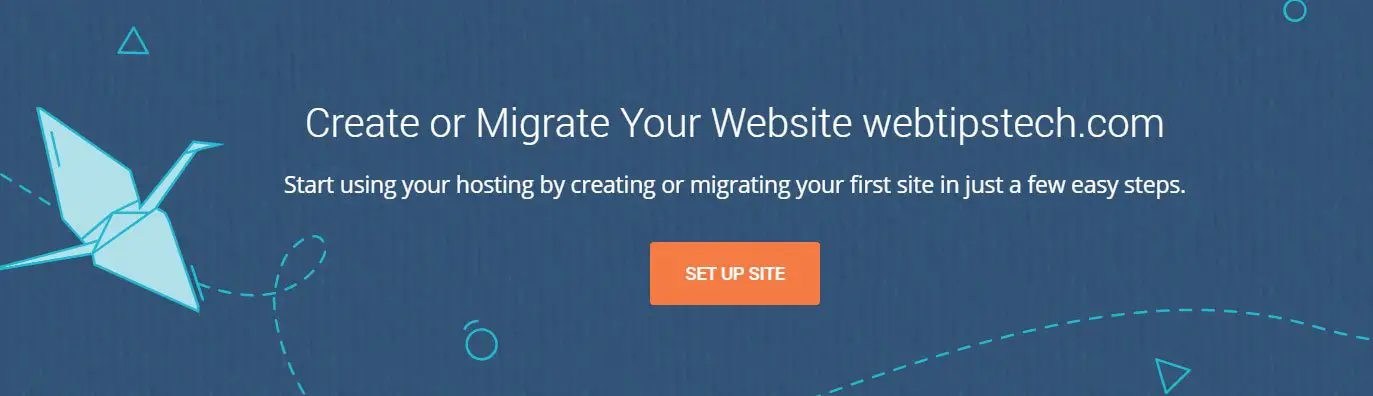
When you get to the customer area you’ll see a banner prompting you to create or migrate a website to your new domain. From here click on the orange button that reads “set up site”.
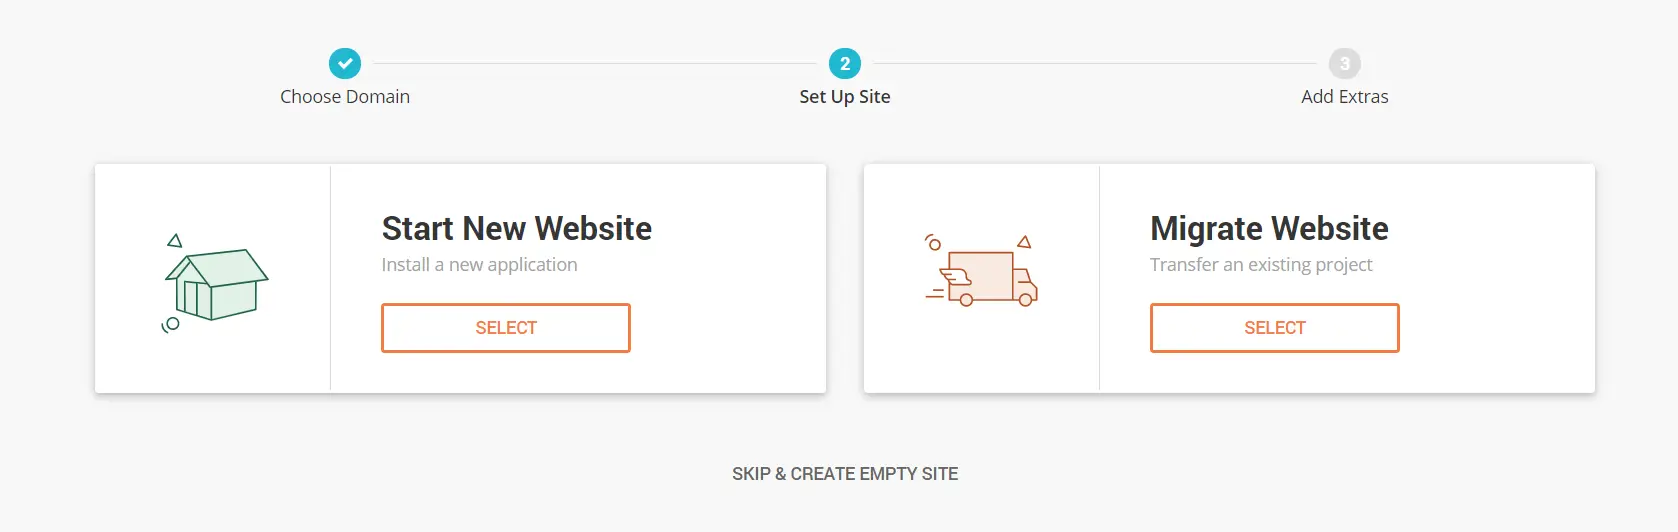
Next, you’ll be given the option to migrate a website or to create a new website. Select “start new website”.
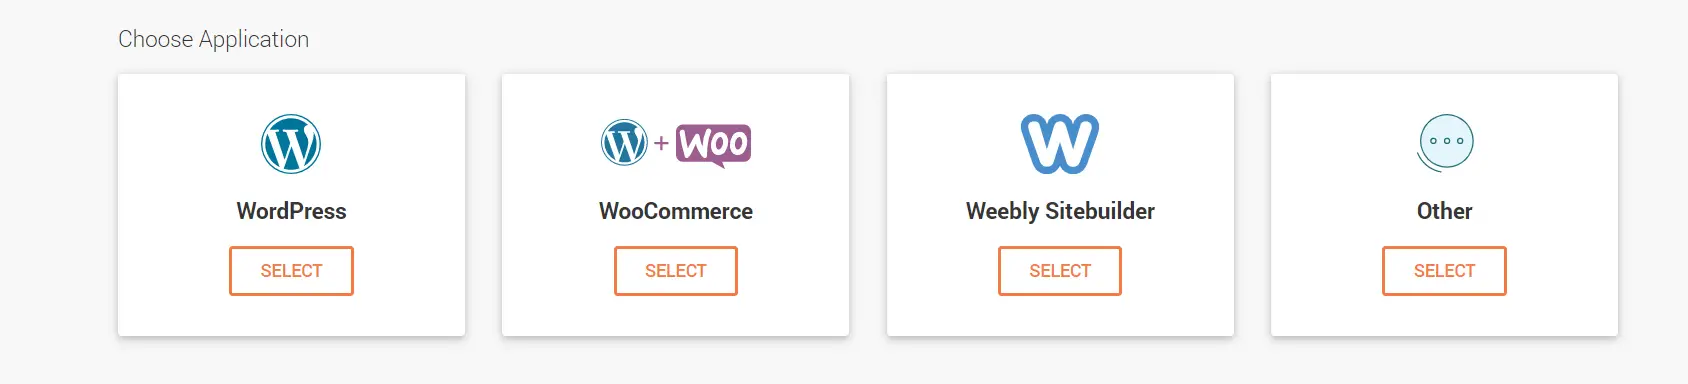
Then from the list of applications select “WordPress”.
Now you will need to create a user on your wordpress install. This is the email and password that you will use to log into your WordPress website.

On the following screen, SiteGround will prompt you to purchase a few addons. These are the same addons from when you were purchasing your hosting plan. Again you can skip SG scanner however I recommend that you get domain privacy if not now sometime during your blogging journey since you’ll always be able to purchase it later.
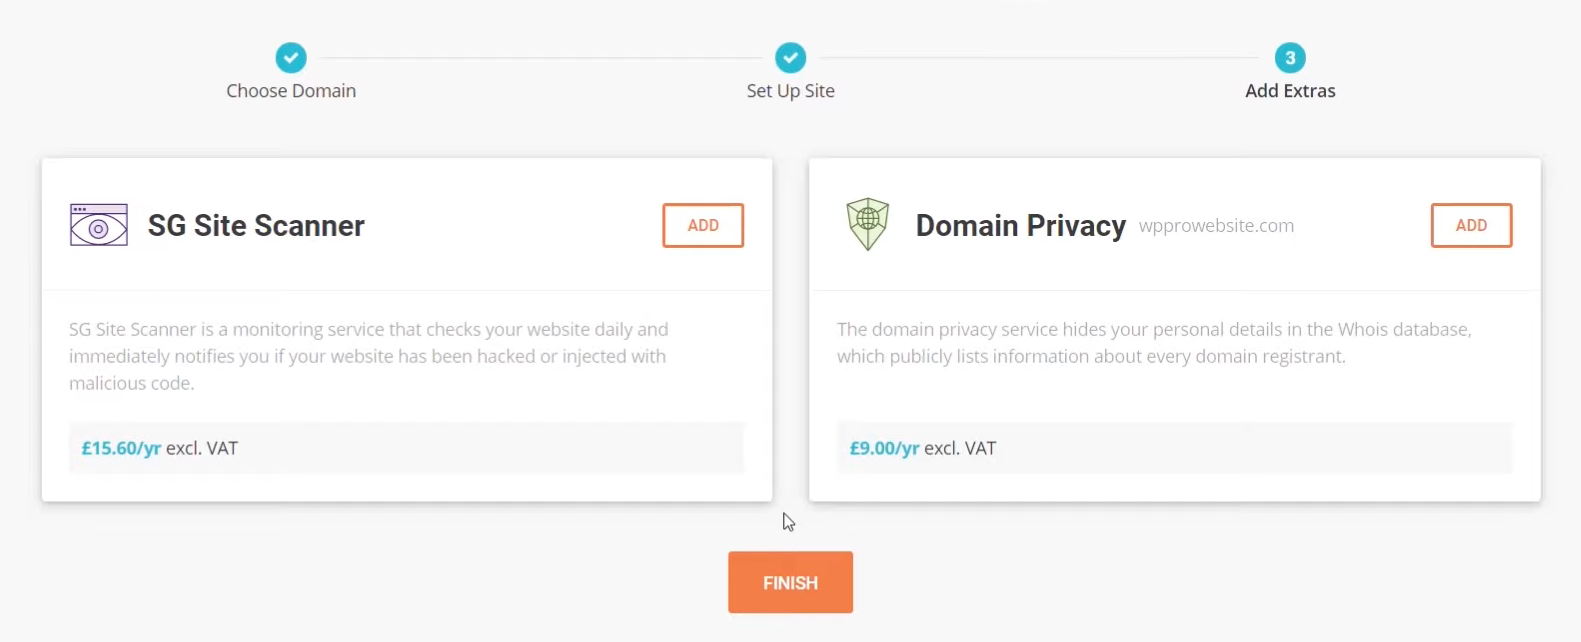
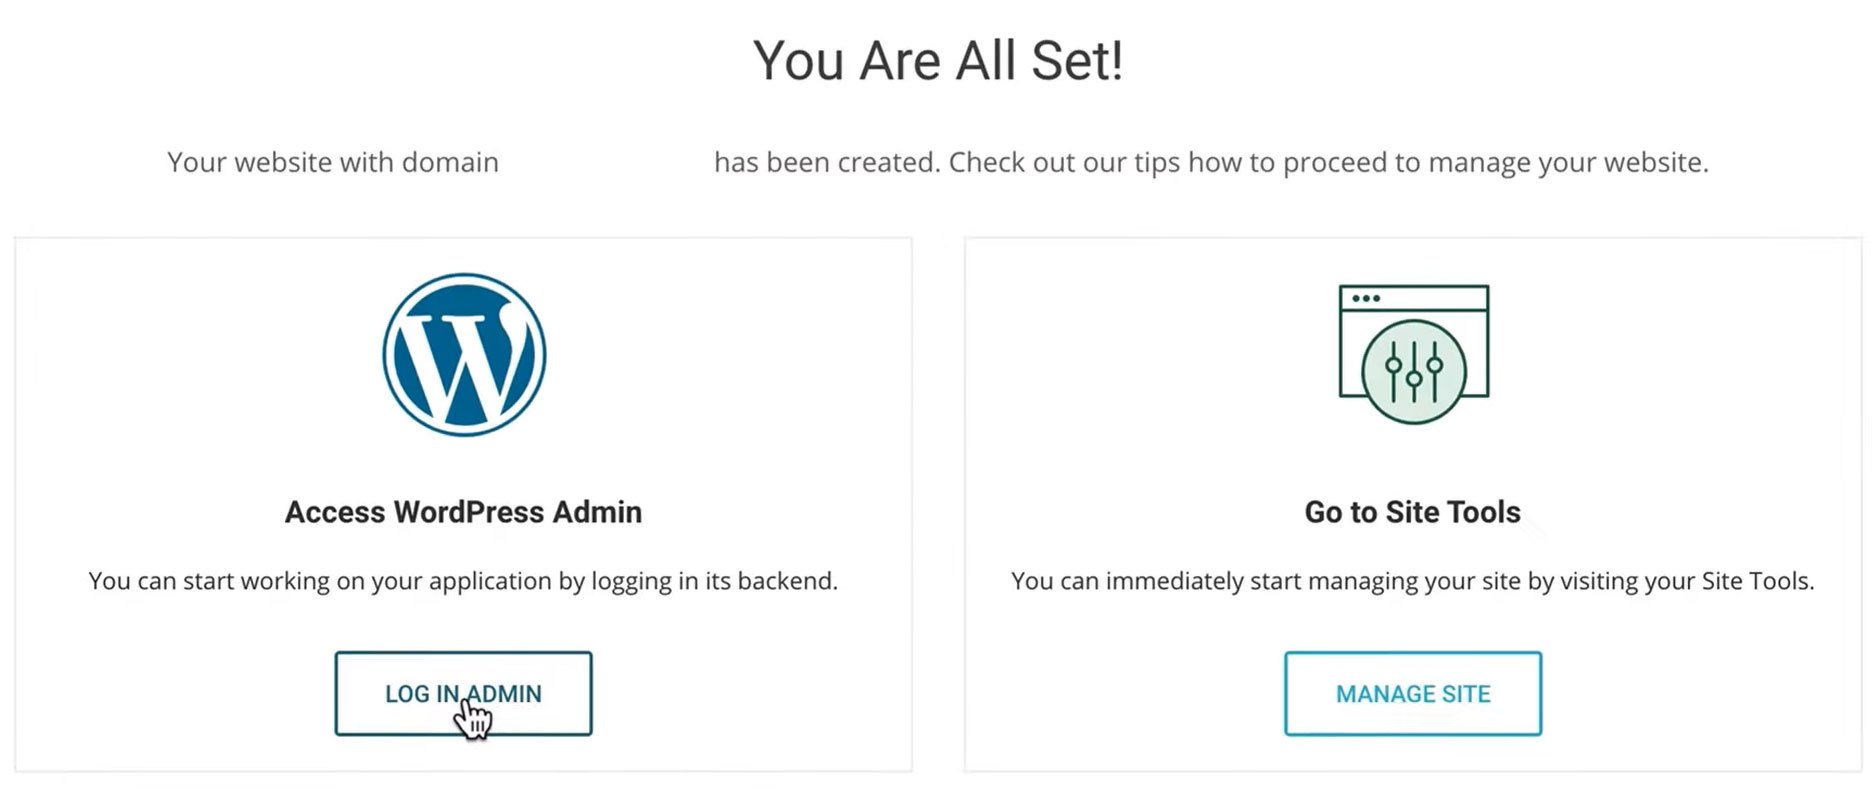
When you’ve decided, click on “finish”, and on the next screen, you’ll be given the option to manage your site or to go to your website. Click on “login admin”.
SiteGround will then launch its built-in WordPress starter setup click on “start now”.

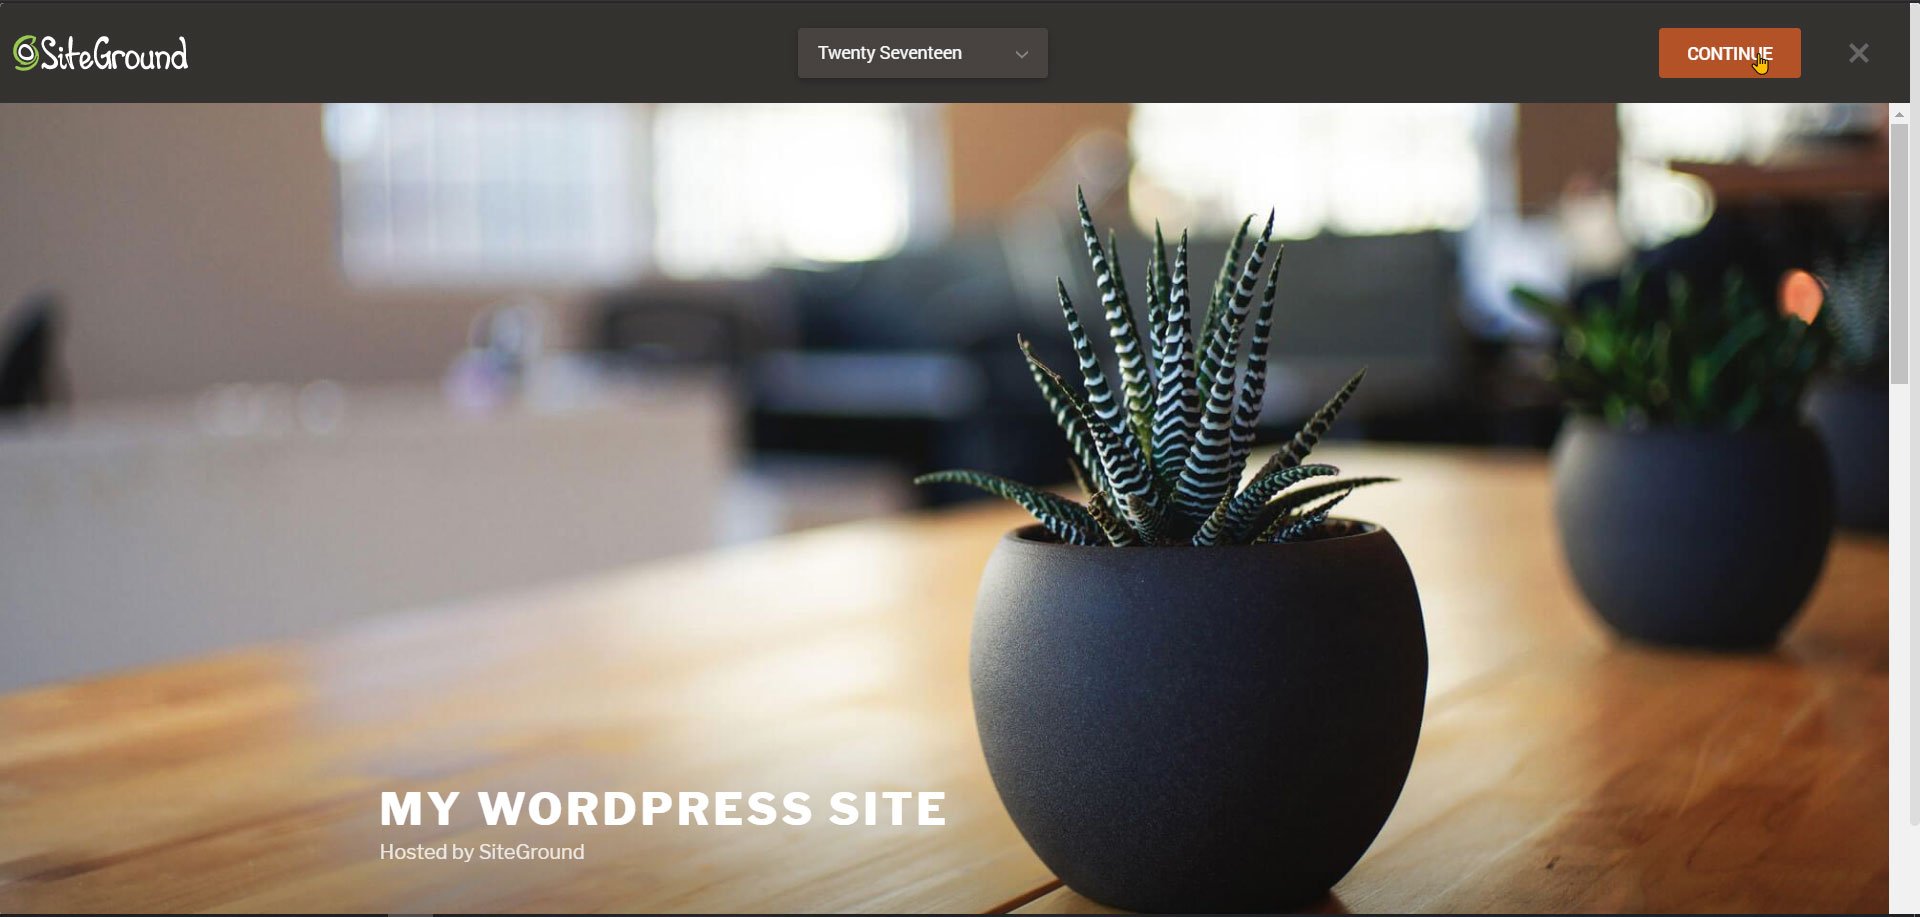
You will then need to select a theme from the ones provided by the SiteGround setup wizard.

When you’ve made your selection click on “continue”. Don’t put too much effort into your theme selection here as you will always be able to change your theme later.
After you selected a theme, you will need to choose a few plugins that are recommended by SiteGround. Here you can select anyone that you want or you can skip them because you will be able to install them later.

On the following page do the same for the recommended marketing plugins.
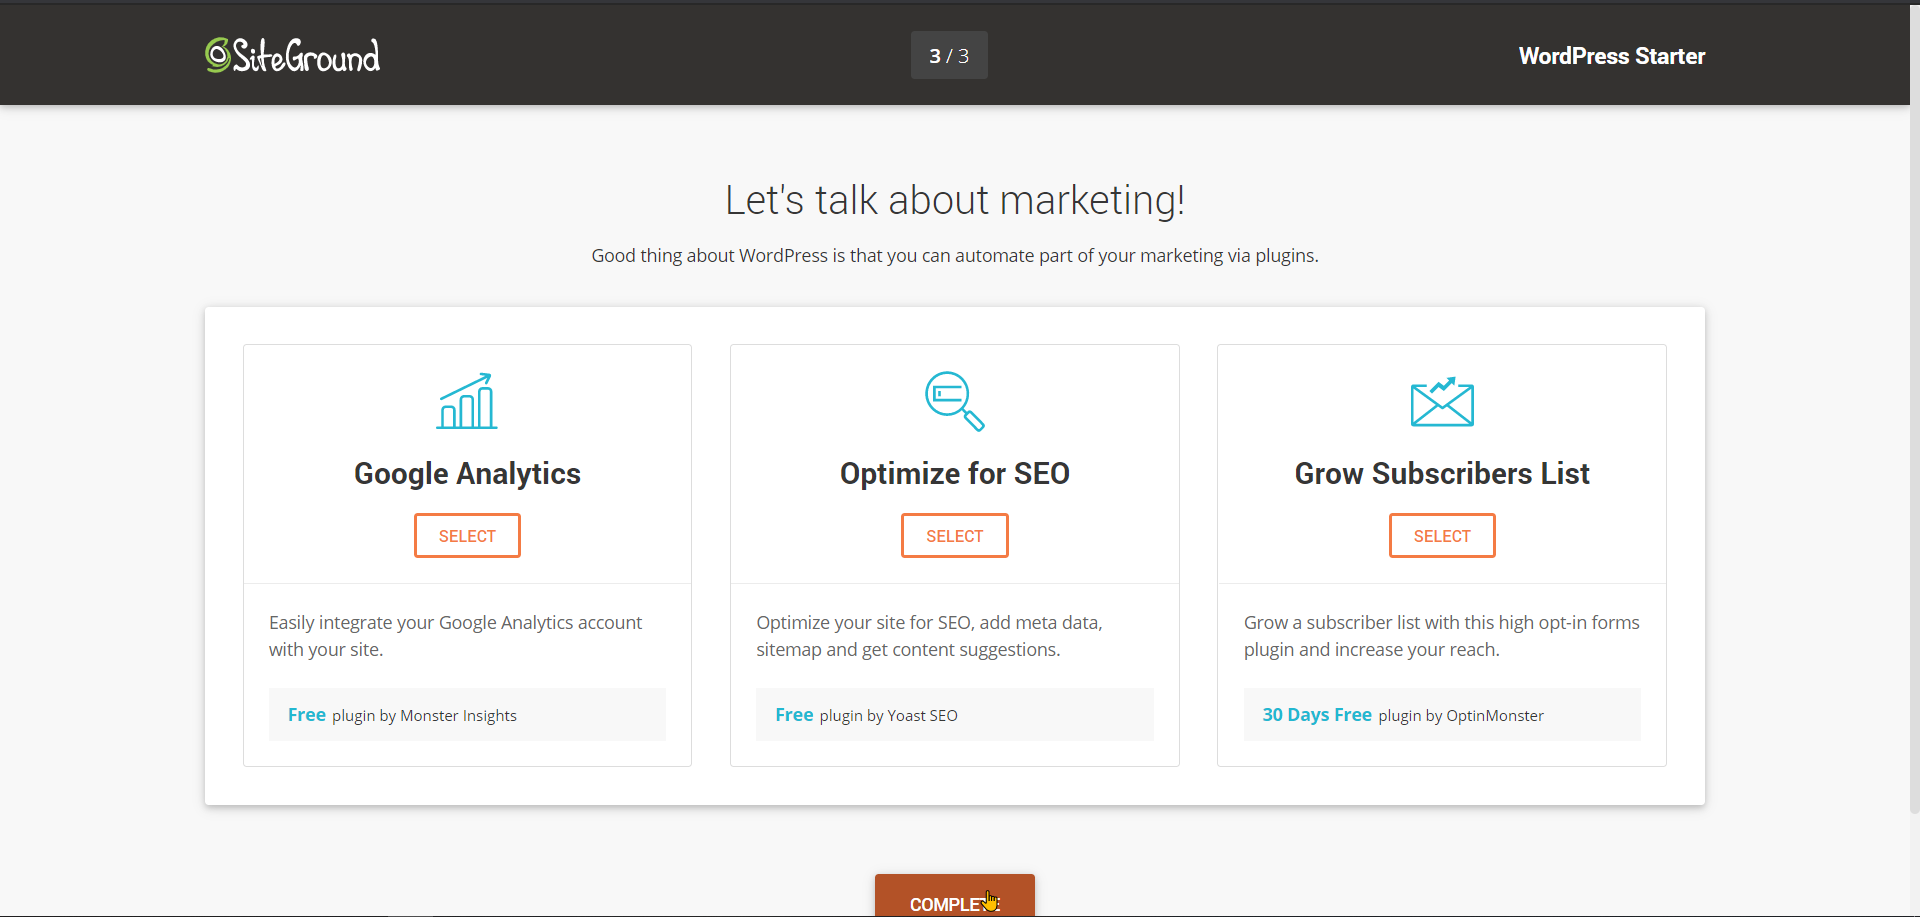
That’s it, now SiteGround will proceed to install WordPress along with your theme and plugins.

When it’s done clicks on “Go to dashboard”.

Configure Your New WordPress Installation
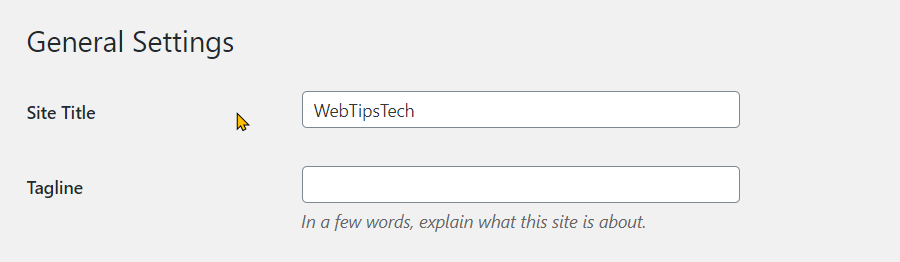
Now that wordpress is installed you will need to do a little bit of configuration. Let’s start by naming your blog and giving it a tagline, these are the first two things visitors will see when they arrive on your blog.
From your dashboard in the menu to the right hover over setting then click on general.

In the field next to “site title” enter the name of your blog and in the “site tagline” field enter a short sentence that provides a summary of what your blog is all about.
Next in the wordpress address (URL) and site address (URL) change the URLs from http://yourdomainname.com to https://yourdomainname.com. Changing these URLs from HTTP to HTTPS forces WordPress to always load your SSL certificate.

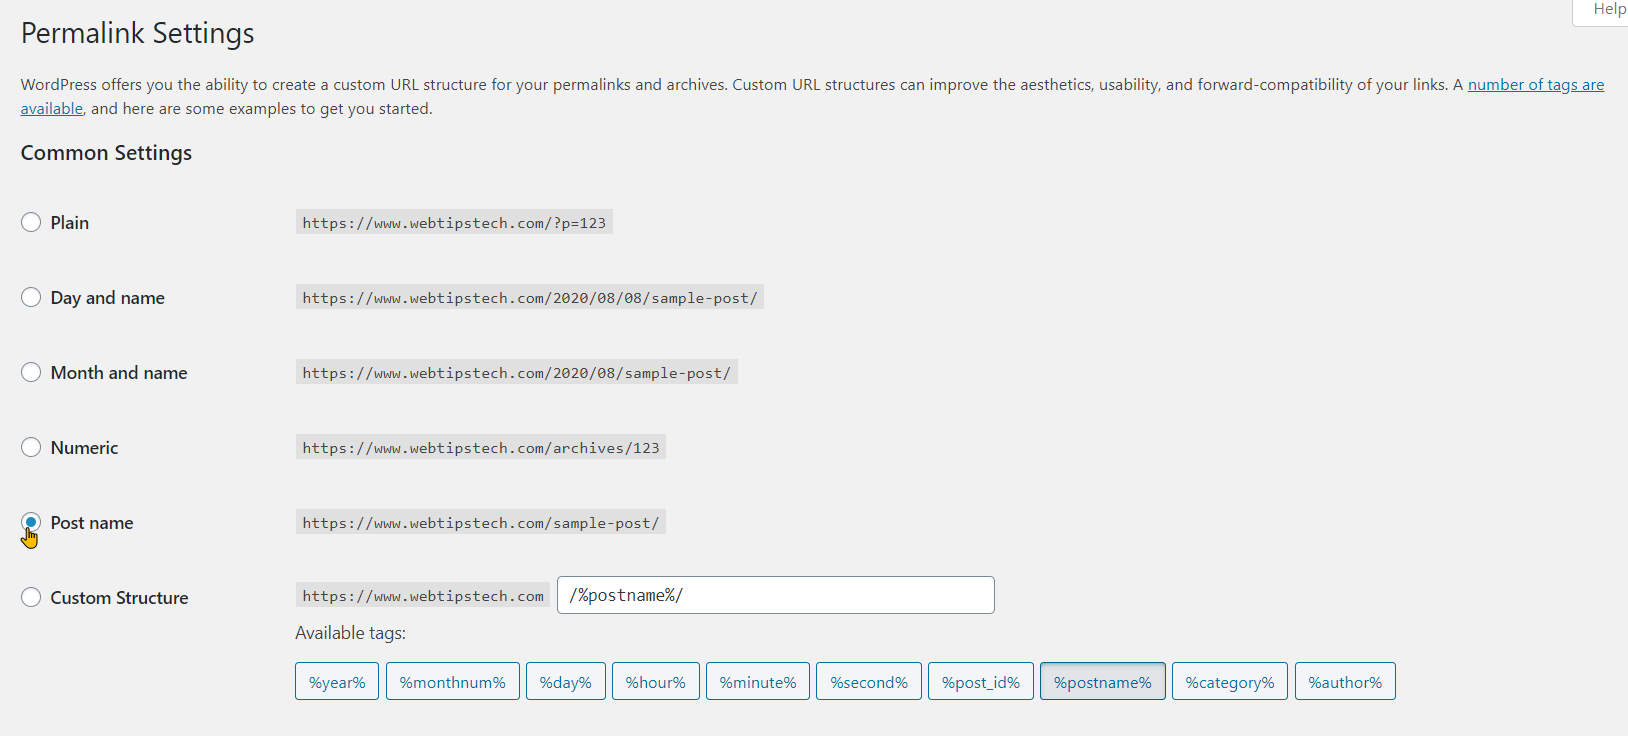
Now we need to change your permalinks. Permalinks are short for permanent links; these are unique URLs assigned to each individual page or post on your blog. By default on a new WordPress install, the URLs will contain a lot of unnecessary information such as dates or post ids.
This is what the URLs on a new WordPress install can look like:
- https://www.webtipstech.com/?p=123
Permalinks like in the example above are confusing to both readers and search engines. Bad permalinks can result in your blog receiving lower than usual ranking or worse your pages may not even appear in the search results.
Ideally, you will want your page URLs to look natural like this:
- https://www.webtipstech.com/how-to-start-a-blog
To change your permalinks click on the “permalinks” option under the settings tab in the menu to the right.

Then in the list of available options select “post-name” and click “save changes”.
Finally, you will want to make sure that search engines can find your blog on the internet. Click on “reading” under the settings tab.

On the next page make sure that the box next to search engine visibility is unchecked.

Install a WordPress Theme For Your Blog
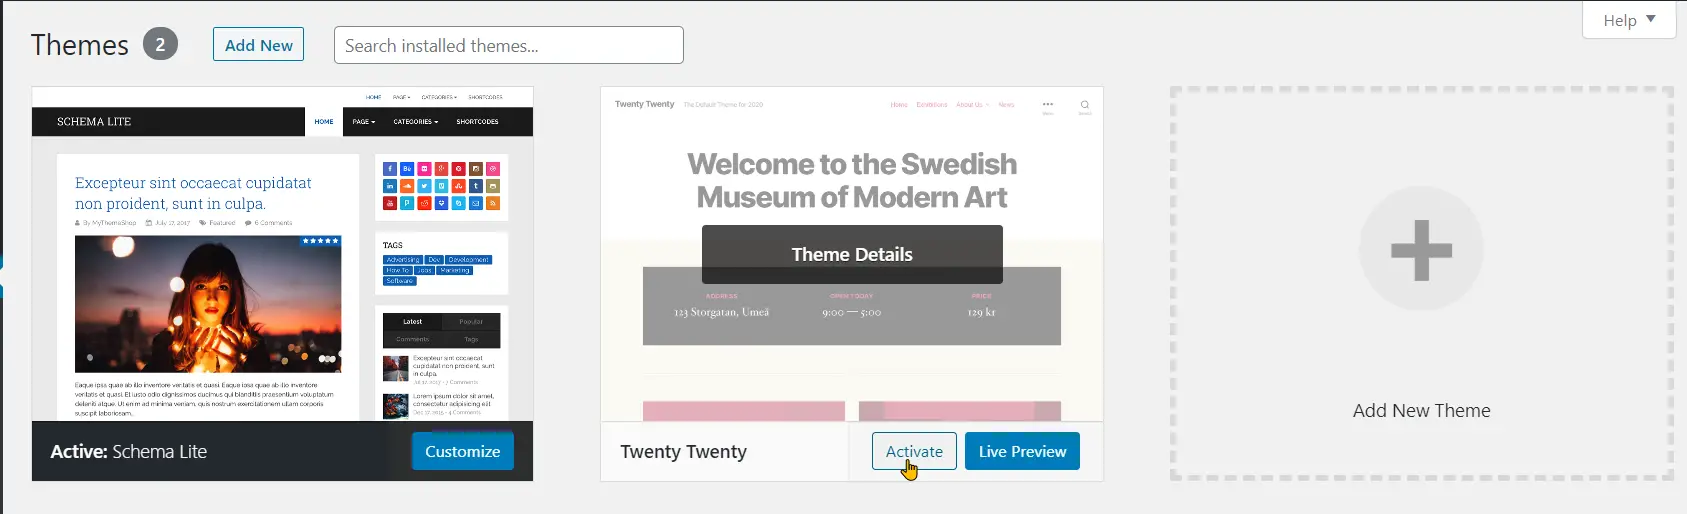
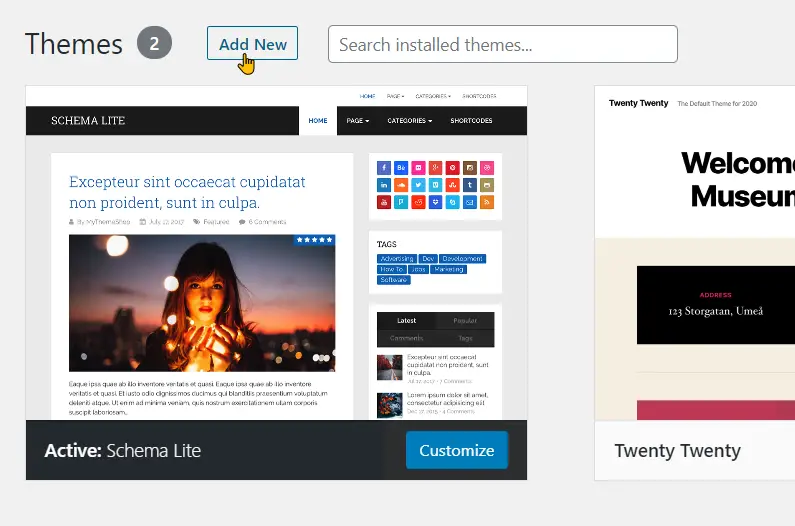
If you’re not impressed with the theme you choose when installing WordPress this is how to change it. From your WordPress dashboard hover your pointer over appearance and select themes from the drop-down menu.

Here you will be able to see all your installed themes and activate a new one.
To install a theme click on the add new button at the top left. This will bring you to the built-in WordPress theme repository.
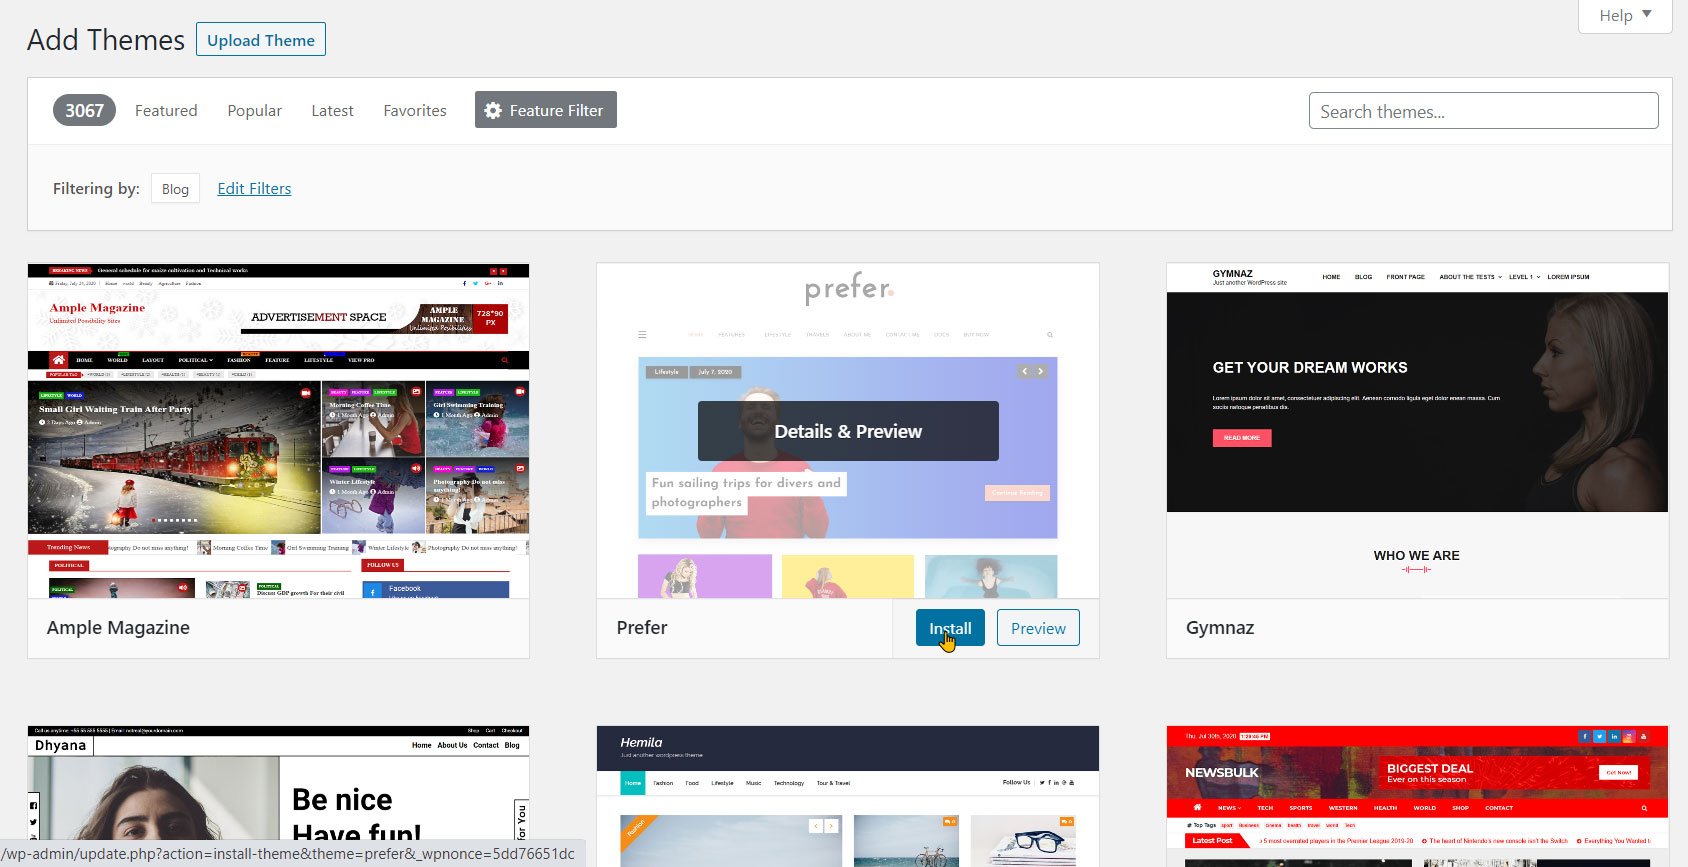
Here you will notice that there are a ton of free themes to choose from.

To make your search a lot easier click on the feature filter and under subject select “blog” and click on “apply filter”. This will filter through all the available themes and only display those that are built for blogs.
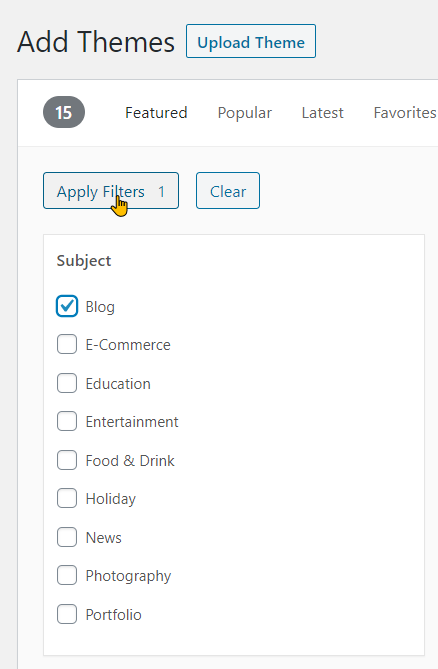
Since you’re making a blog I recommend that you only install themes that are specifically made for blogs so you don’t install a bunch of other features that you don’t need that are normally packaged with themes.
When you’ve found a theme that you like hover over it with your pointer and click on “install”.
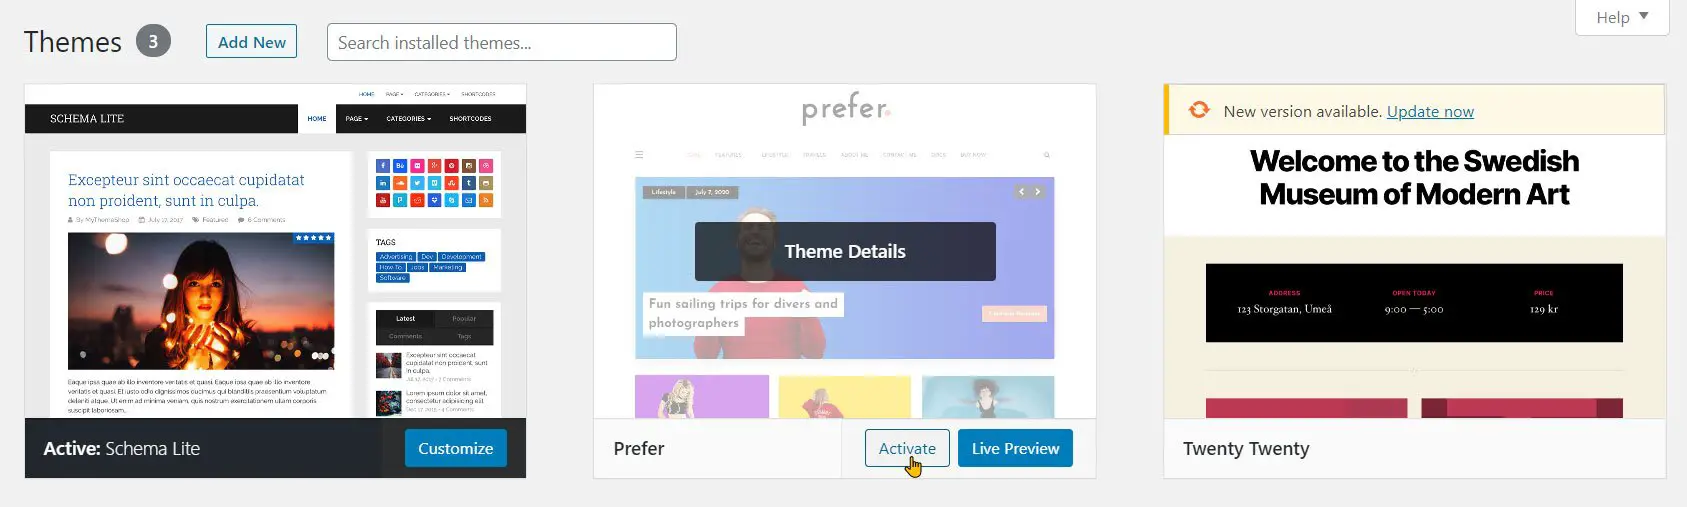
Finally, navigate back to your installed themes, find the theme you just installed then click “activate”.
The next option you have is to use a premium theme. Premium themes can be purchased on ThemeForest and other third party theme providers. These are a little different to install but I cover that in my other article about uploading a premium theme.
Install Some Must-Have WordPress Plugins
The next thing you will want to take advantage of is plugins these can be used to add additional functionality to your website. Plugins are really easy to install and there is probably one that exists to add whatever feature you want to your blog.
To install a plugin head on over to the menu on the right then click on plugins.
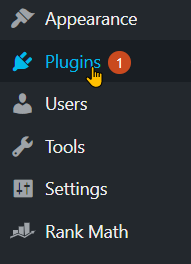
Next click on the “add new” button at the top left to go to the built-in plugin repository.

Here you will see a list of featured plugins.

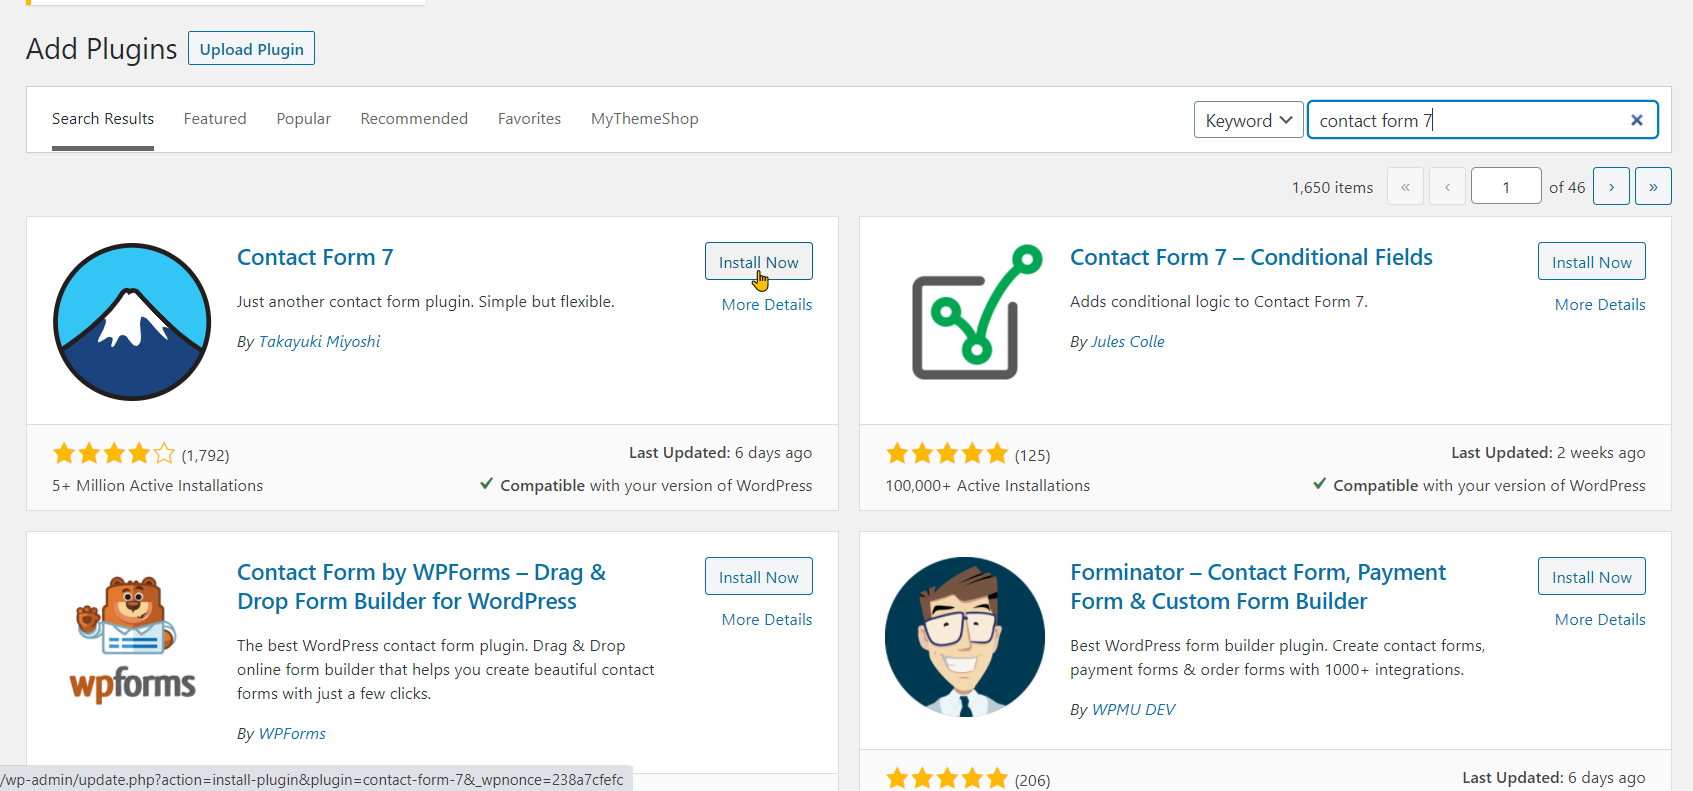
To find a specific plugin use the search bar to the right and type in the name of the plugin that you are looking for.

When you’ve found the plugin click on the “install now” button.
After installing the plugin you can either activate it from this screen or go back to your installed plugins and activate it there.

To deactivate and uninstall a plugin is quite similar. head back to your list of installed plugins find the plugin that you want to remove then click on deactivate.
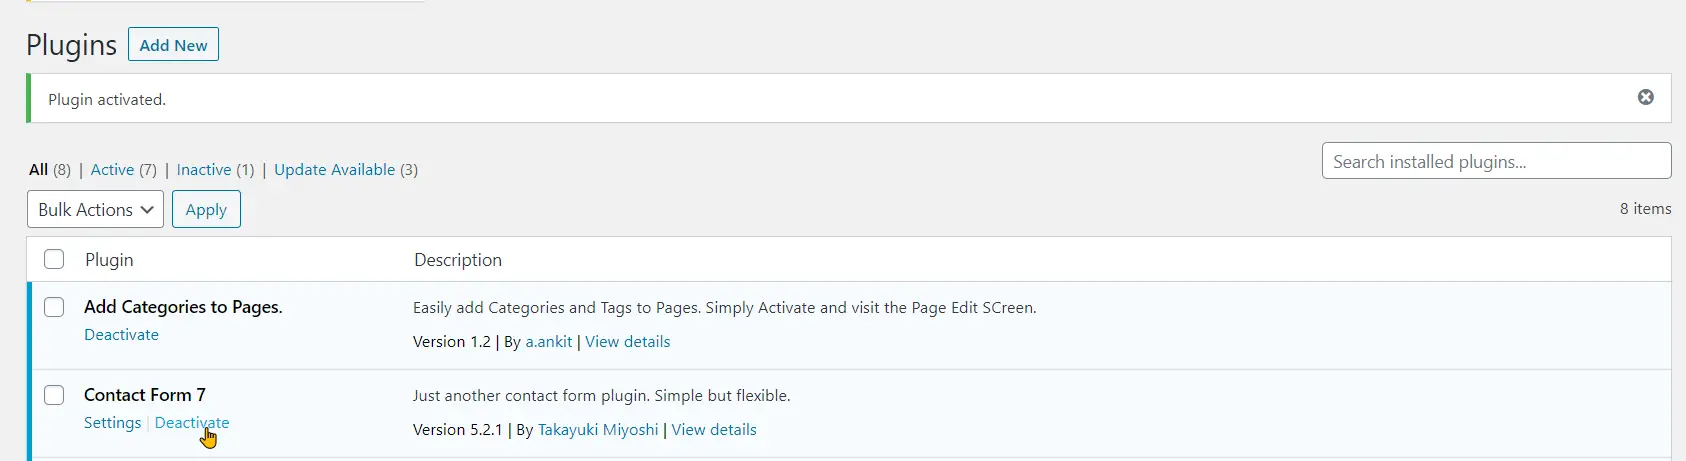
The page will refresh, find the plugin that you’ve just deactivated and click on “delete”.

Best Plugins for a new blog:
- Rank Math (For all your SEO needs)
- Wordfence (Adds an additional layer of security to your blog)
- ShortPixed (Optimizes your images and makes your posts load faster)
- WPforms (Easiest way to create a contact form)
Create Your Must-Have Blog Pages
Before you start adding blog posts to your website you will first need to create these pages:
Home: A homepage is probably the most important page on any website. This page welcomes the visitor to your blog and allows them to quickly understand what it’s all about. For blogs, this can be a custom page with banners and links to different categories and posts or it can just be as simple as a page with your most recent blog posts.
About: This page tells your visitors who you are and your reasons for creating your blog. It also helps them to understand what your blog is about.
Contact: This is a simple page that gives your visitors a way to contact you. It can be a separate page or you can integrate it with your about page by adding a contact form.
Privacy Policy and Disclosures: These pages let your visitors know what kind of data you are collecting on your blog and if you are making money for ads or partnerships with other companies.
To create your must-have pages you will first need to know how to create a page on WordPress. Creating a page is simple, from your WordPress dashboard navigate to the menu on the right and click on all pages.
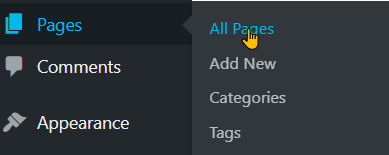
Then at the top right click on the “add new” button.

You will now be on the page creation screen. Start by adding a title to your page in the space with the placeholder text “Add title”.

Below the title space, you’ll see the placeholder text “Start writing or type / to choose a block“. By default, this is a paragraph block and you can use it to add a paragraph to your page.

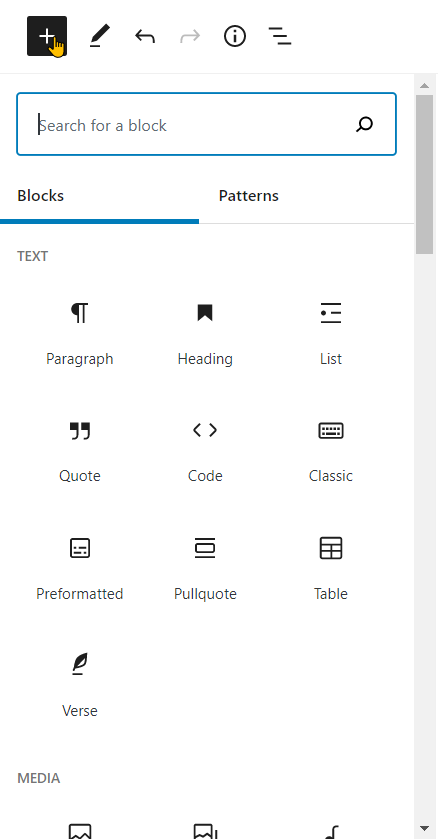
To create the rest of the page you will need to add more blocks. Blocks are essential elements in the WordPress Gutenberg page builder. At the top right you’ll see a plus icon click it to view all the available default blocks.
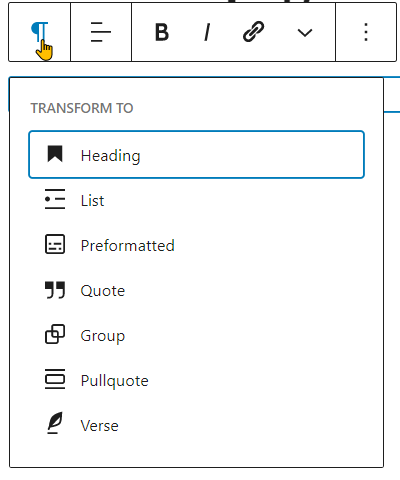
If you click on an existing block you will see additional options. The first one will convert that block to a compatible alternative.
Moving from left to right this is what the options do.

- Move the block either one step up or one step down.
- Text alignment options,
- Make text bold.
- Make text italic.
- Embed a link within some text.
- The arrow at the end reveals more rich-text controls.
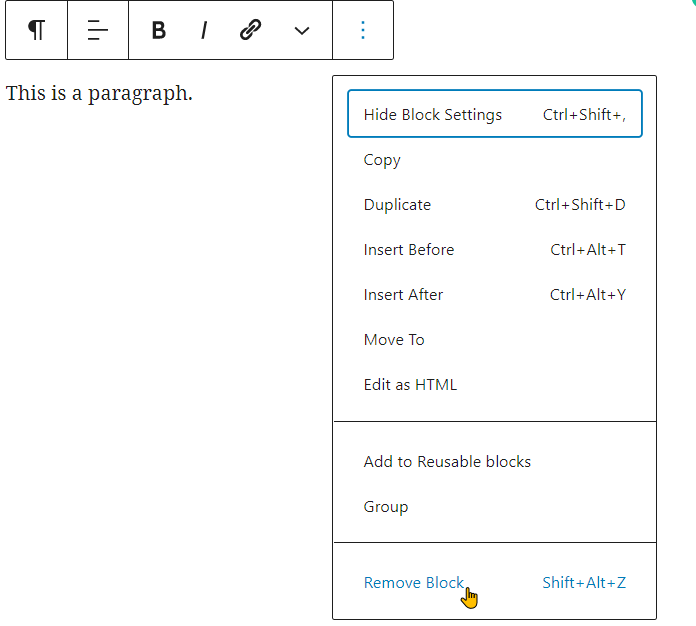
To delete a block click on the ellipses (the three dots) which reveals a drop-down menu with additional options. Right at the bottom, there is the remove block option.
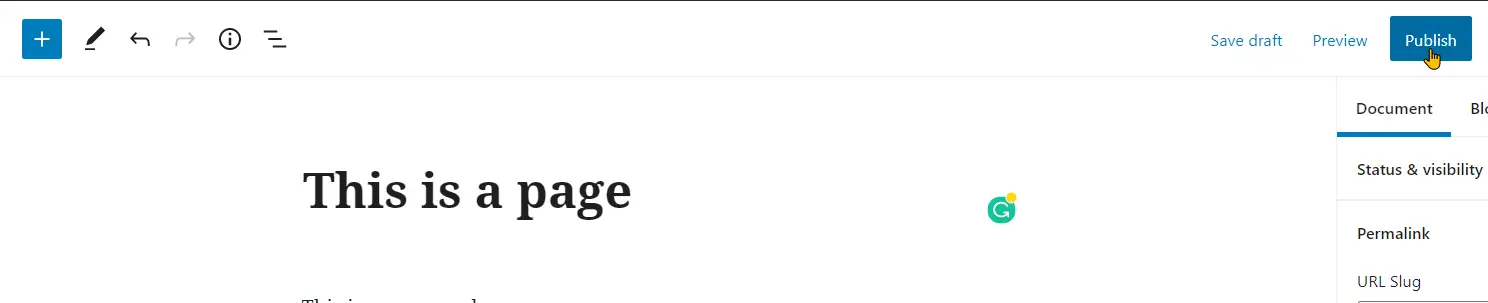
When you finished building the page click on the publish button at the top right
Write and Publish Your First Blog Post
Creating a post is similar to creating a page. They both use the Gutenberg builder so its really the same thing.
To create a post click on “all posts” in the menu on the left.
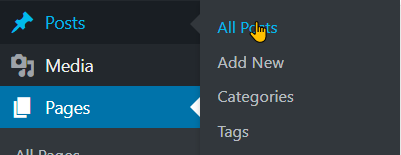
Then at the top right click on “add new”.

Since the WordPress post builder is the same as the WordPress page builder you will build out your post the same way you will a page.

I recommend that you write and format your post in something like google docs then copy and paste it into the WordPress editor for a smoother experience.
After pasting your post into the WordPress post editor, you will need to add some images. Images help make your content more visually appealing and helps to keep the reader’s attention.
To add an image within your content click on the add block icon and select the image block.

Next, you will need to upload an image that you have stored on your computer. I highly recommend that you optimize your images before uploading them to your blog.
To upload an image click on the upload button located in the image block.
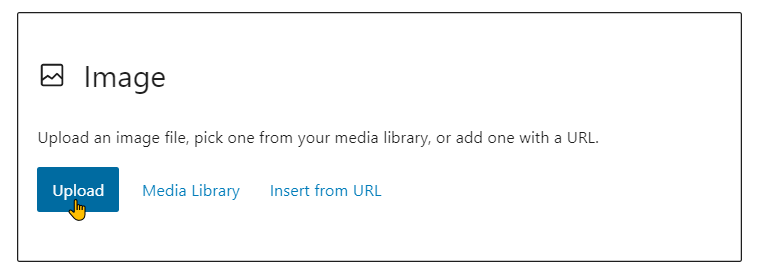
Then select the image that you would like to upload and click open.

When you’re finished writing a post you’ll need to add it to a category. To do so in the document tab to the right find the categories tab and click on add new category

Give your category a name and click on the “Add New Category” button.

Add a Navigation Menu To Your Blog
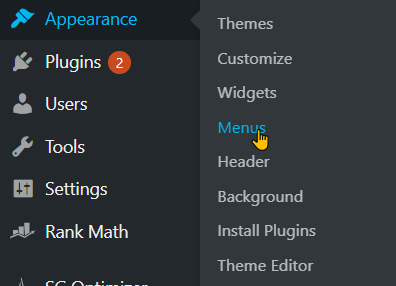
To add a navigation menu to your blog start by heading over to appearance and selecting menus.
On the menus page click on the “create a new menu” link.

In the space under menu structure give your menu a name then click on the “create menu” button.

Next under the menu item heading you will see four tabs namely pages, posts, custom links, and categories.
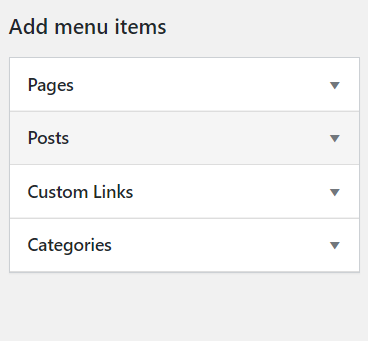
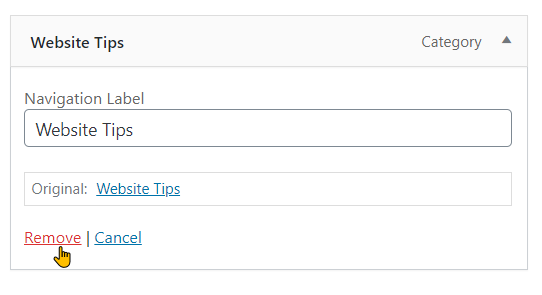
Click on the type of menu item that you would like to add such as categories and in the list of items select the one that you would like to add then click on “Add to menu”.

To delete a menu item click on the little arrow to the right of the block to reveal additional configuration options and then click on “Remove”.
Under menu settings, you see a list of options the first one “auto add pages” is used to automatically add new pages to your menu as you create them.

The next option “display location” is used to set where your menu would be displayed. Where you can display a menu on your blog is dependant on your theme. Some themes have more options than others.

When you’re done adding menu items to your menu click on “Save Menu”.

Congratulations your blog is now live. See that wasn’t too difficult right? Going forward you should continue to update your blog with new content weekly. You should also continue to increase your knowledge in areas such as WordPress, keyword research, and SEO. Doing so will help you increase the number of visitors that come to your blog and eventually you will be able to monetize that traffic and make a little side income from your hard work.