You cannot email a collection of photos in Gmail that exceeds the 25MB attachment threshold.
To send a large group of photos via email, you will need to use a cloud sharing service like Google Drive and send the recipient a shared link to the location of these photos

In this article, I will show you four methods that you can use to email as many photos as you want in Gmail.
1 – Email Photos Using Google Drive
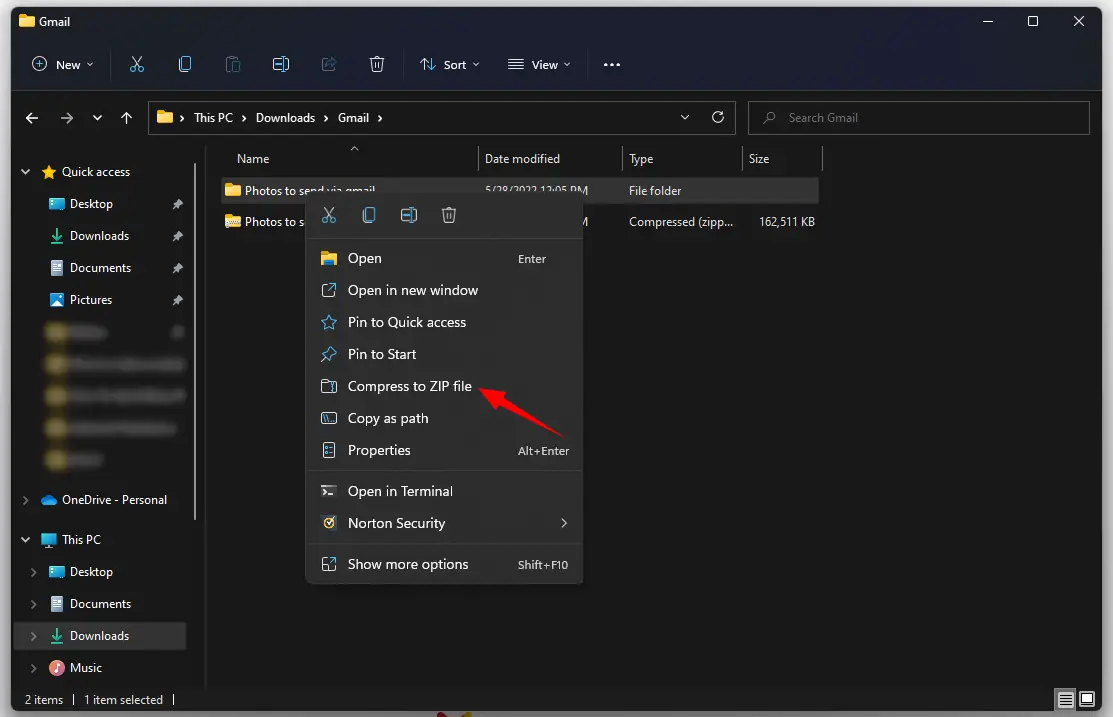
Step 1 – Right-click on the folder where the images that you would like to send are located.
Step 2 – In the menu select “compress to a zip file” to make the folder a single uploadable file.
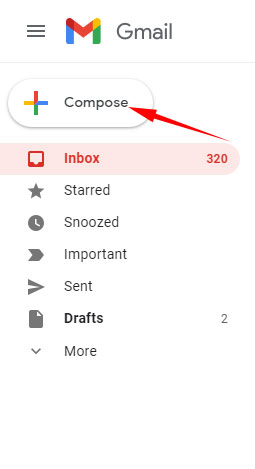
Step 3 – Go to your Gmail account and click on the compose button.
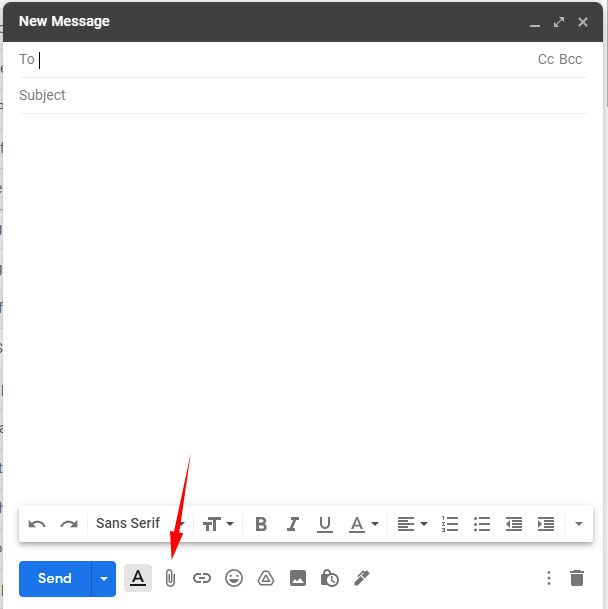
Step 4 – Within the email compose window click the attachment icon (The grey paper clip)
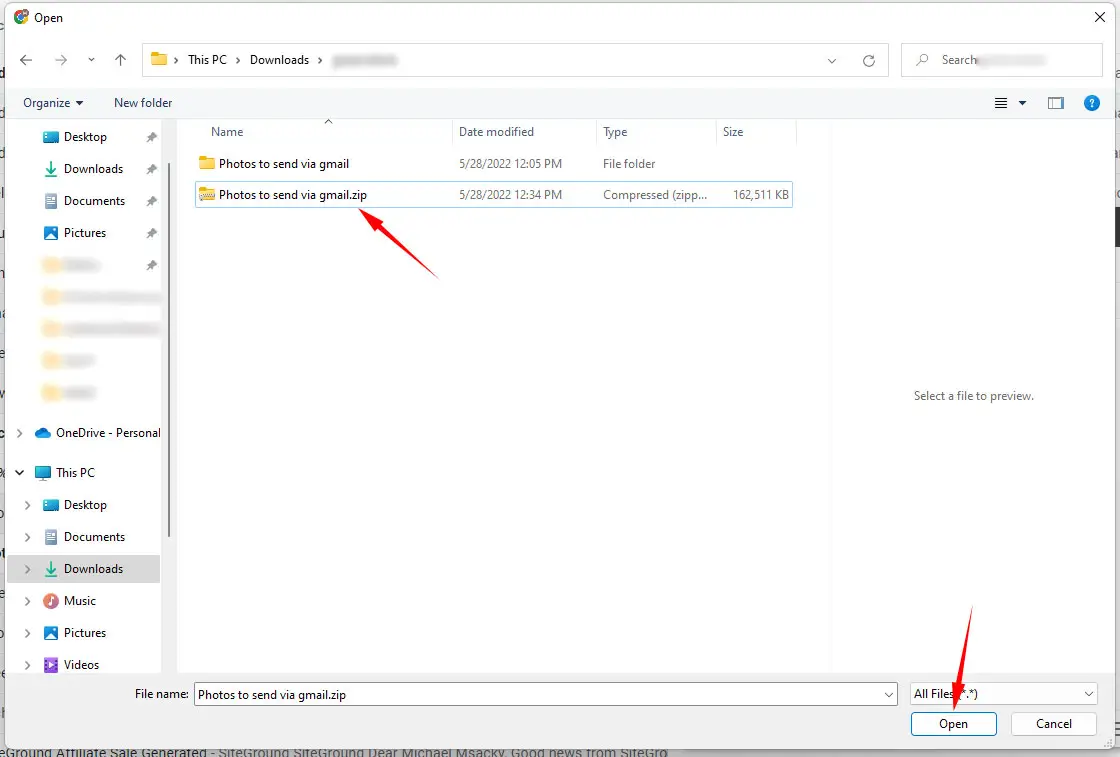
Step 5 – In the file explore select the zipped image folder that you created and click open.
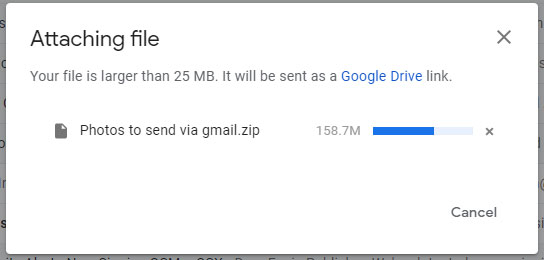
Step 6 – Gmail will then let you know that attachments larger than 25MB must be sent over google drive. From here click on the “okay got it” button.
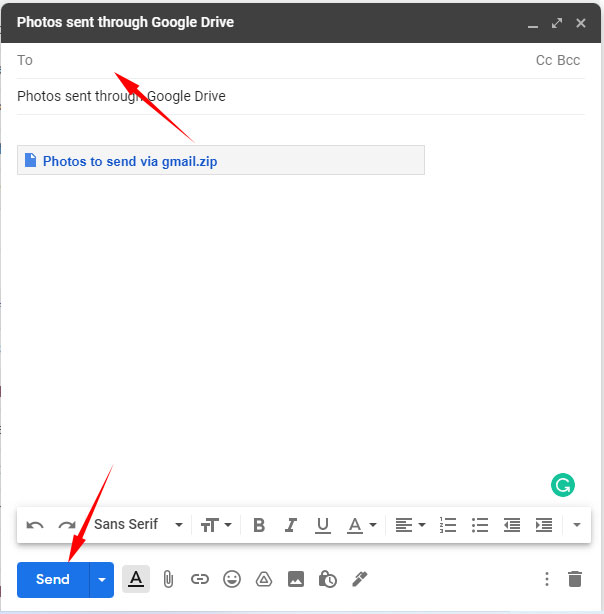
Step 7 – Gmail will proceed to upload the zipped folder to google drive and will automatically attach it to the email.
Step 8 – Once the file is attached enter your recipient’s email address in the “To” field give the email a subject then click send.
Caveat:
- Google Drive will allow you to send about 15GB worth of photos.
- Once your Google Drive storage is filled you will need to delete the older photo files to send more photos.
2 – Email Photos From Google Photos
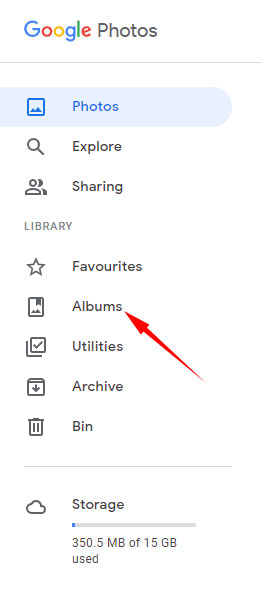
Step 1 – Go to photos.google.com and log in using your Gmail account.
Step 2 – In the menu to the left click on albums under the “library” label
Step 3 – On the albums page click on the “Create Album” button.
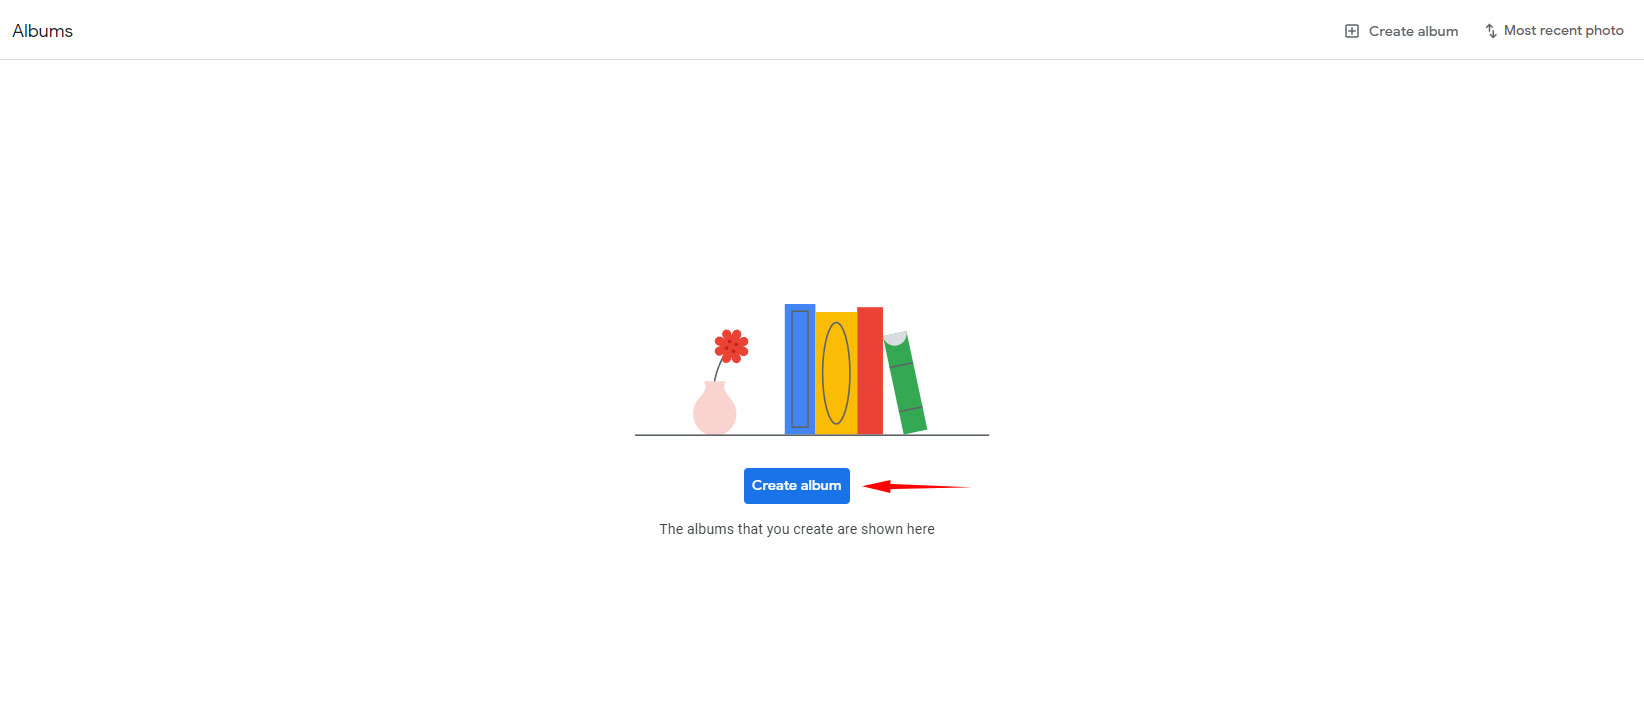
Step 4 – Give the album a title then click on “add photos” button
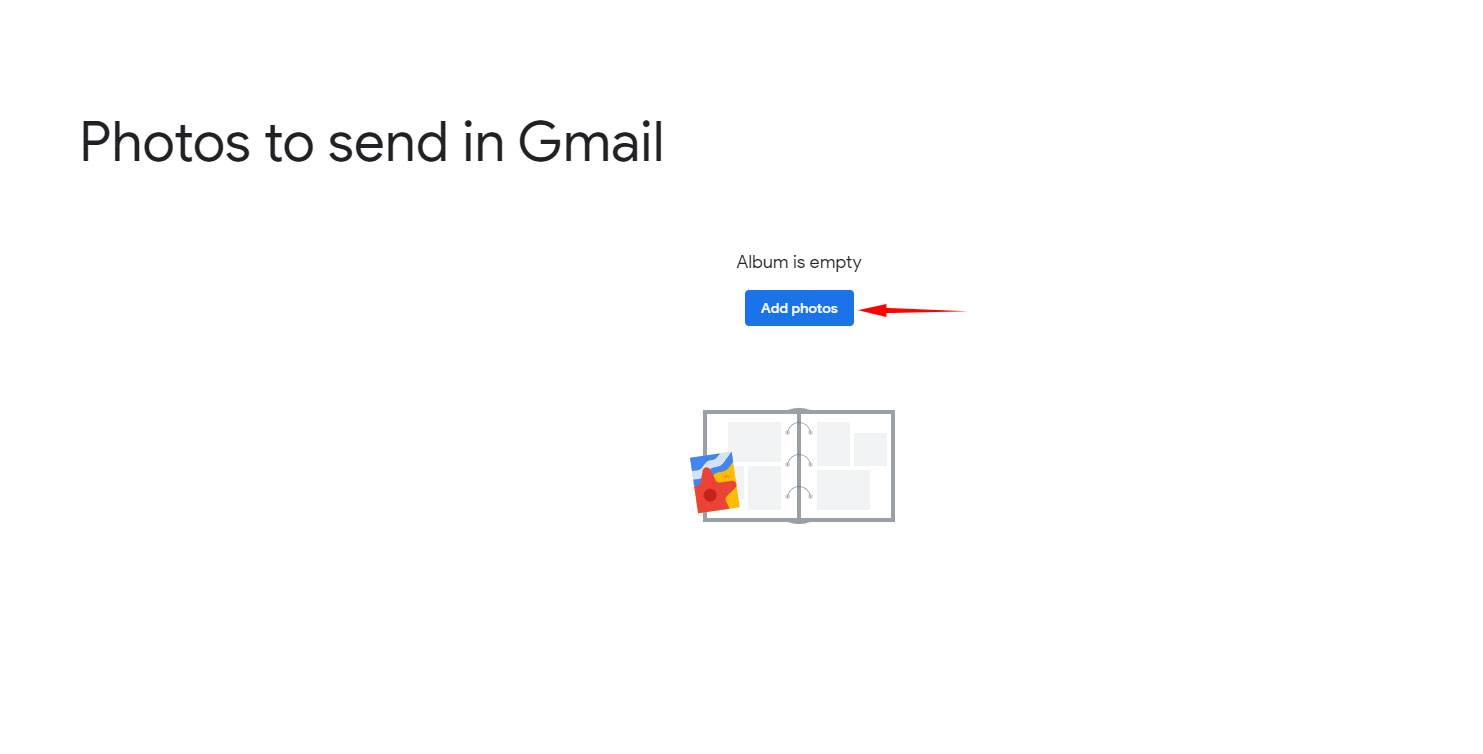
Step 5 – Click on the “select from computer” button located at the top right of the page.

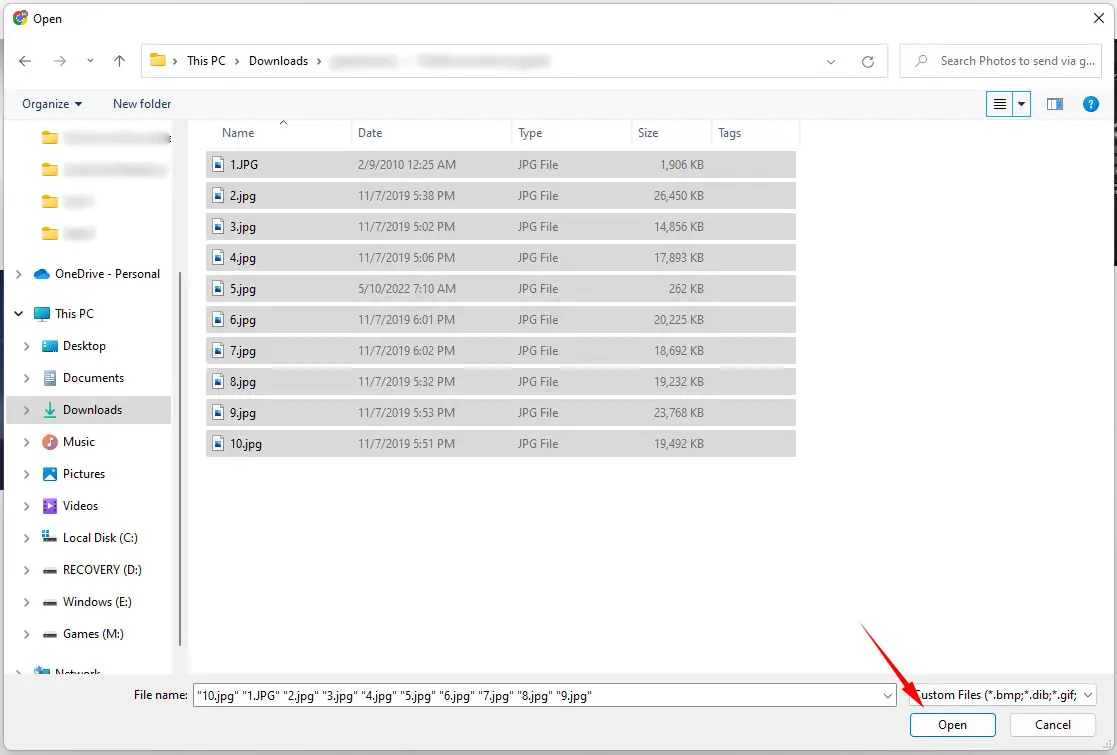
Step 6 – Locate the folder with the images that you would like to send and open it.
Step 7 – While holding the shift key click on the first image, then scroll down to the last image and click it to select all the images in the folder. After the images have been selected click on the upload button.
Step 8 – Once all the images are uploaded click on the share button to the top right of the page.

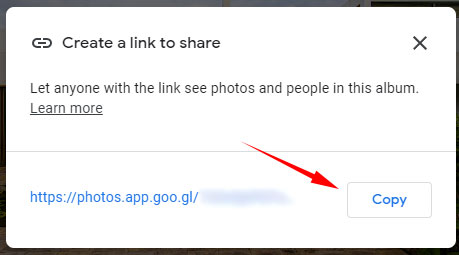
Step 9 – Click on the “create link” icon in the popup.

Step 10 – Copy the created link.
Step 11 – Return to Gmail and compose a new email. In the body of the email paste the link you just copied.

Step 13 – Add the recipient email address in the “To” field, give the email a subject and send the email.
Caveat:
- Similar to Google Drive, this method will allow you to upload and send about 15GB worth of photos.
- Once your google photos storage is filled you will need to delete older albums to add newer ones.
3 – Email Photos Using SendBig
Step 1 – Go to sendbig.com.
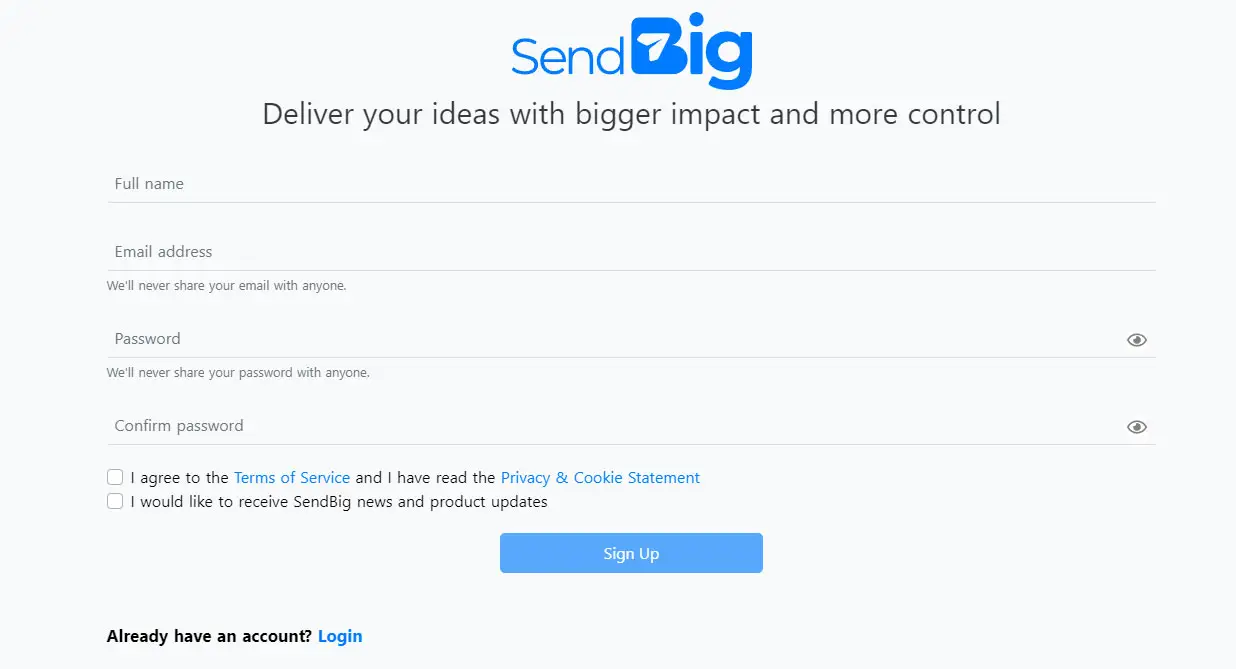
Step 2 – Click on the signup button at the top right of the page

Step 3 – Enter the required information into the signup form and click on the “sign up” button.
Step 4 – Go to the inbox of the email address you entered in the signup form and open the verification email.
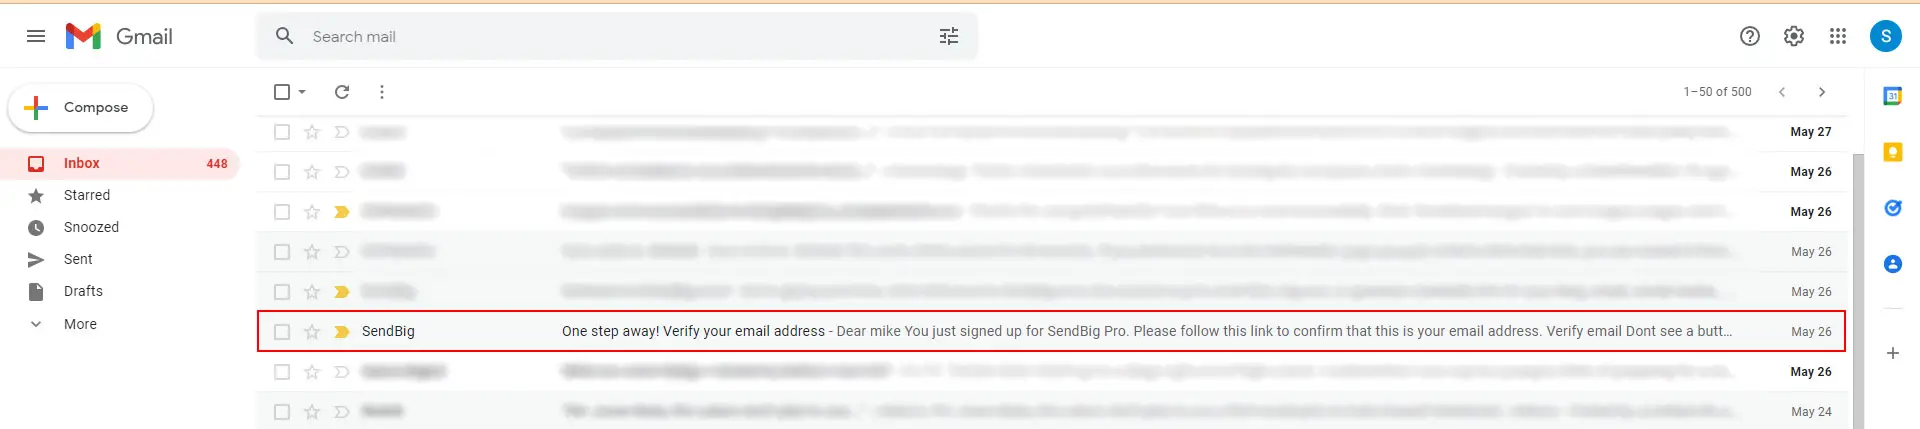
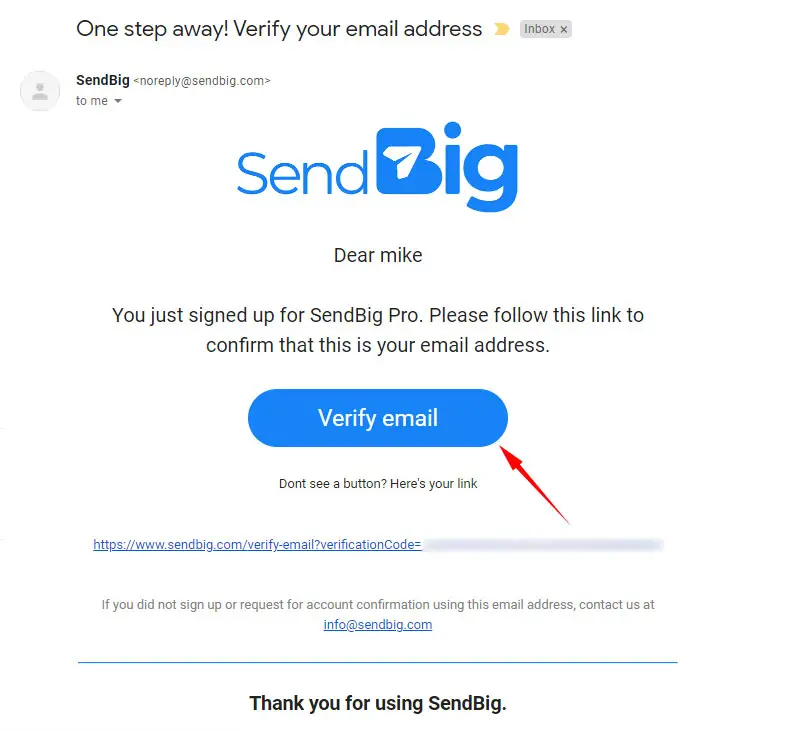
Step 5 – Click on the “verify email” button within the verification email.
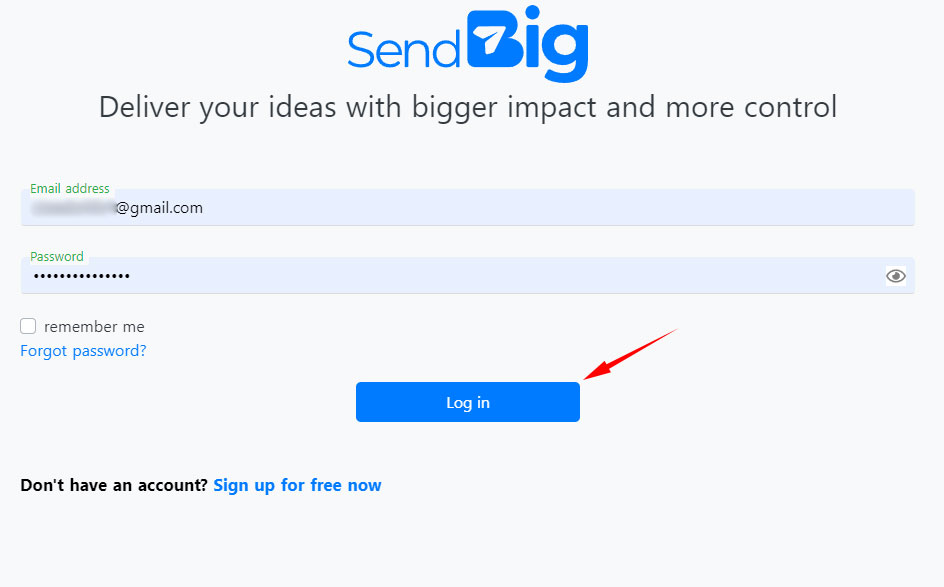
Step 6 – Once your email is verified return to the SendBig homepage and log into your account.
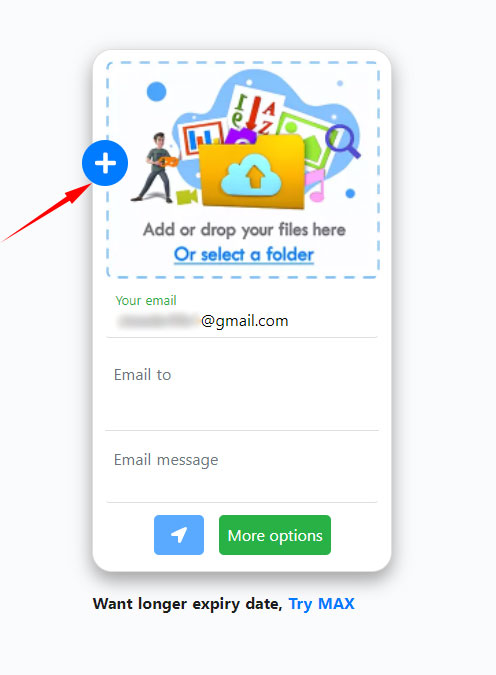
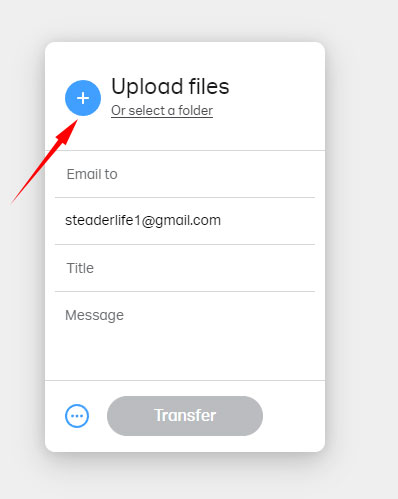
Step 7 – After logging in, click on the blue plus button to the left of the page.
Step 8 – In the file explorer select the entire folder with the images or select the individual photos that you would like to send and then click upload.

Step 9 – Once all photos have been uploaded copy the link that is provided in the “Your Link” field.

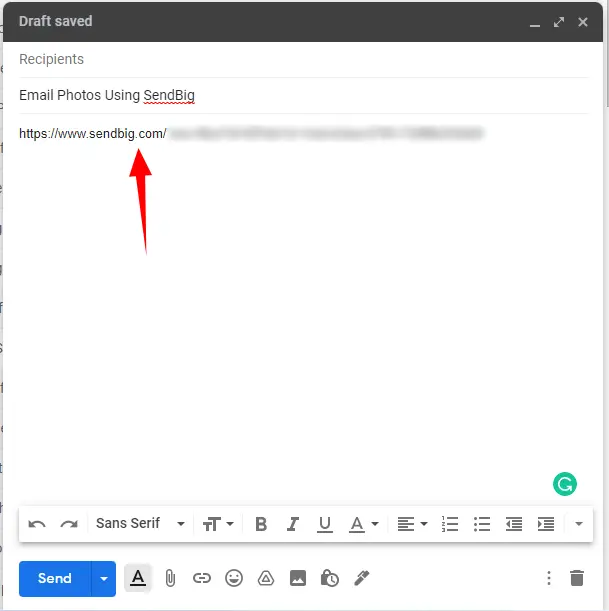
Step 10 – Return to Gmail once again and compose a new email.
Step 11 – Within the body of that email, paste the link that you copied.
Step 12 – Add the remaining necessary information to the email and then send it.
Caveat:
- If you don’t create a free account you can only send 5GB of photos each time
- If you do create an account you can send 30GB of photos each time.
- Photos are downloadable for 7 days after which they are deleted.
4 – Email Photos With Wetransfer
Step 1 – Go to WeTransfer.com
Step 2 – Click on the blue plus button to select individual photos or click on the upload folder link to select an entire folder.
Step 3 – In the file explorer, select the folder or the individual images that you would like to send and then click upload.
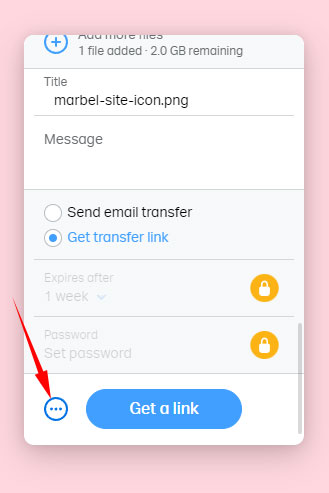
Step 4 – Next, click on the ellipsis at the bottom of the form and select the “get transfer link” option, then click on the get link button.
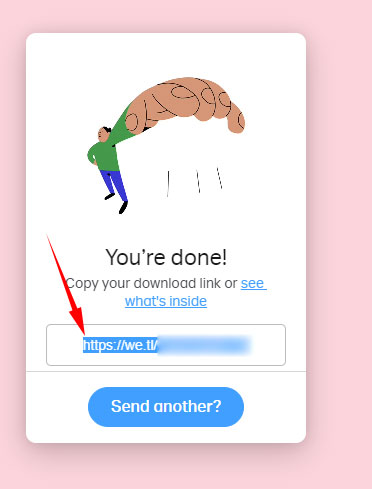
Step 5 – Once the folder or photos have been uploaded copy the link.
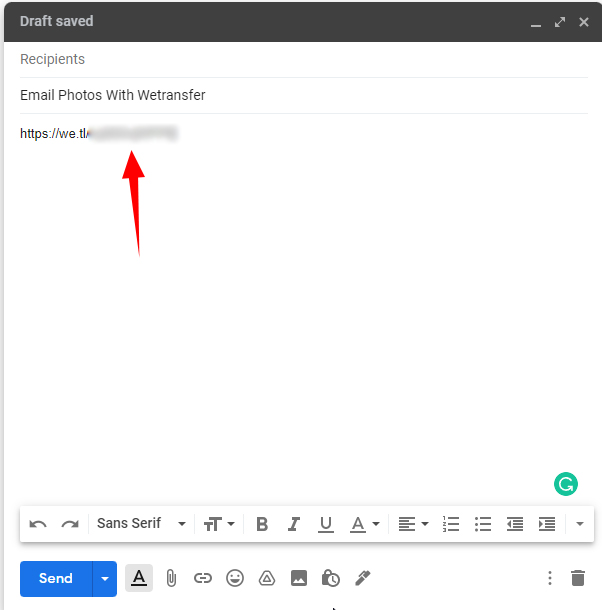
Step 6 – Go to your Gmail account and click on the compose button.
Step 7 – Enter the recipient’s email address, give the email a subject then paste the copied link within the body of the email and send it.
Caveat:
- You can only email 2GB of photos with a free account or as a guess
- You can email 200GB of photos if you upgrade to the $10USD pro plan.