Gmail offers two methods for sending a JPEG file. The first method involves attaching the JPEG file to the email. To do this, simply click on the attachment icon located at the bottom of the compose window in Gmail. Then, select the desired JPEG file from your file explorer and attach it to your email.
The second method allows you to insert the JPEG file directly within the email’s content. To accomplish this, click on the insert photo icon located in the toolbar at the bottom of the compose window in Gmail. Next, select the JPEG file from your device’s file explorer and upload it directly into the body of the email.

In this article we will present a comprehensive guide on utilizing both methods to send a JPEG file via Gmail. Additionally, we will explore the process of sending a JPEG file using the Gmail mobile app.
Method 1 – Sending a JPEG file as an Attachment in Gmail
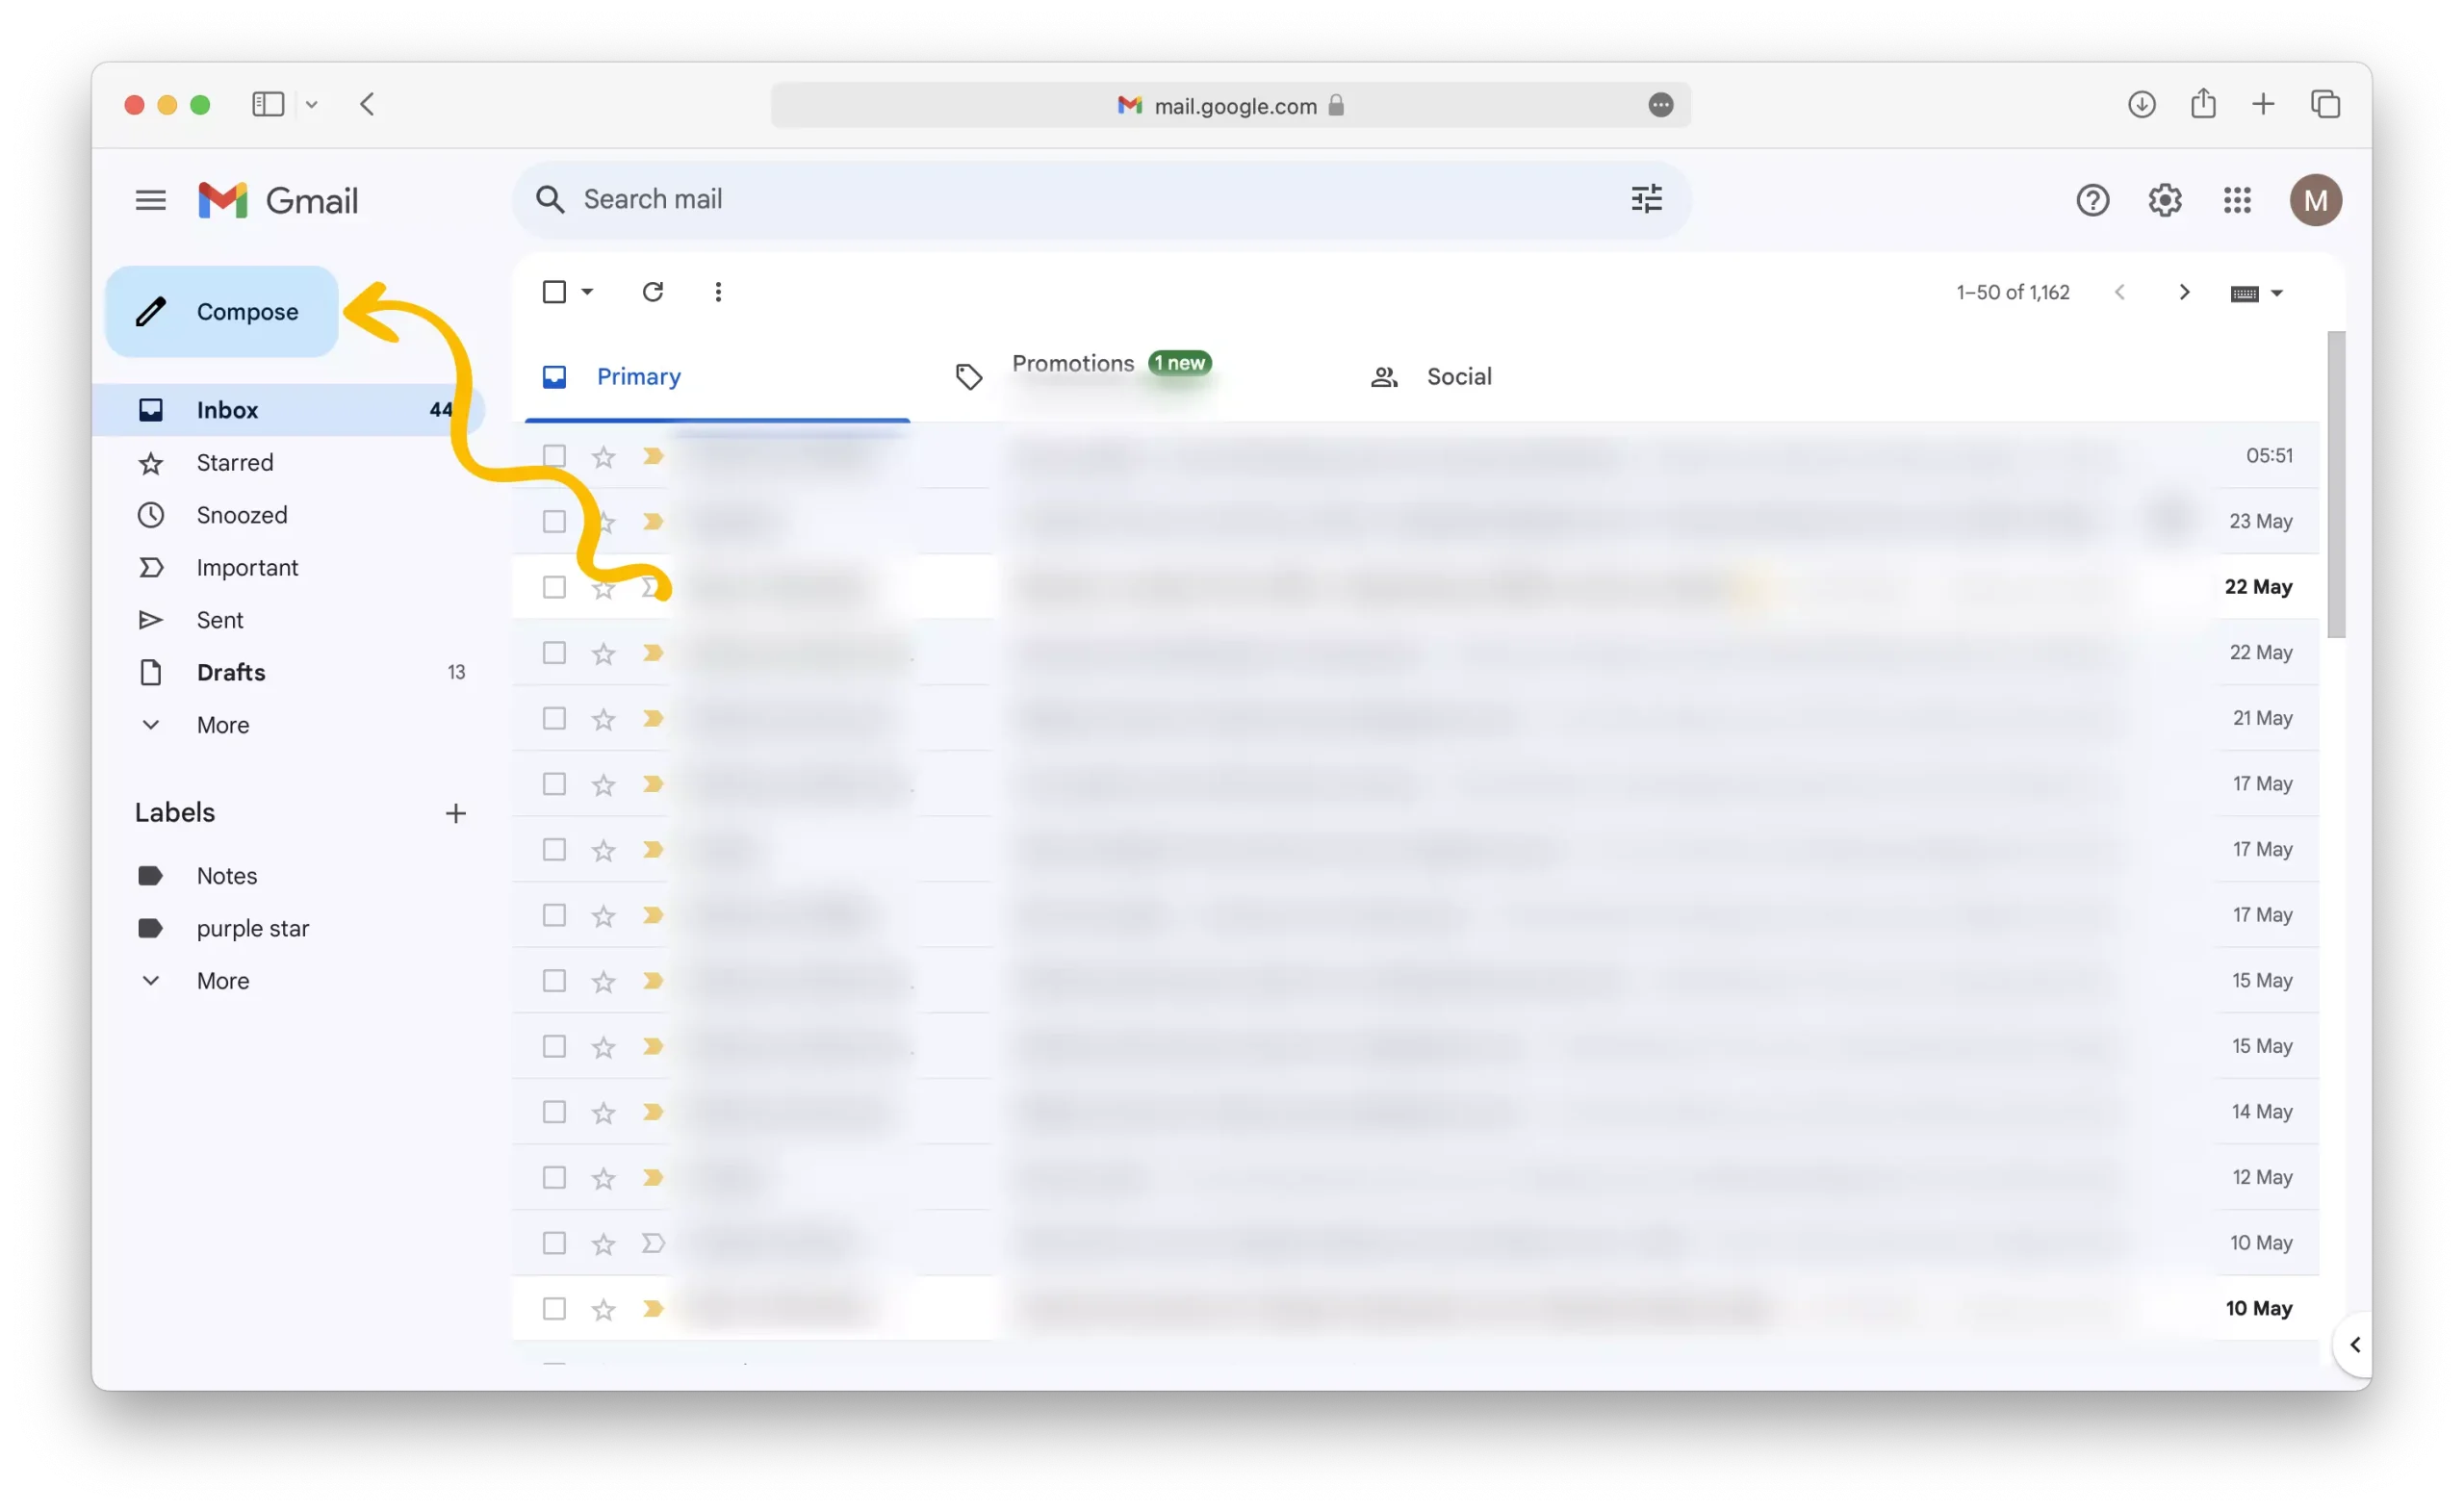
1 – Compose a new email by clicking on the “Compose” button in your Gmail inbox.
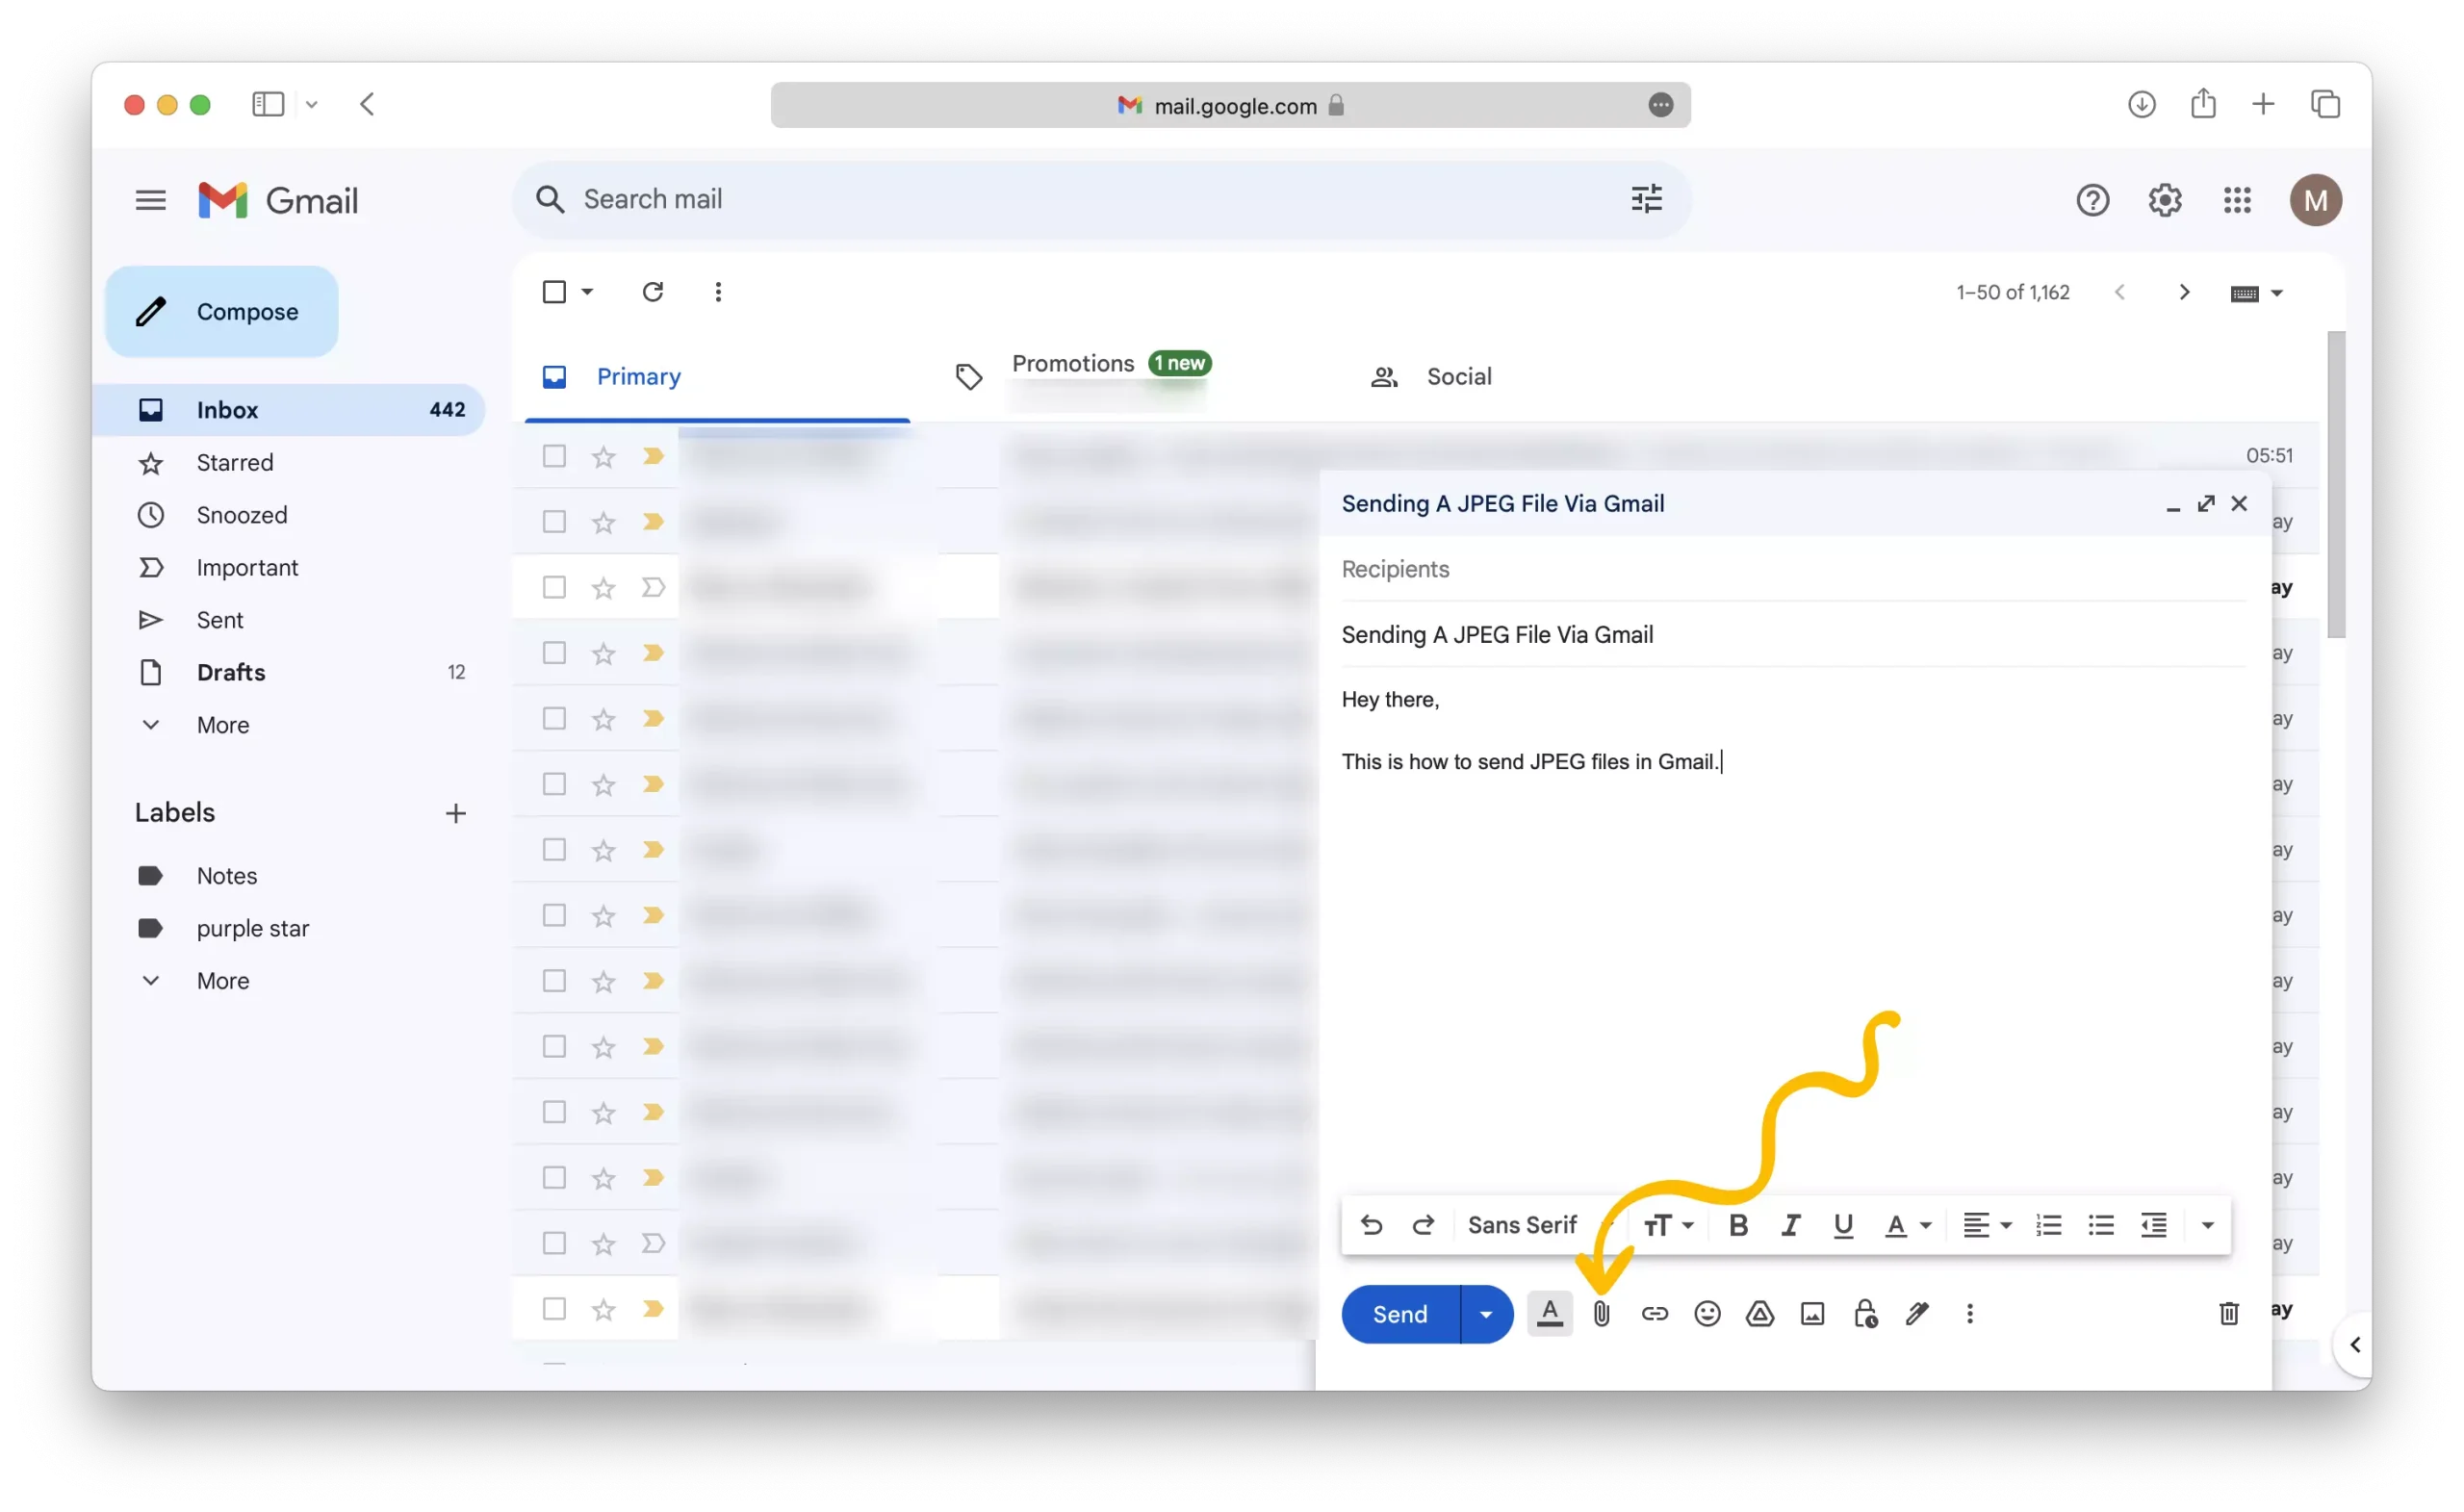
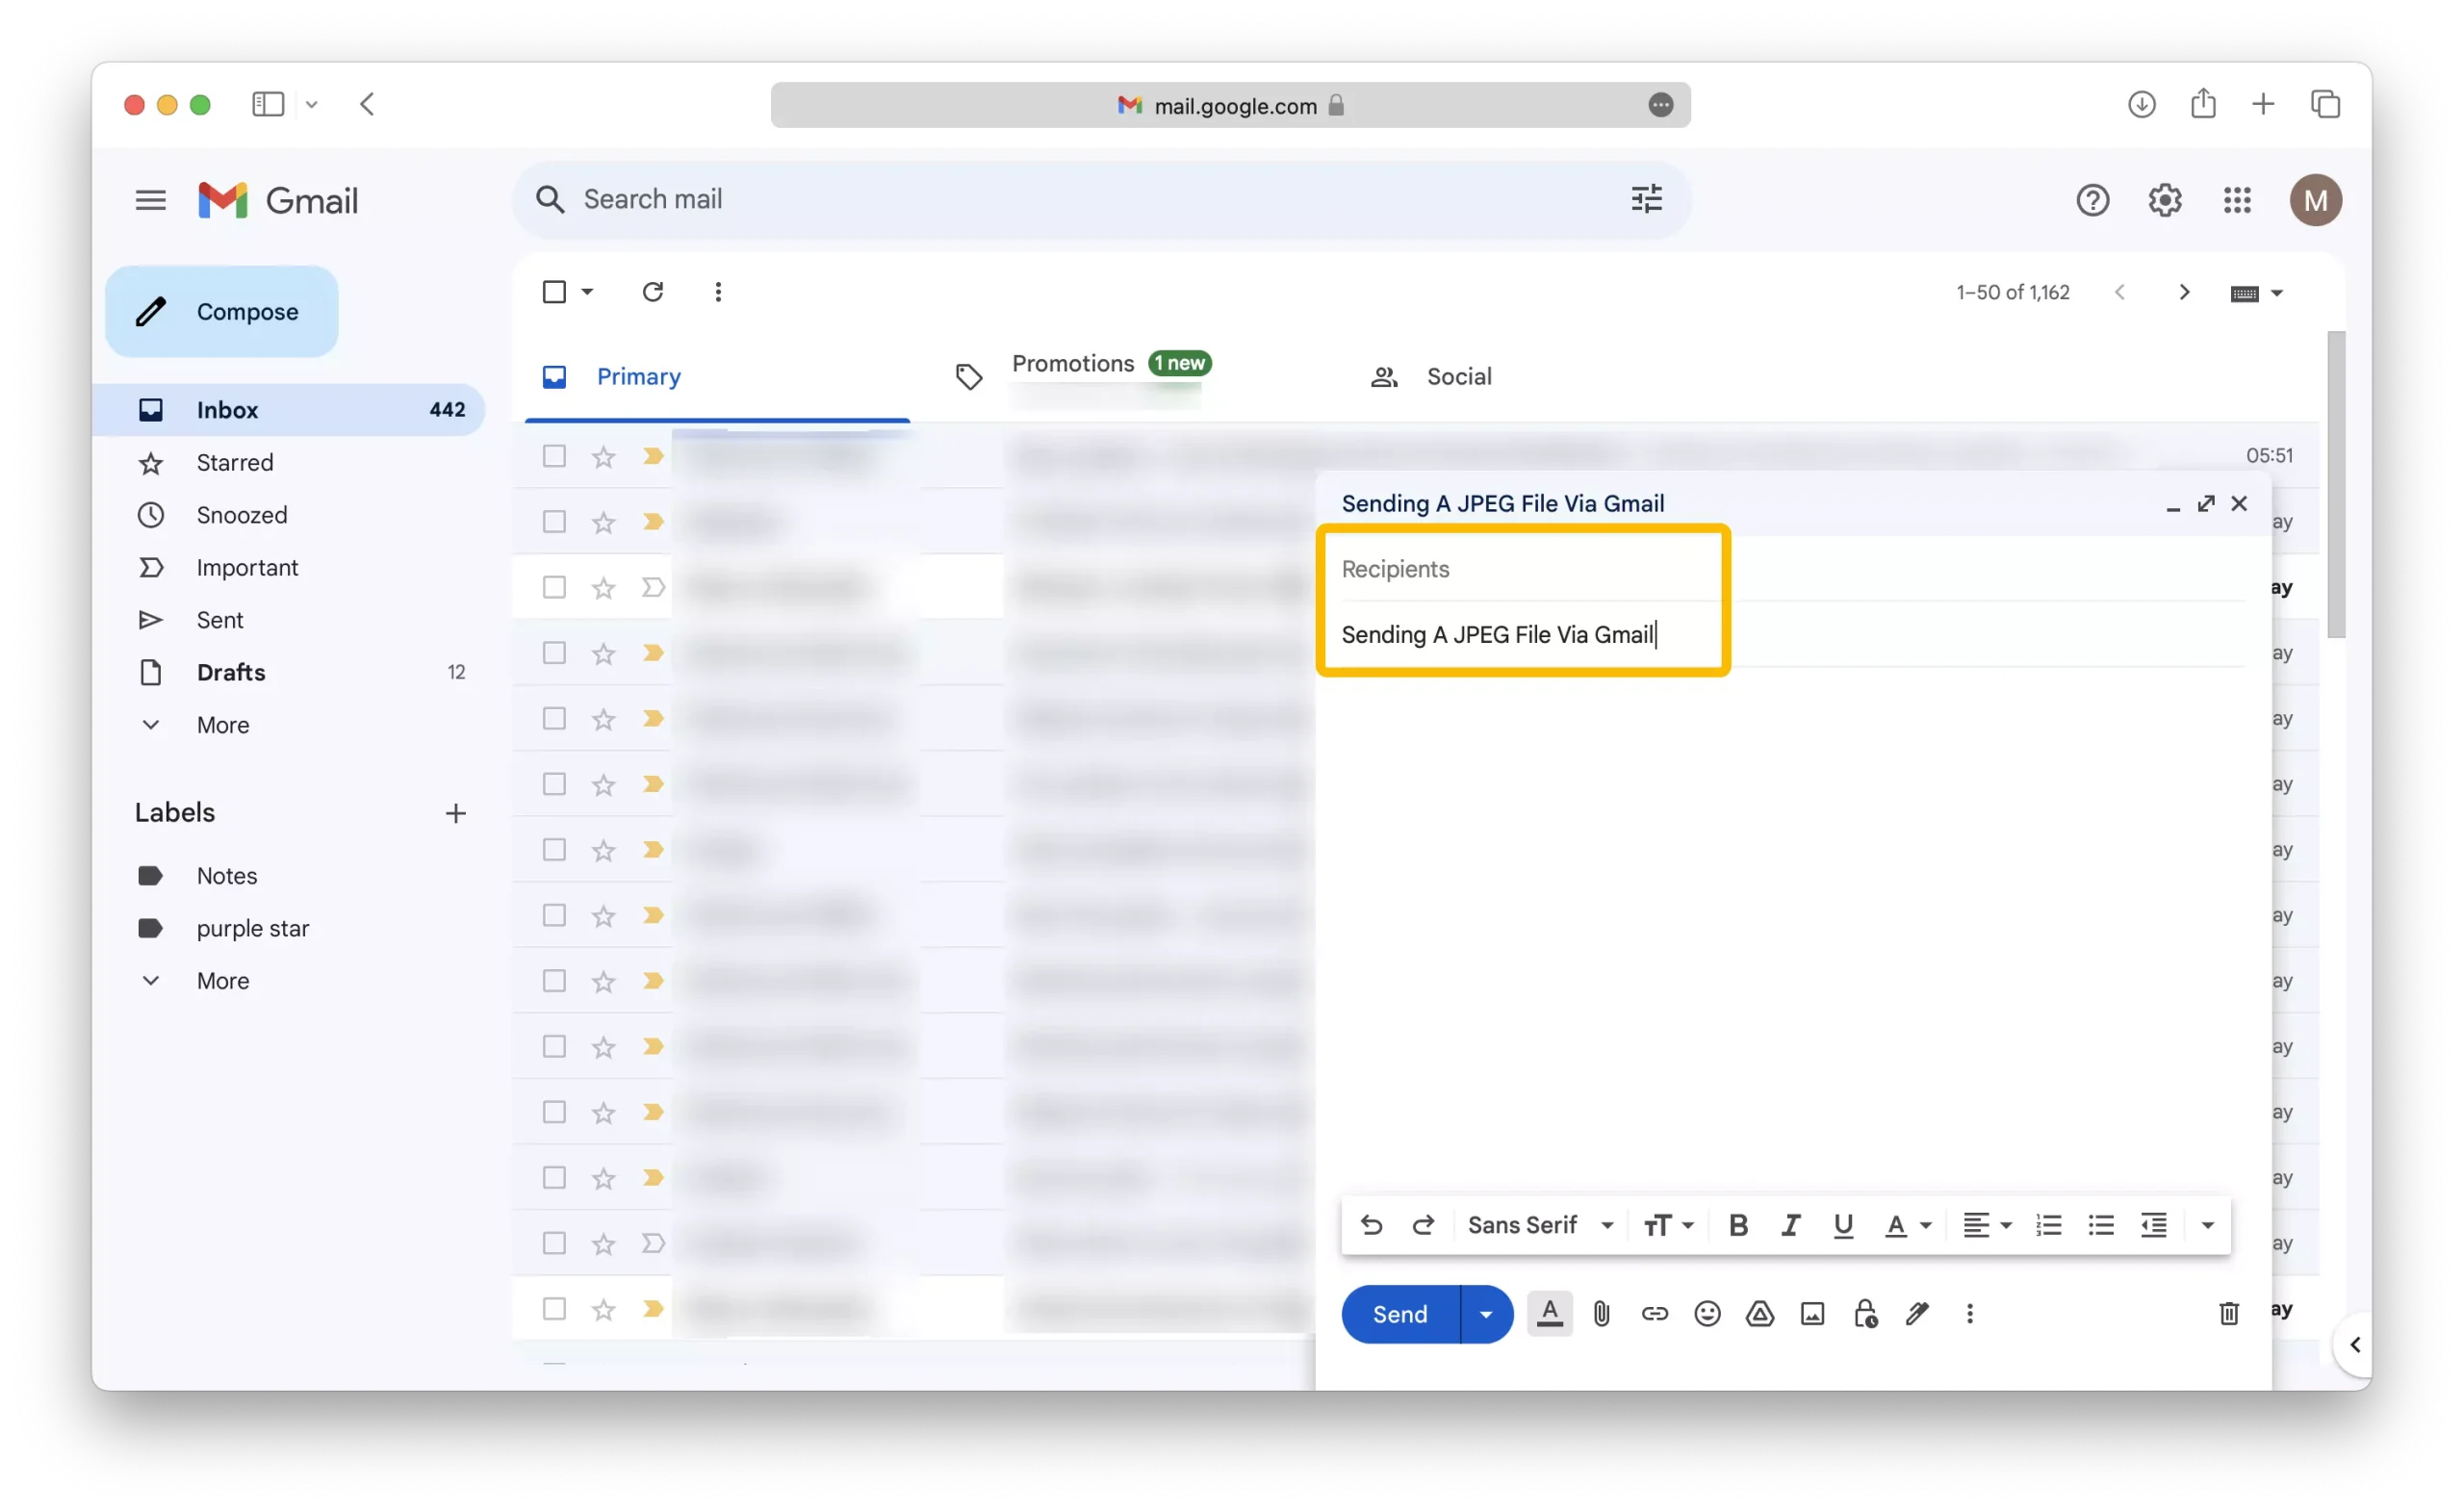
2 – Add a subject to the email.

3 – Enter the recipient’s email address in the “To” field.

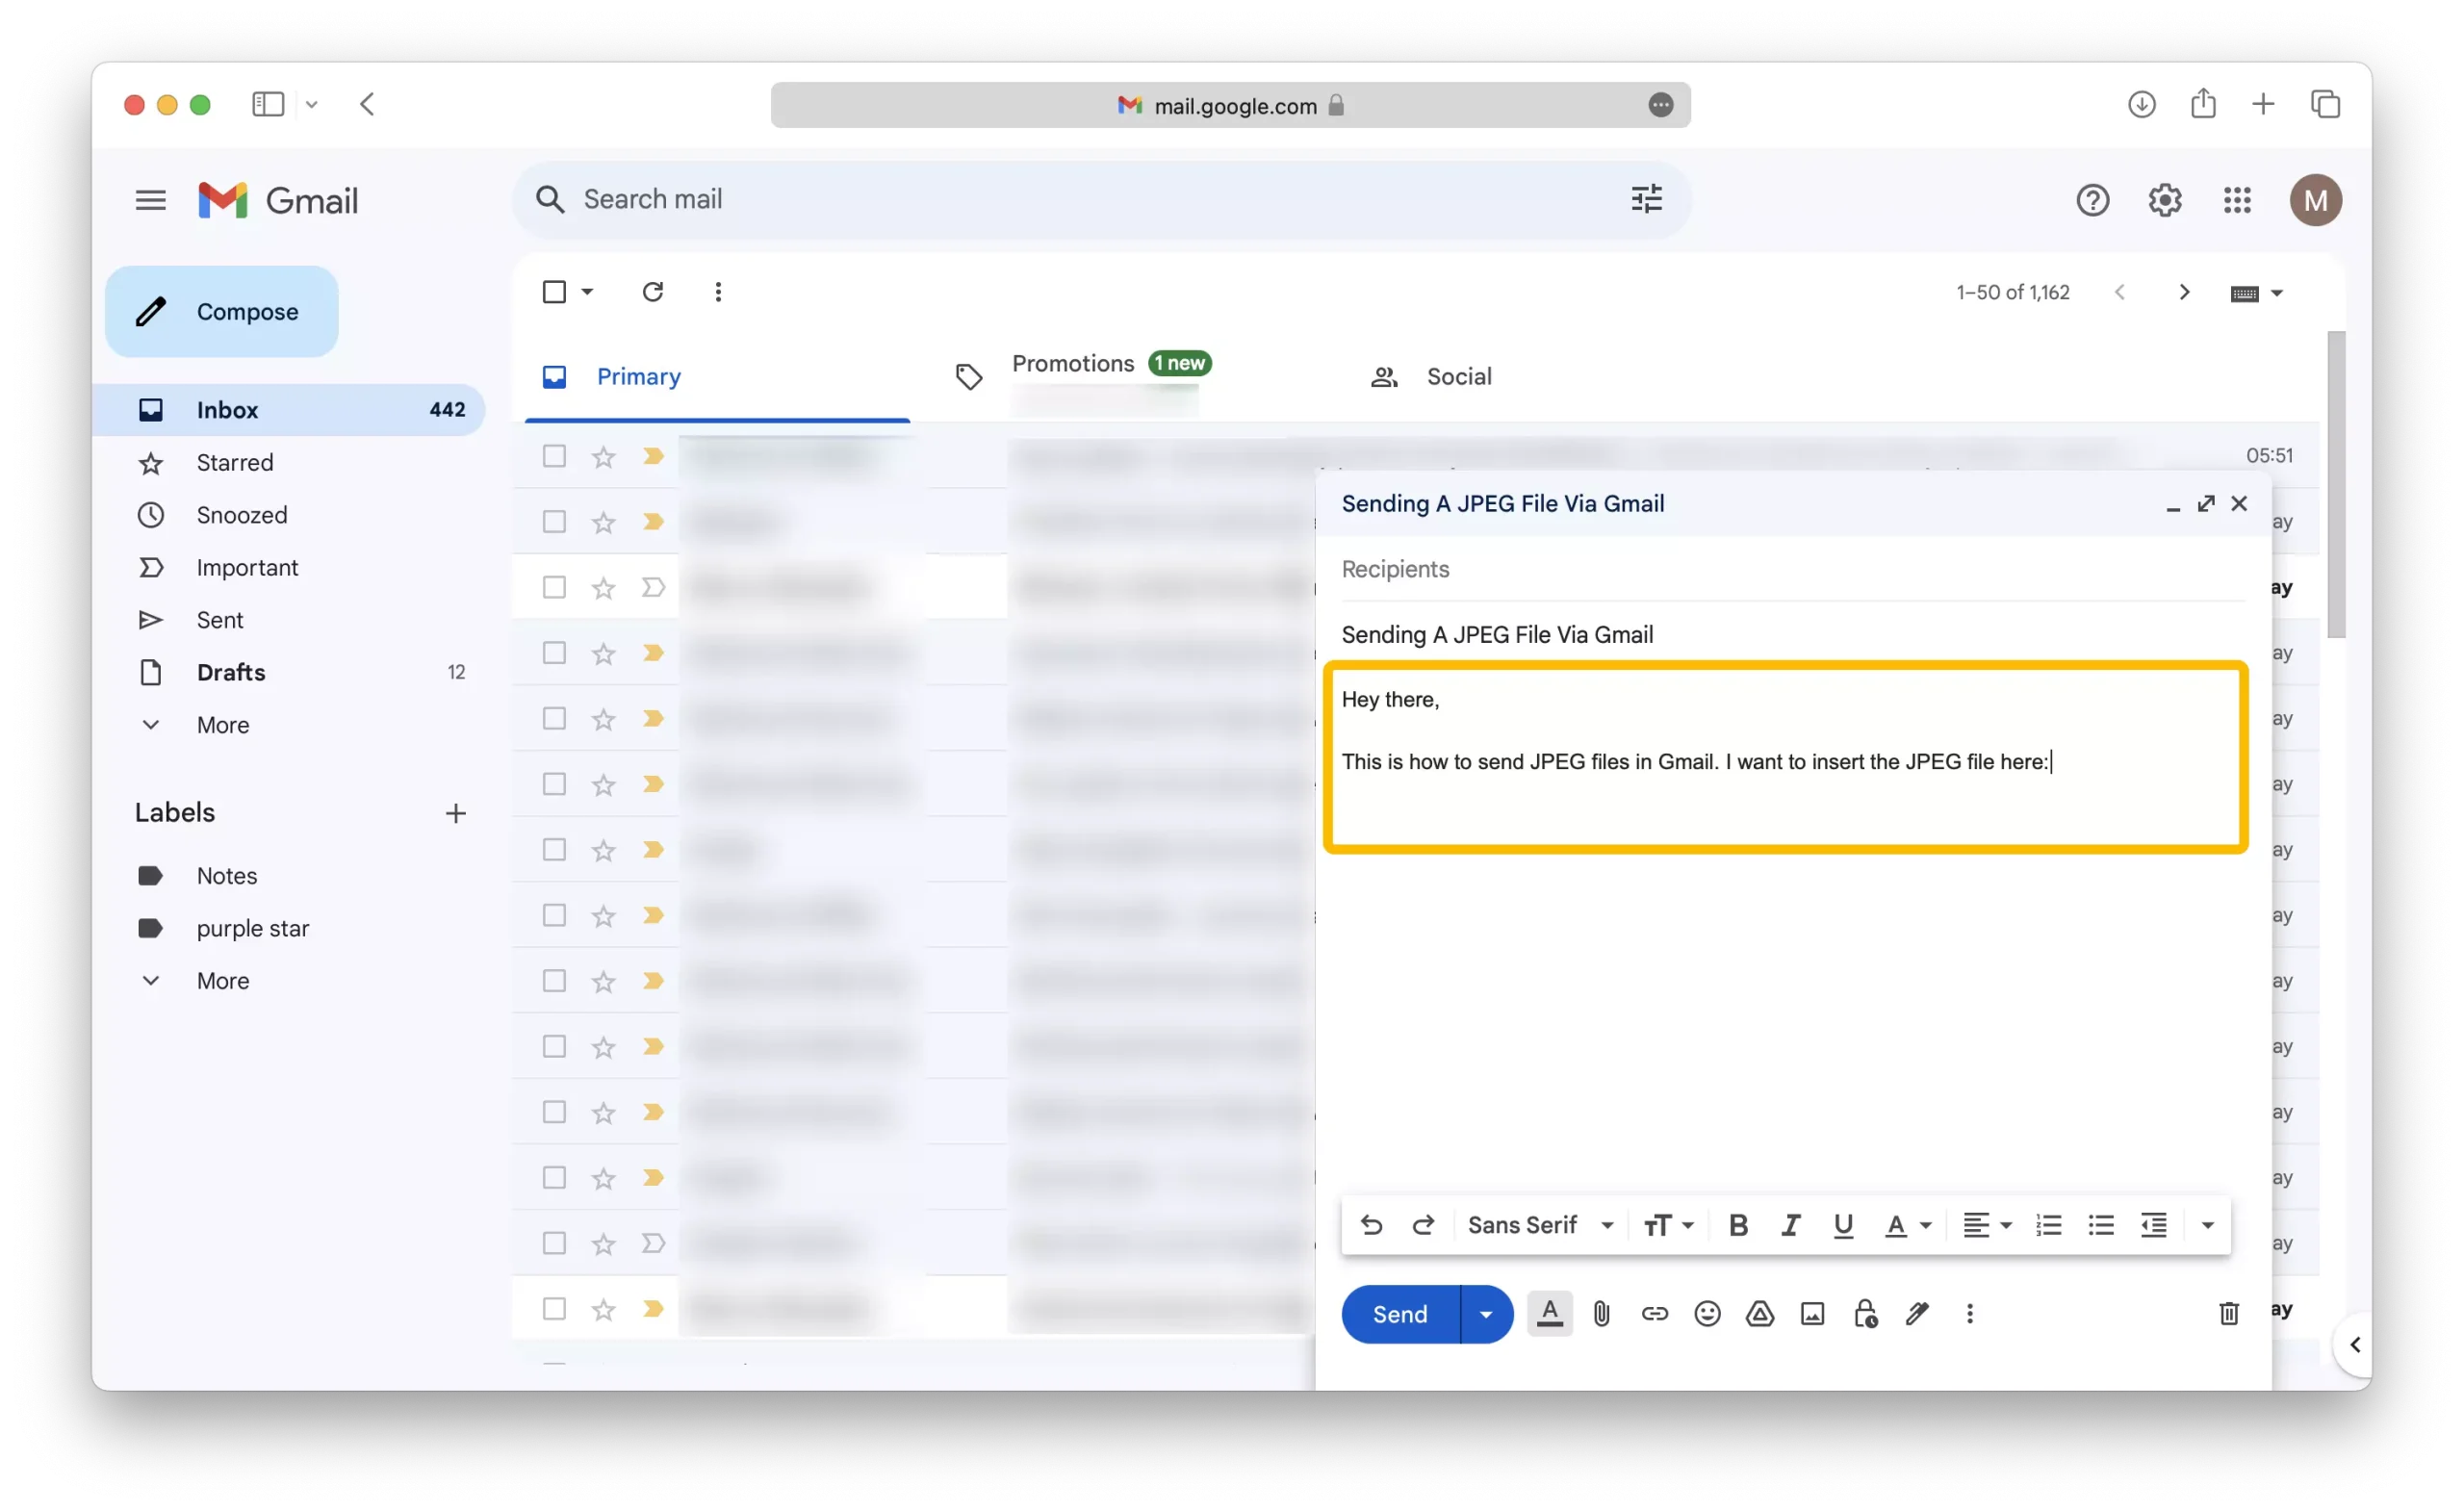
4 – Type your message in the body of the email.

5 – Once you have finished composing your email, click on the attachment icon located at the bottom of the compose window.
6 – In the file explorer window, browse your computer for the JPEG file you want to send then select it by clicking on it.
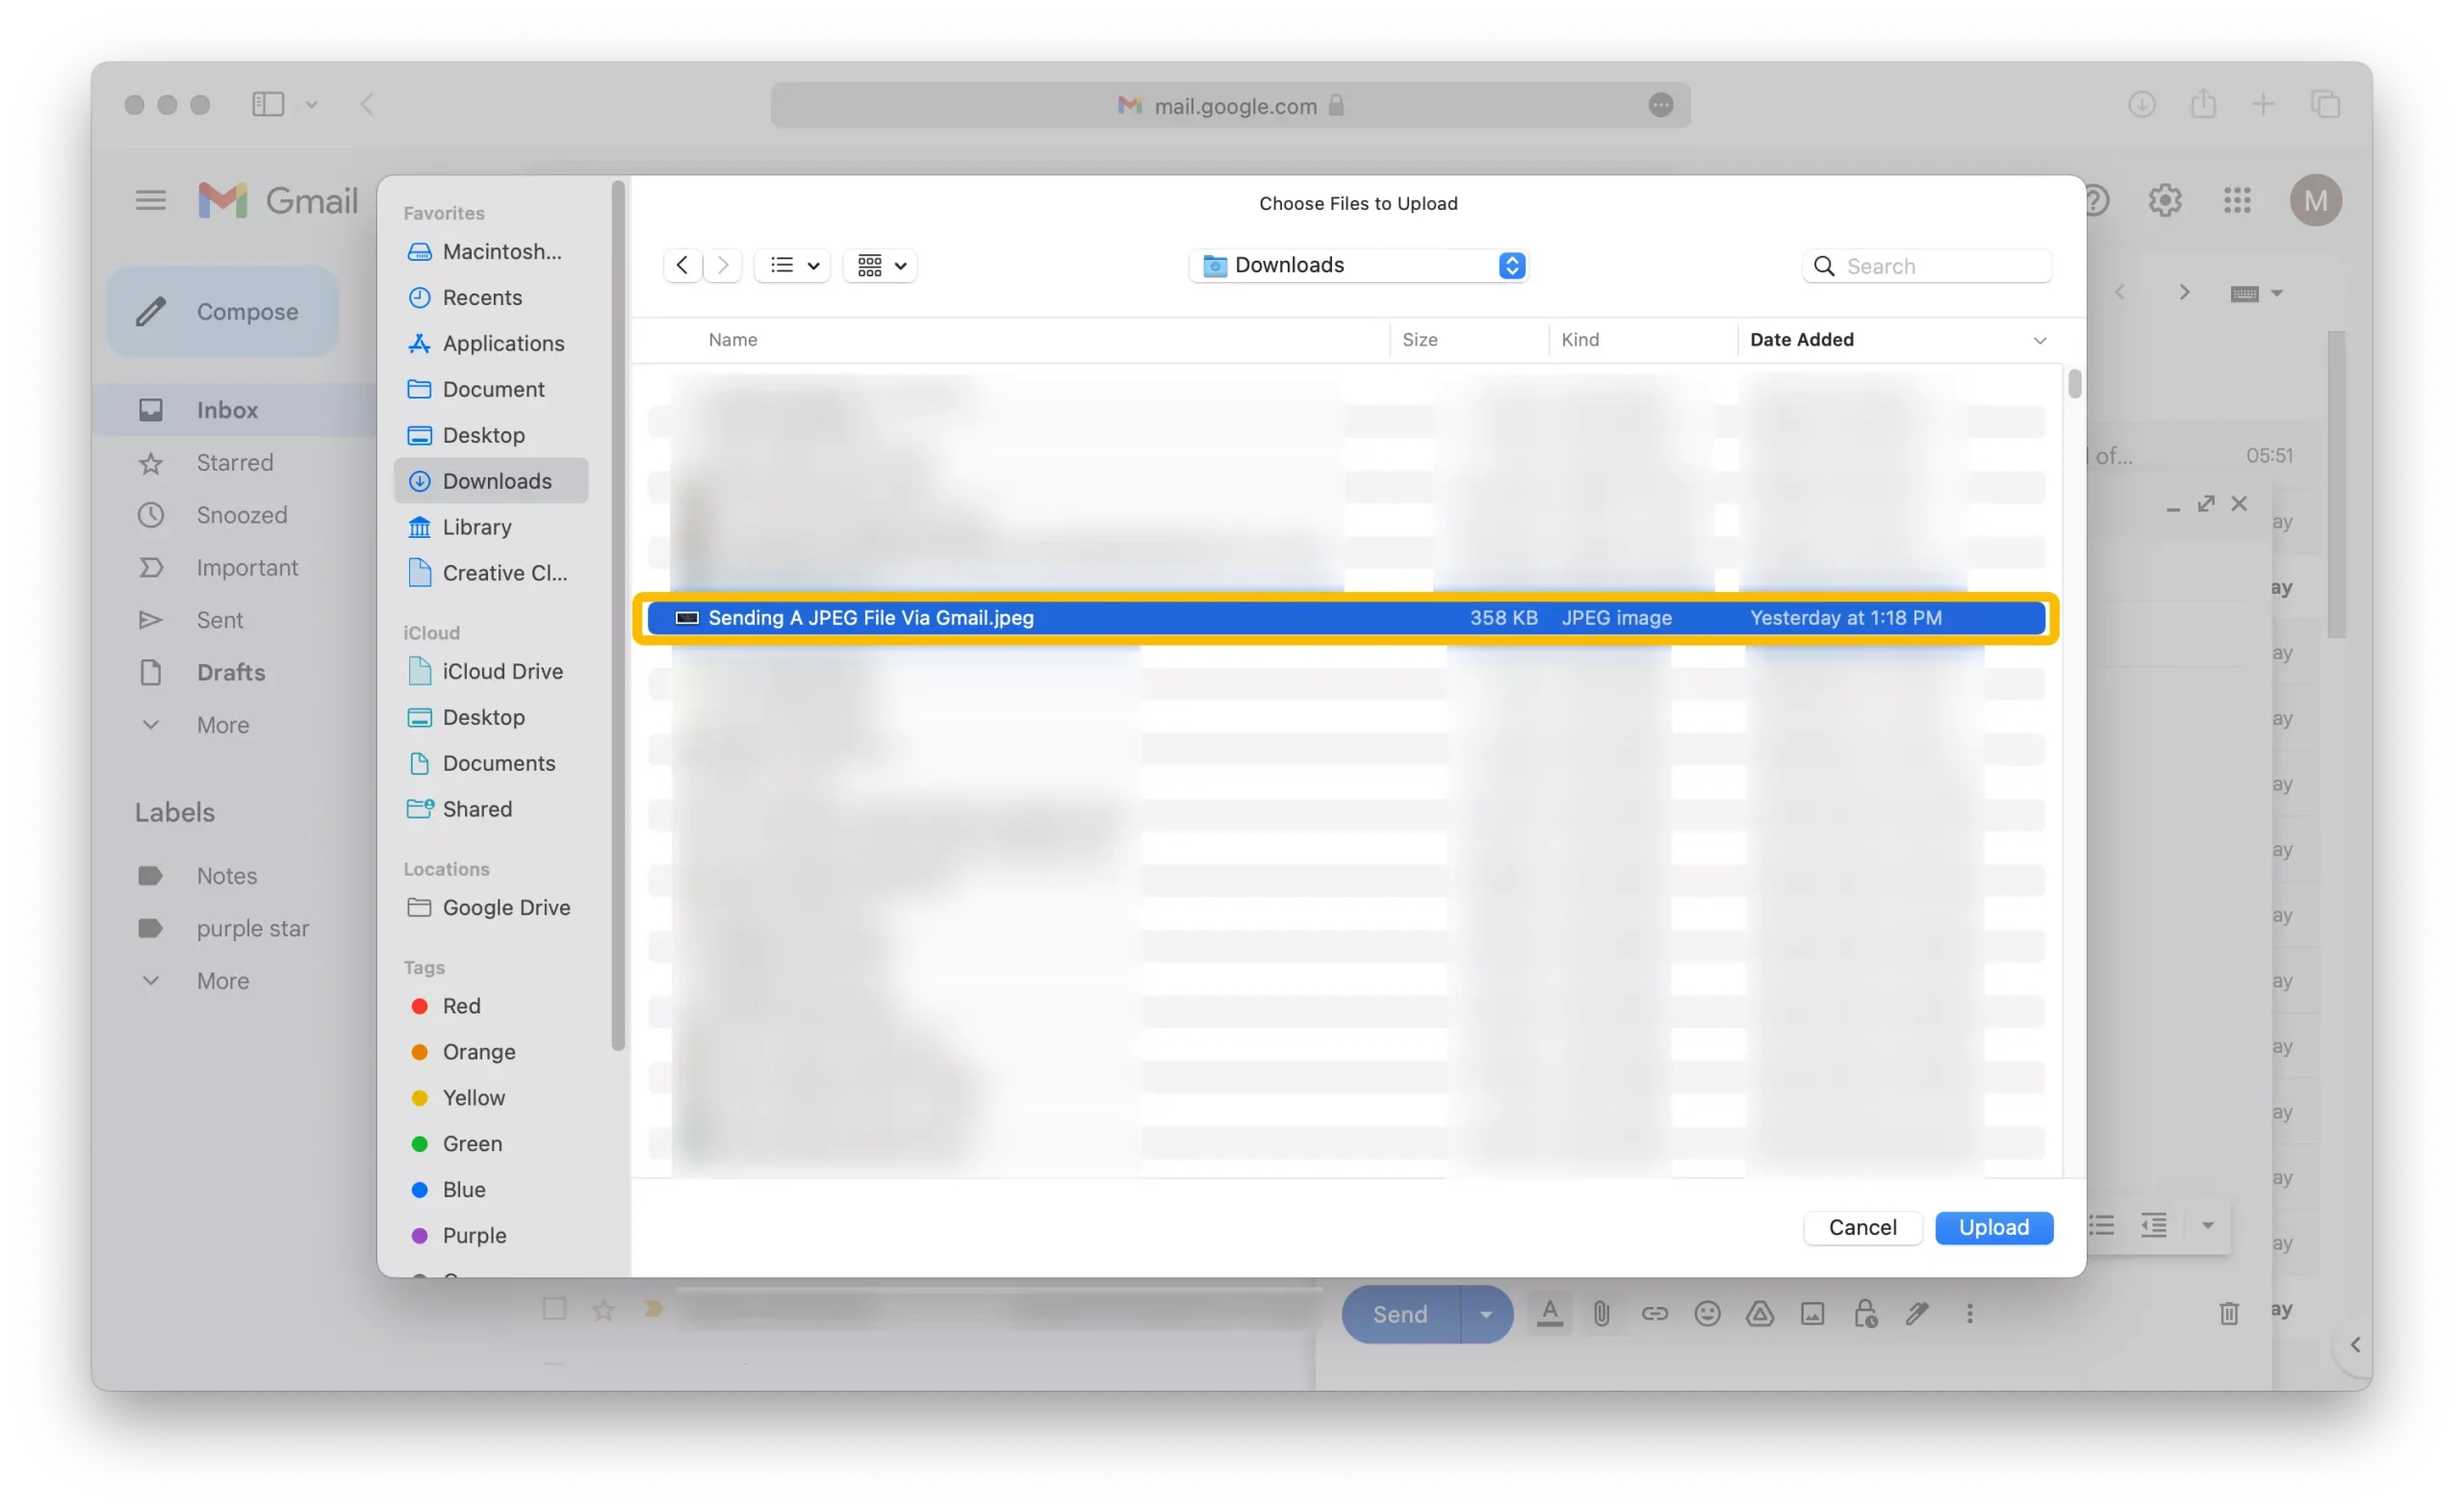
7 – Click on the “Upload” button to attach the file to the email.

8 – Finally, click on the “Send” button to send the email.

Method 2 – Sending a JPEG file as an inline Attachment in Gmail
1 – Click on the “Compose” button in your Gmail inbox.

2 – Enter the recipient’s email address in the “To” field and add a subject in the “Subject” field.
3 – Write the content of your email in the empty text area.
4 – Position your mouse cursor in the area of the email where you want to insert the JPEG file.
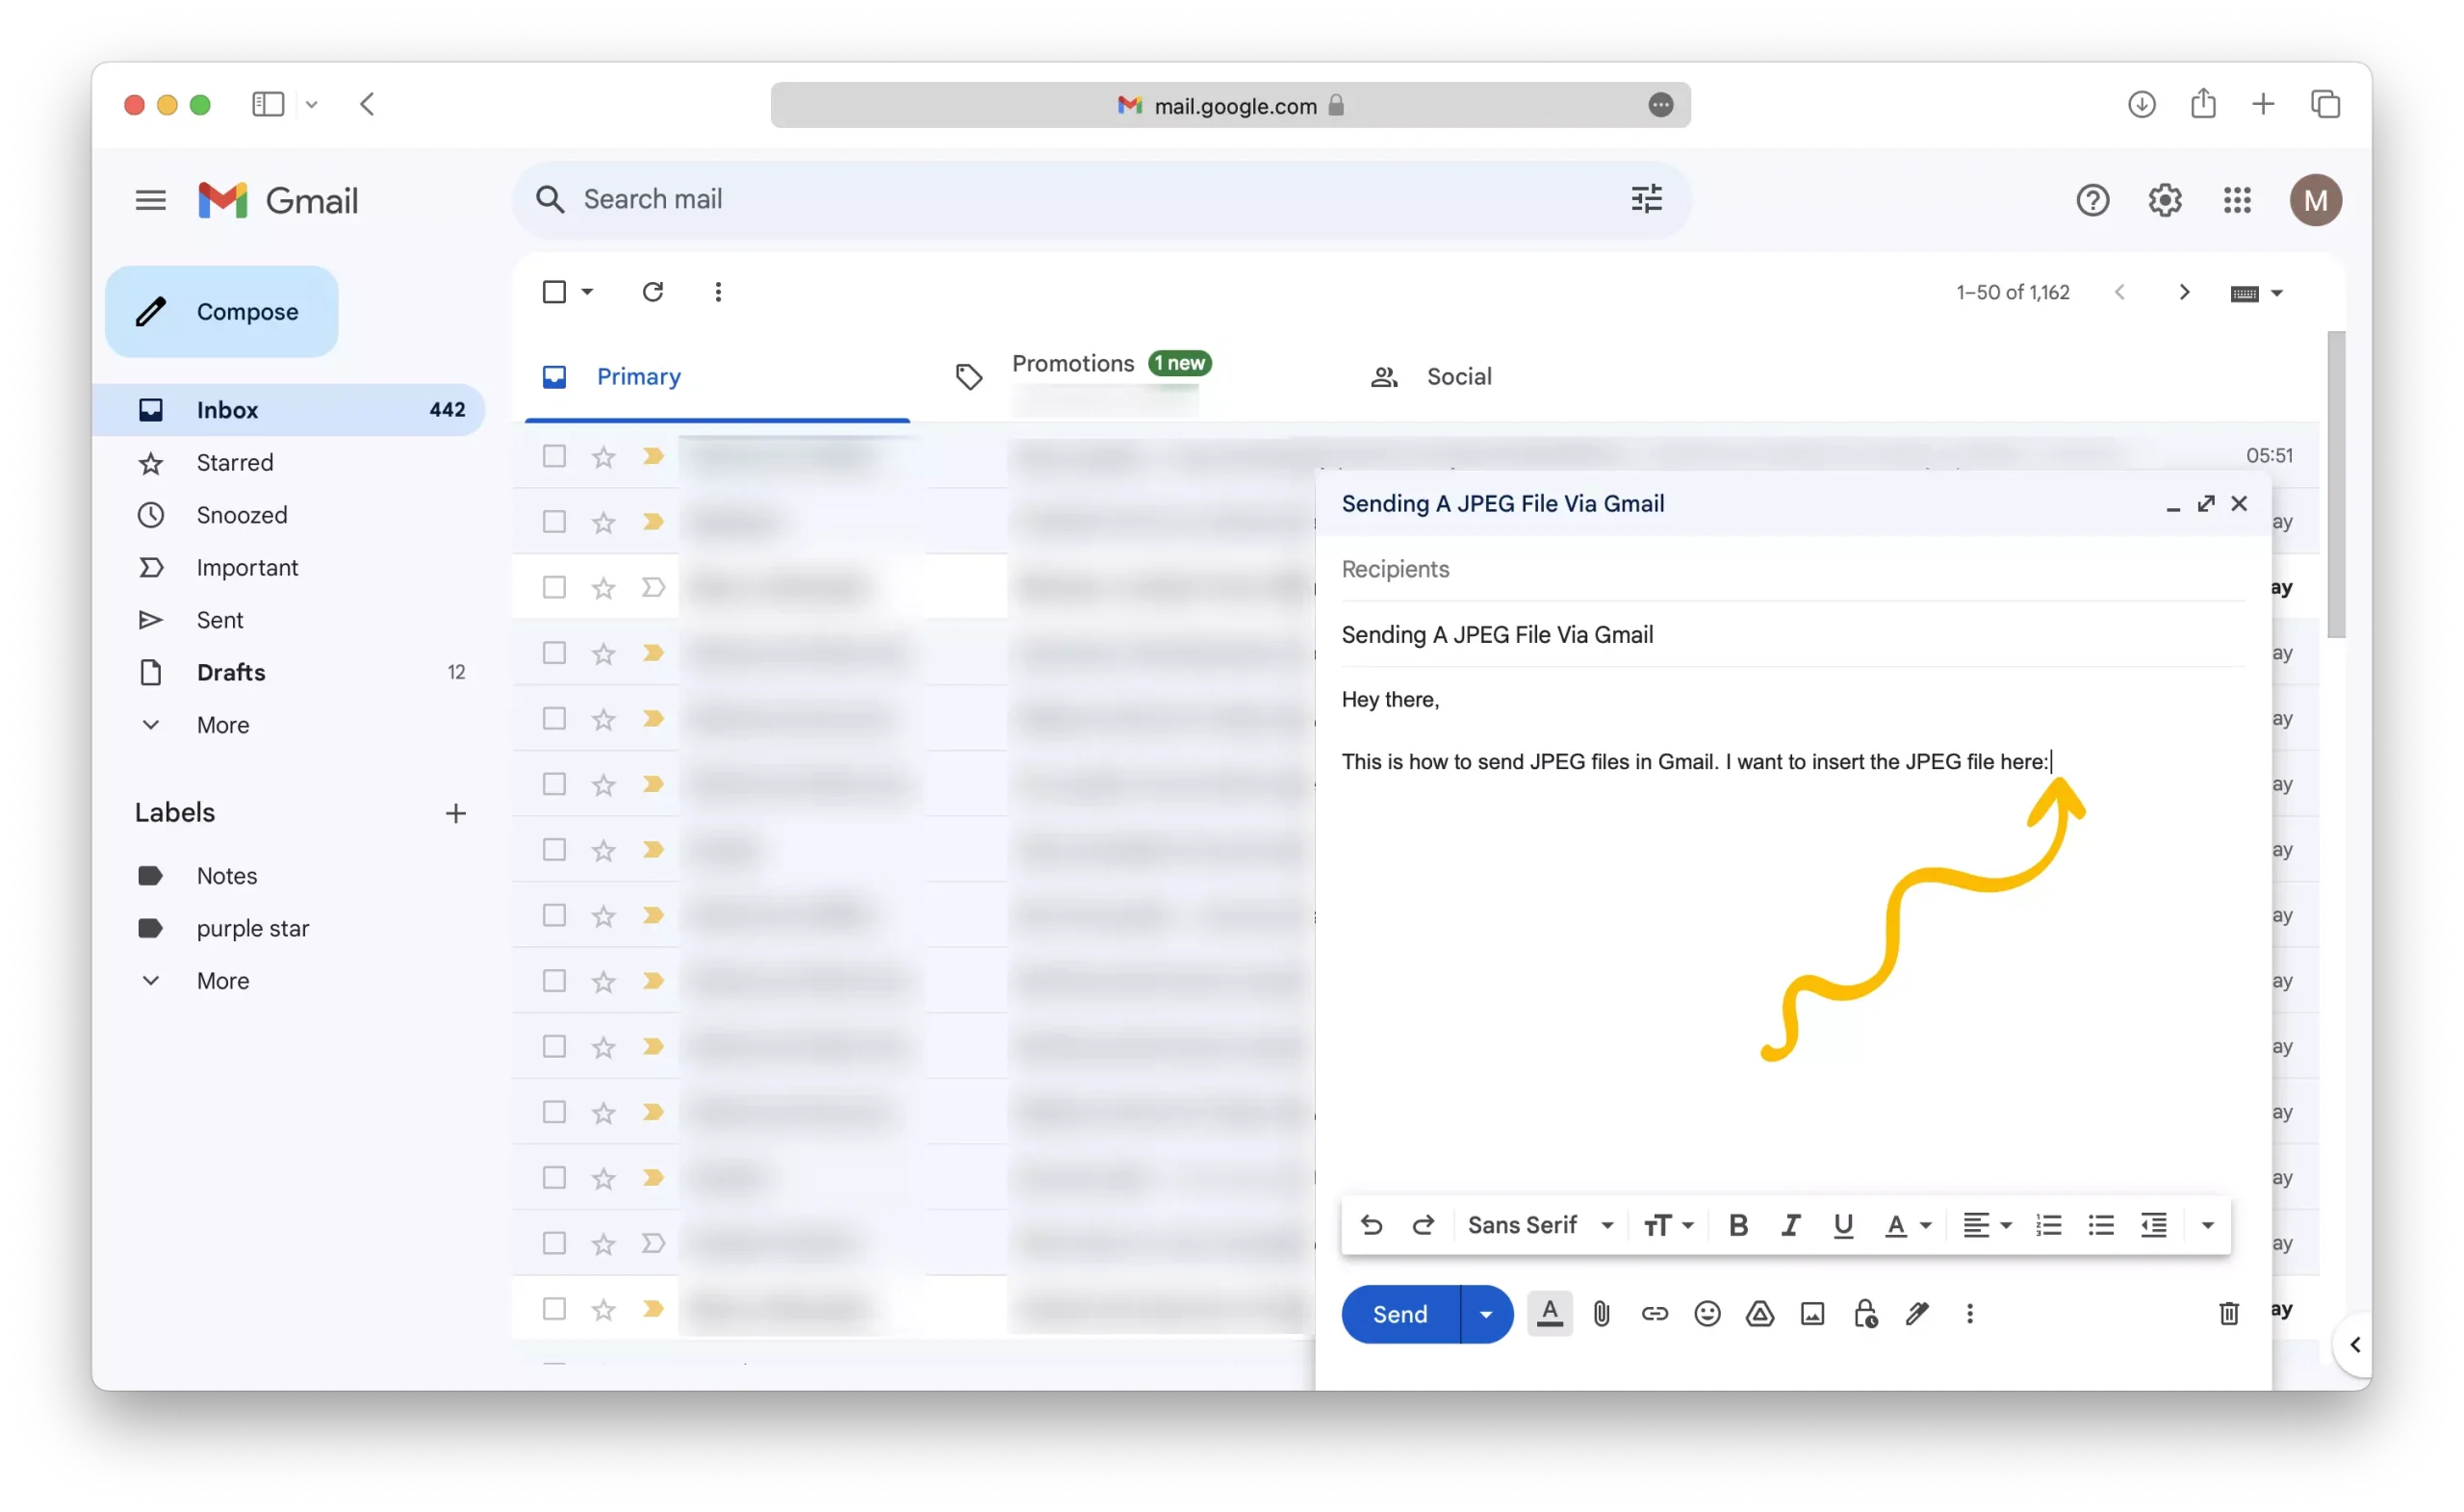
5 – Click on the “Insert image” icon located at the bottom of the compose window.

6 – In the pop-up window that appears, click on the “Upload” tab.
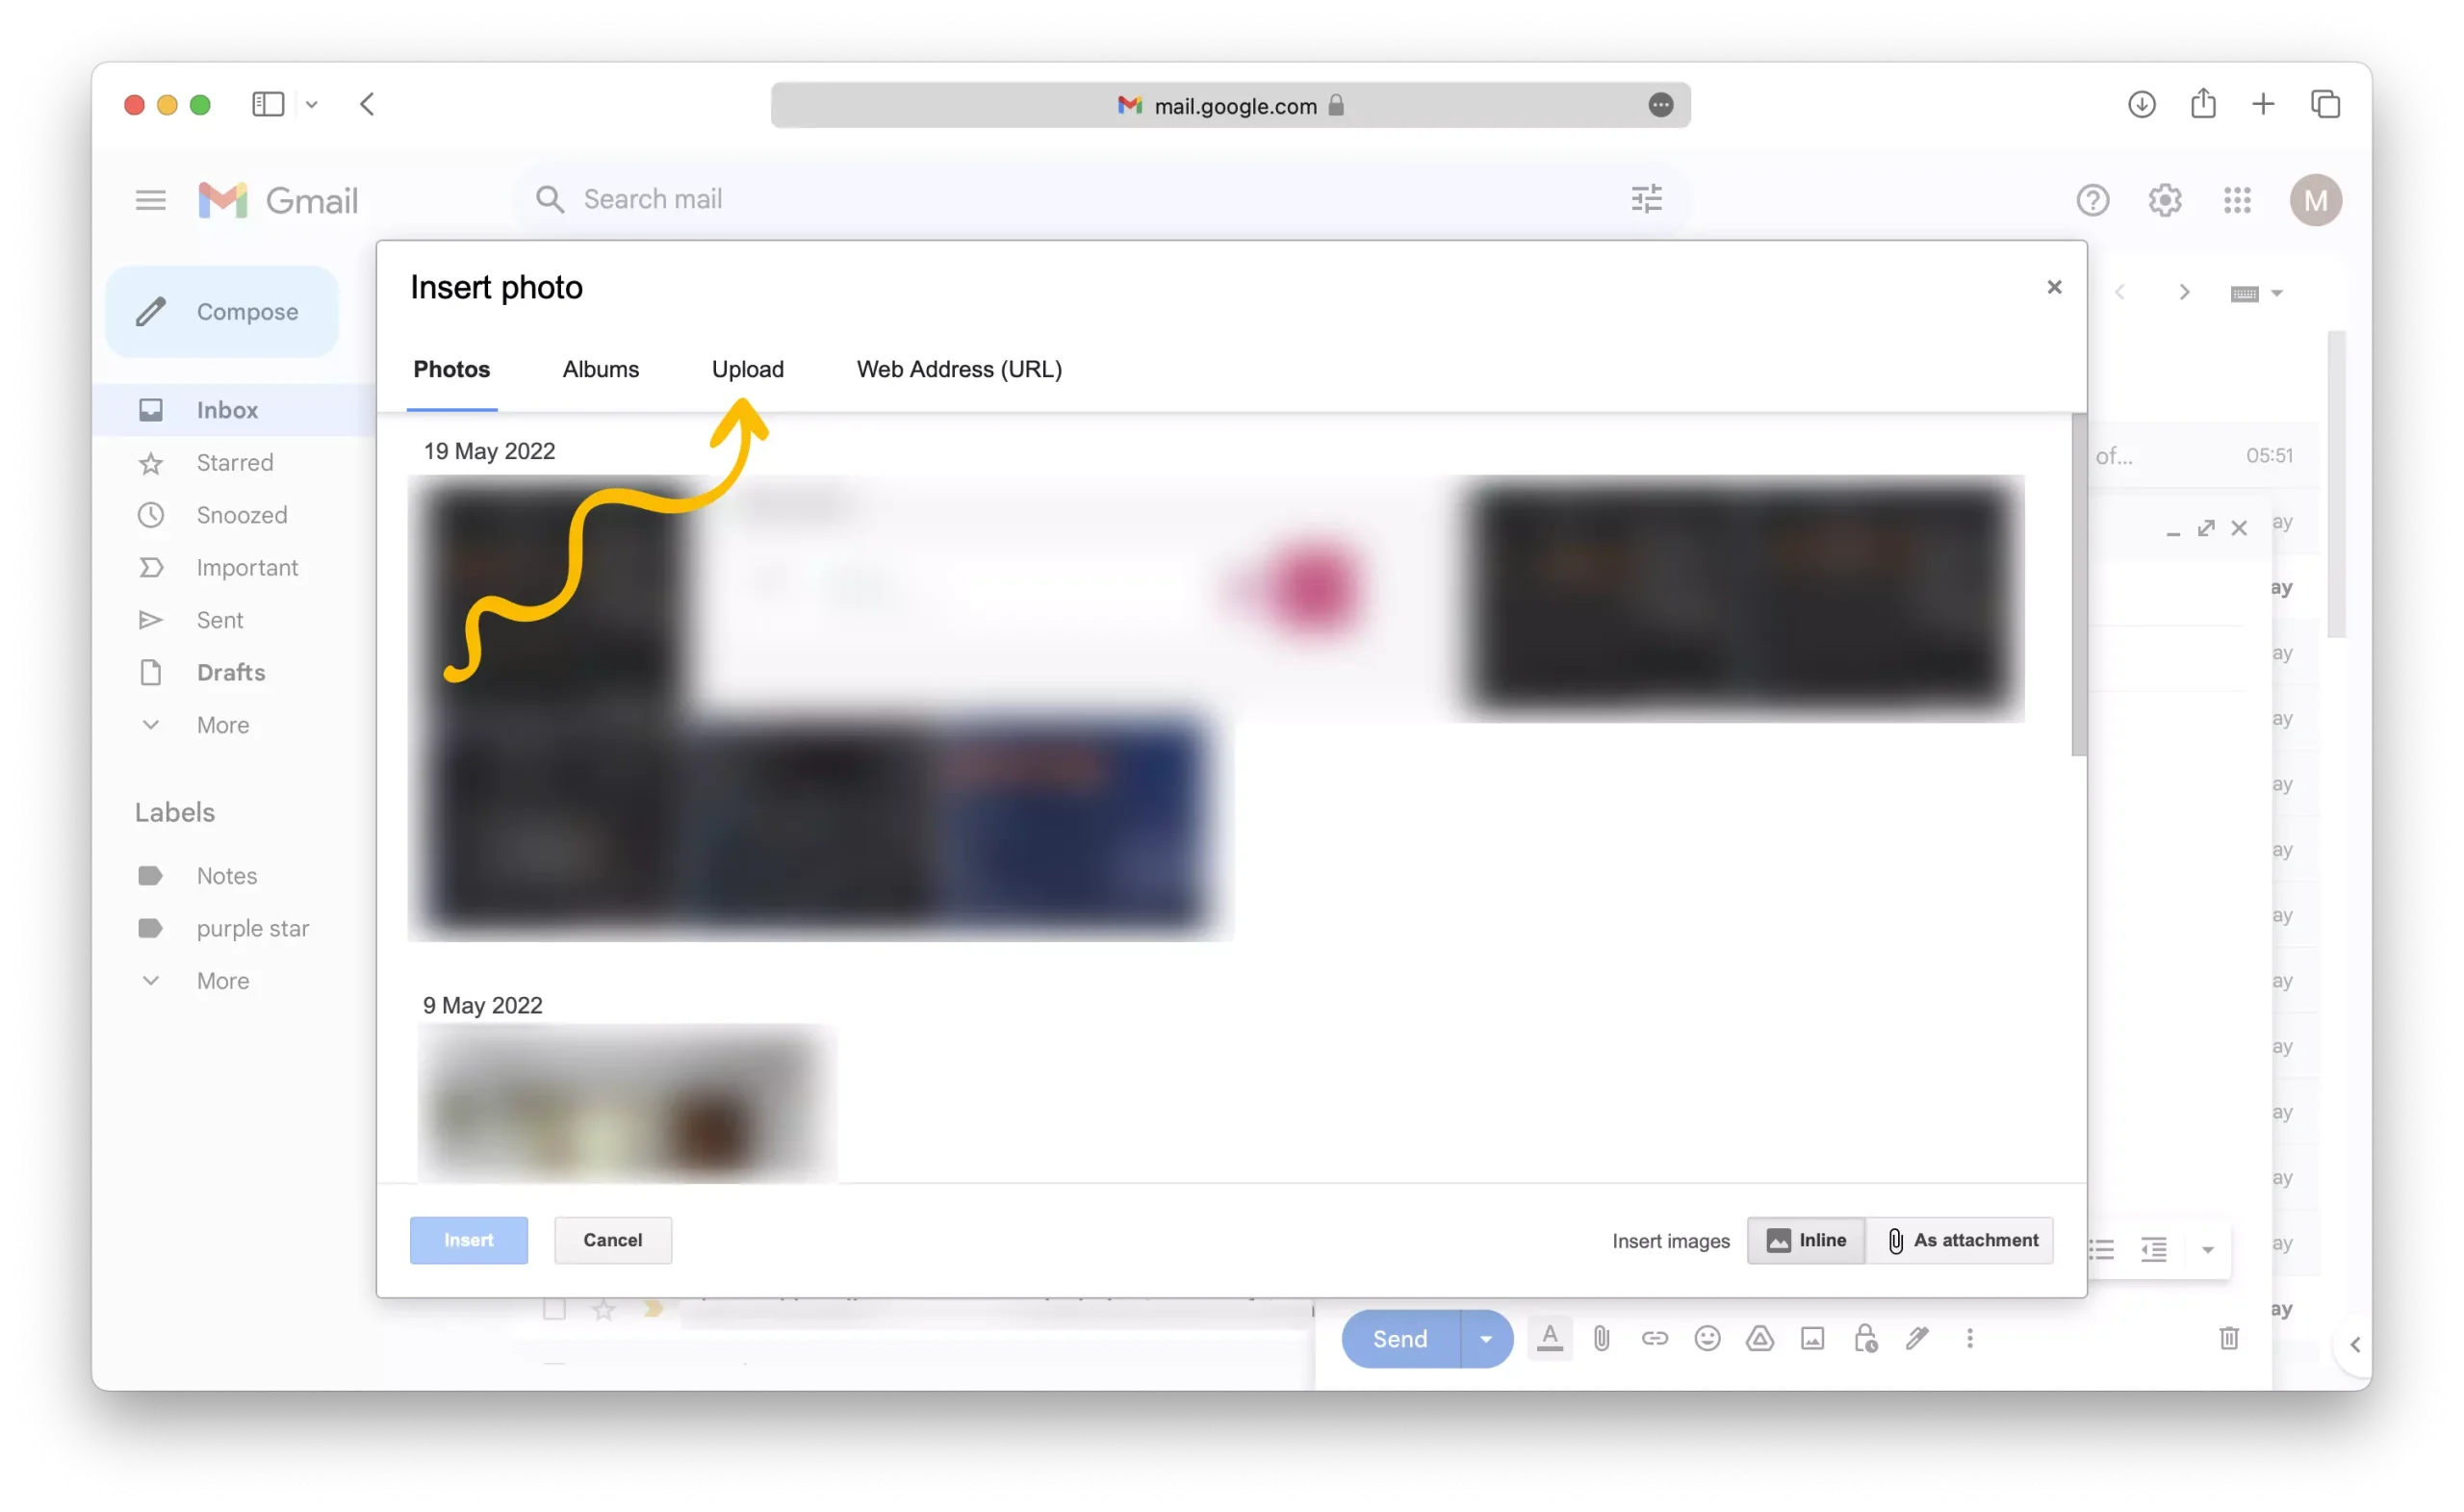
7 – Click on the “Choose photos to upload” button.

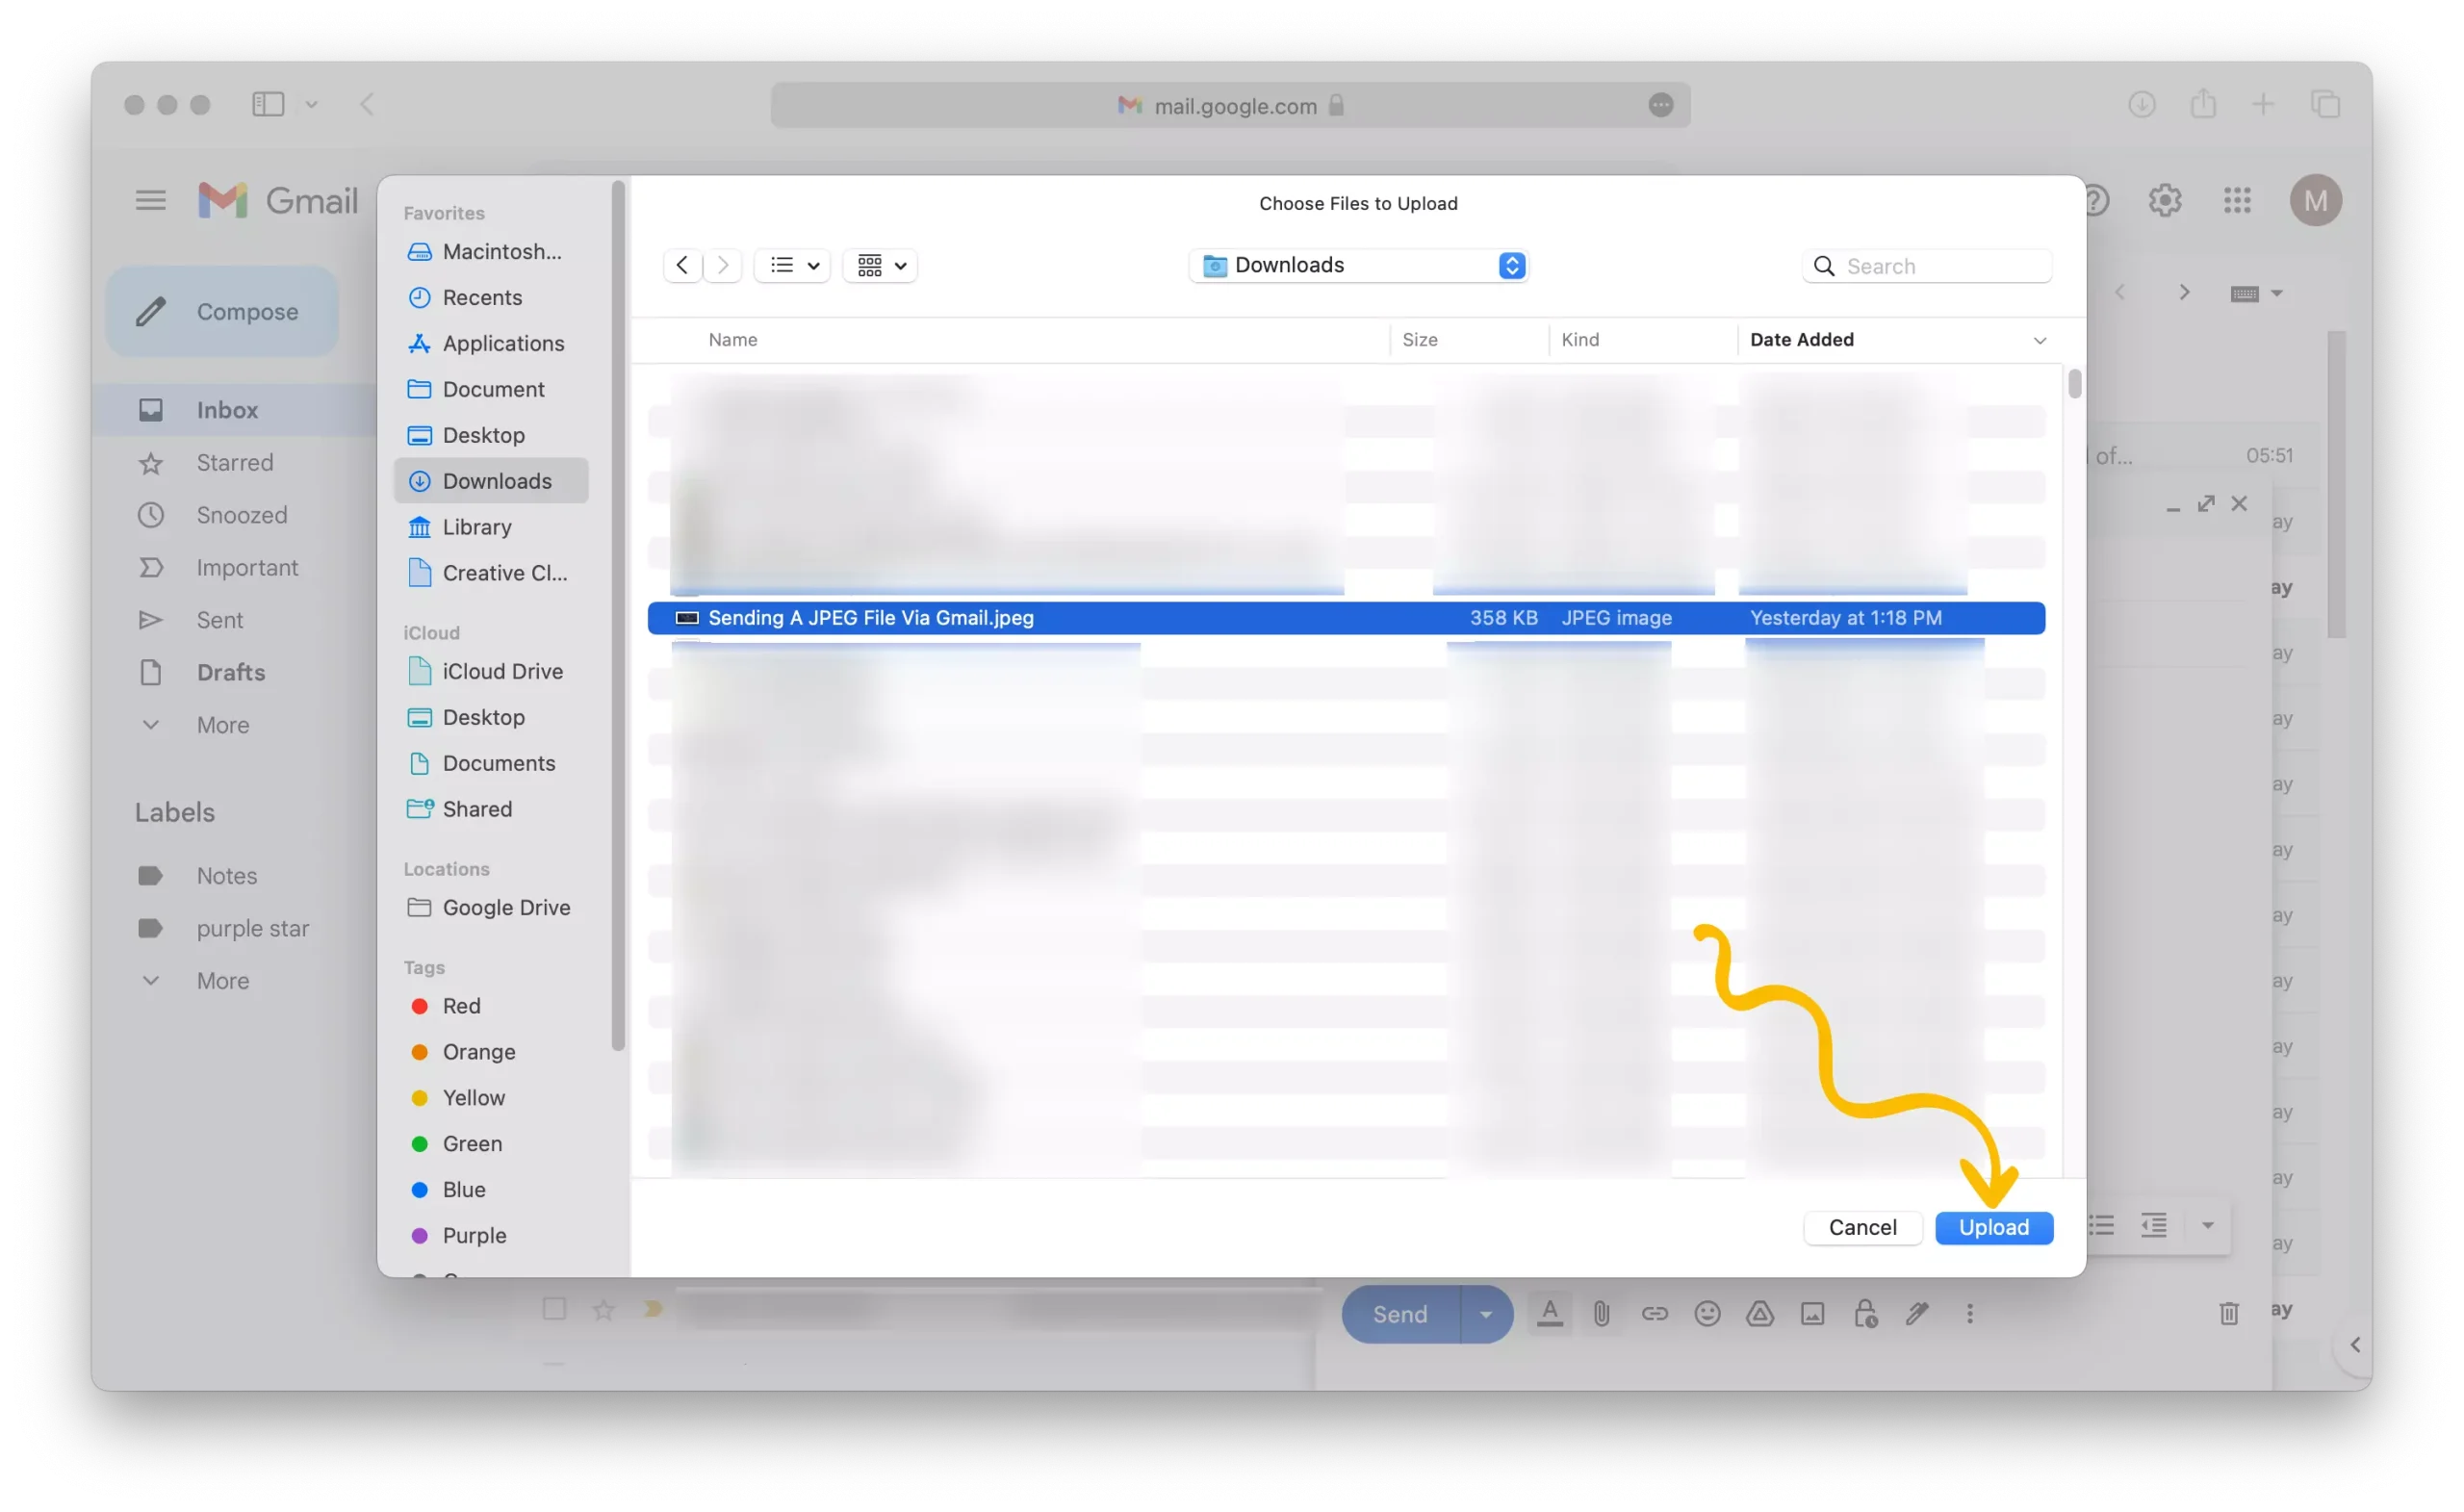
8 – In the file explorer window select the JPEG file you want to send and click on it.

9 – Click on the “Upload” button.
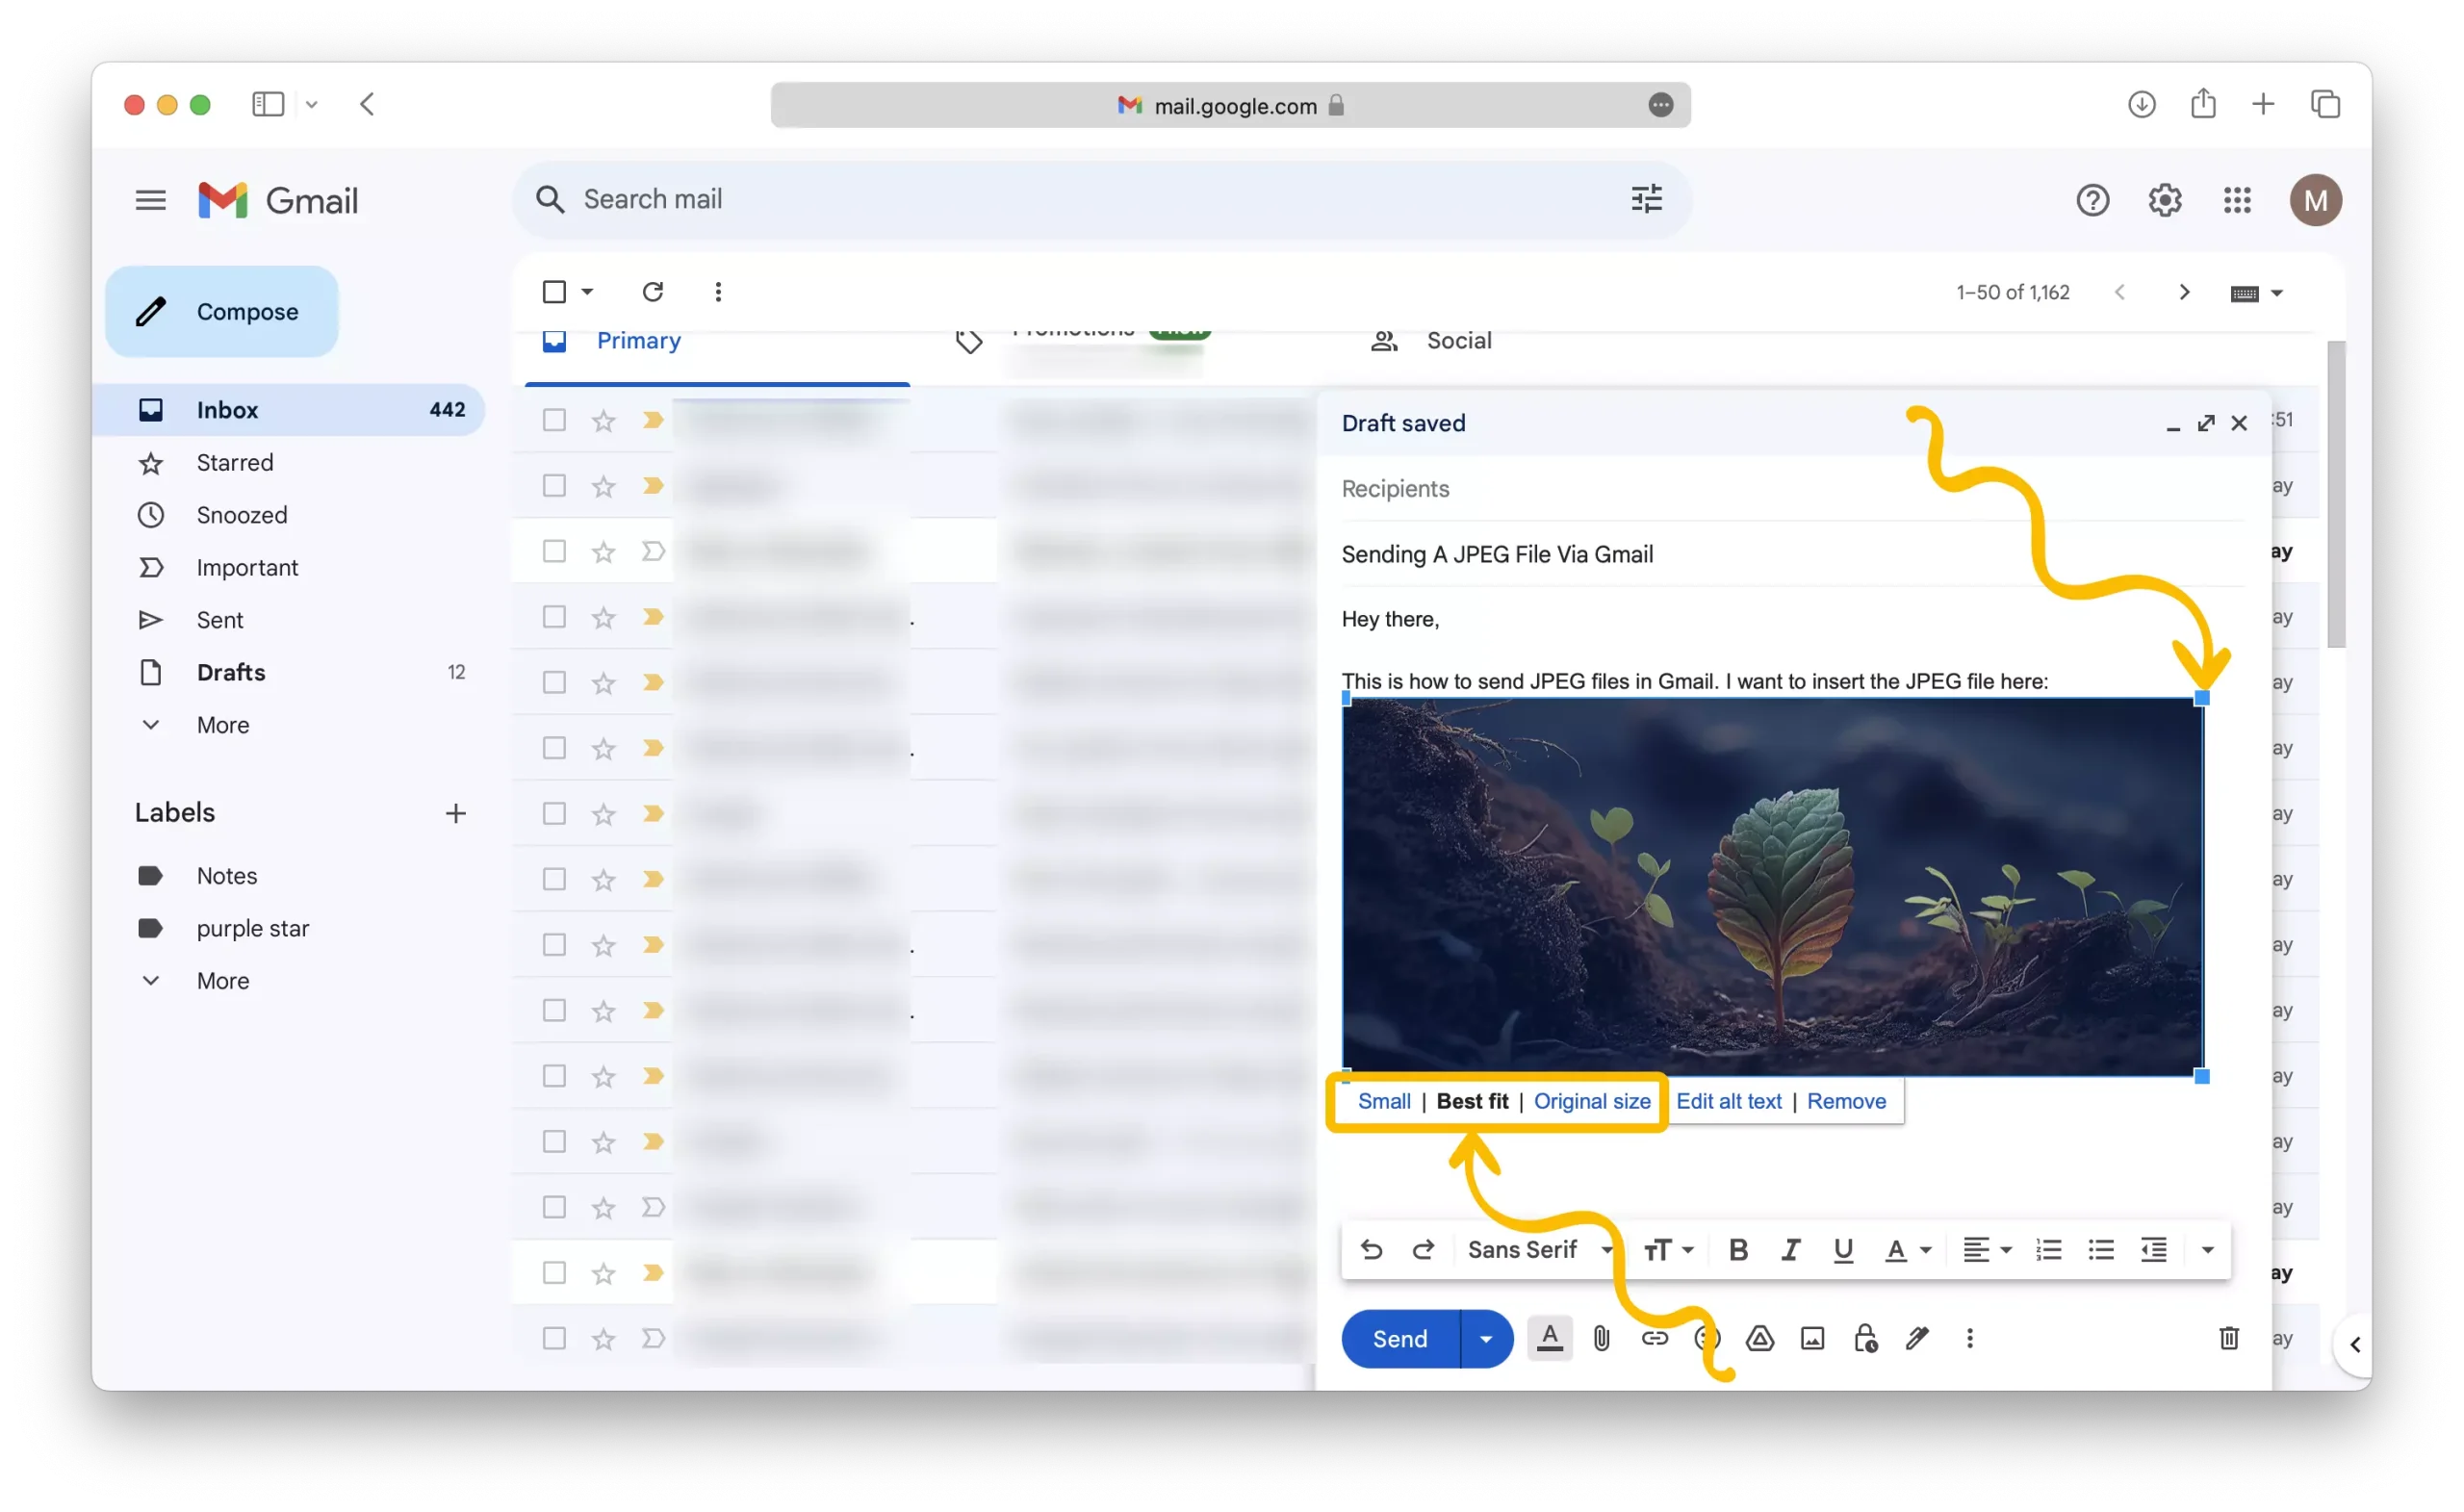
10 – Resize the inserted JPEG by using the quick menu located below the image or by clicking and dragging one of the four corners of the image.
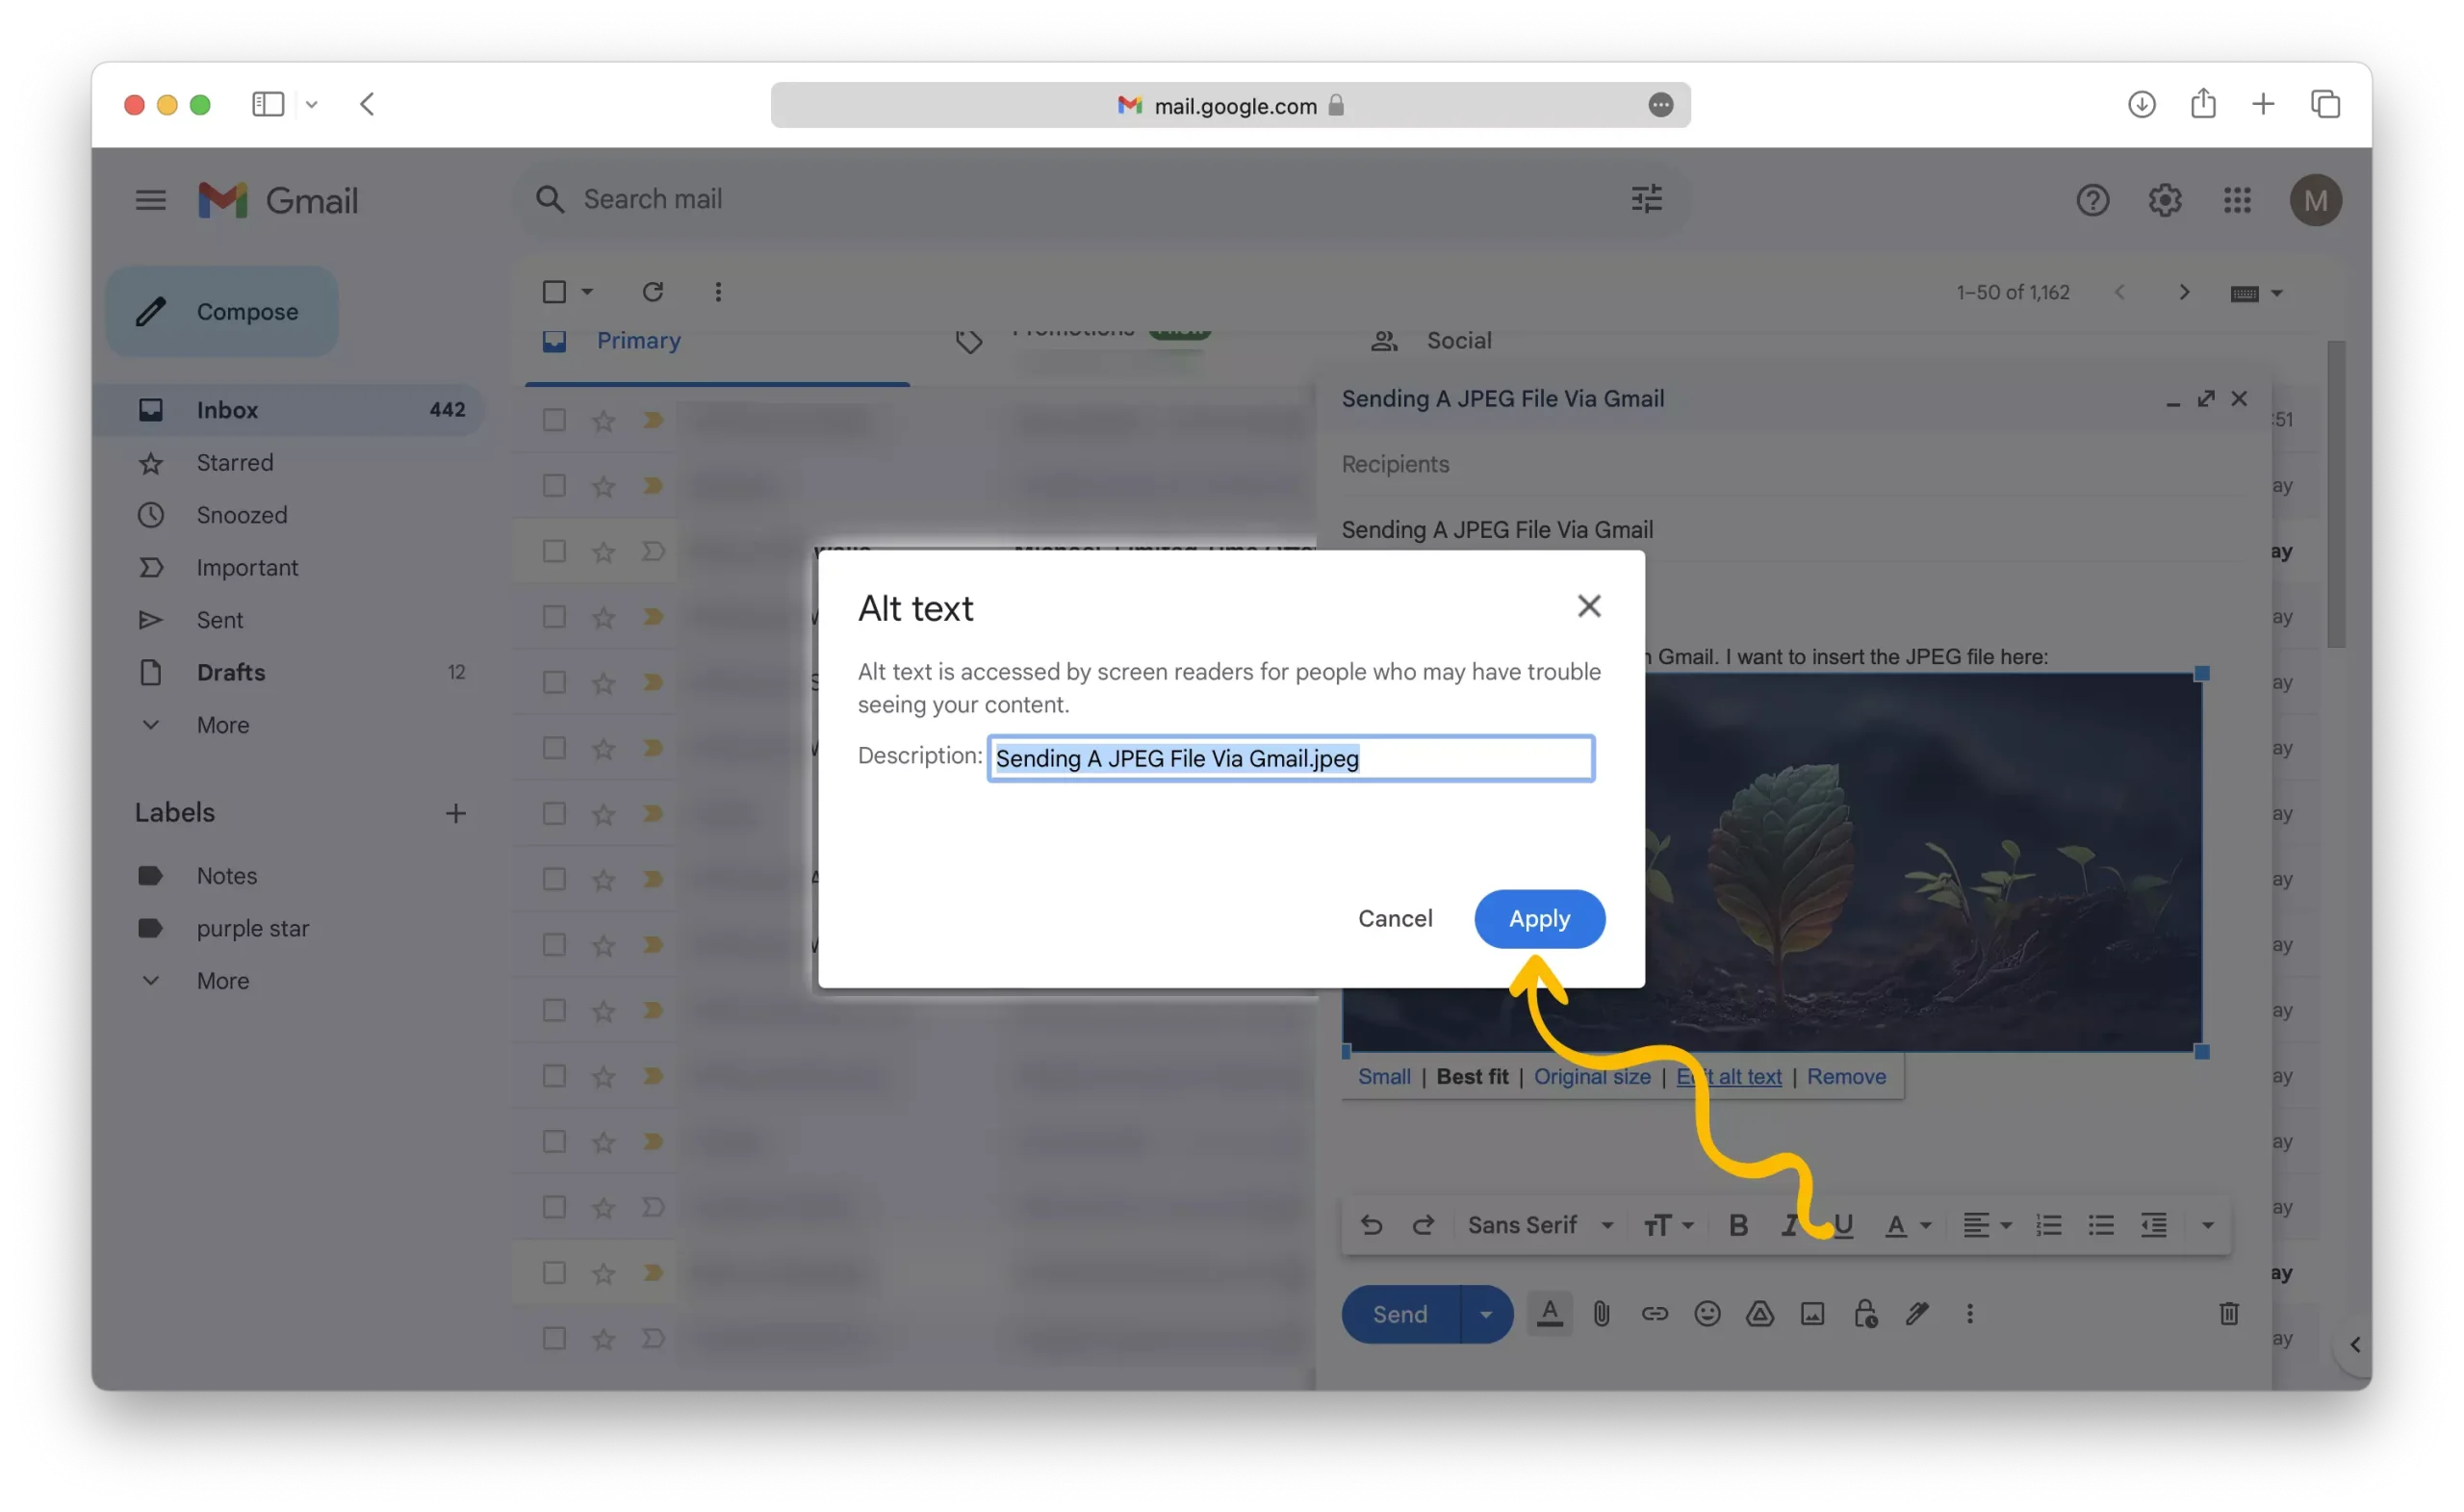
11- Once you are satisfied with the size and placement of the image, click on the “Edit alt text” link.
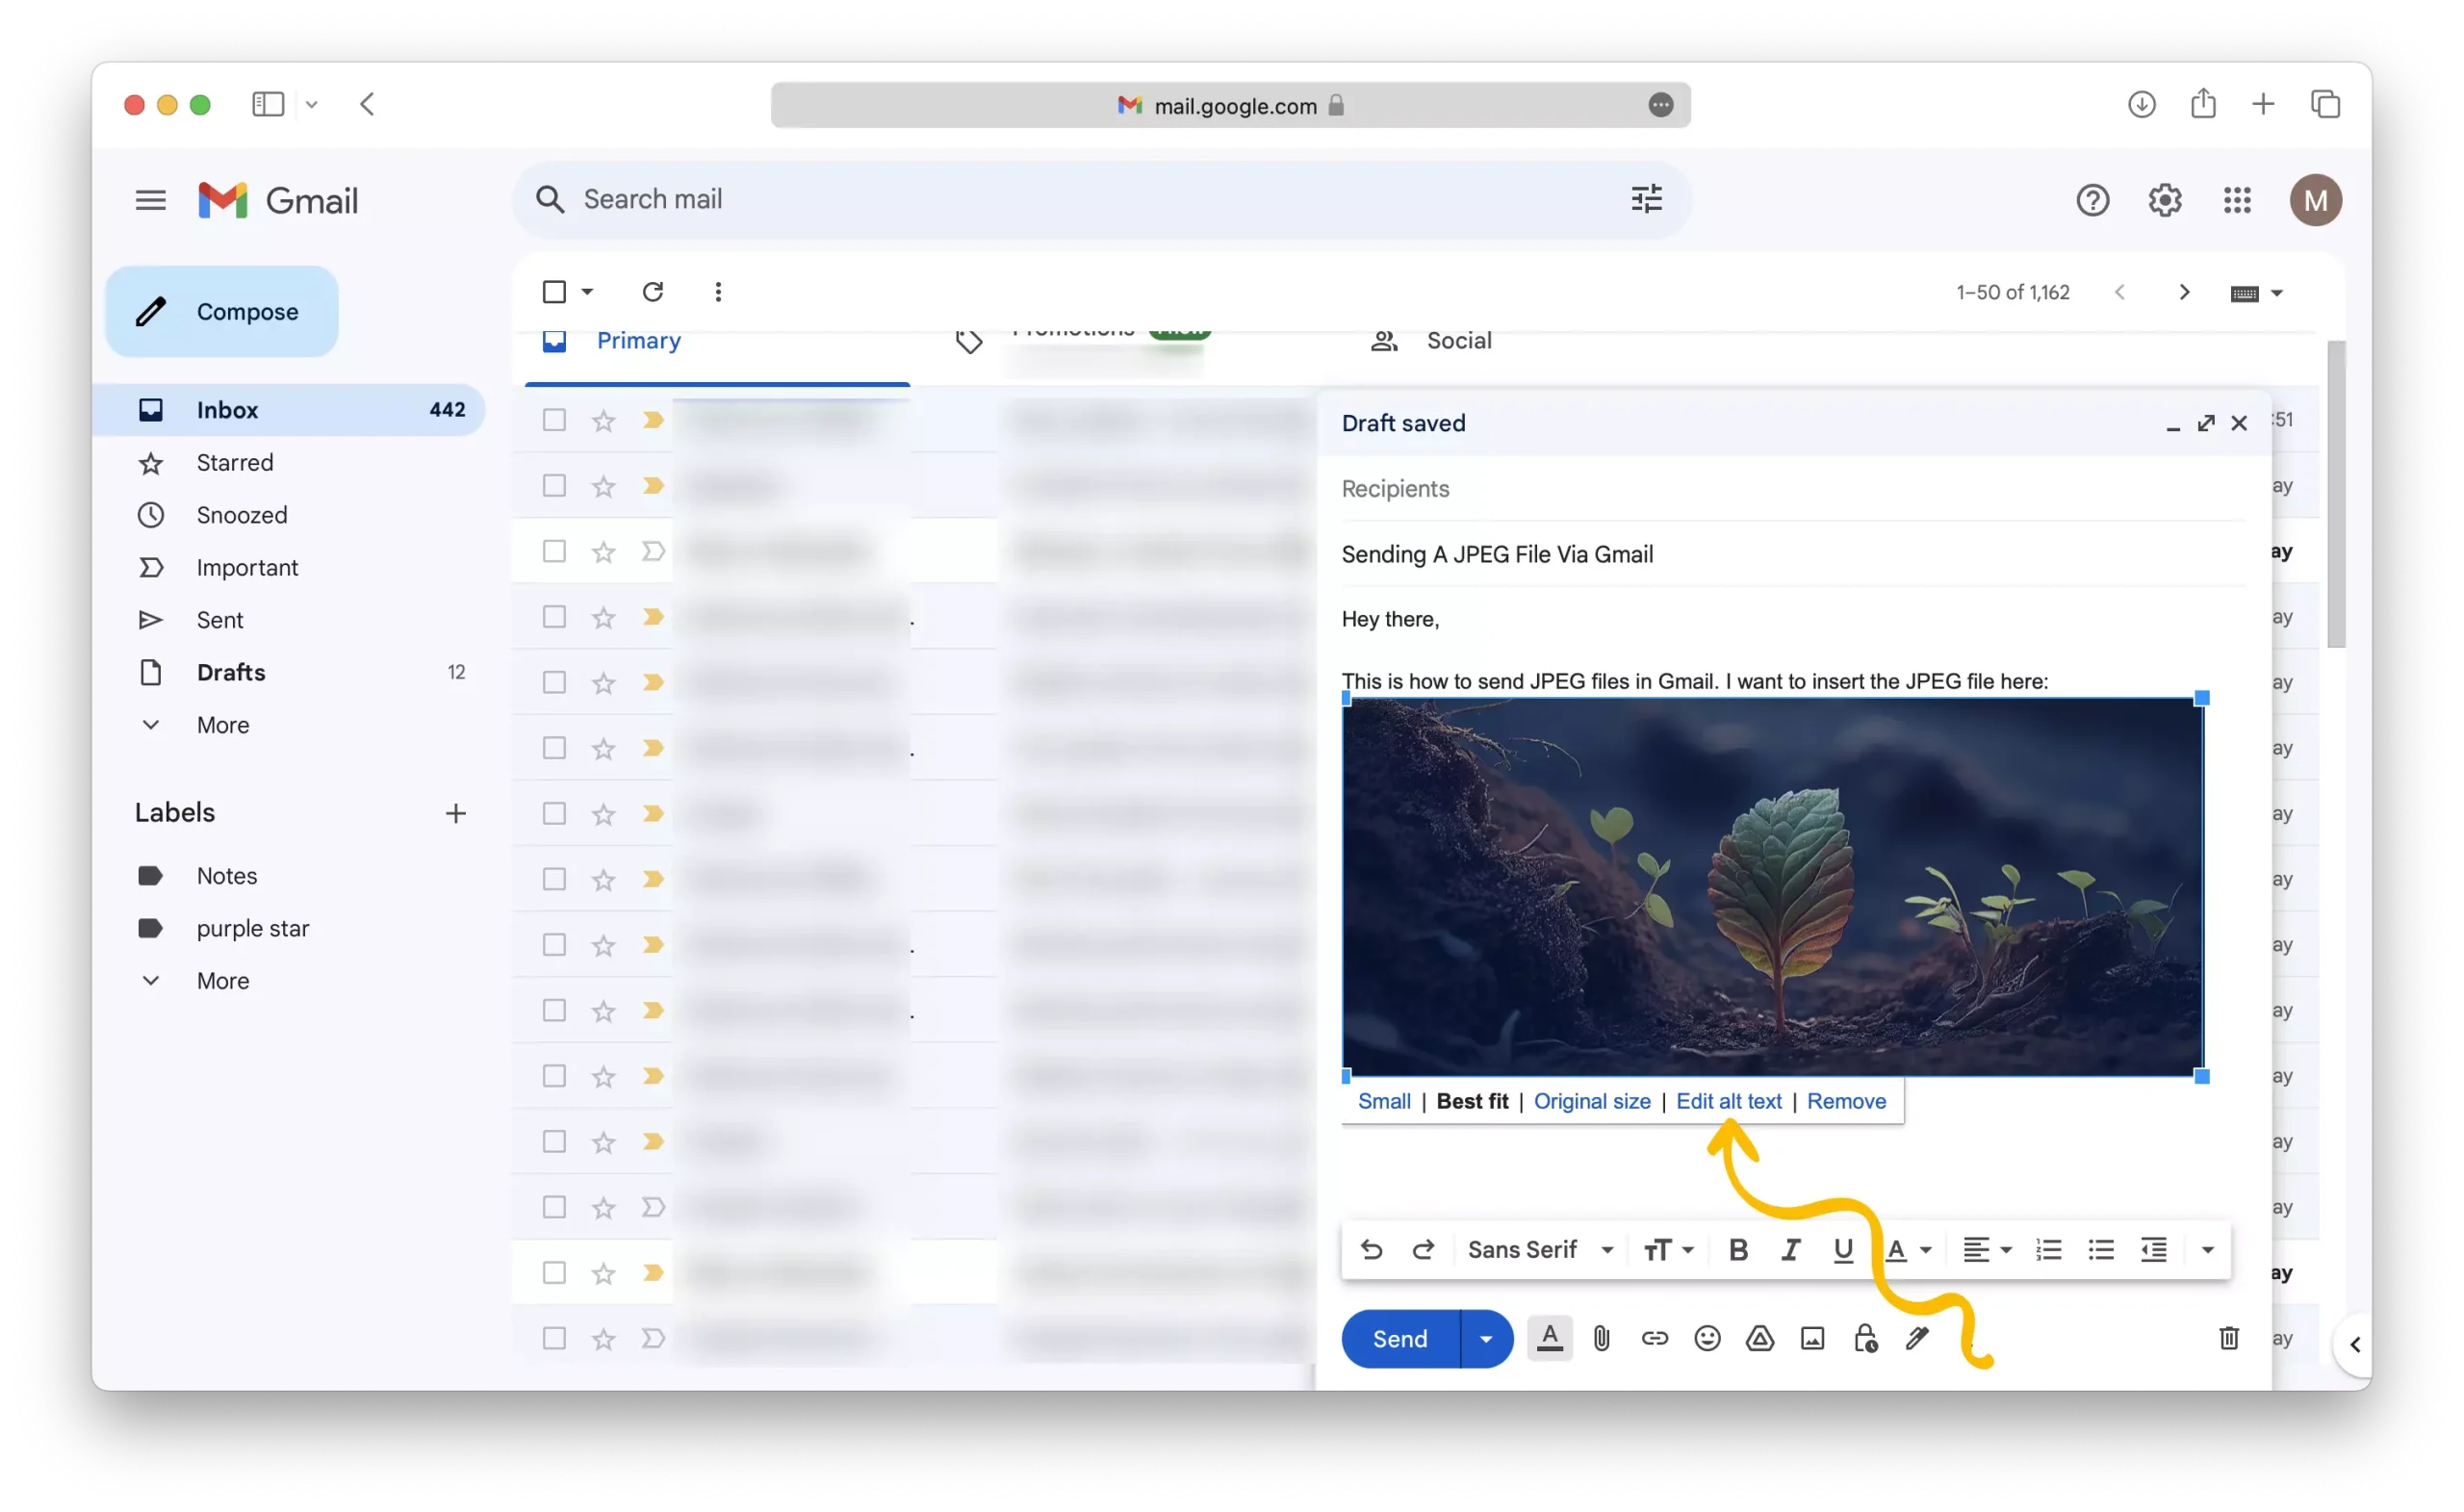
12 – Enter a brief description of the image in the “Description” field and click the “Apply” button.
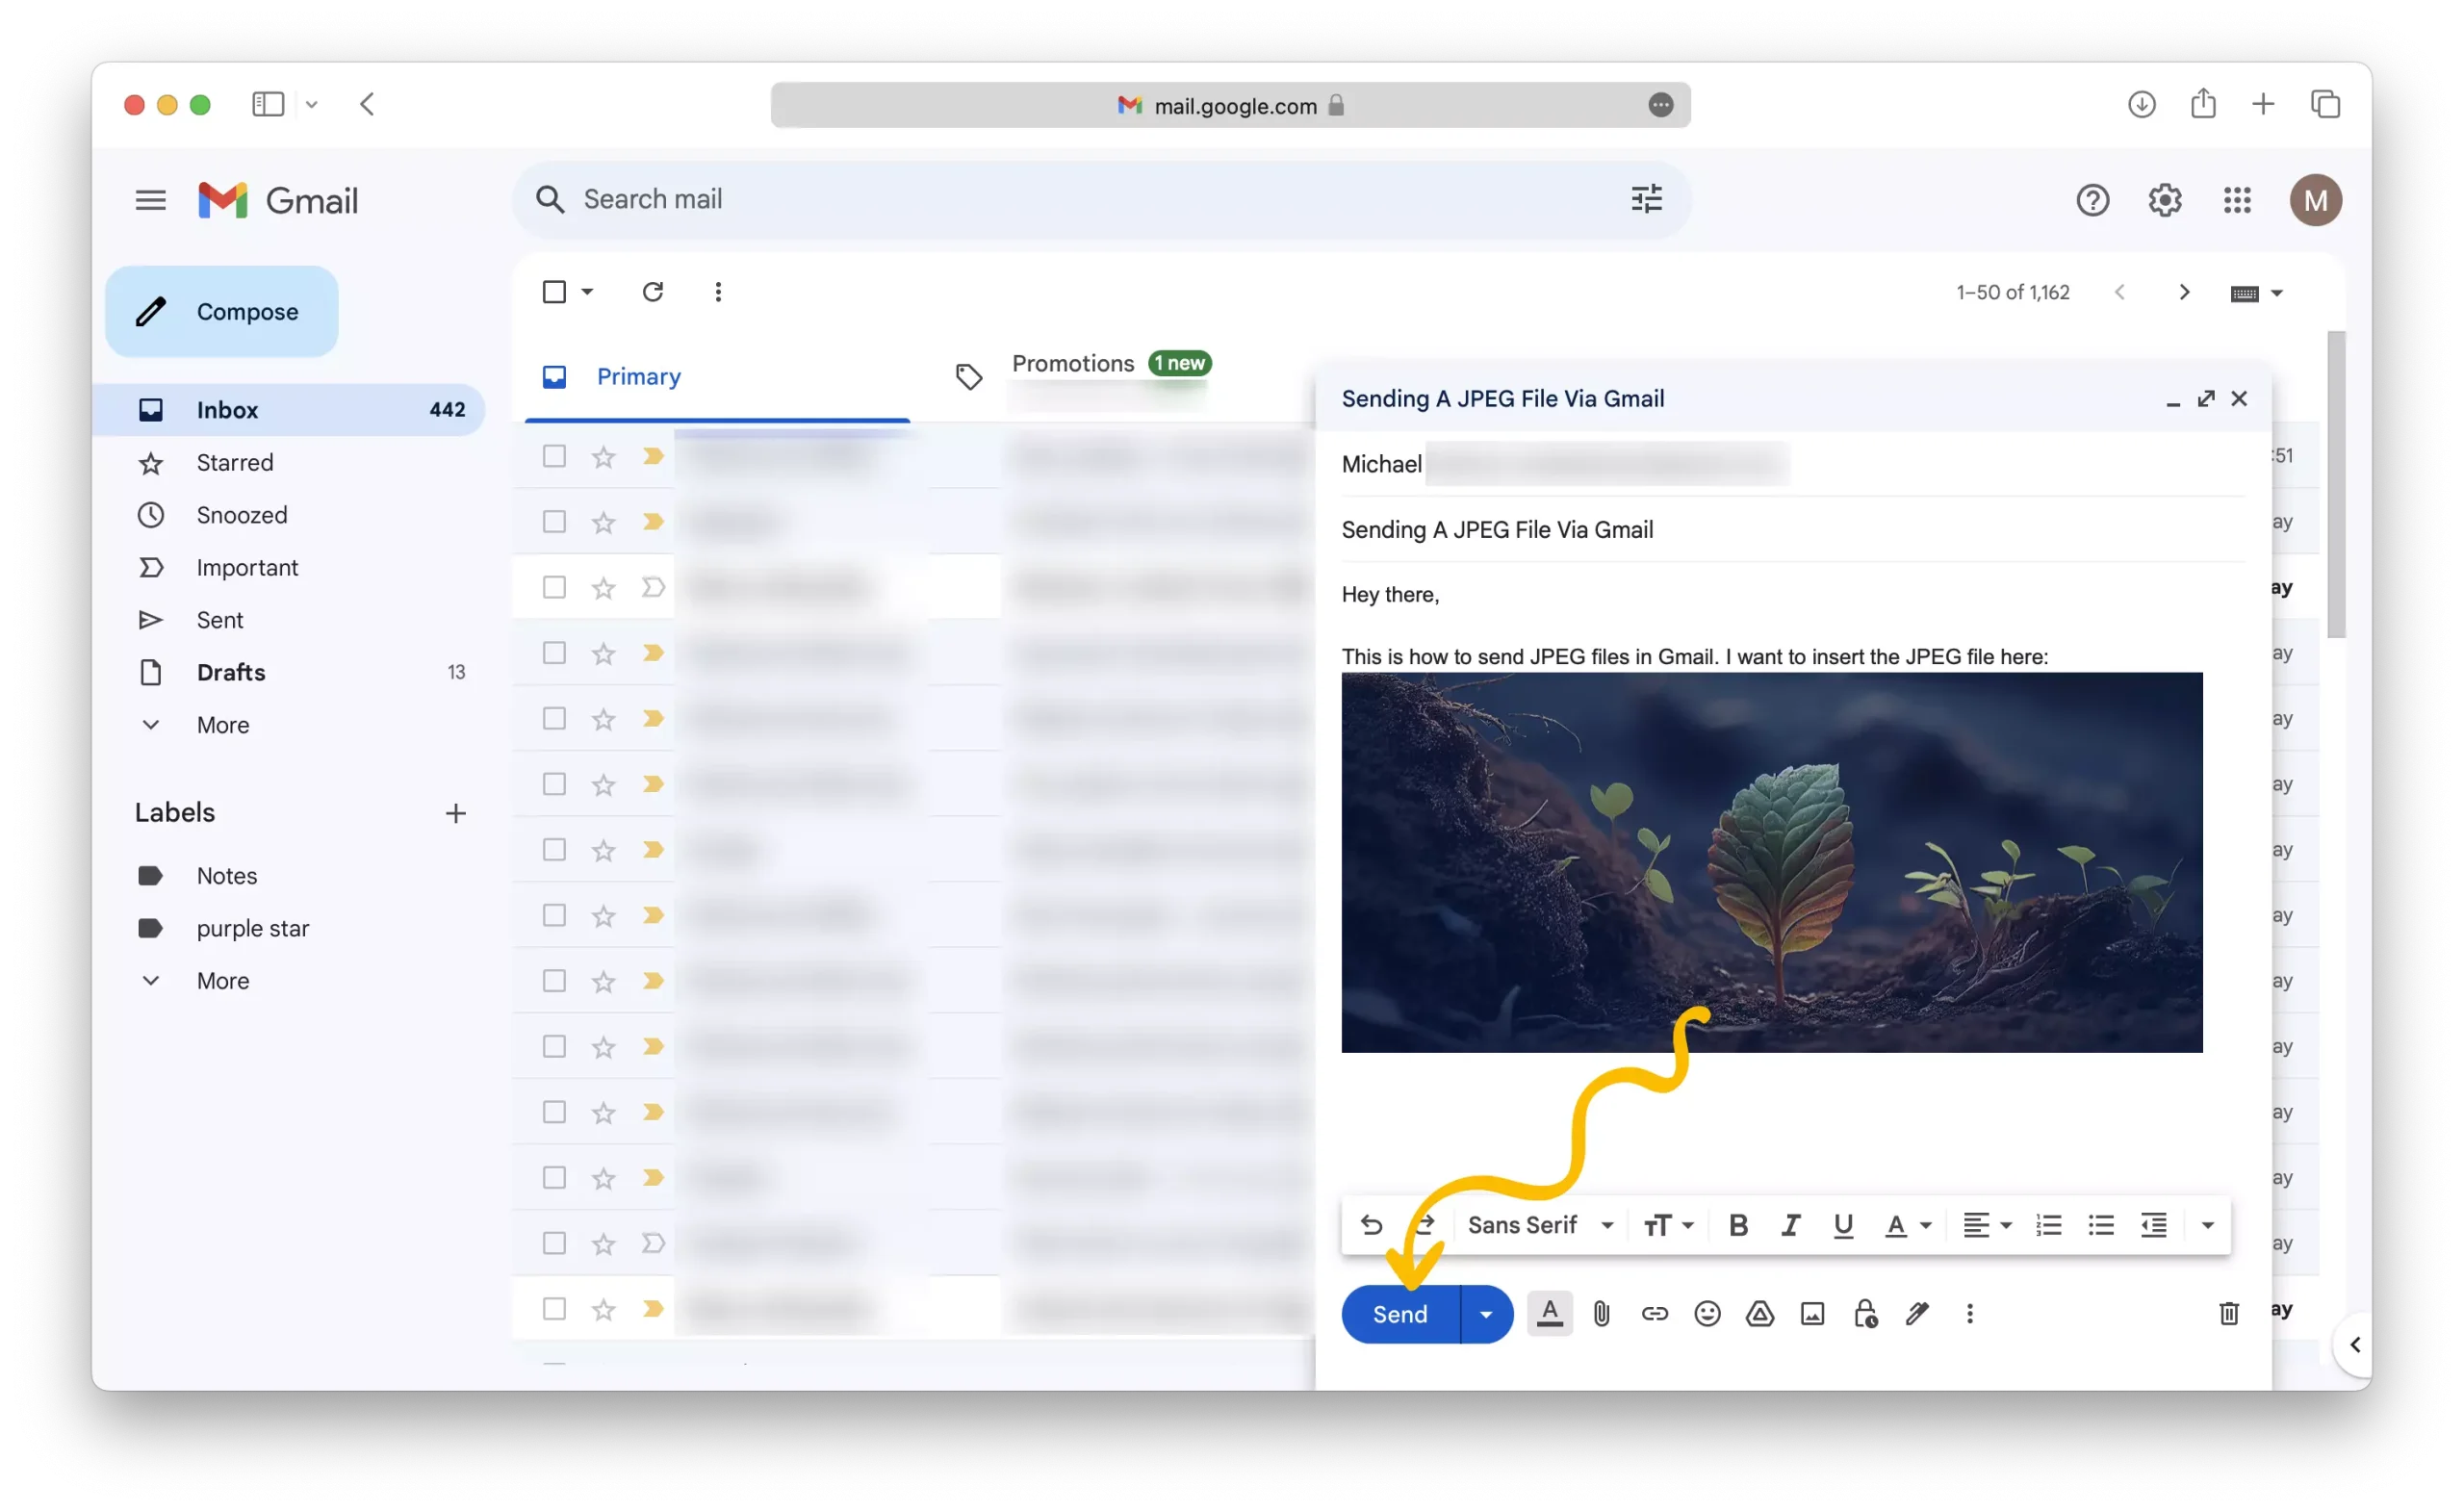
13 – Finally, click on the “Send” button to send your email with the embedded JPEG file.
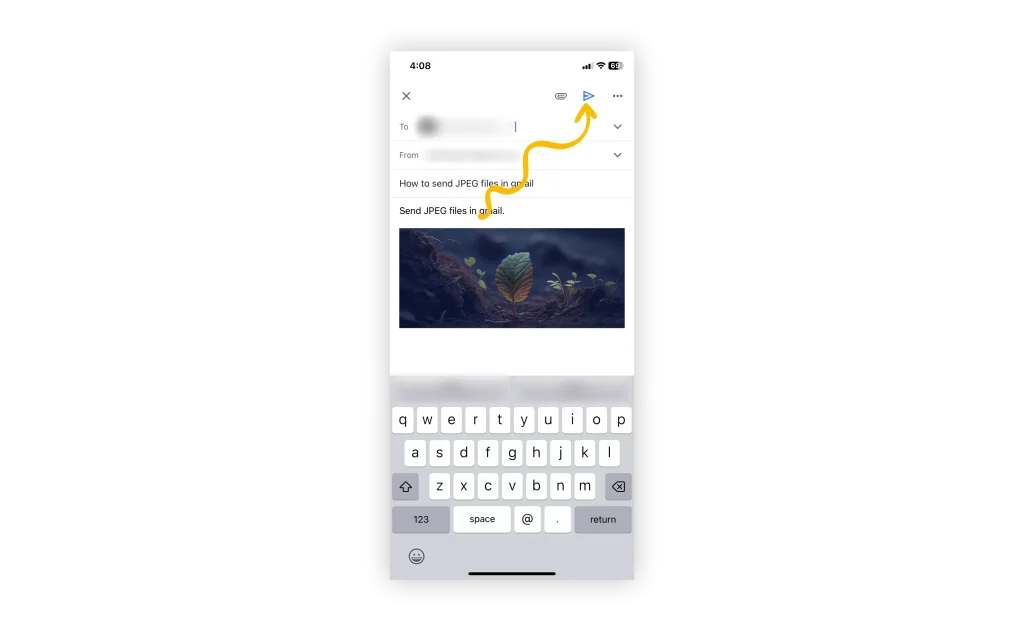
Sending a JPEG File in the Gmail mobile app
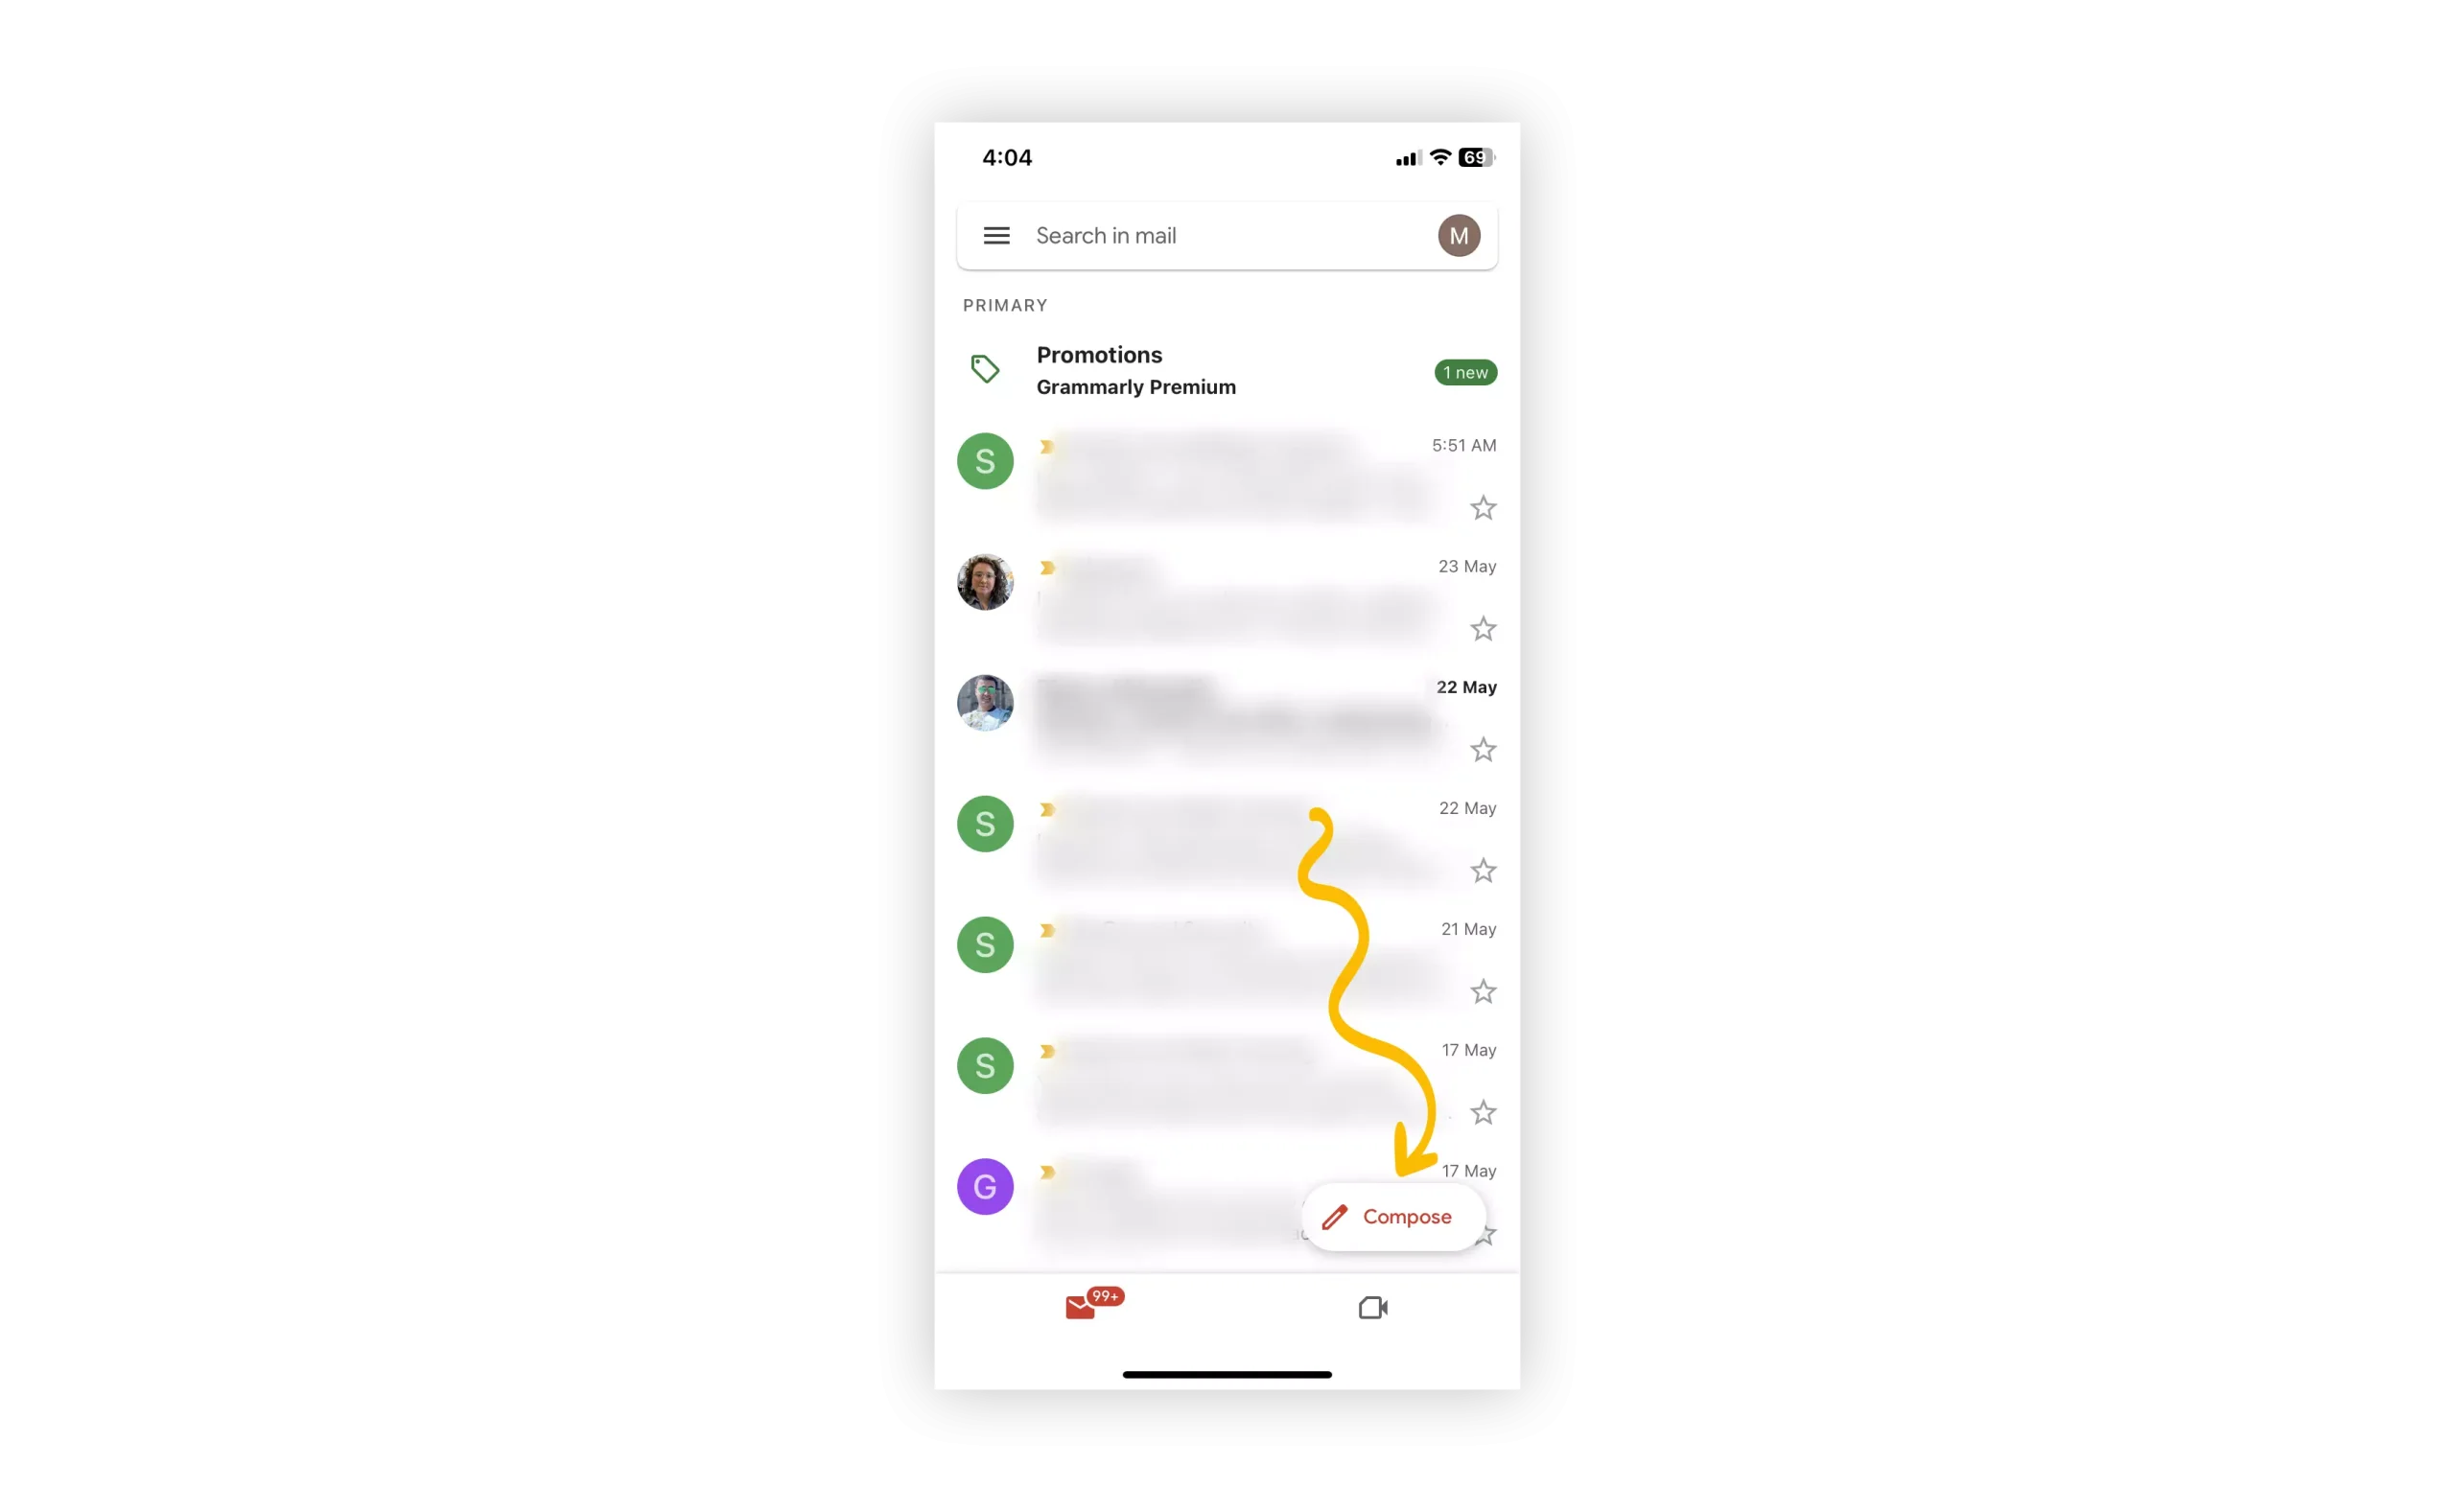
1 – Open the Gmail app on your mobile device.
2 – Tap the compose button to start writing a new email.
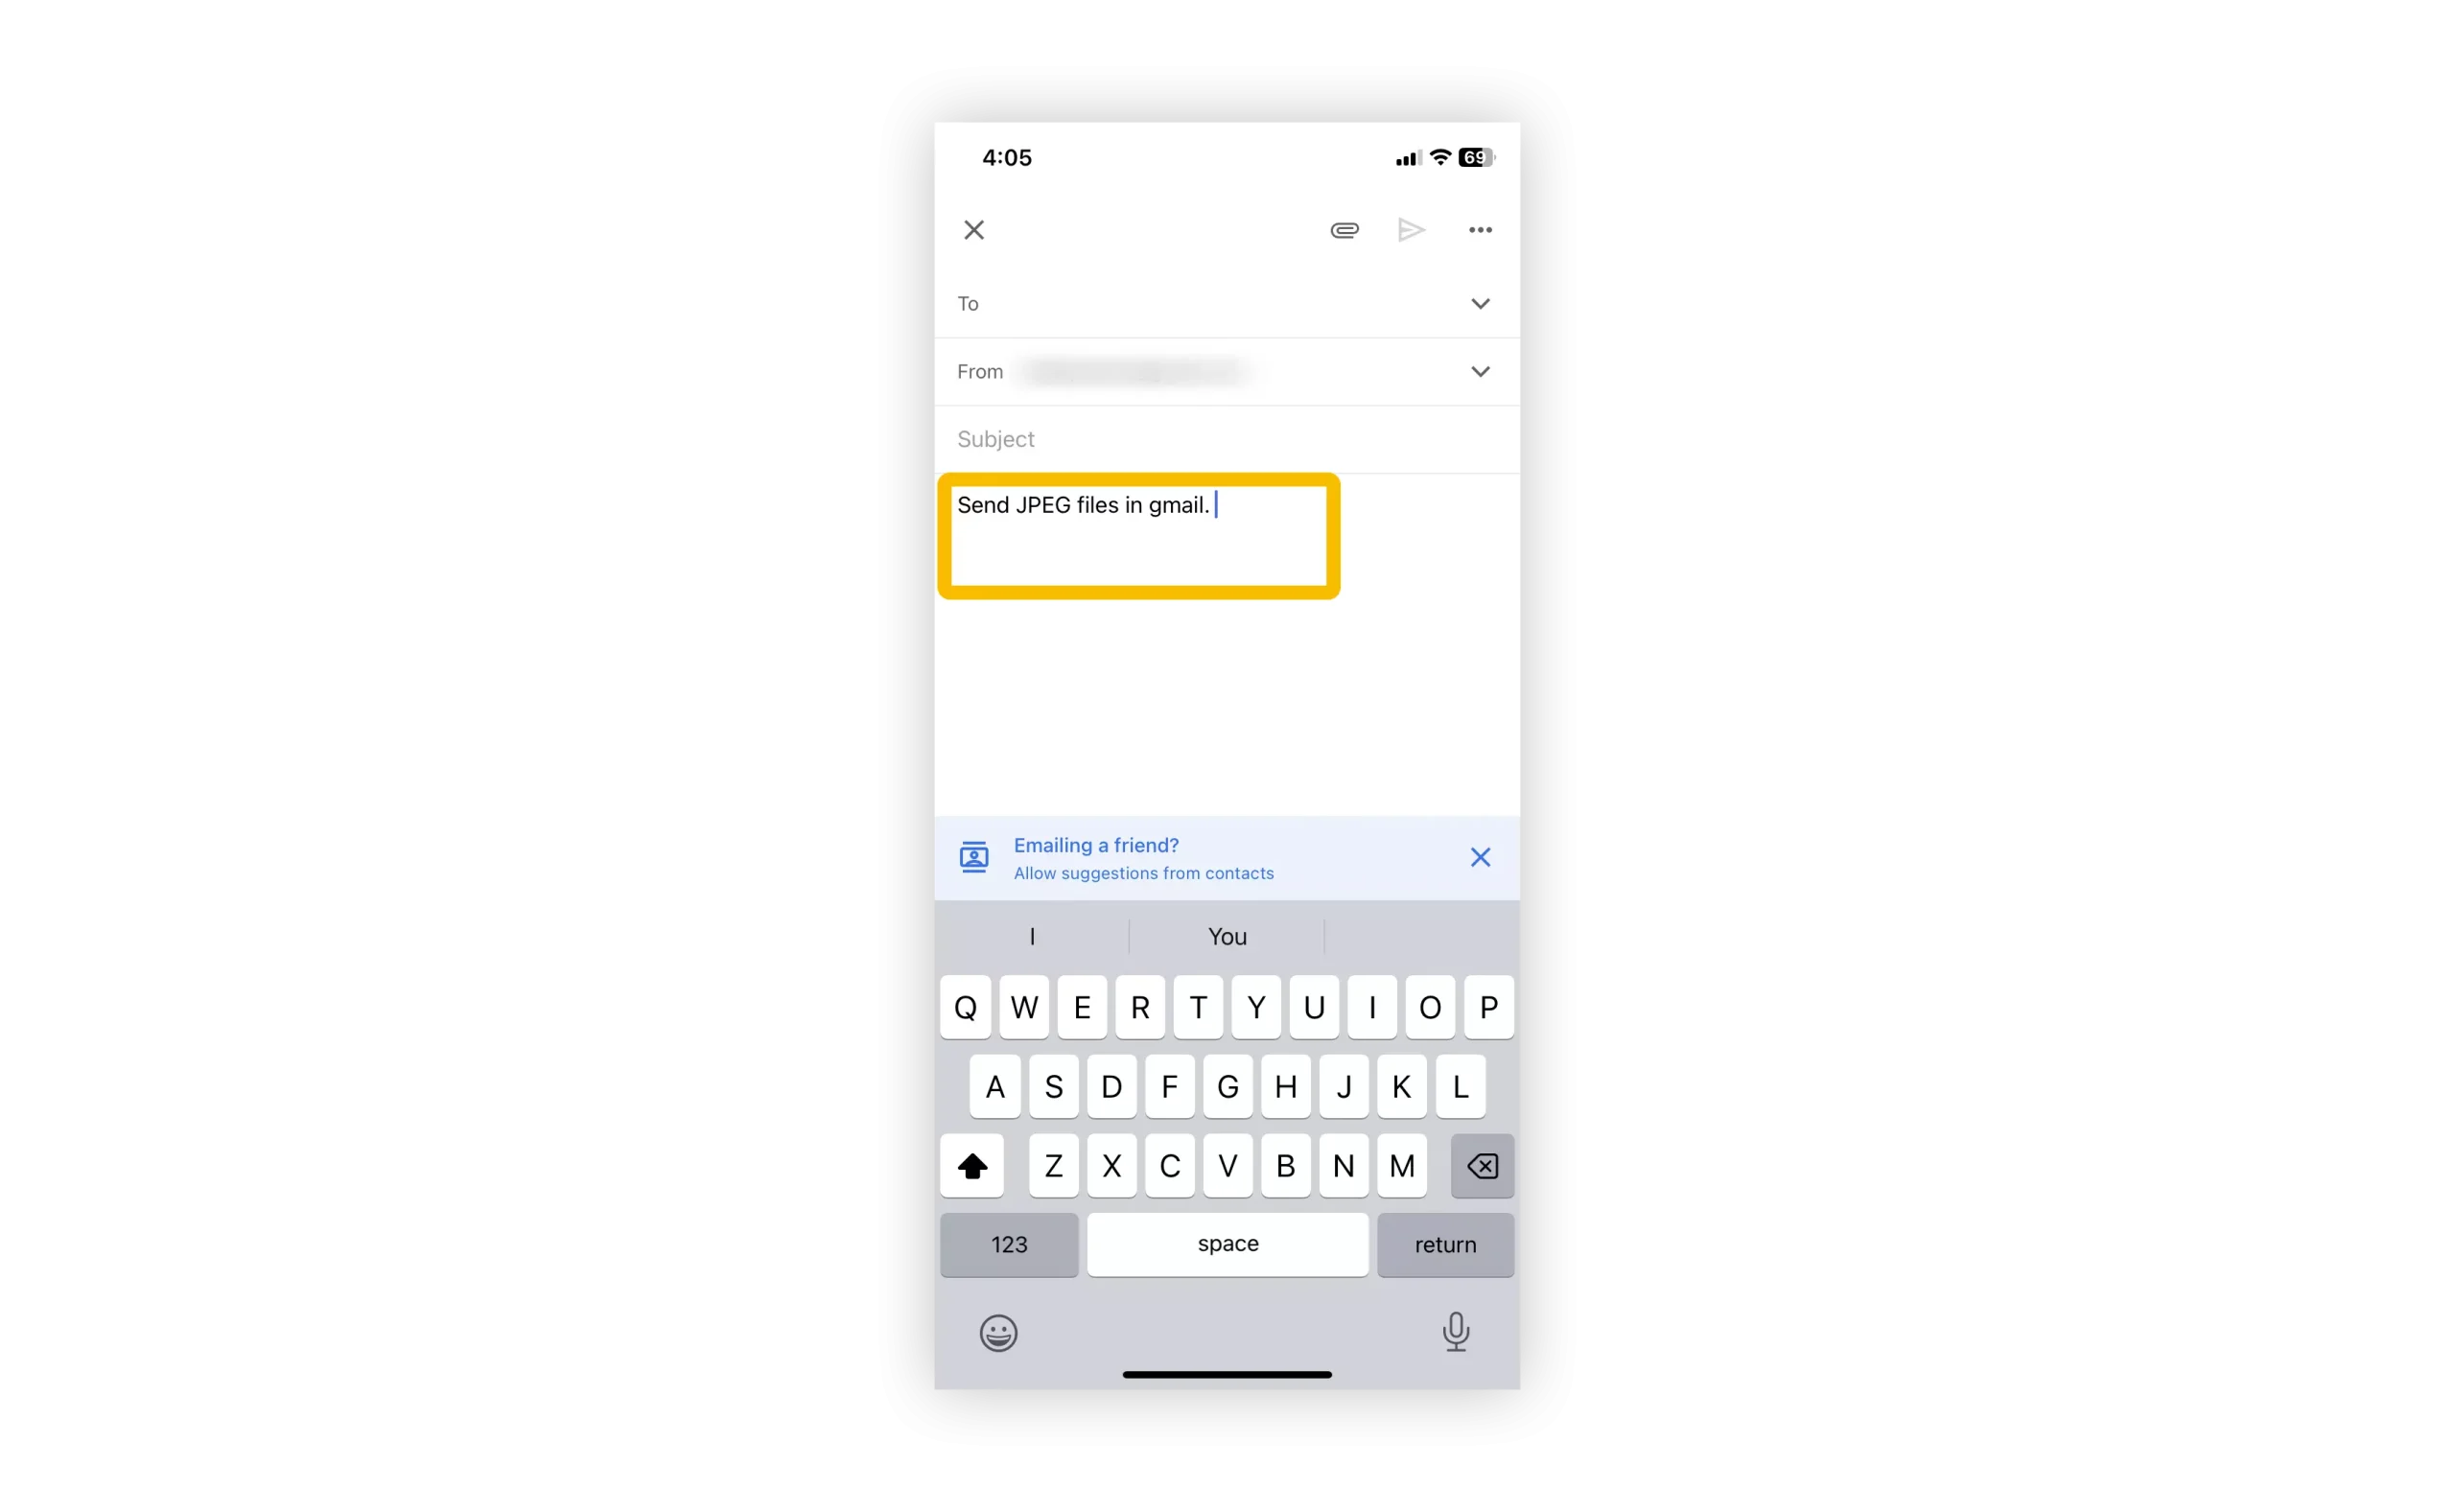
3 – Write your email message in the text area.
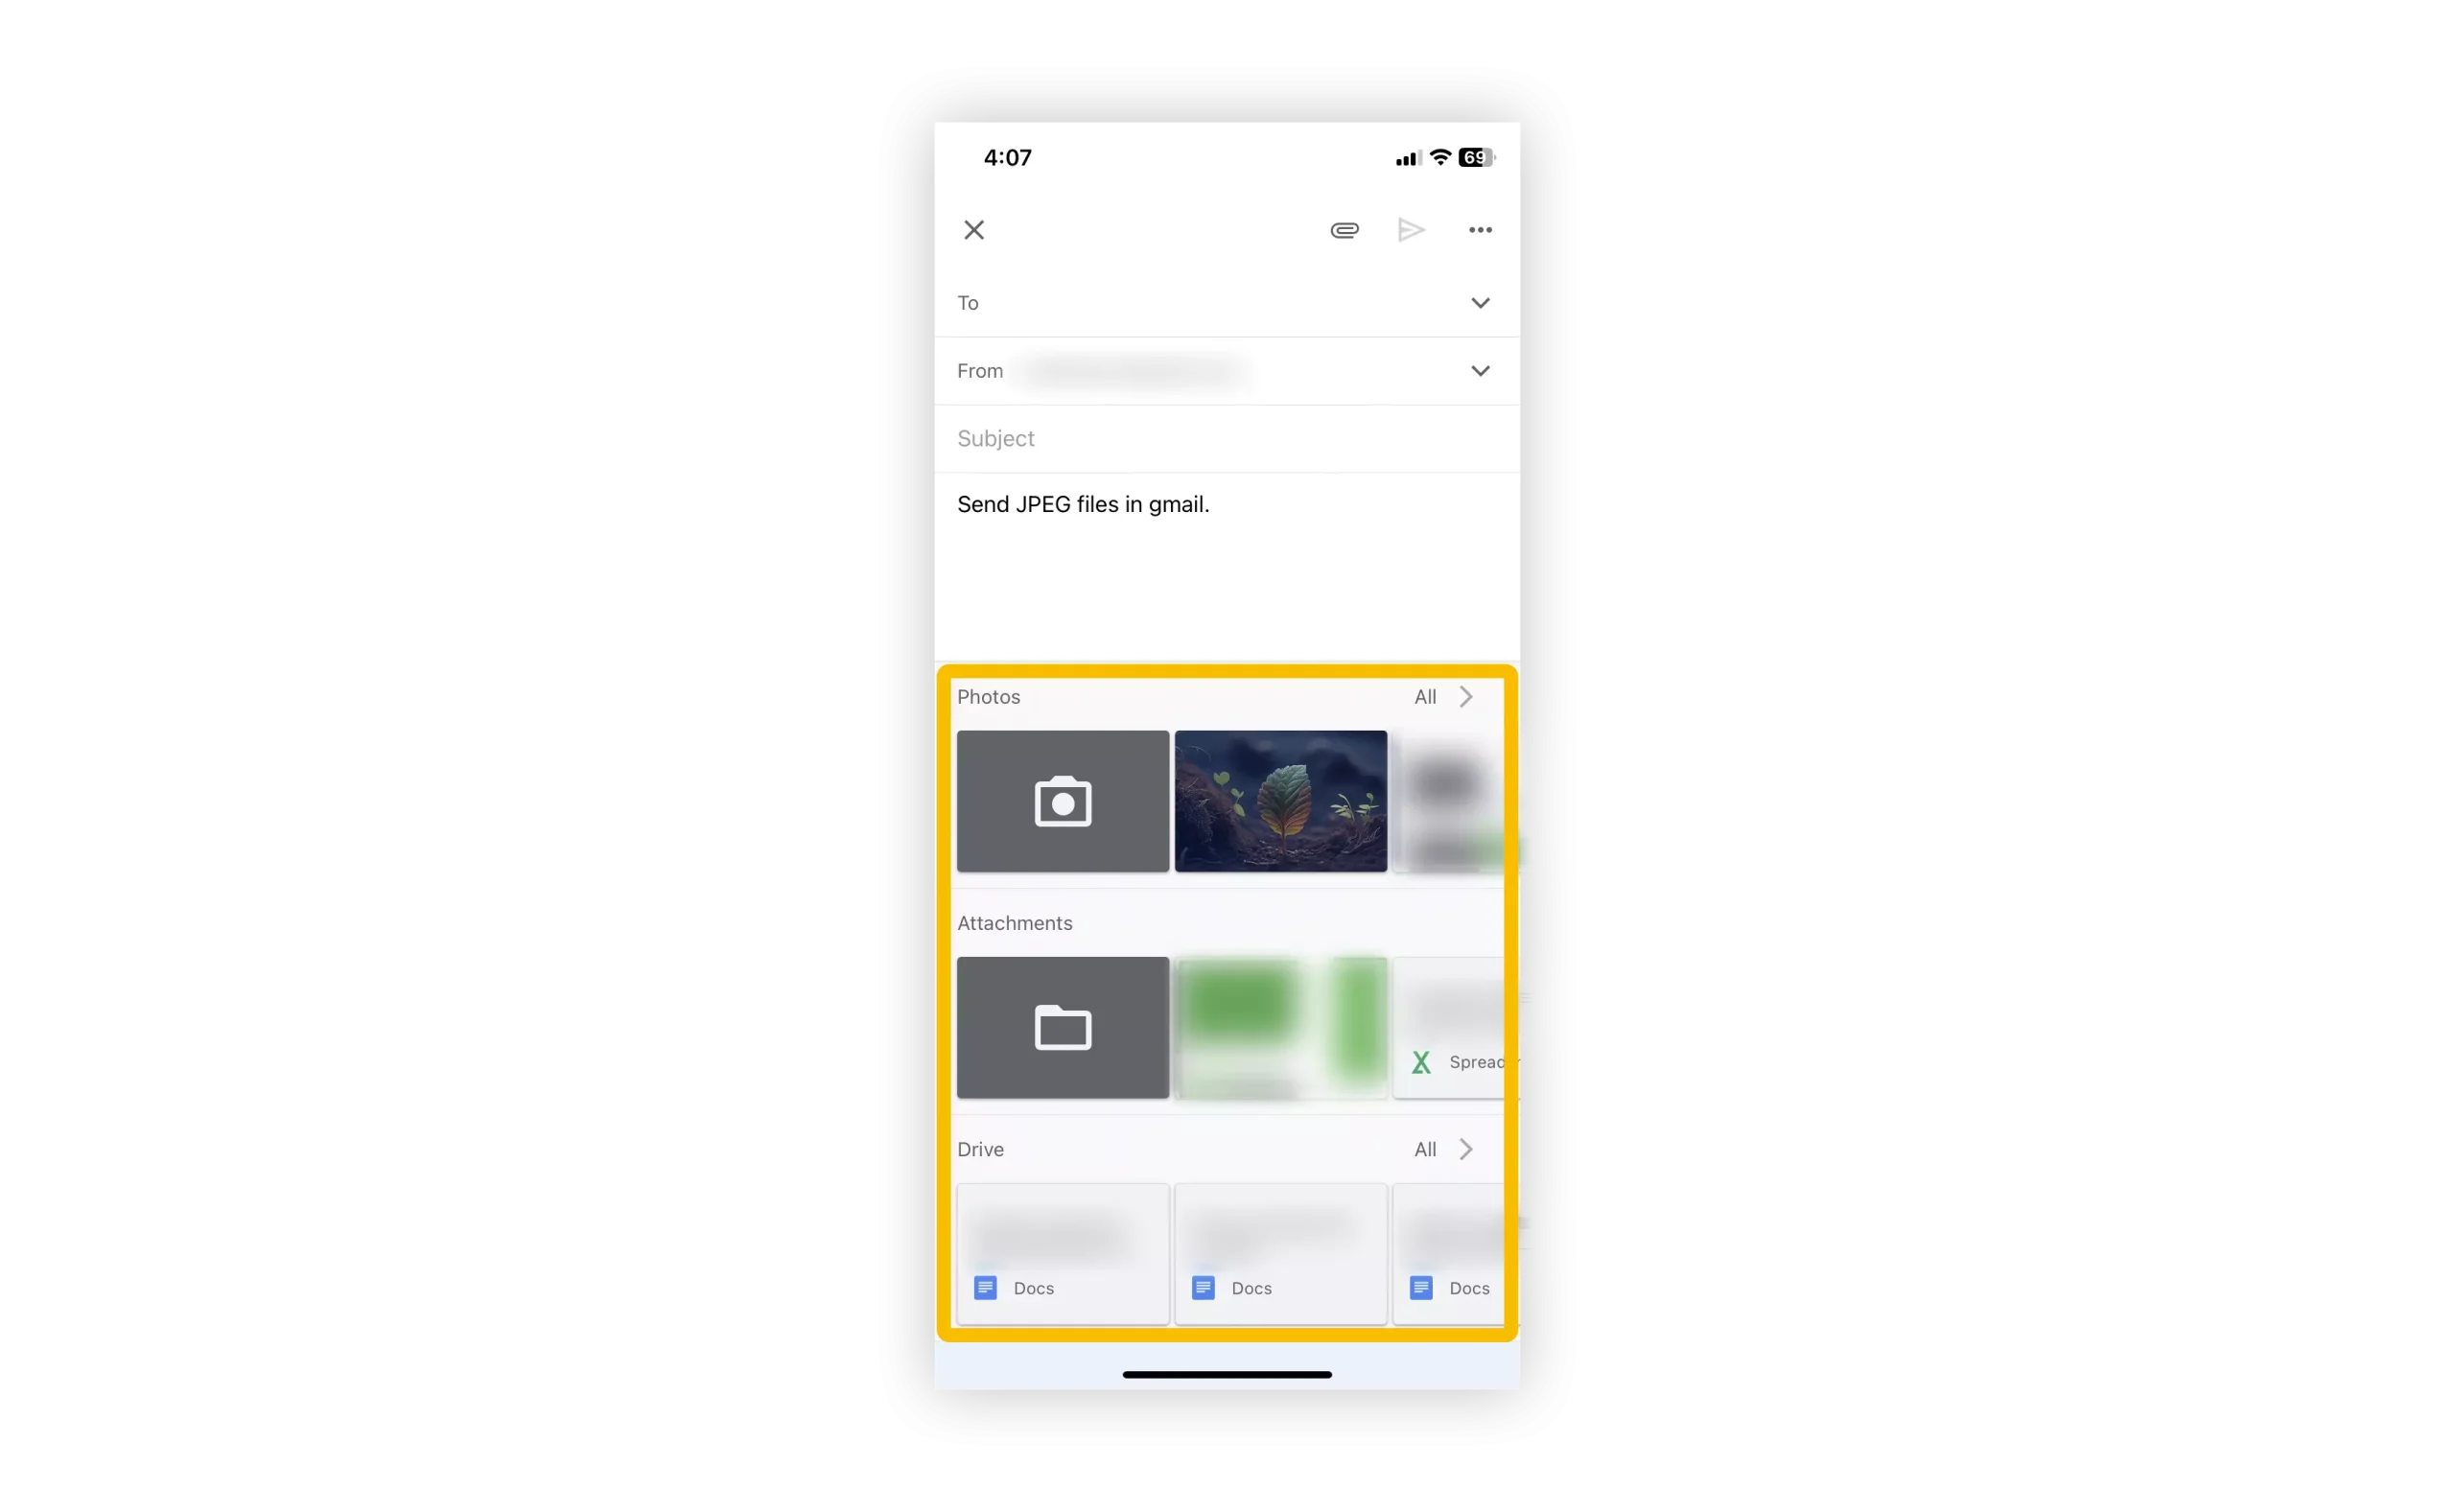
4 – Tap the attach icon located at the top of the compose window.

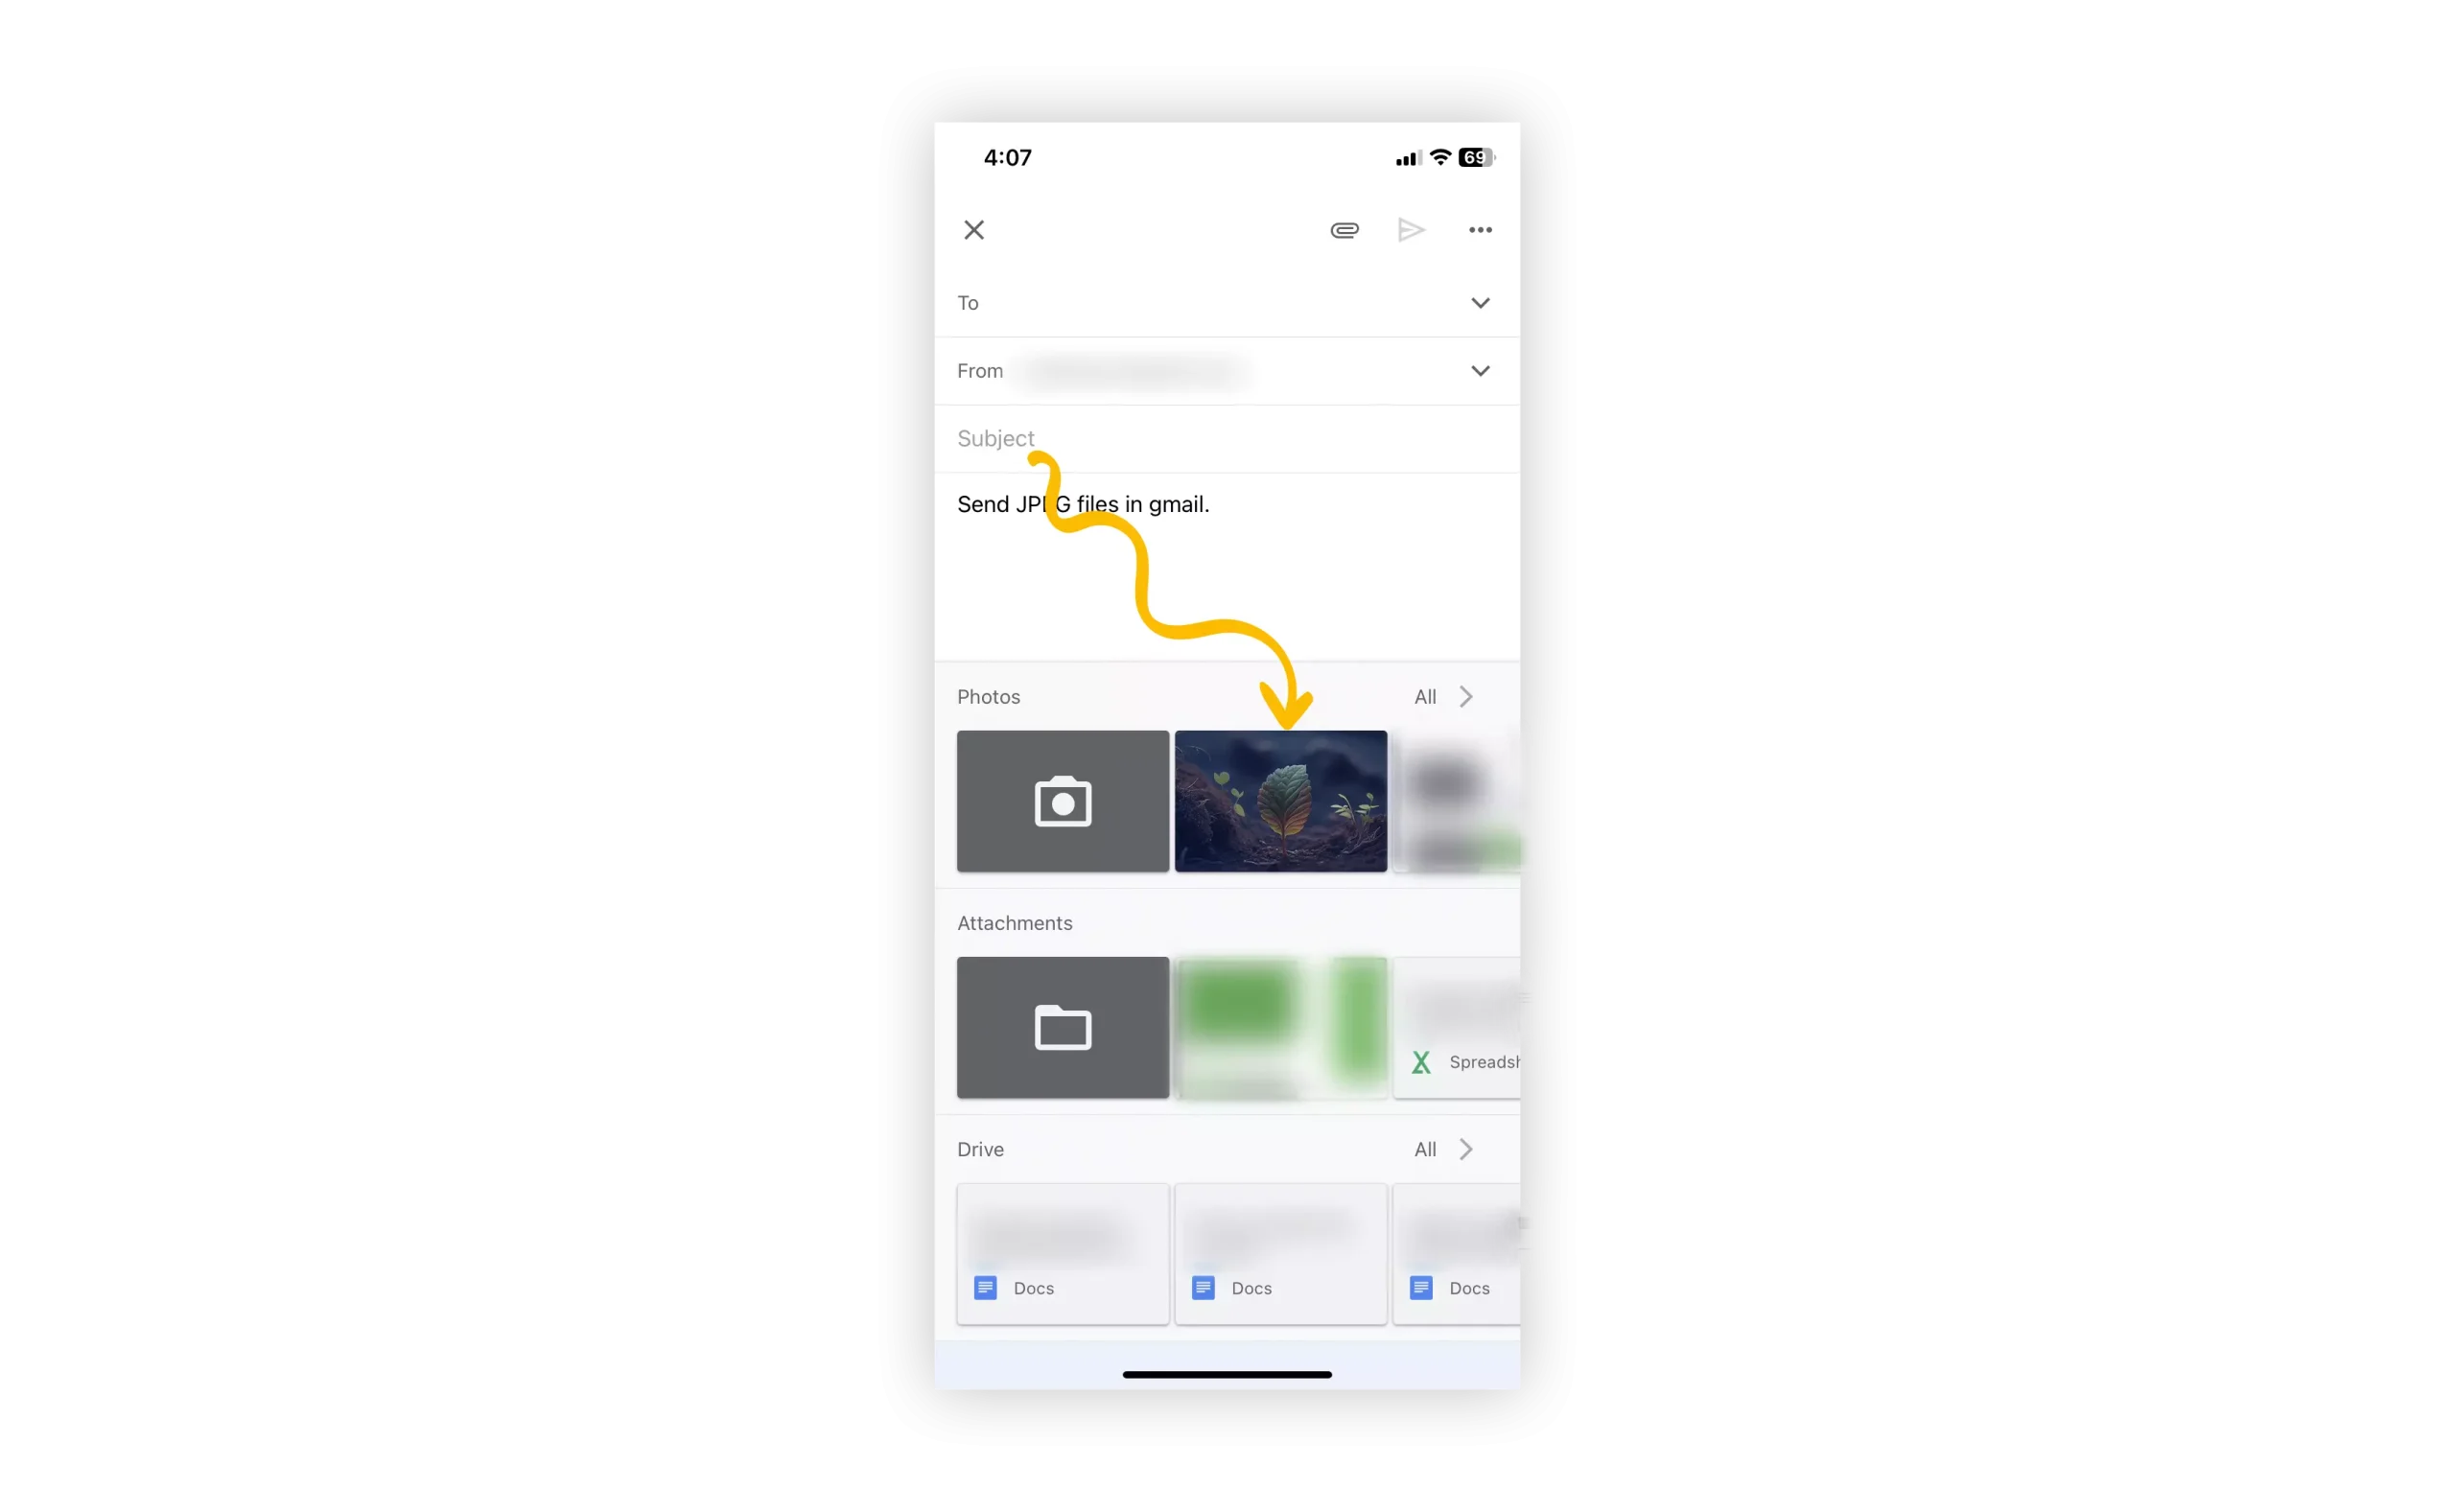
5 – Browse your image gallery or Google Drive for the JPEG file you wish to include (if needed, convert the image you wish to send to a JPEG file beforehand).
6 – Once you’ve located the JPEG file, tap it to insert it into the email body.
7 – If you prefer to attach the JPEG file as an attachment, tap and hold on to the image to reveal a quick menu, then tap on the “Insert as Attachment” option.

8 – Enter the recipient’s email address in the “To” field and add a subject to the email.
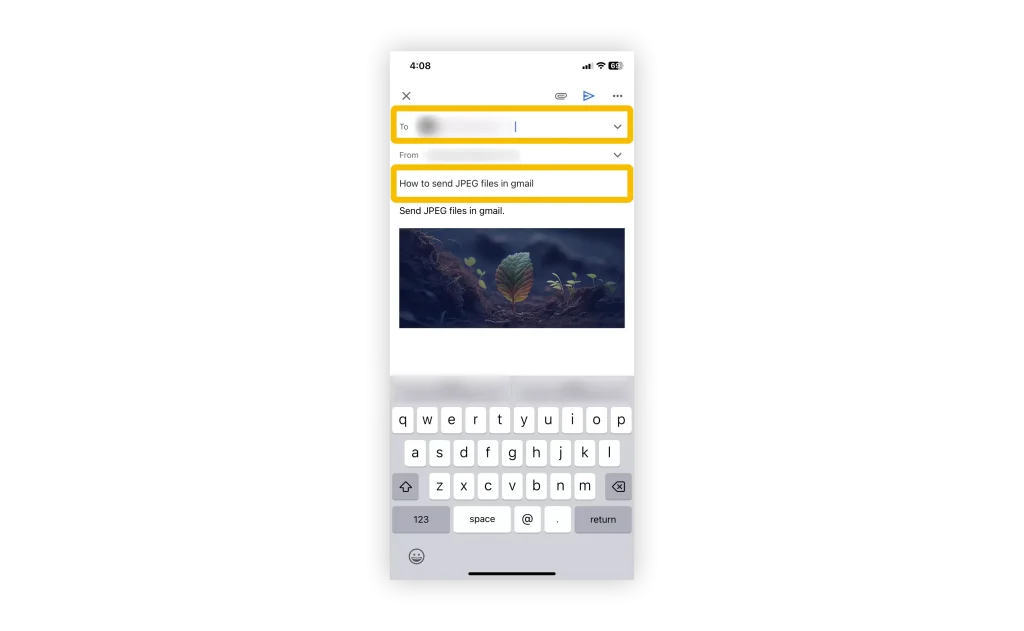
9 – Finally, tap the send icon to send your email