In Gmail, you can find pictures that are in your inbox by using the search query “filename:(jpg OR jpeg OR png)”, or you can use The Save Emails And Attachments Extension to bulk find and extract image attachments from your Gmail inbox.
In this article, we’ll walk you through the process of using Gmail’s search queries and the Save Emails And Attachments Extension to find pictures in your Gmail inbox.
Method 1 – Use A Search Query to Find Pictures in Gmail
You can enter the following search query in the Gmail search bar to quickly filter your Gmail inbox to only show emails that contain image attachments:
- filename:(jpg OR jpeg OR png)
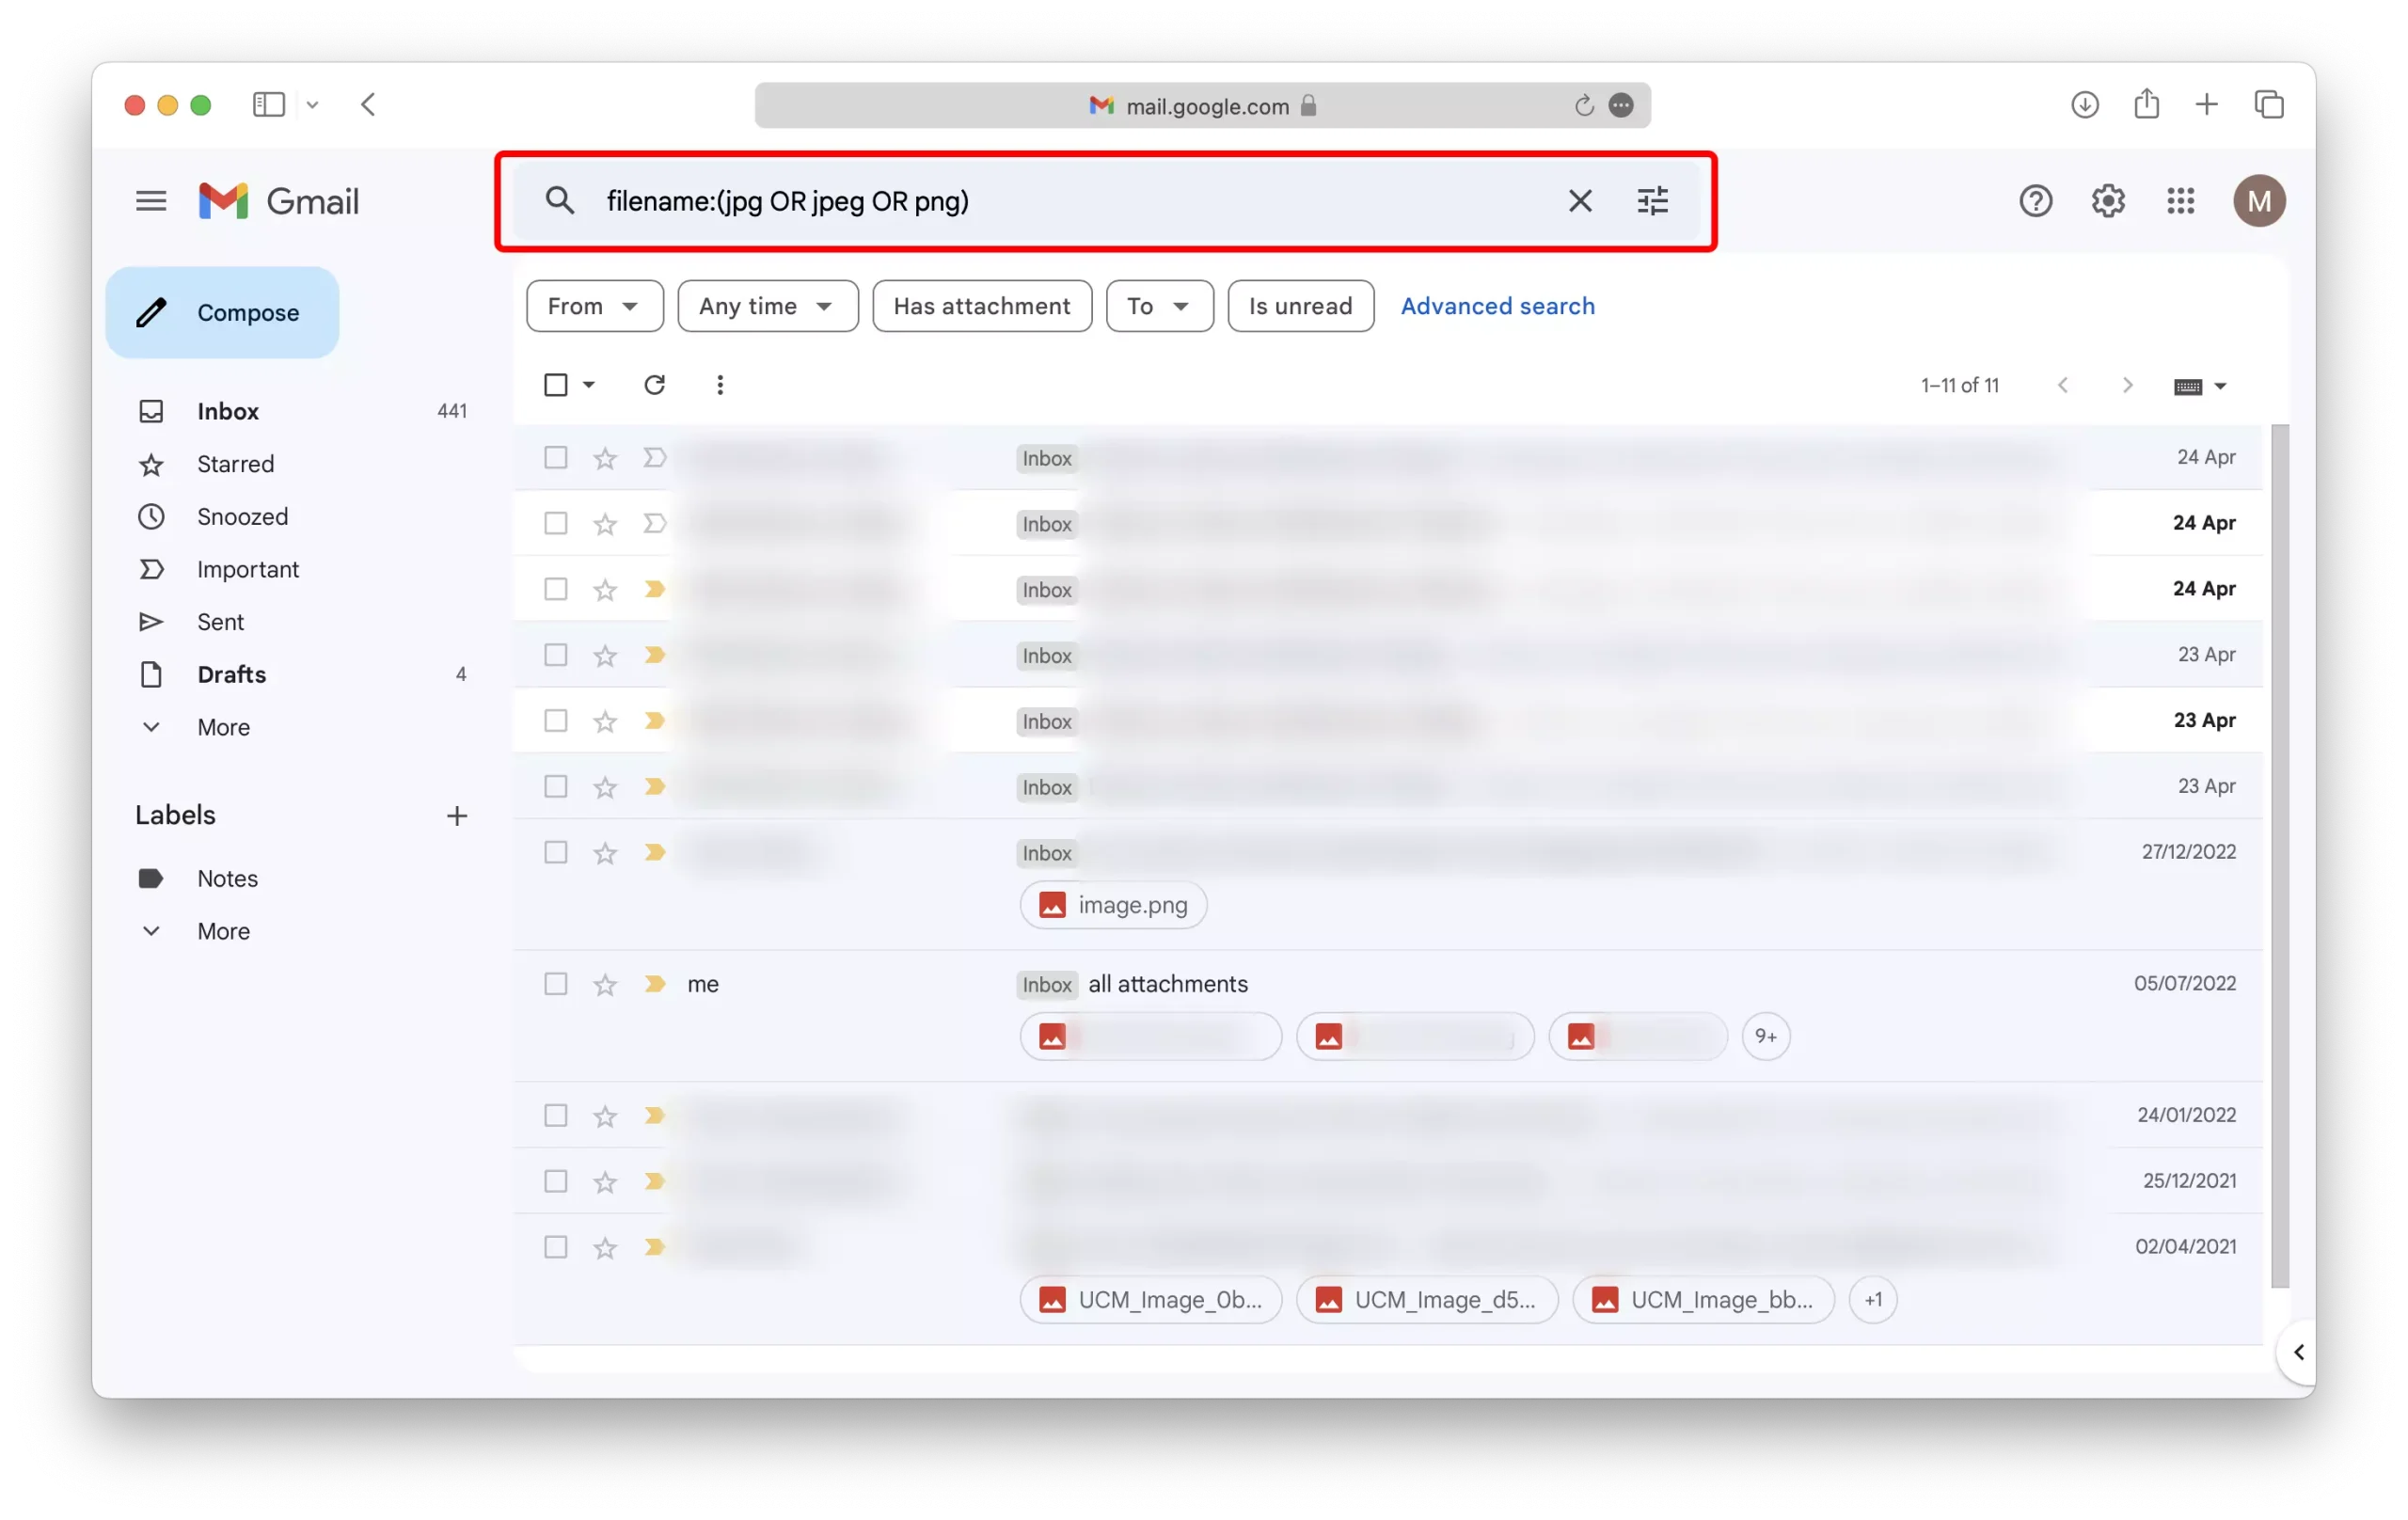
Please note that with this method, you will need to open each individual email to view the photos it contains.
If you are looking for a bulk solution to find multiple pictures at once, use the second method below.
Method 2 – Find pictures in Gmail Using The Save Emails And Attachments Extension
1 – Download and install the Save Emails and Attachments extension.
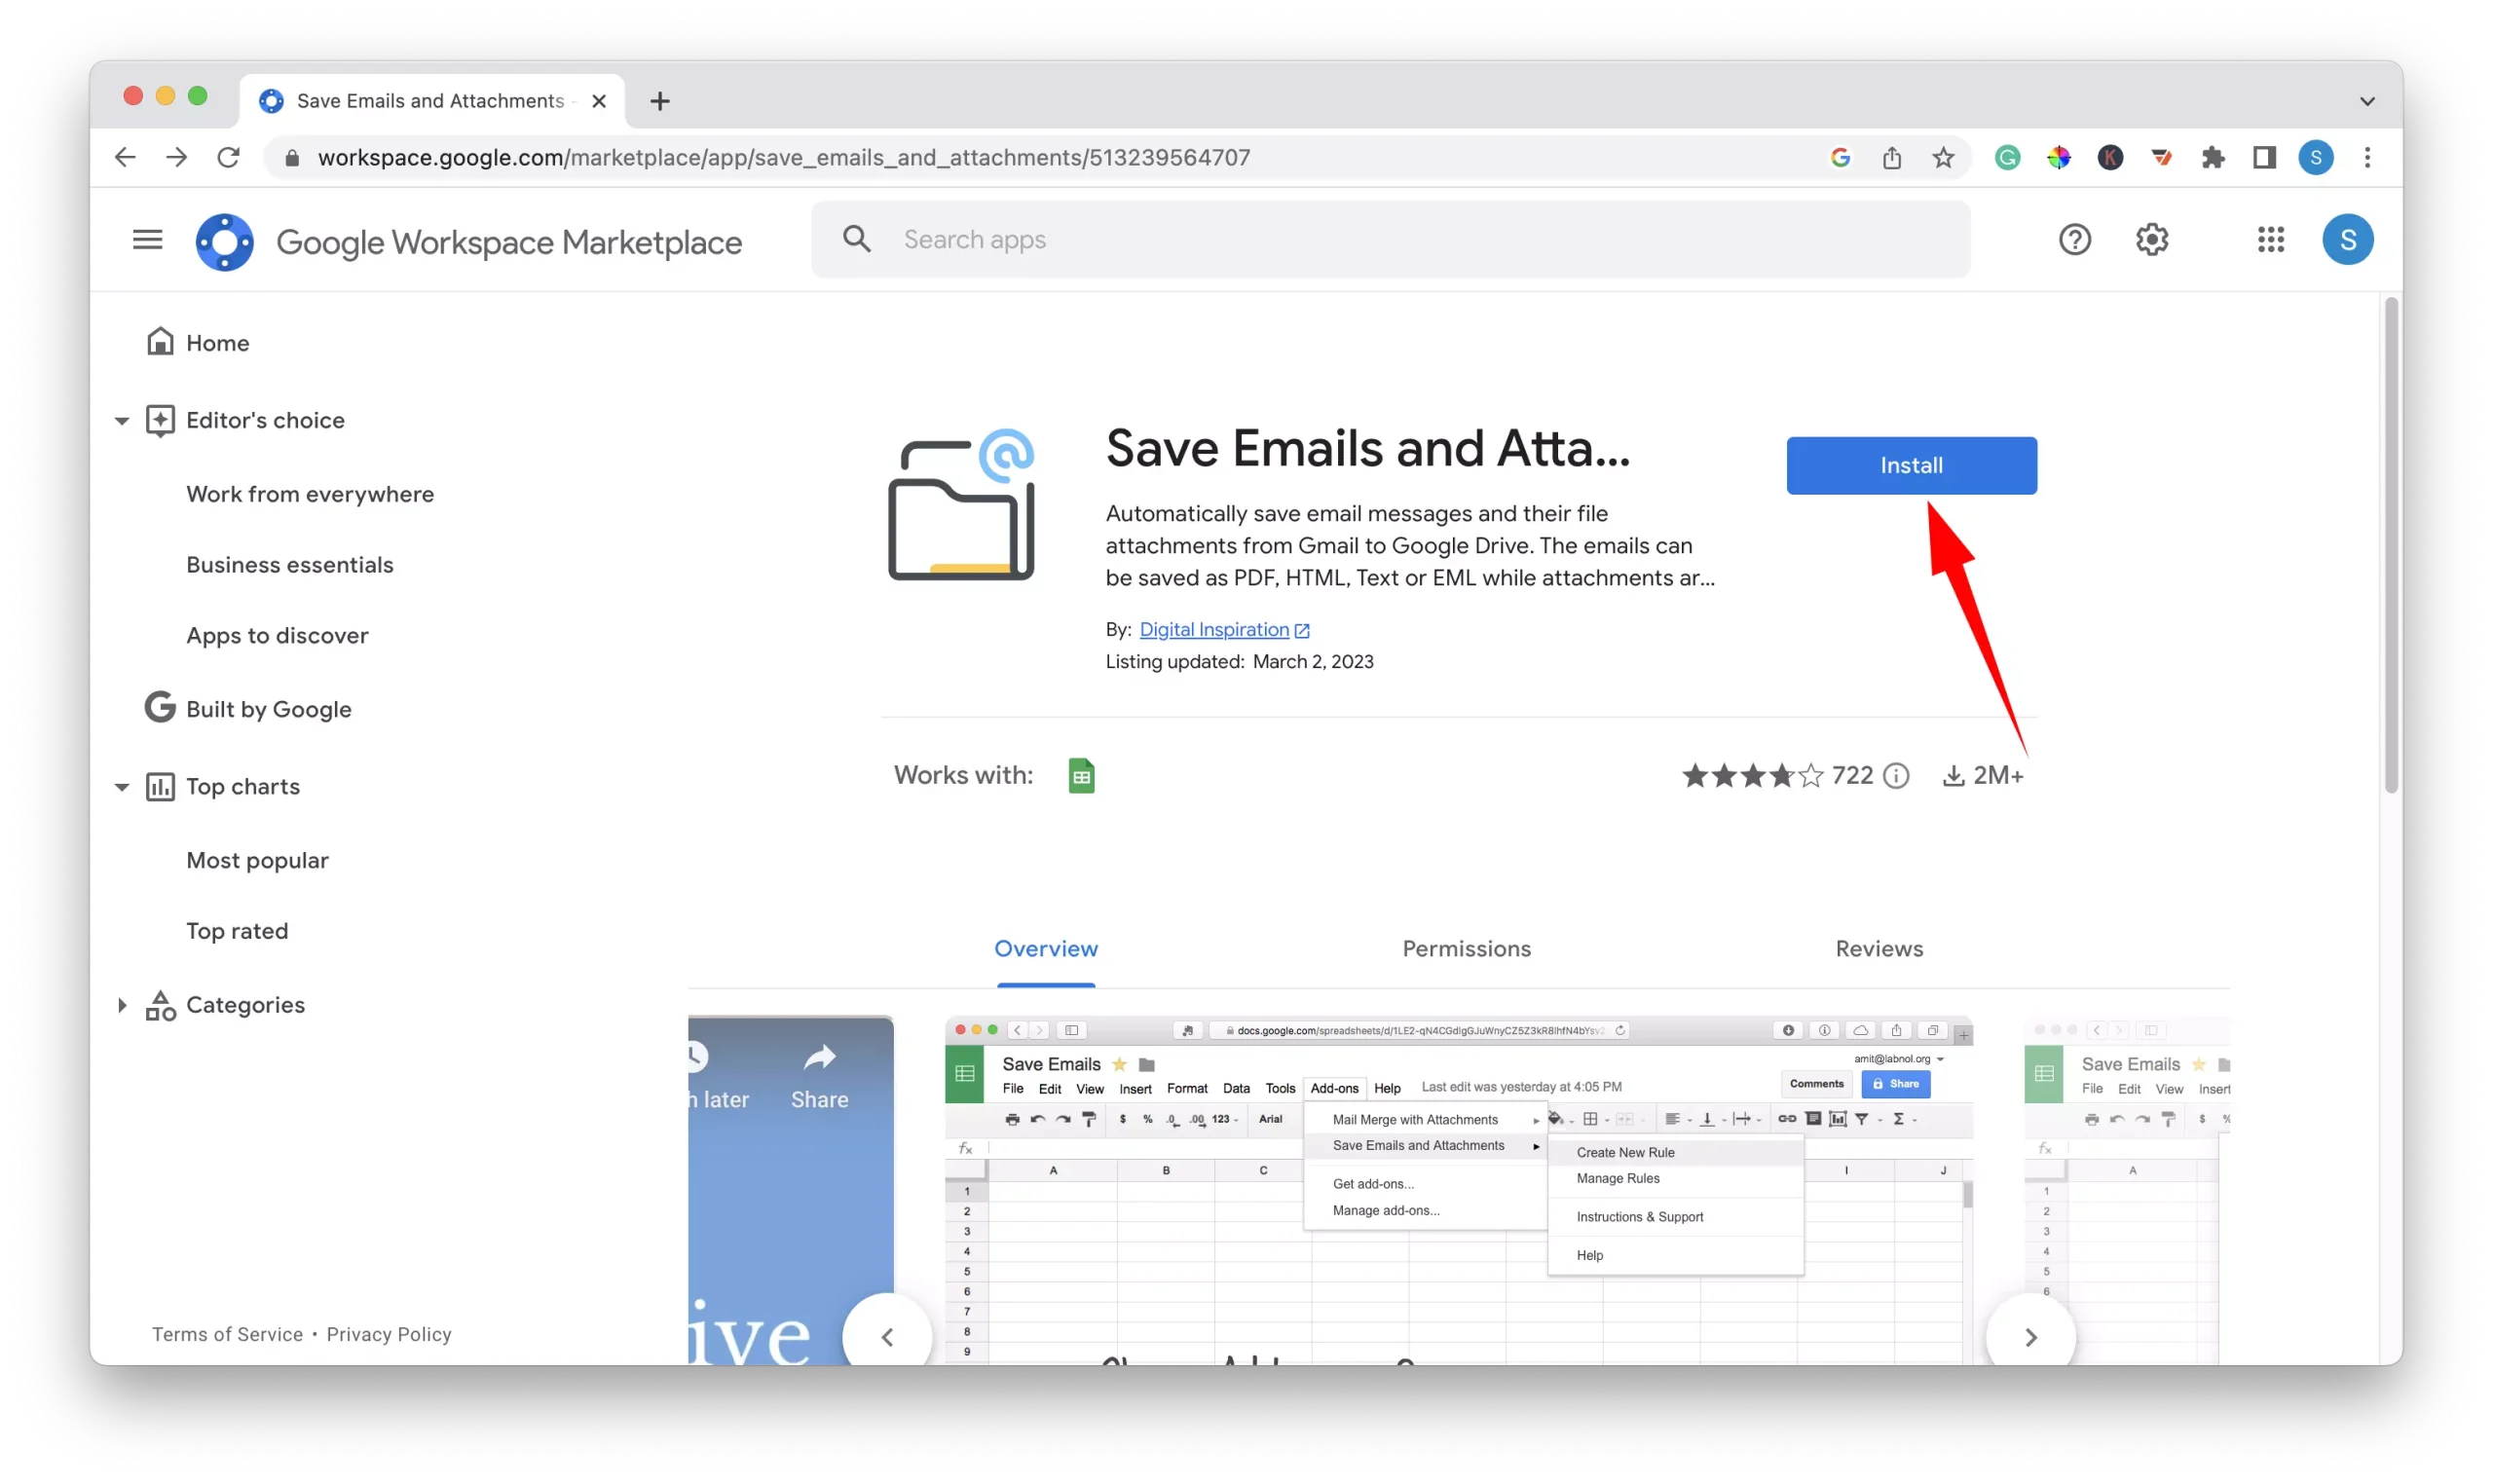
1 – Go to the Save Emails and Attachments extension download page.
2 – On the extension page, click the “Install” button.
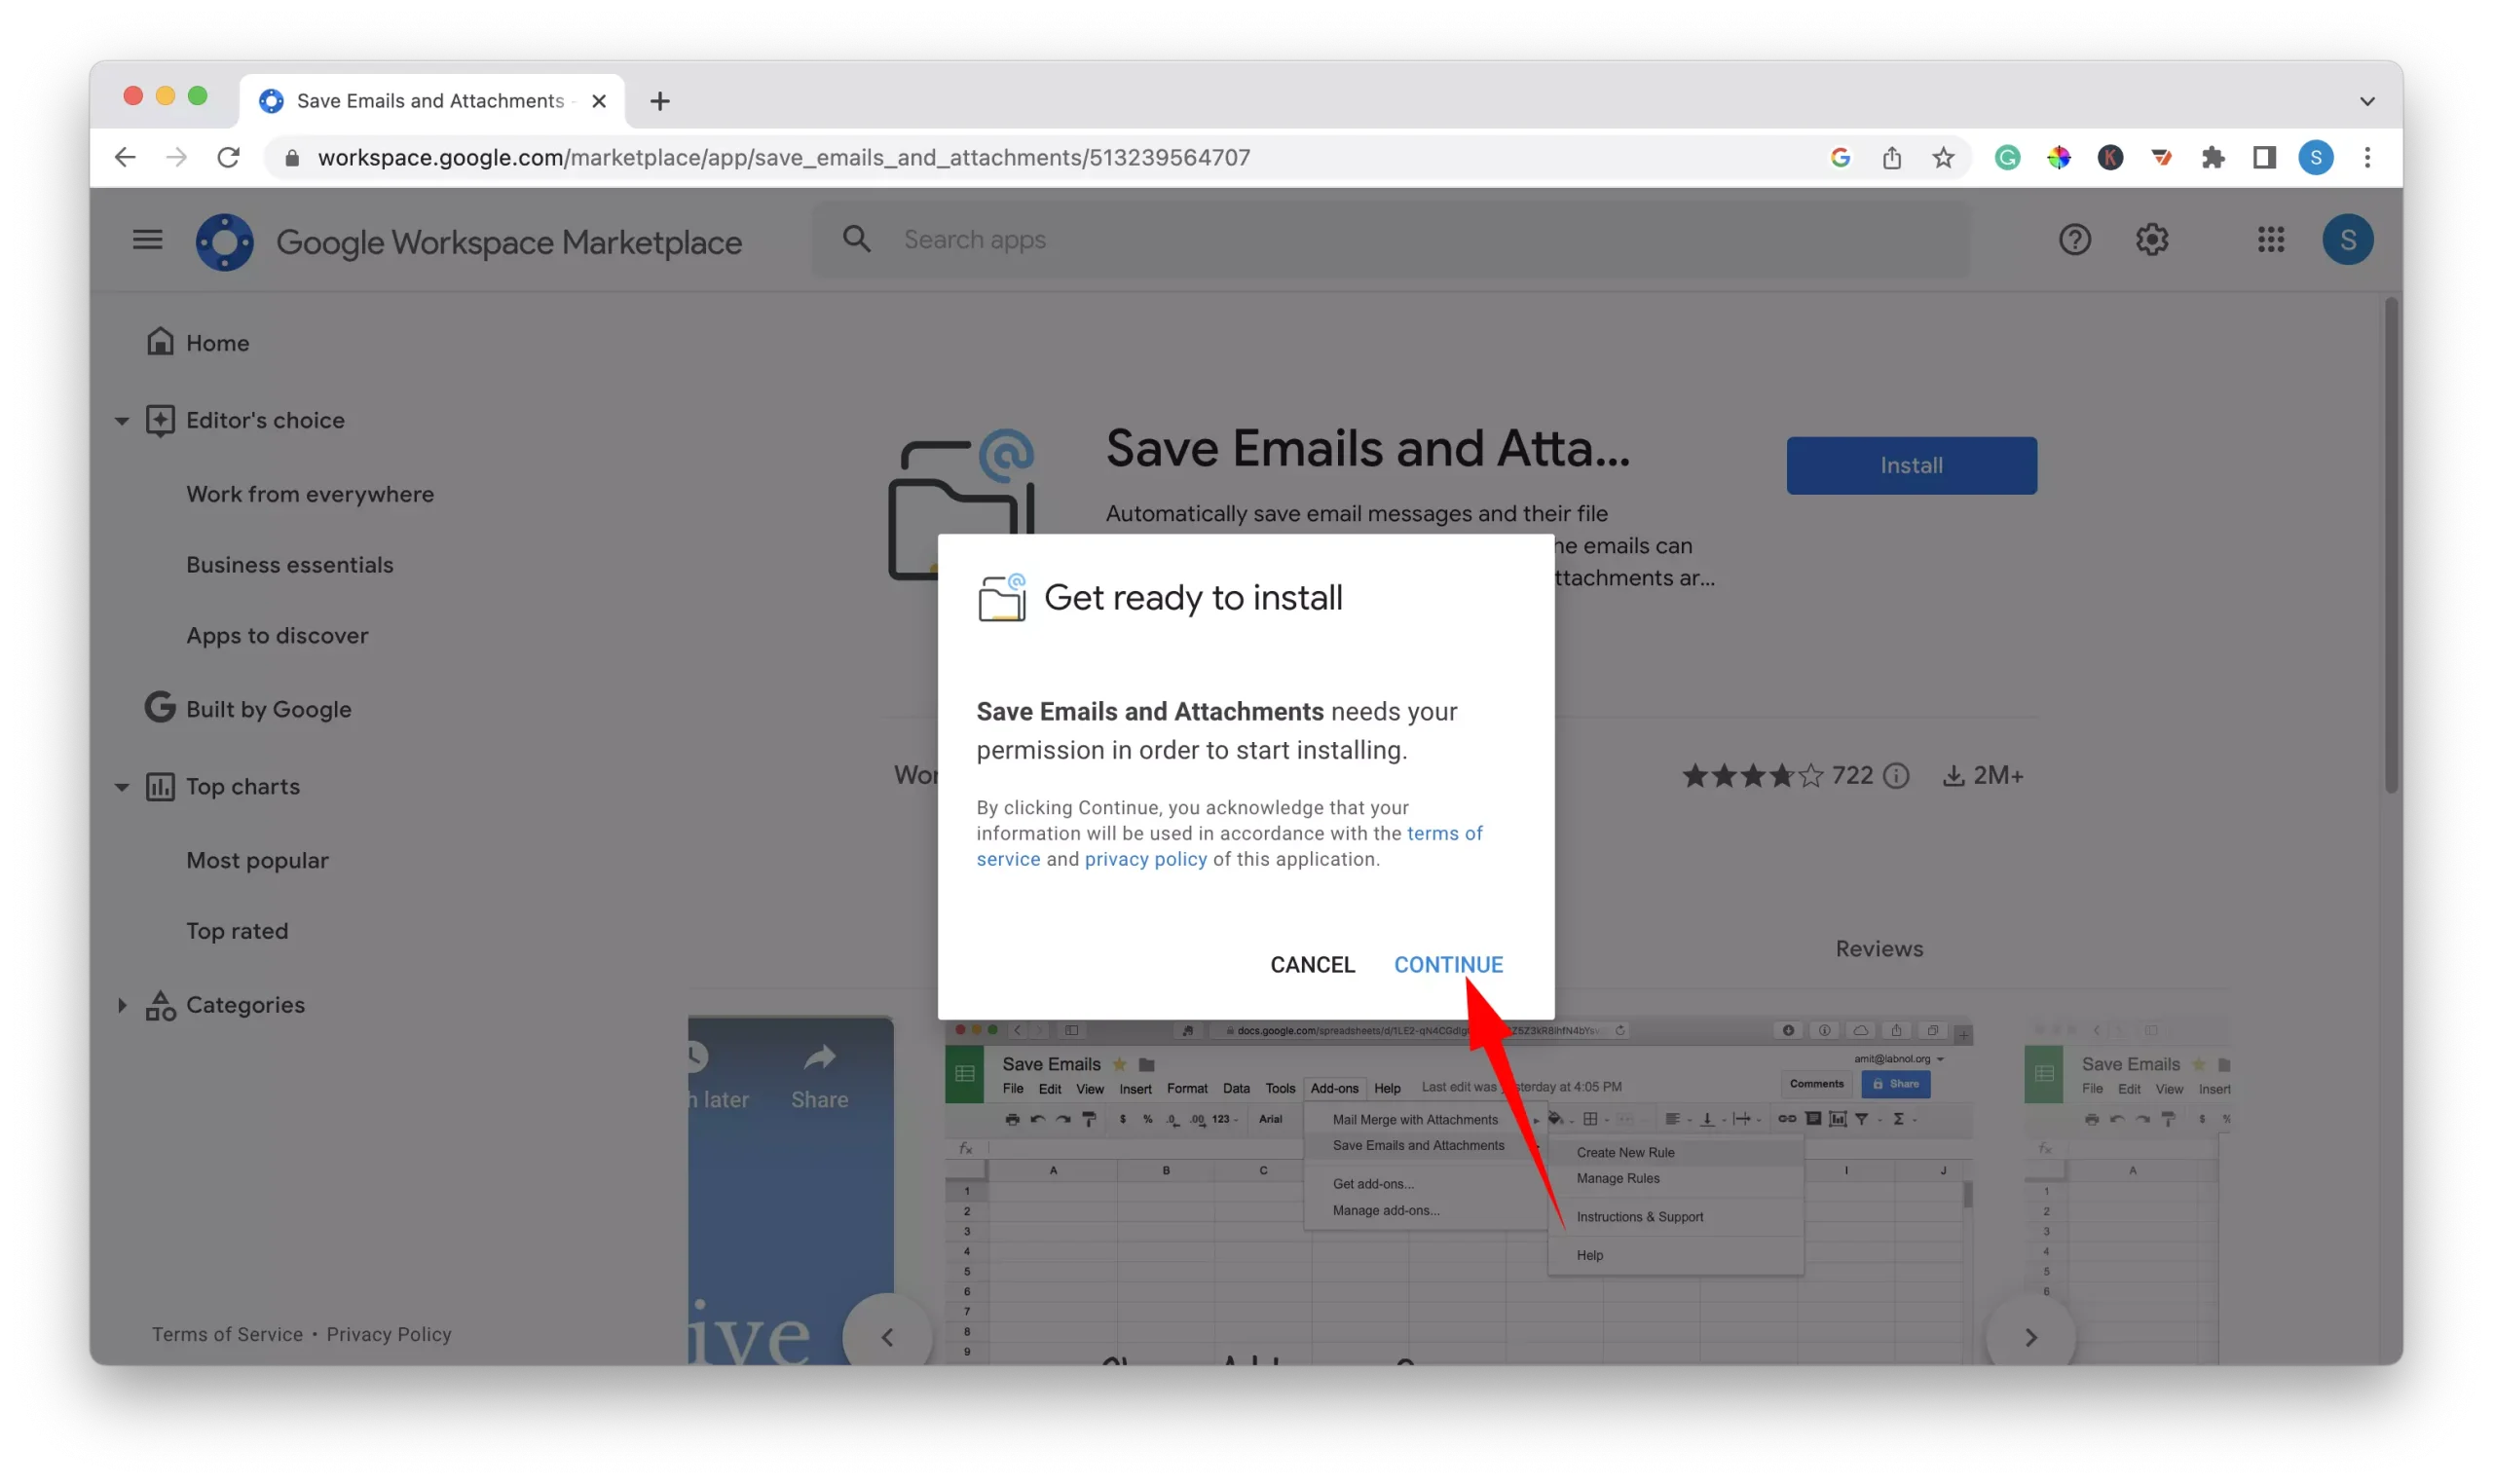
3 – Click the “Continue” button in the pop-up box to grant the extension permission to begin installing.
4 – Log in to your Gmail account using the new window that appears.

5 – After signing in, scroll to the bottom of the next page and click “Allow” to give the extension access to your Google account.

2 – Create a New Folder in Google Drive to Store Extracted Photos
1 – In a new tab, navigate to drive.google.com.
2 – On the left-hand side of the page, click on the “+ New” button.

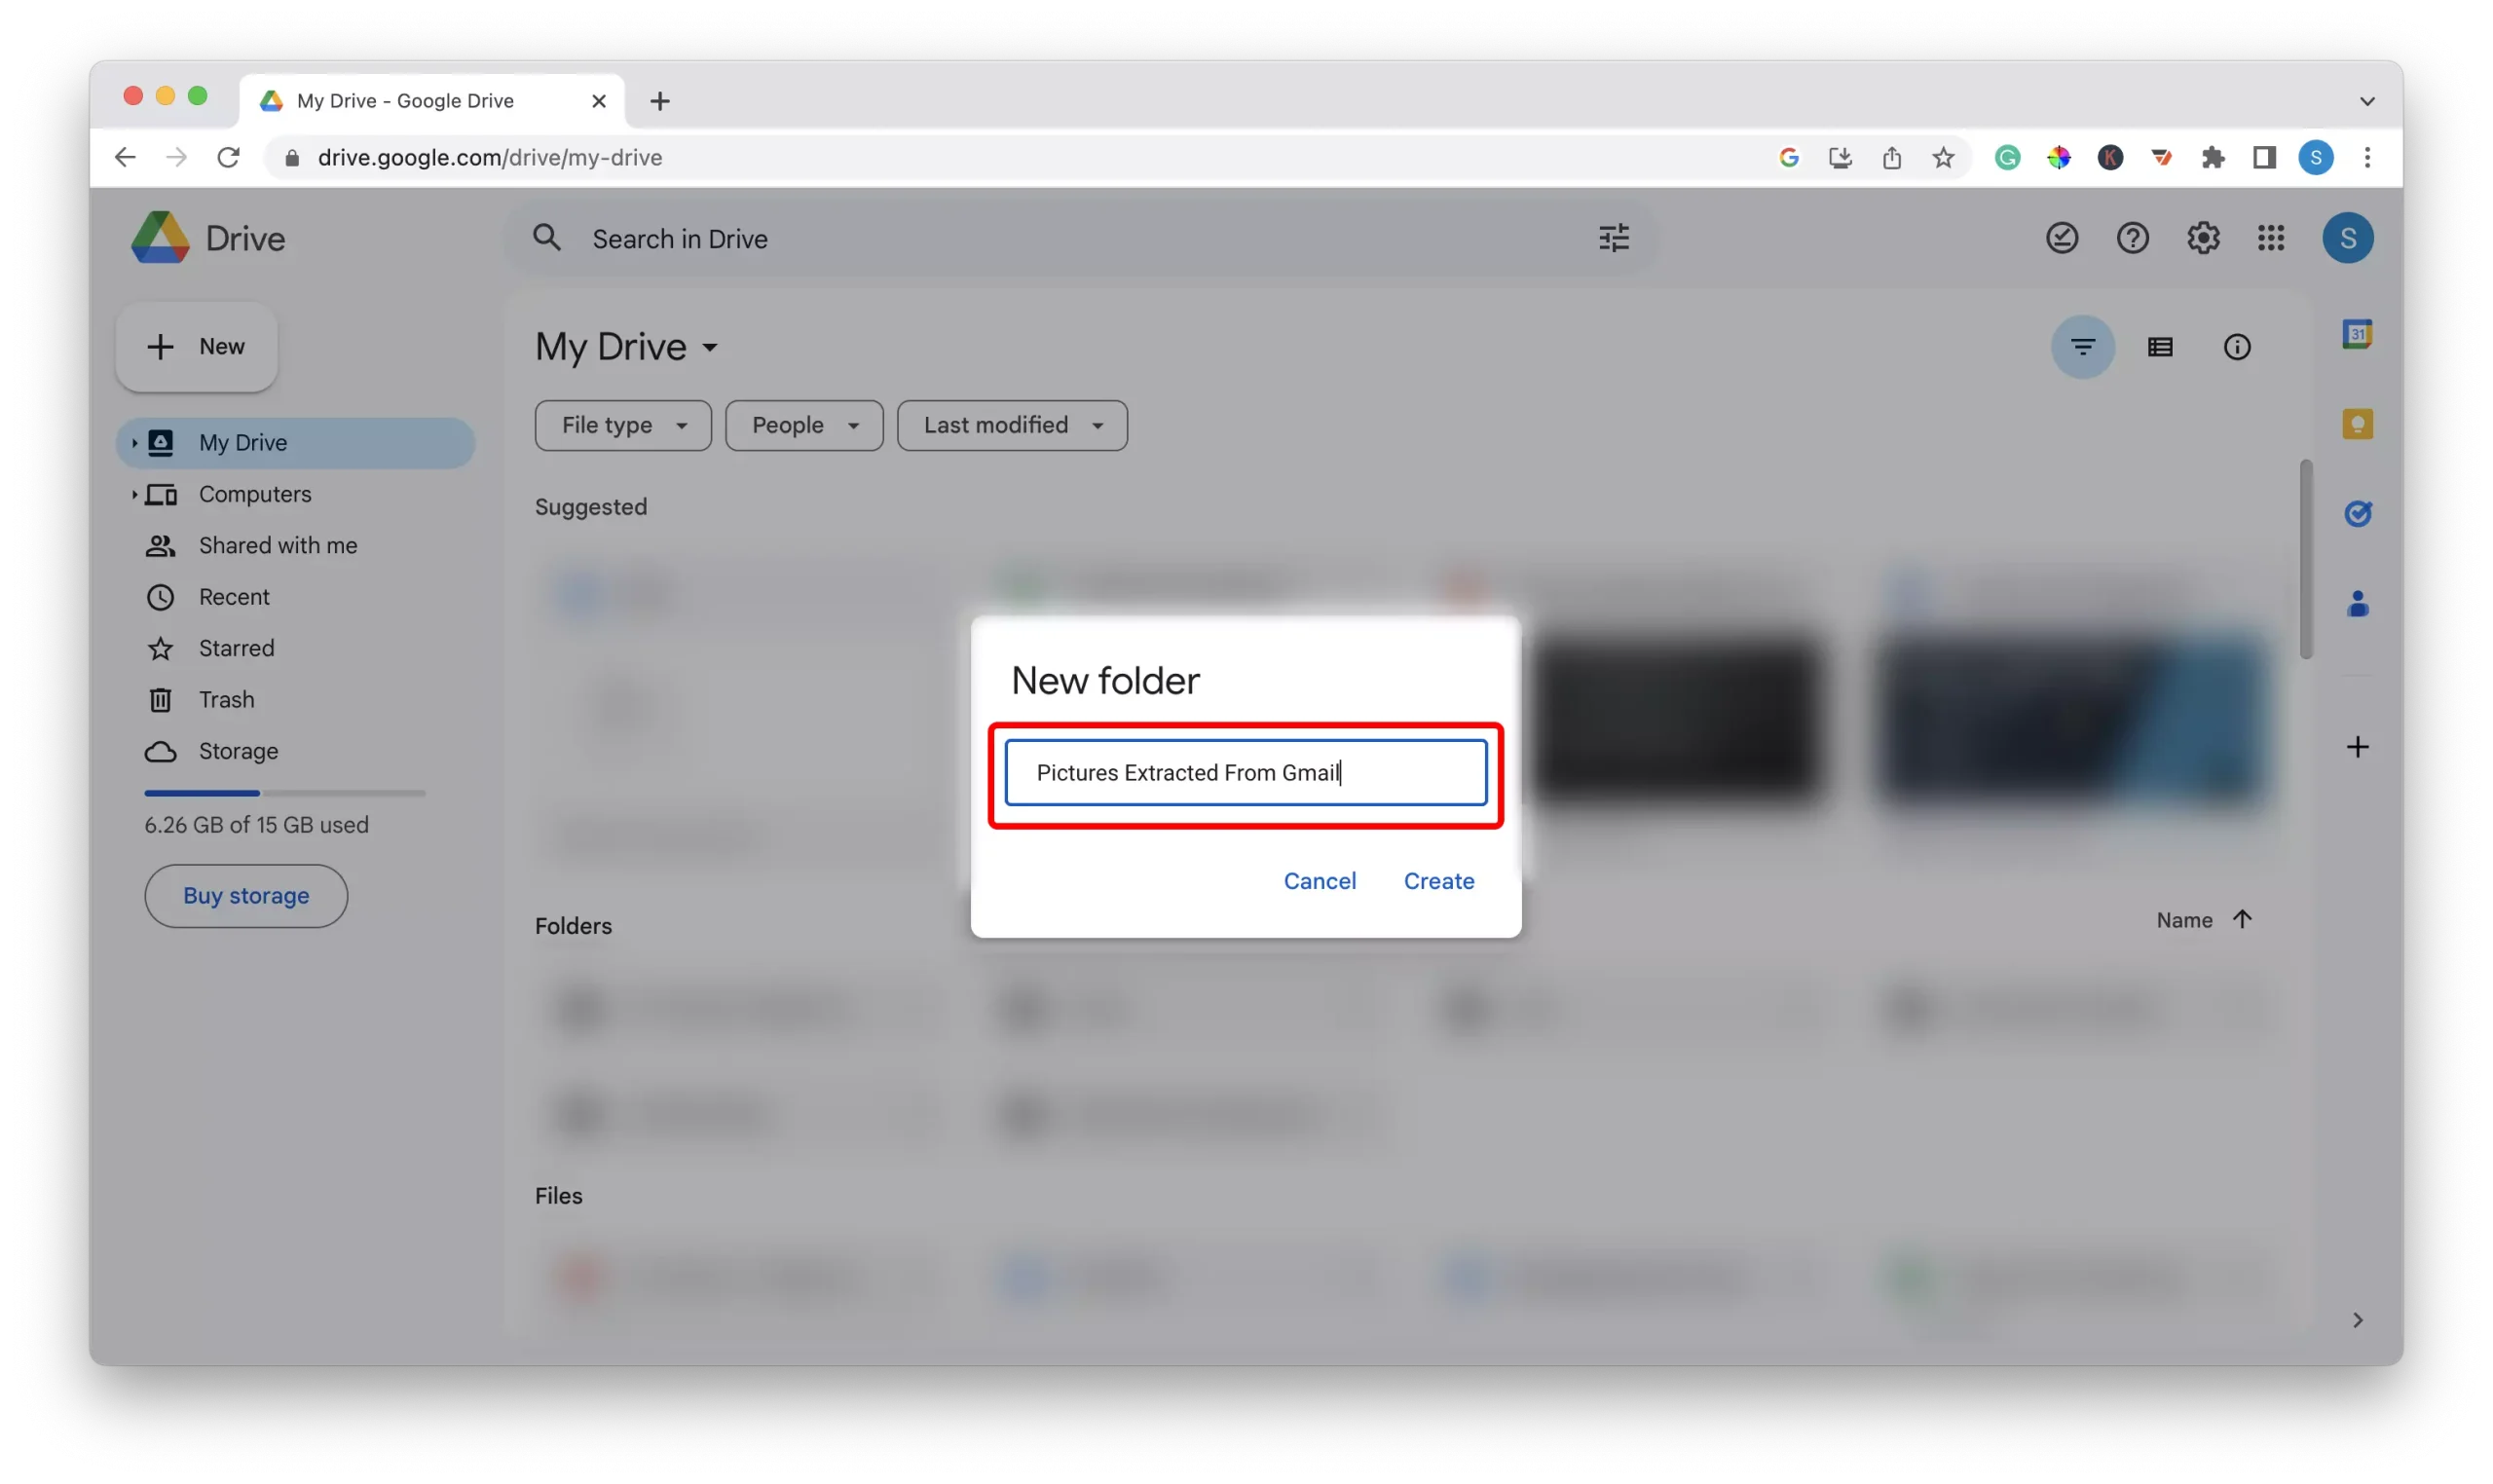
3 – Select the “New Folder” option in the menu.

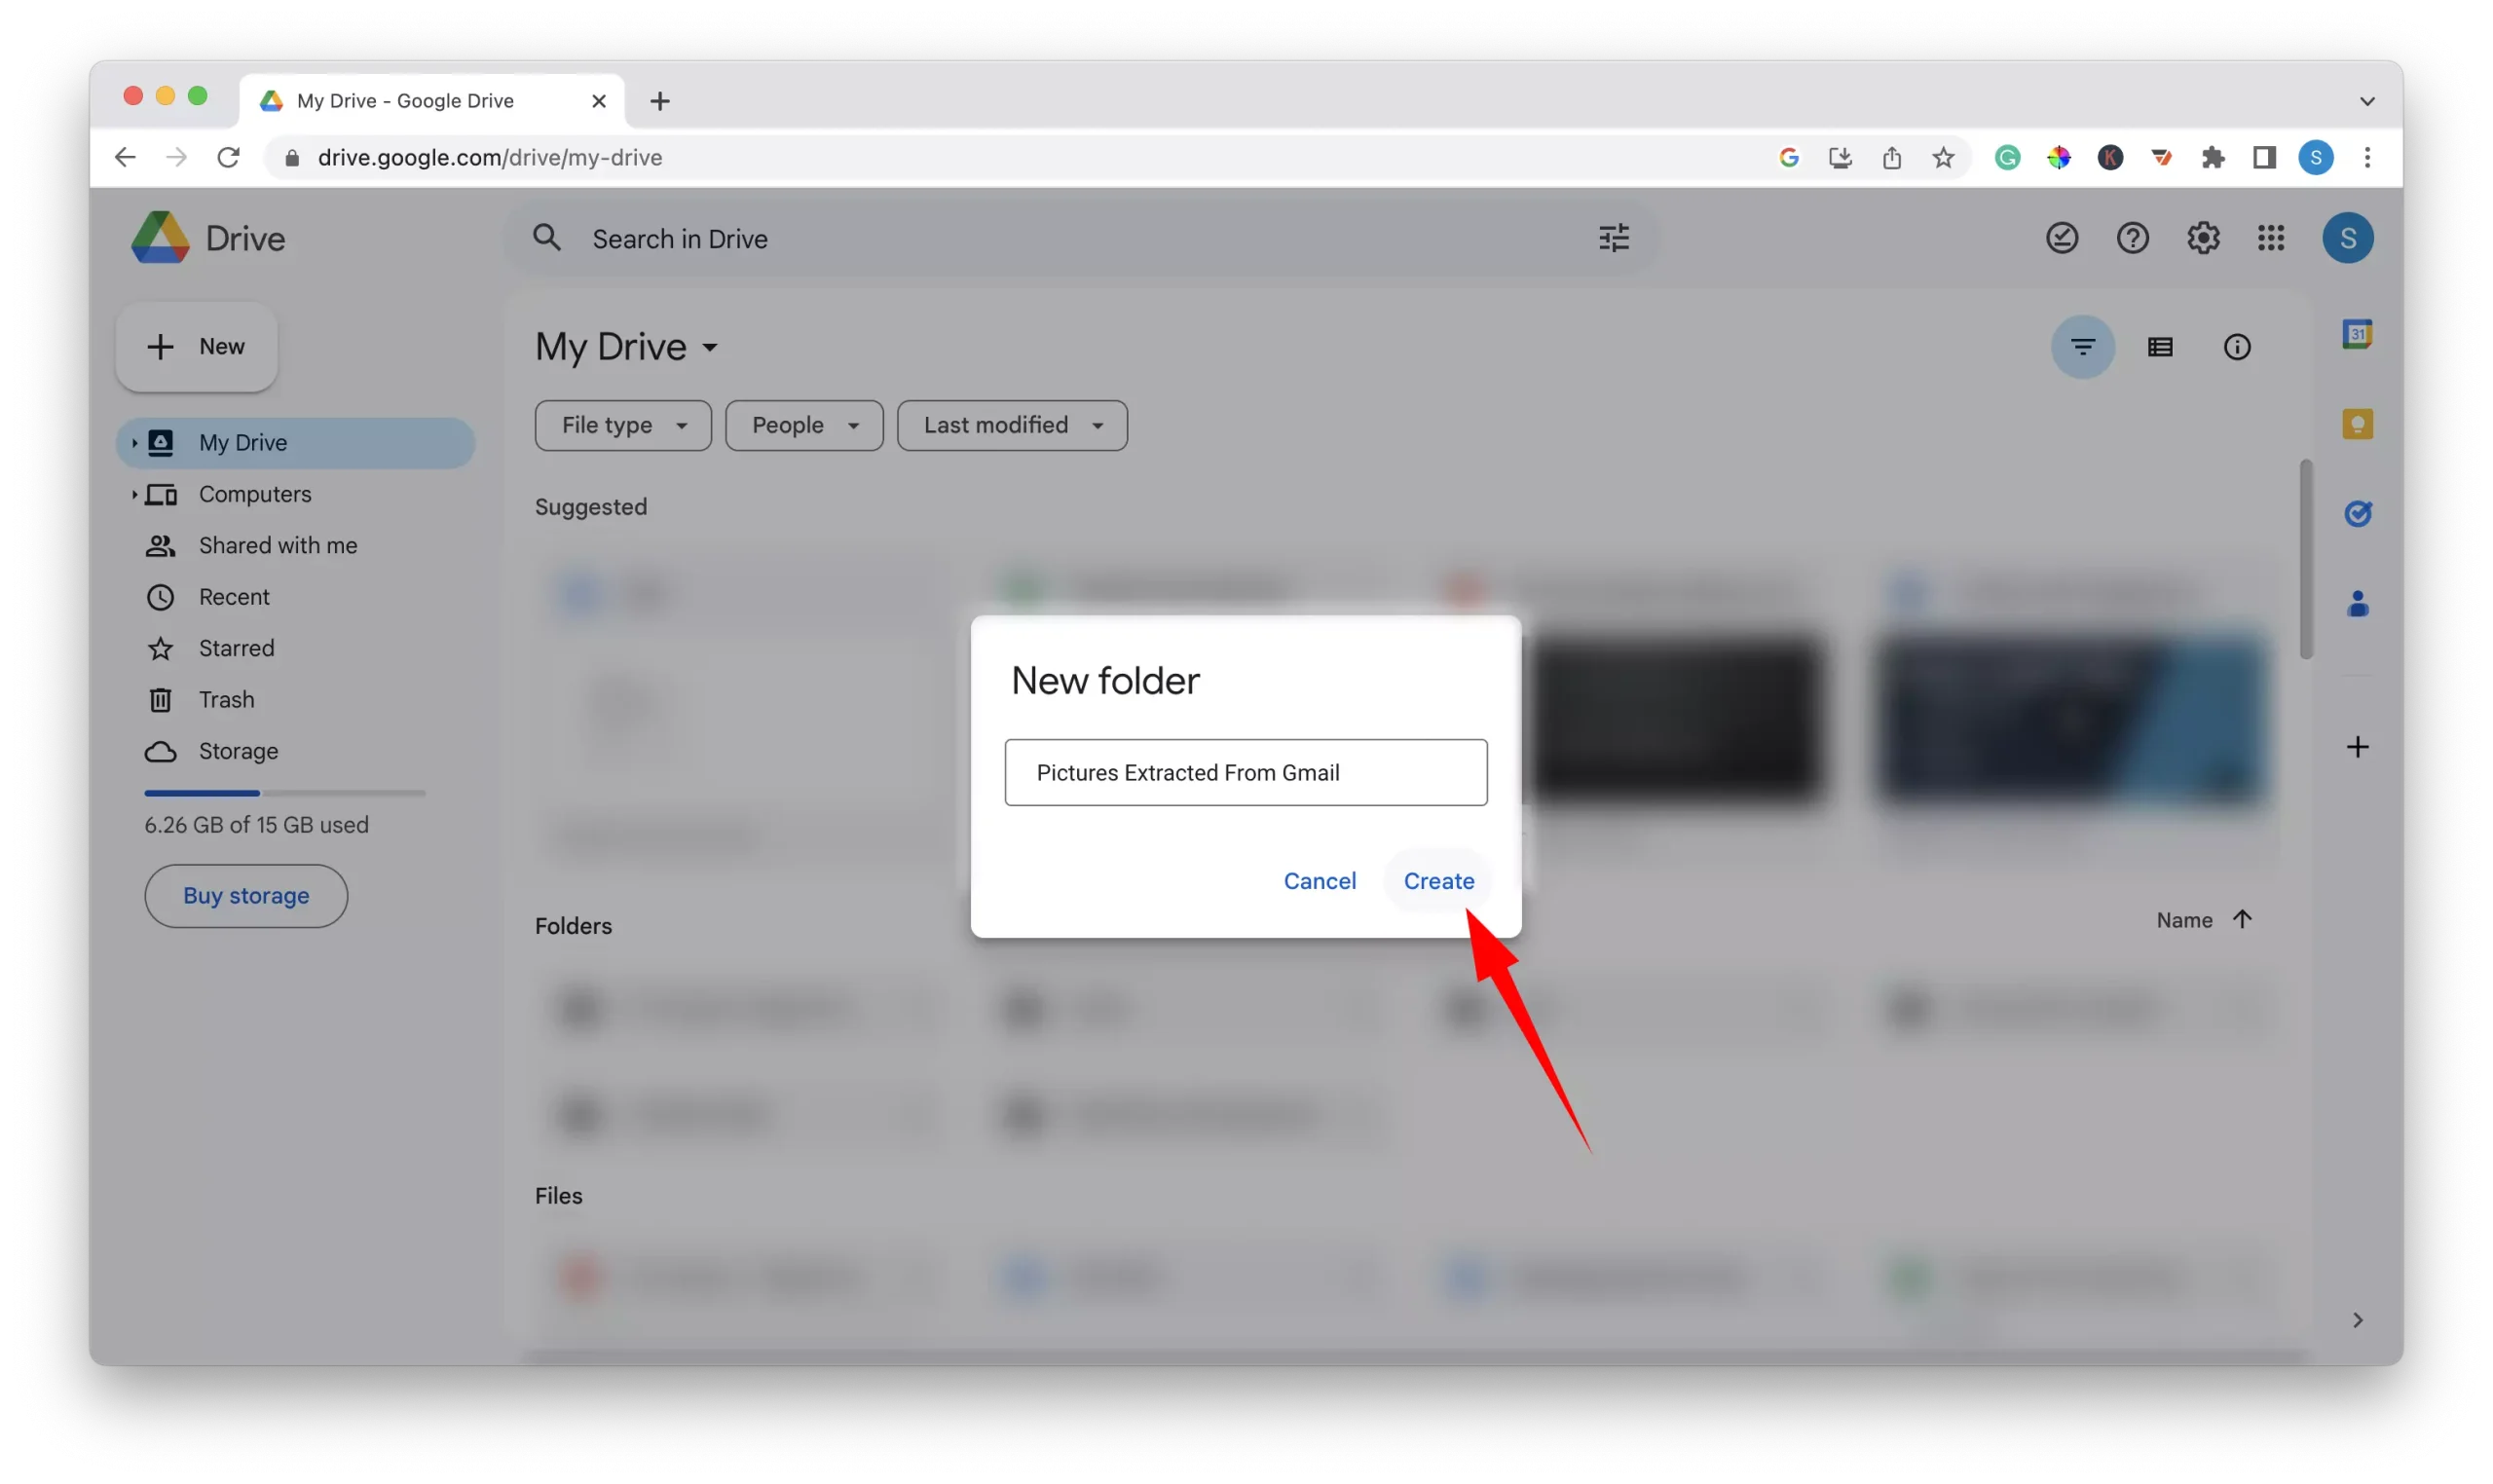
4 – Give the new folder a descriptive name that you will easily remember E.g “Pictures extracted from Gmail”.
5 – Click the “Create” button.
3 – Configure The Extension And Extract Your Pictures
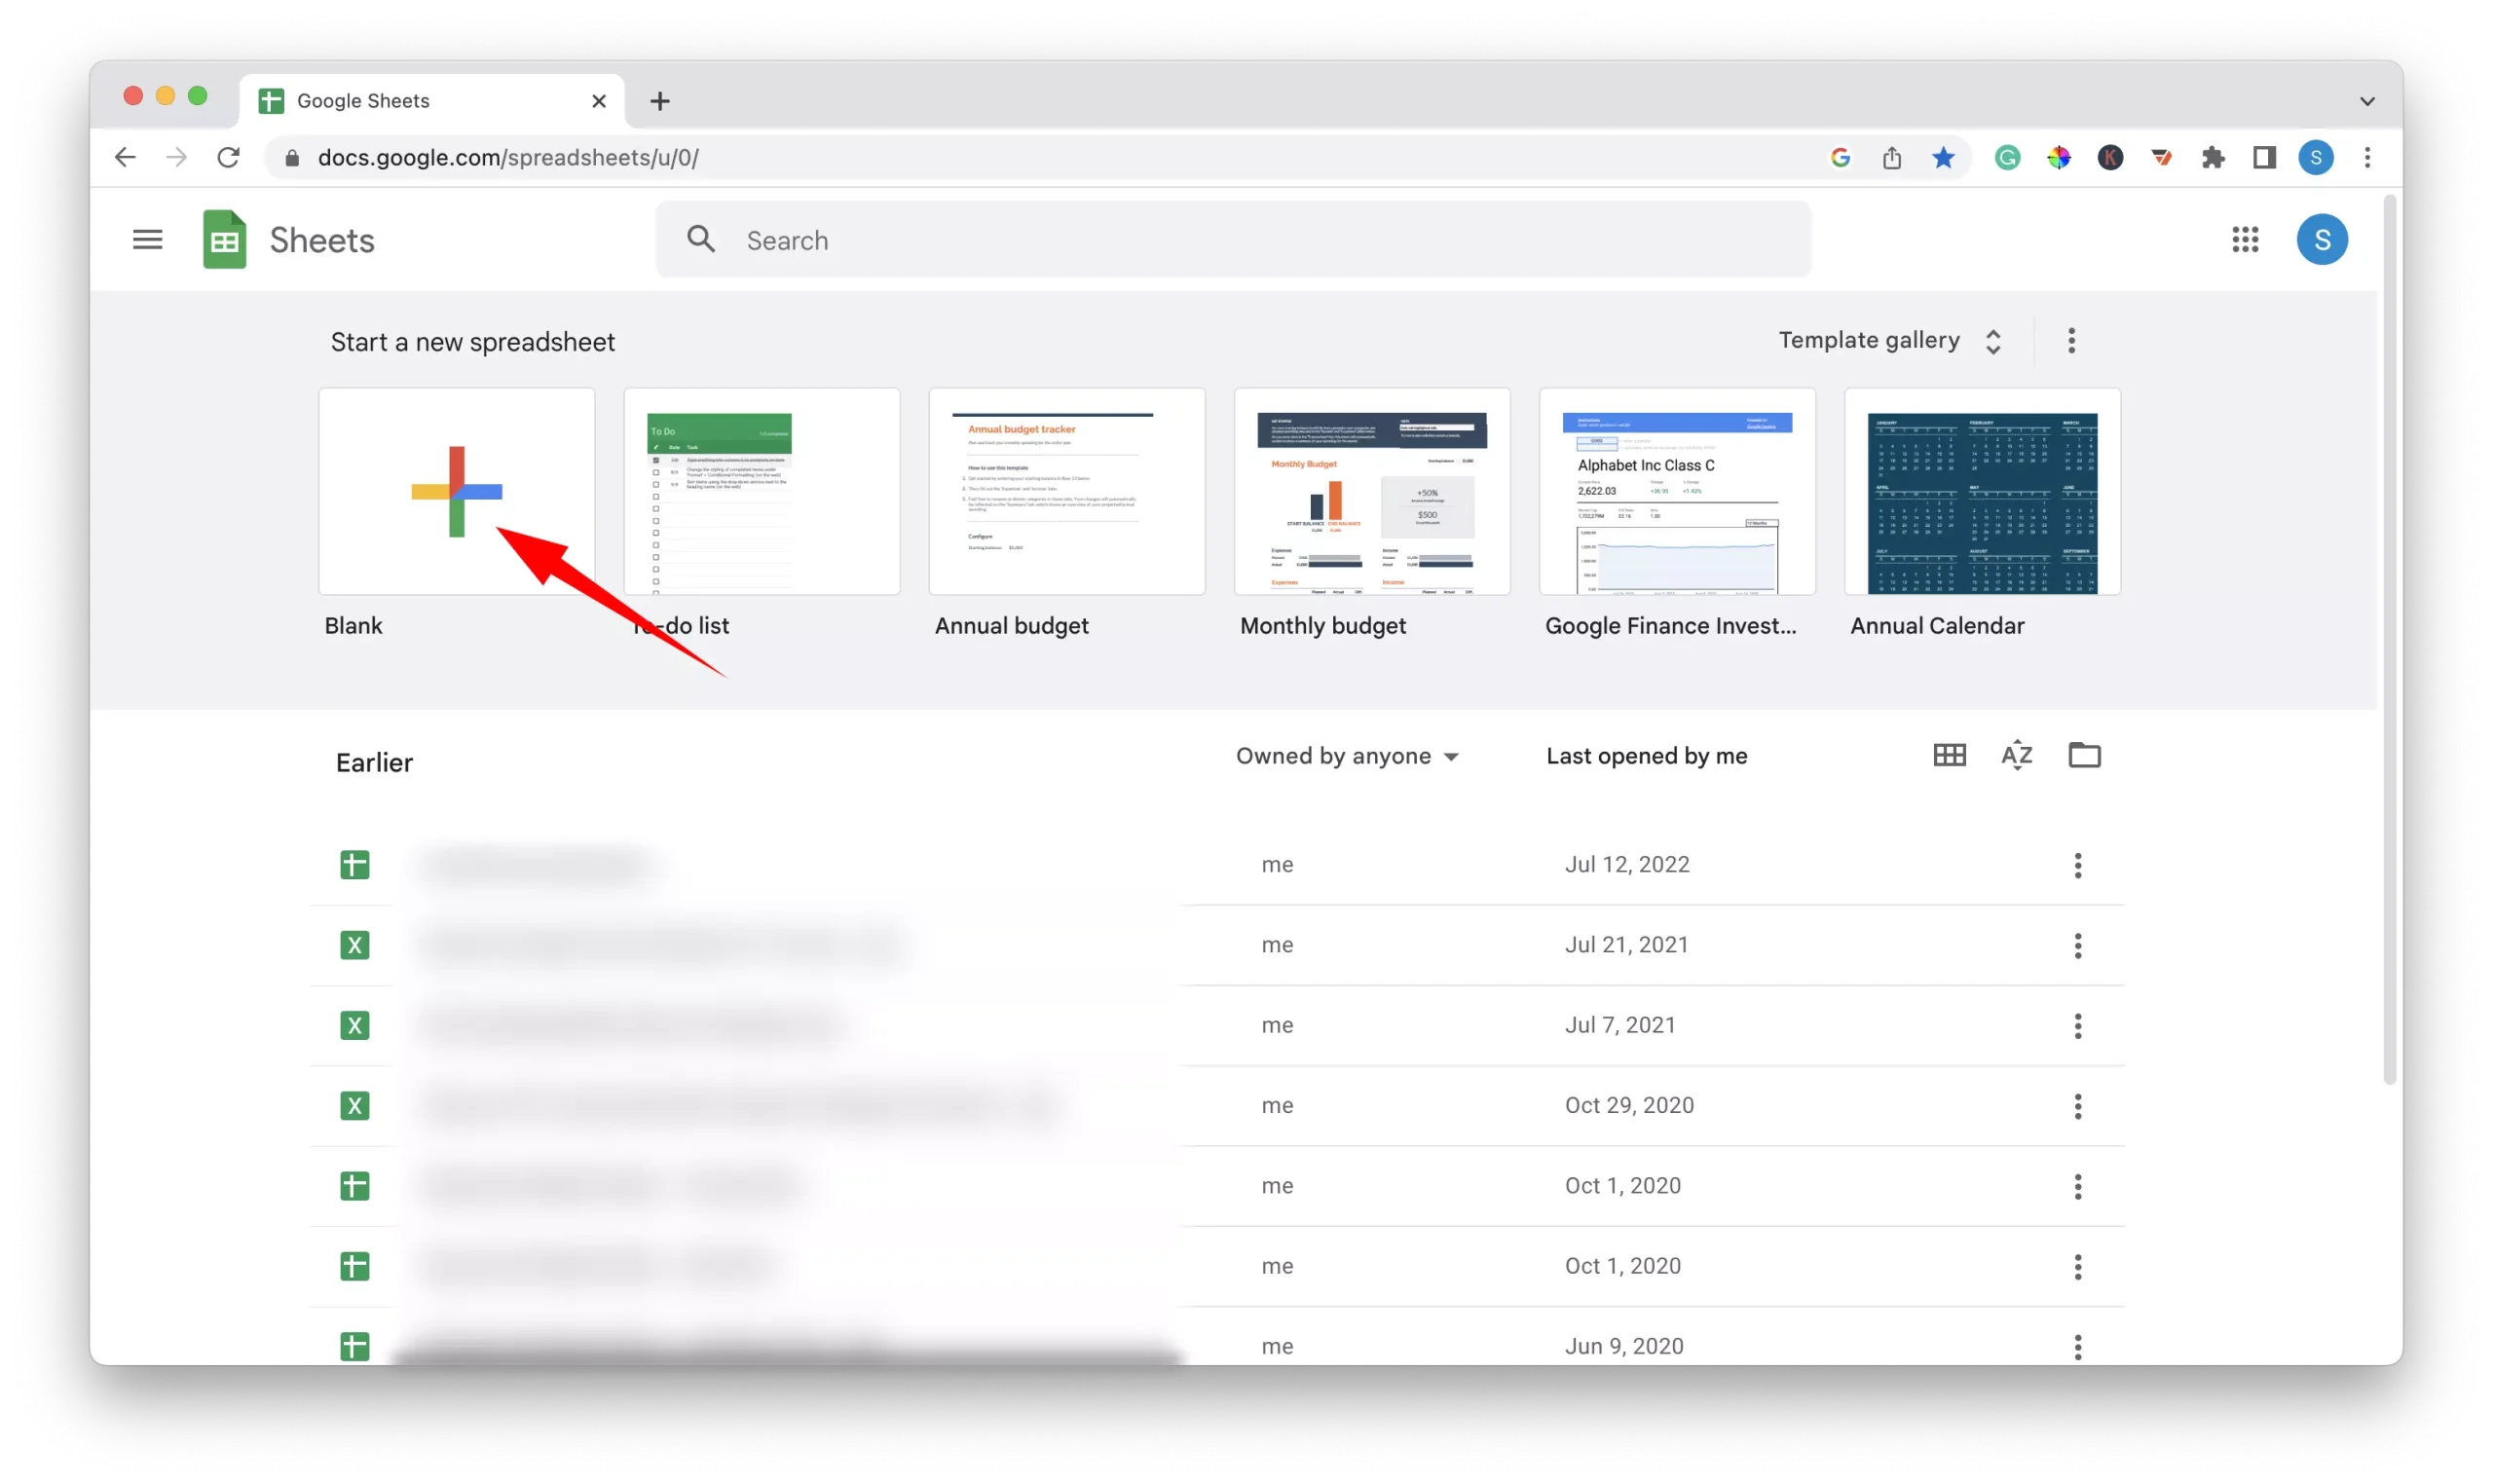
1 – Go to google sheets and open a blank spreadsheet.
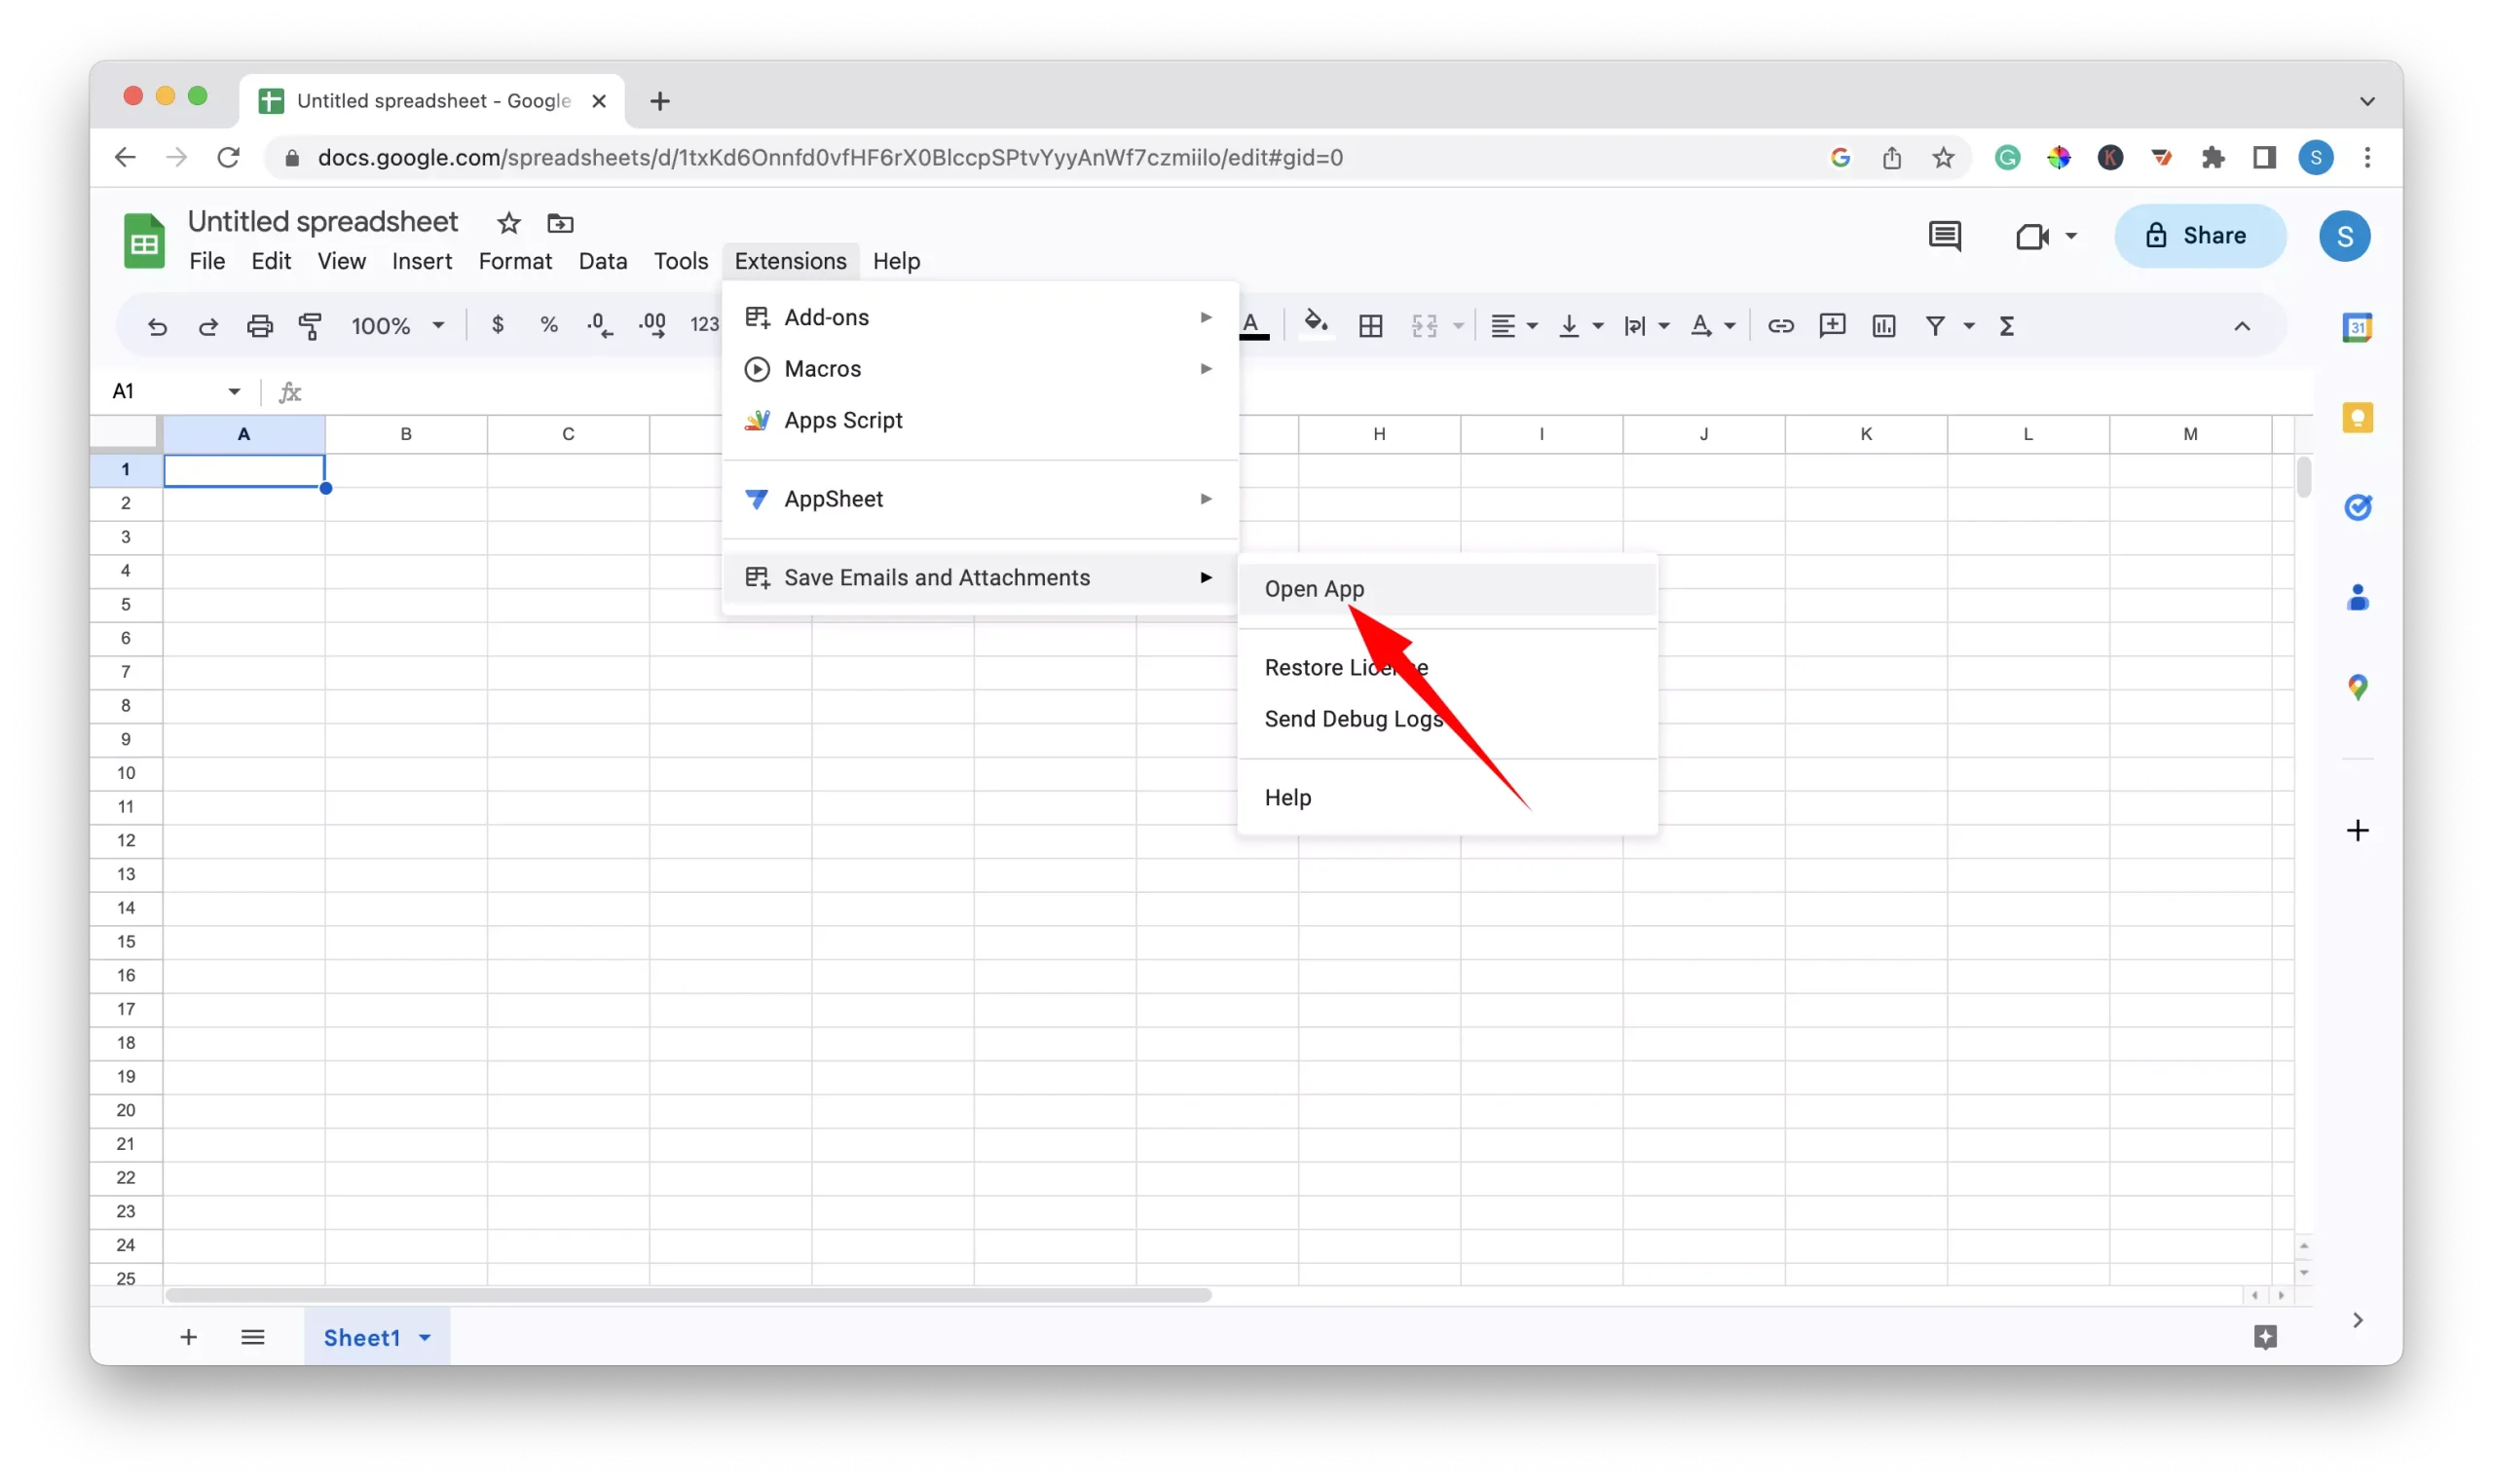
2 – Click on the “Extensions” menu option at the top of the page.
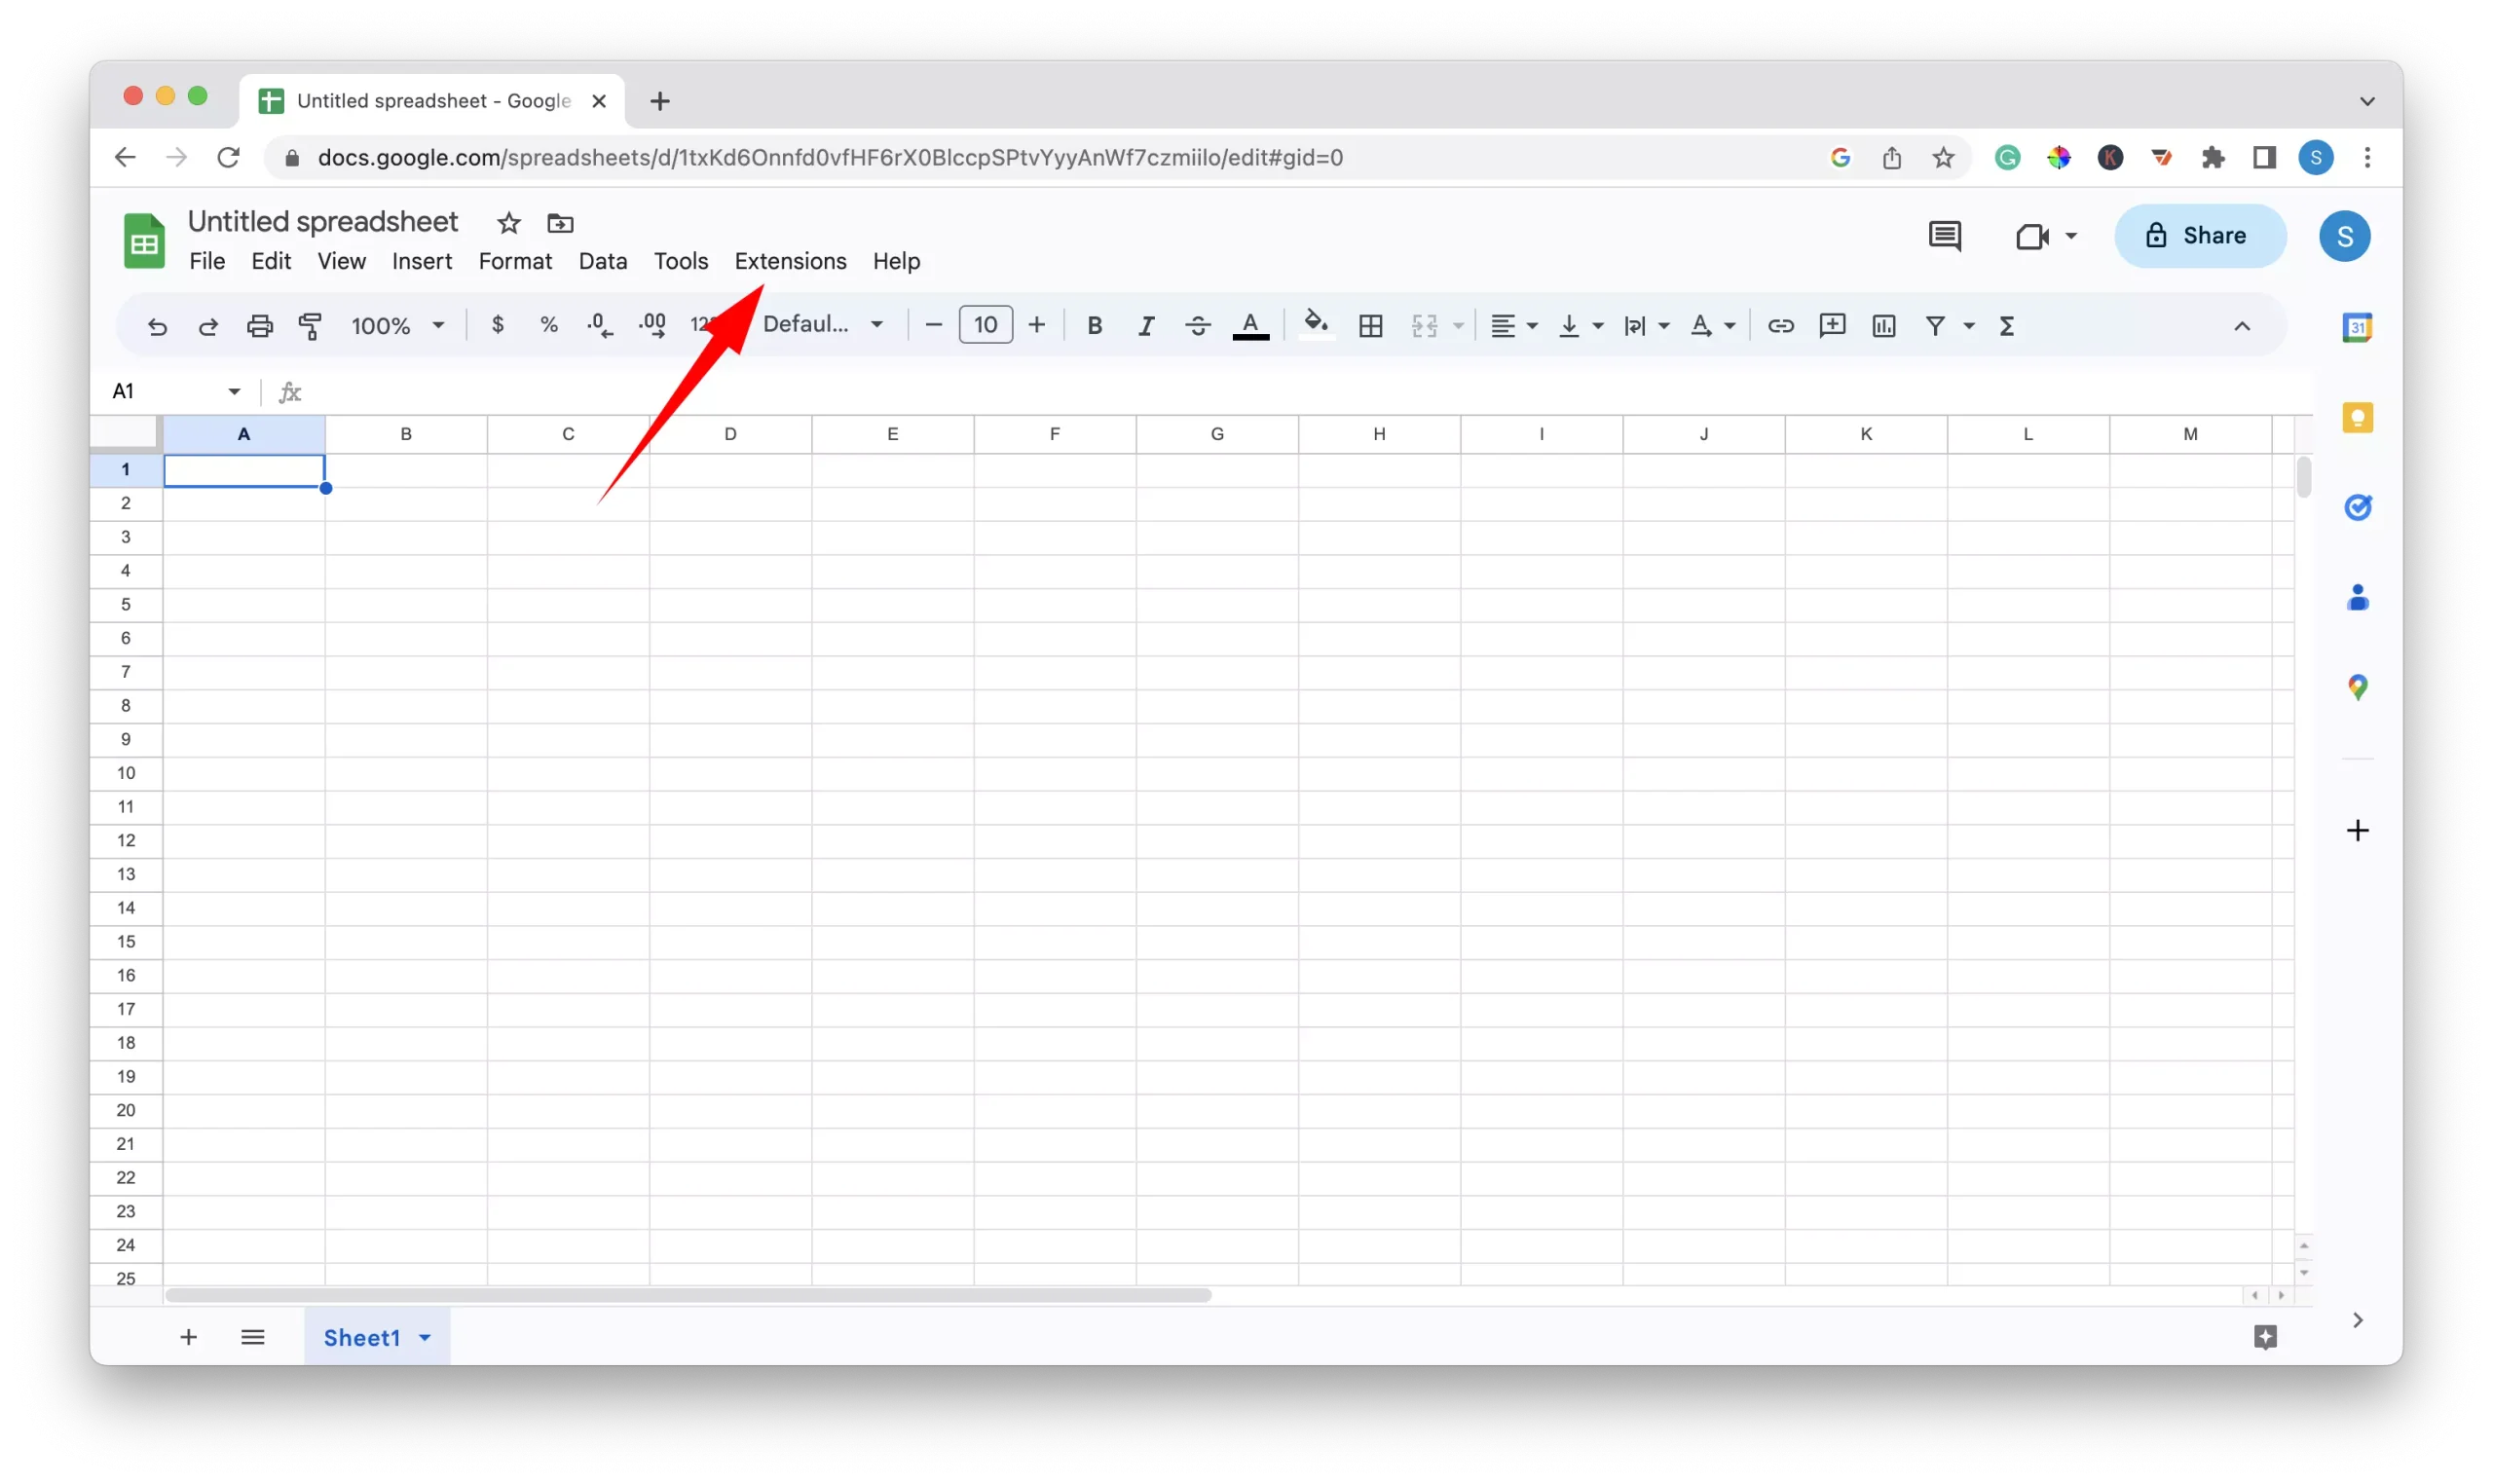
3 – Hover your mouse pointer over the “Save Emails and Attachments” option in the dropdown menu, and click “Open App.”
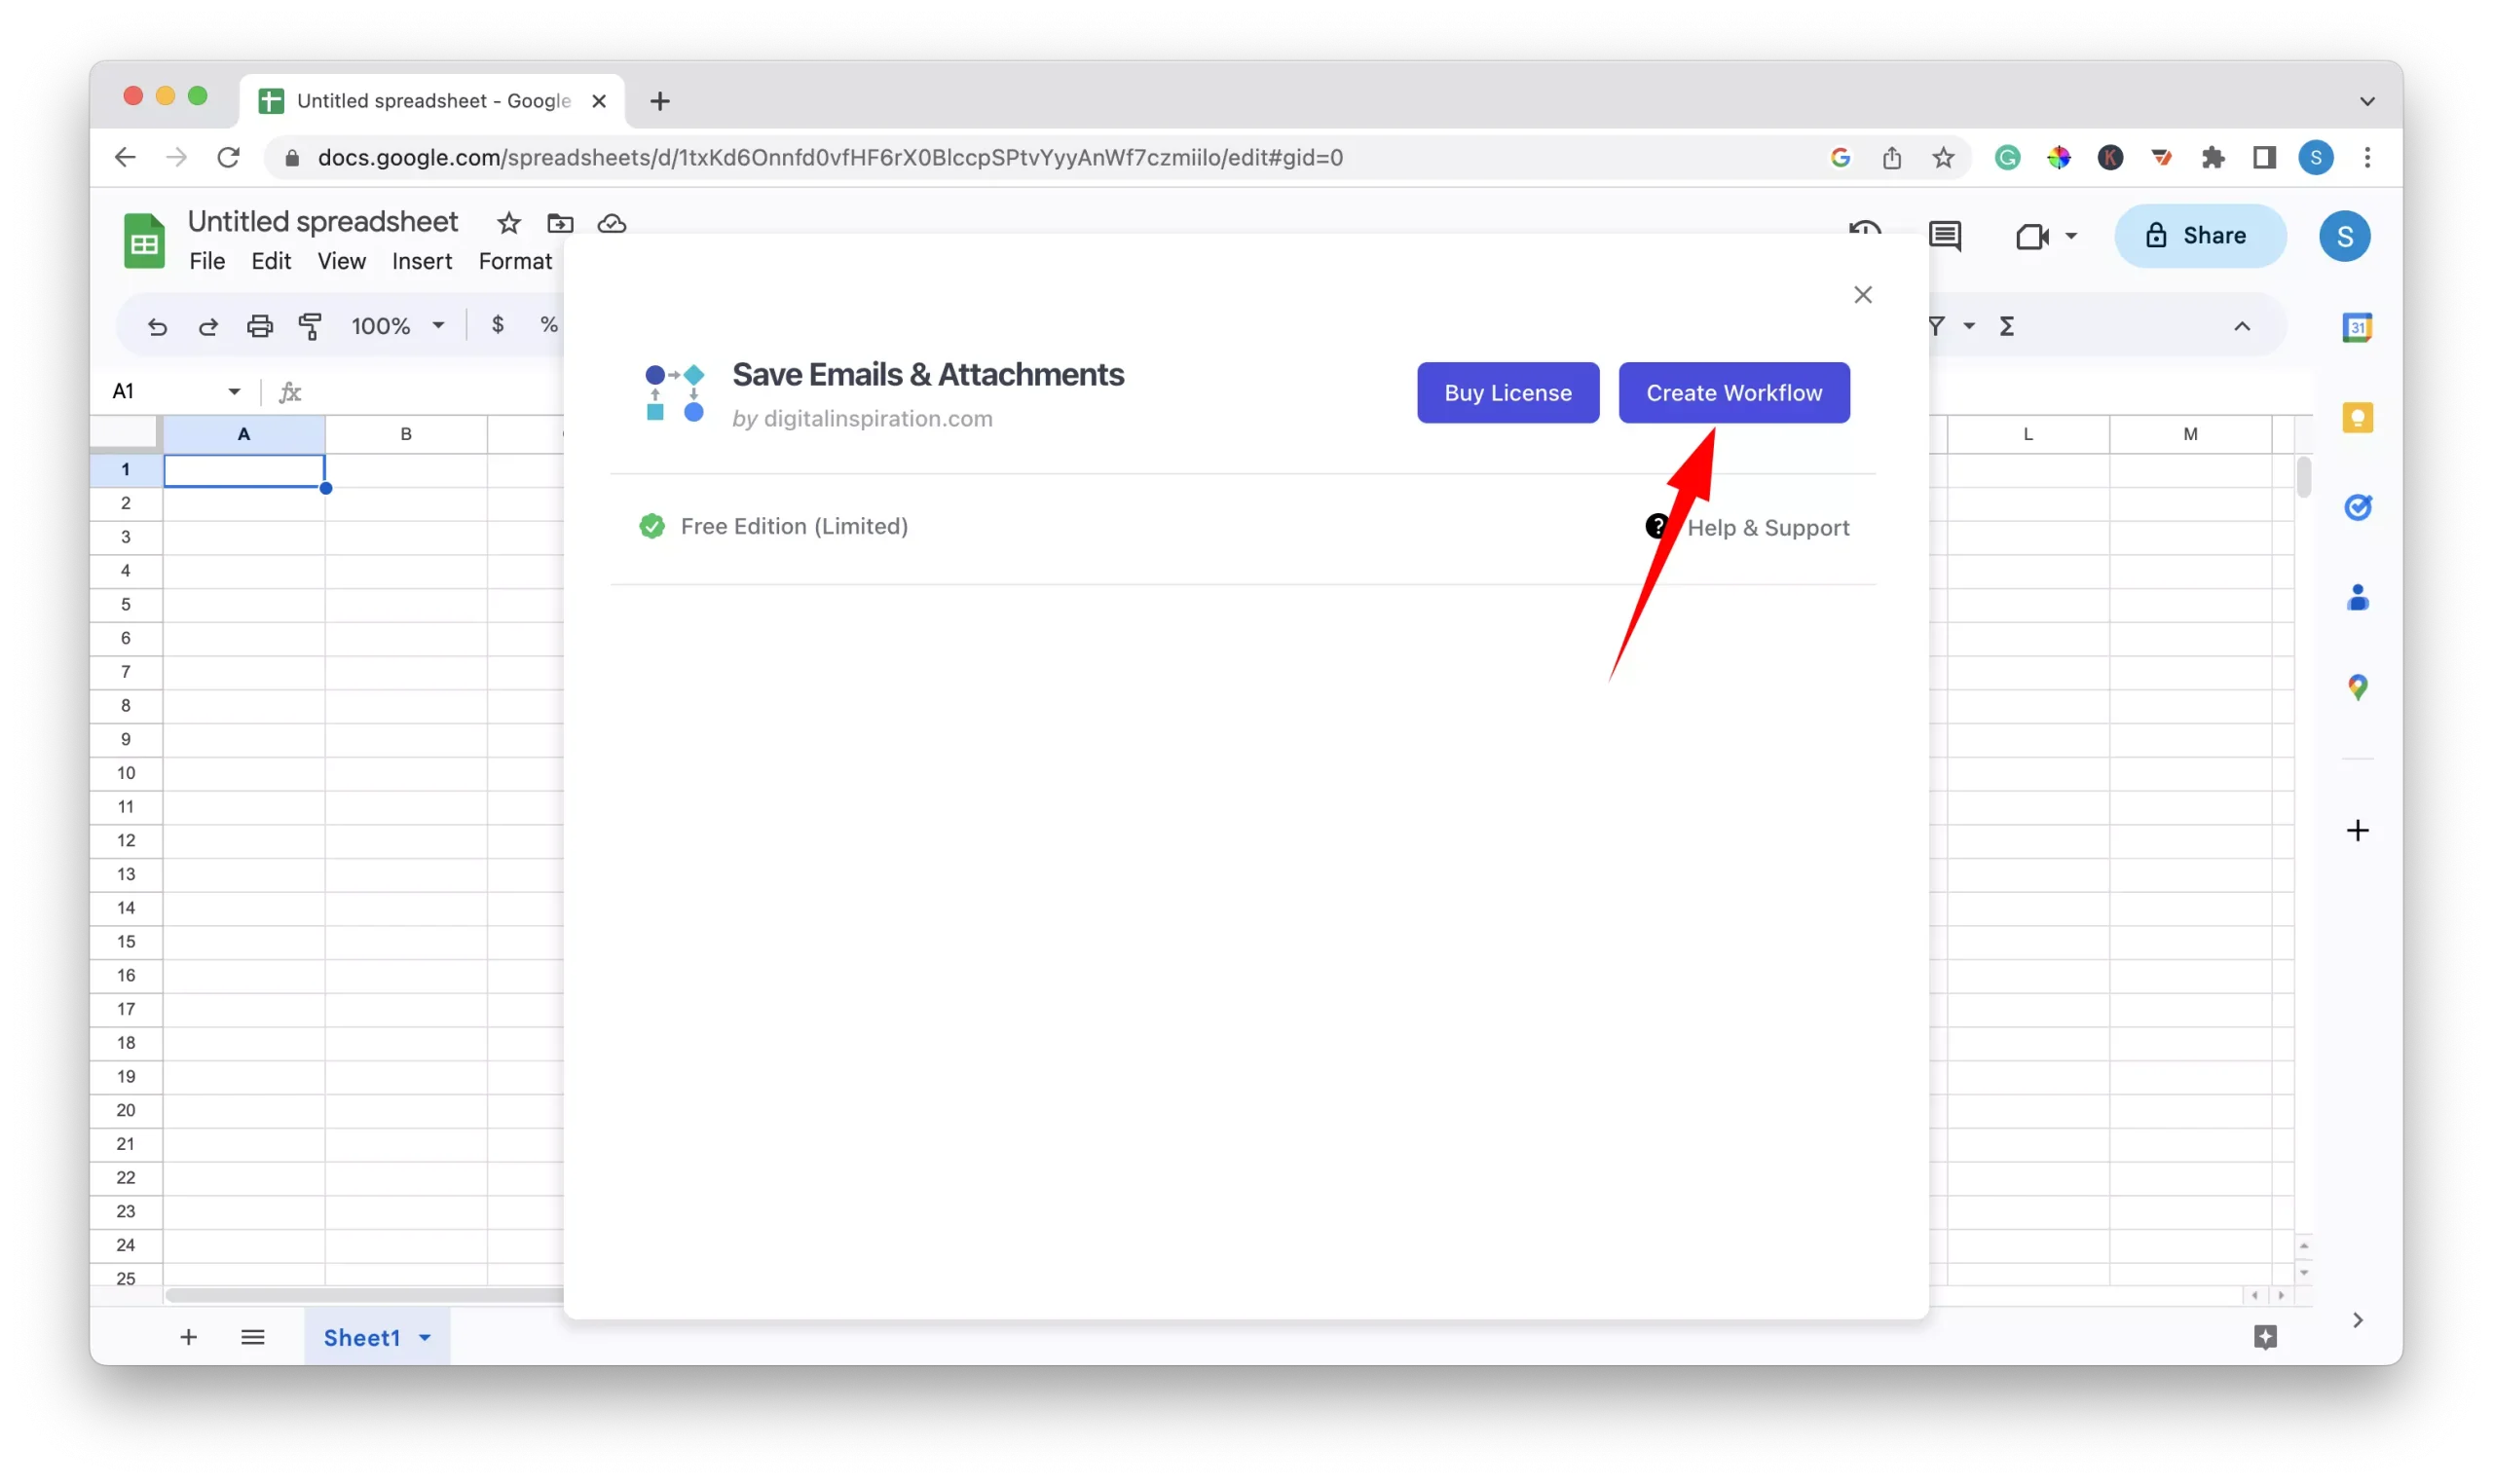
4 – Click the “Create Workflow” button in the pop-up window, .
5 – In the “Advanced Options” field, enter the search query “filename:(jpg OR jpeg OR png)”
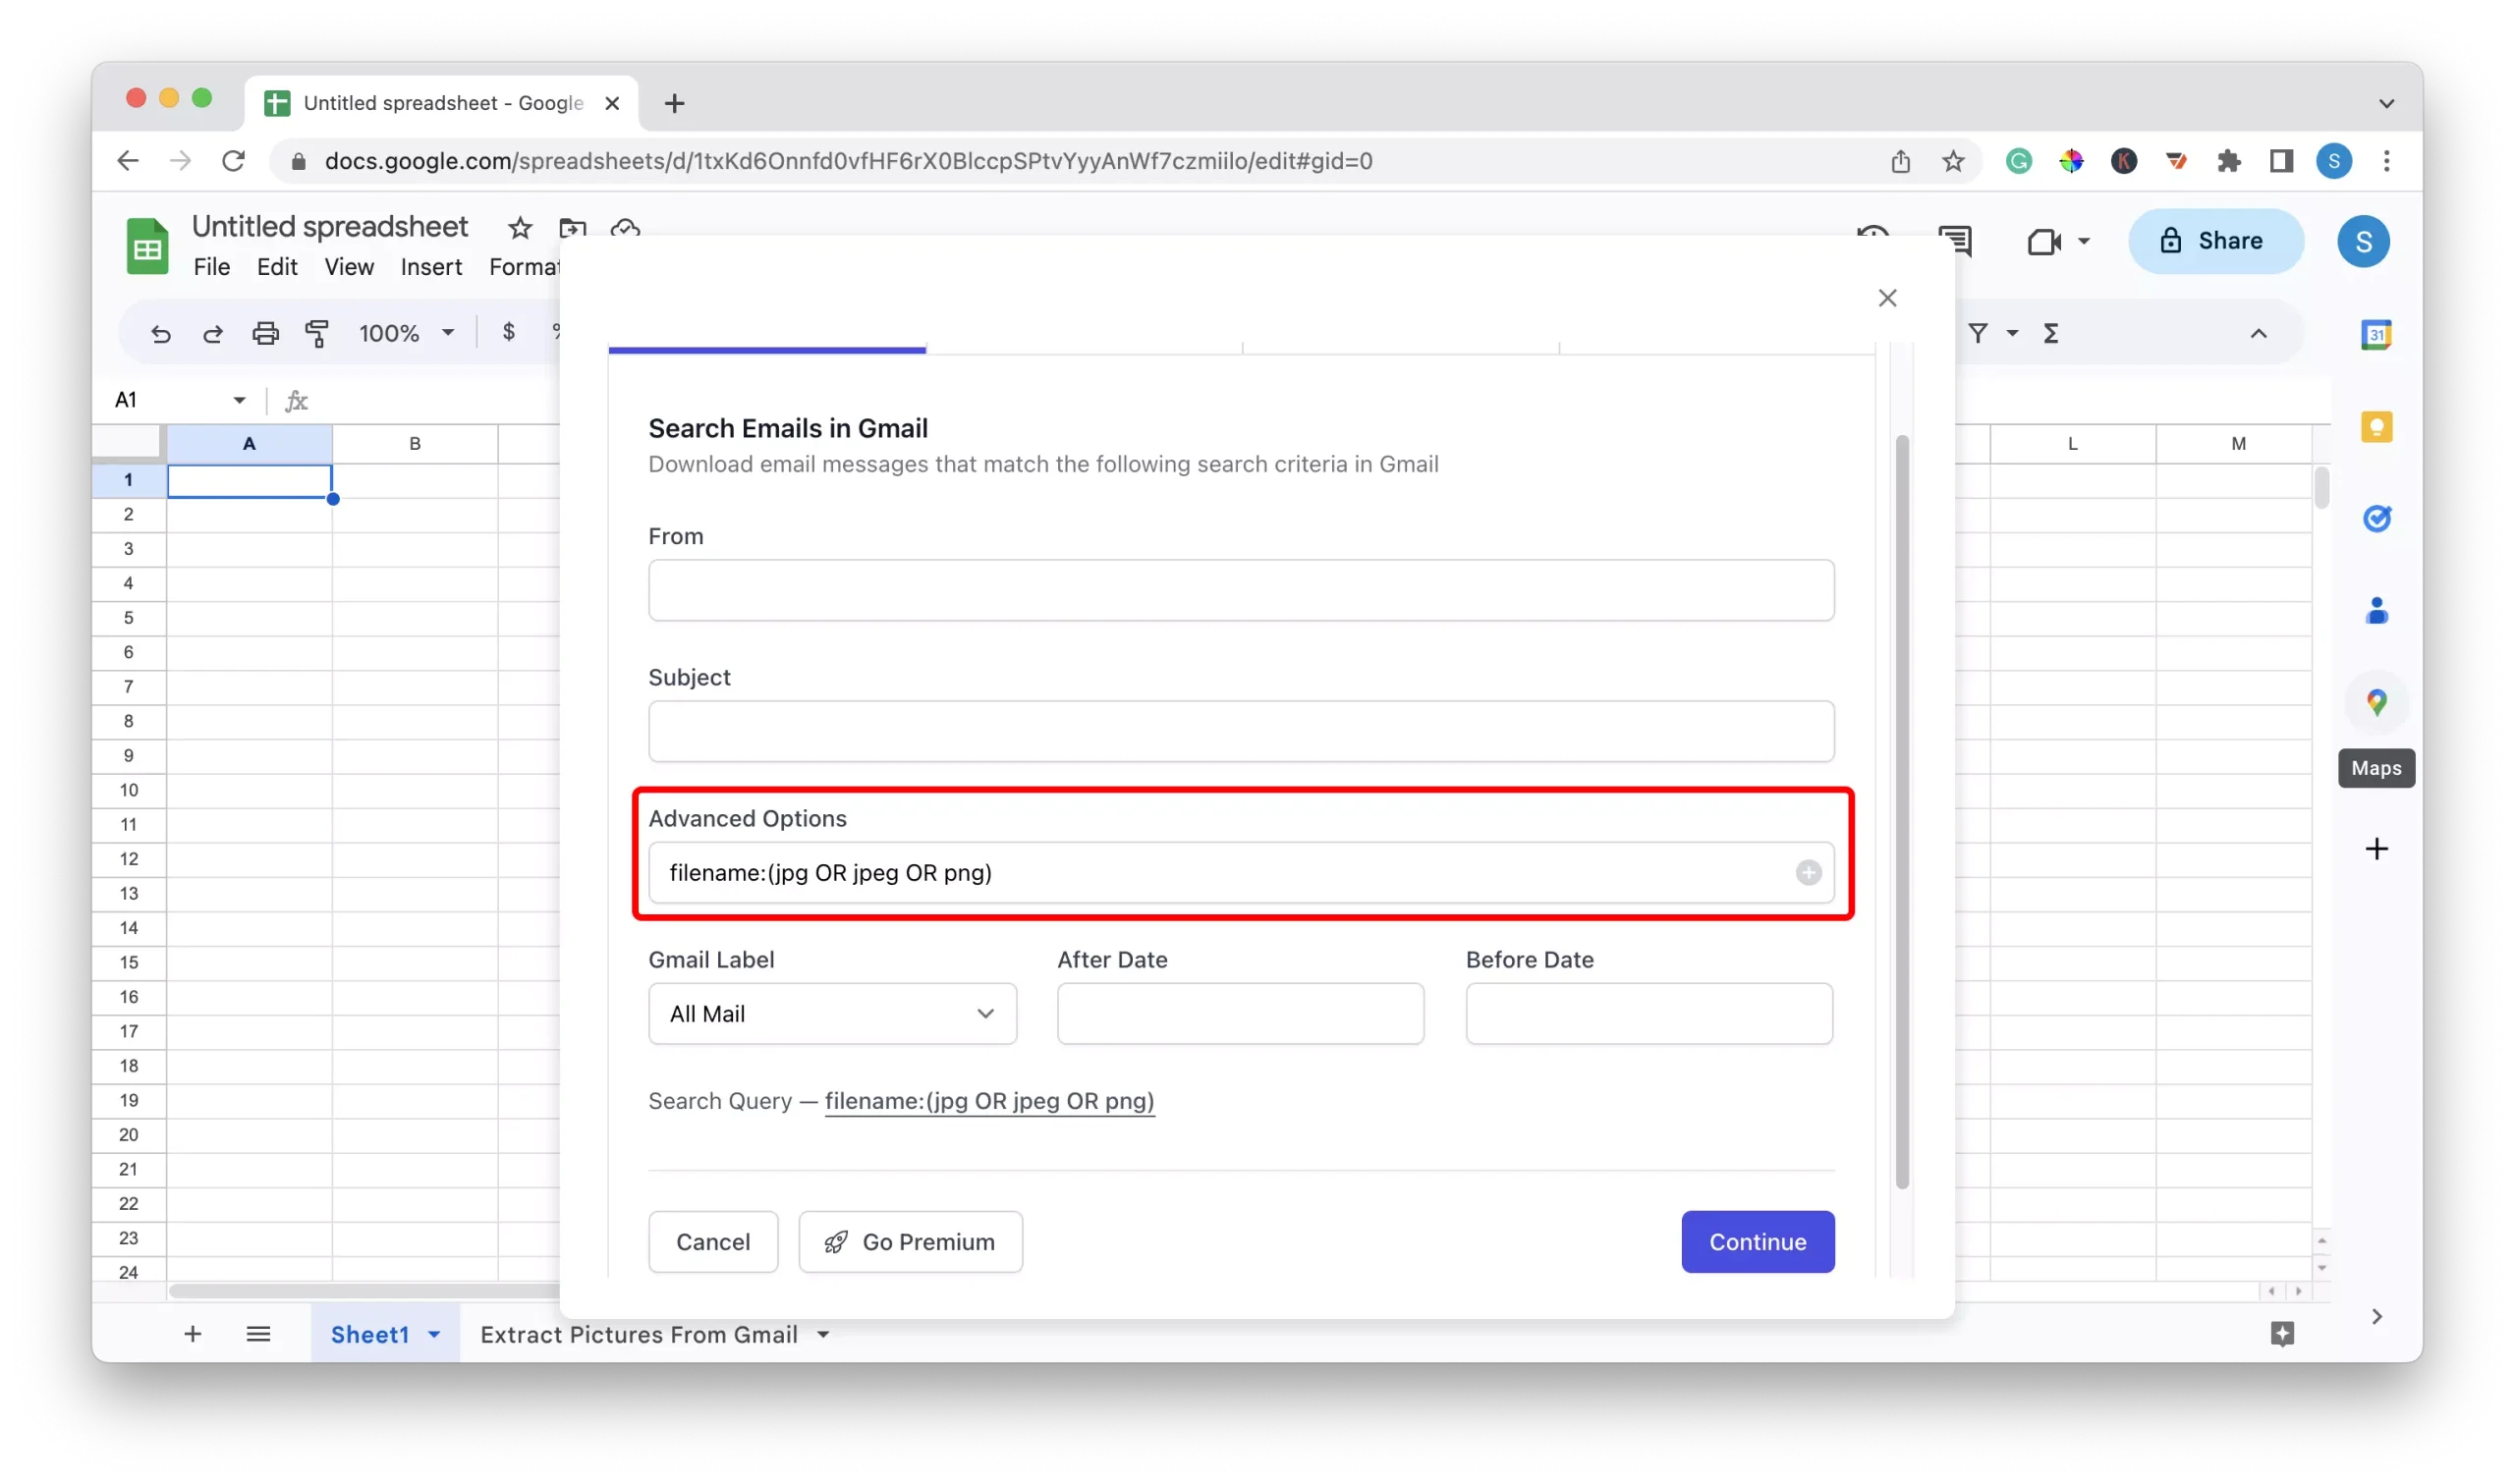
6 – In the Gmail label field, select “All Mail” and then click the “Continue” button.

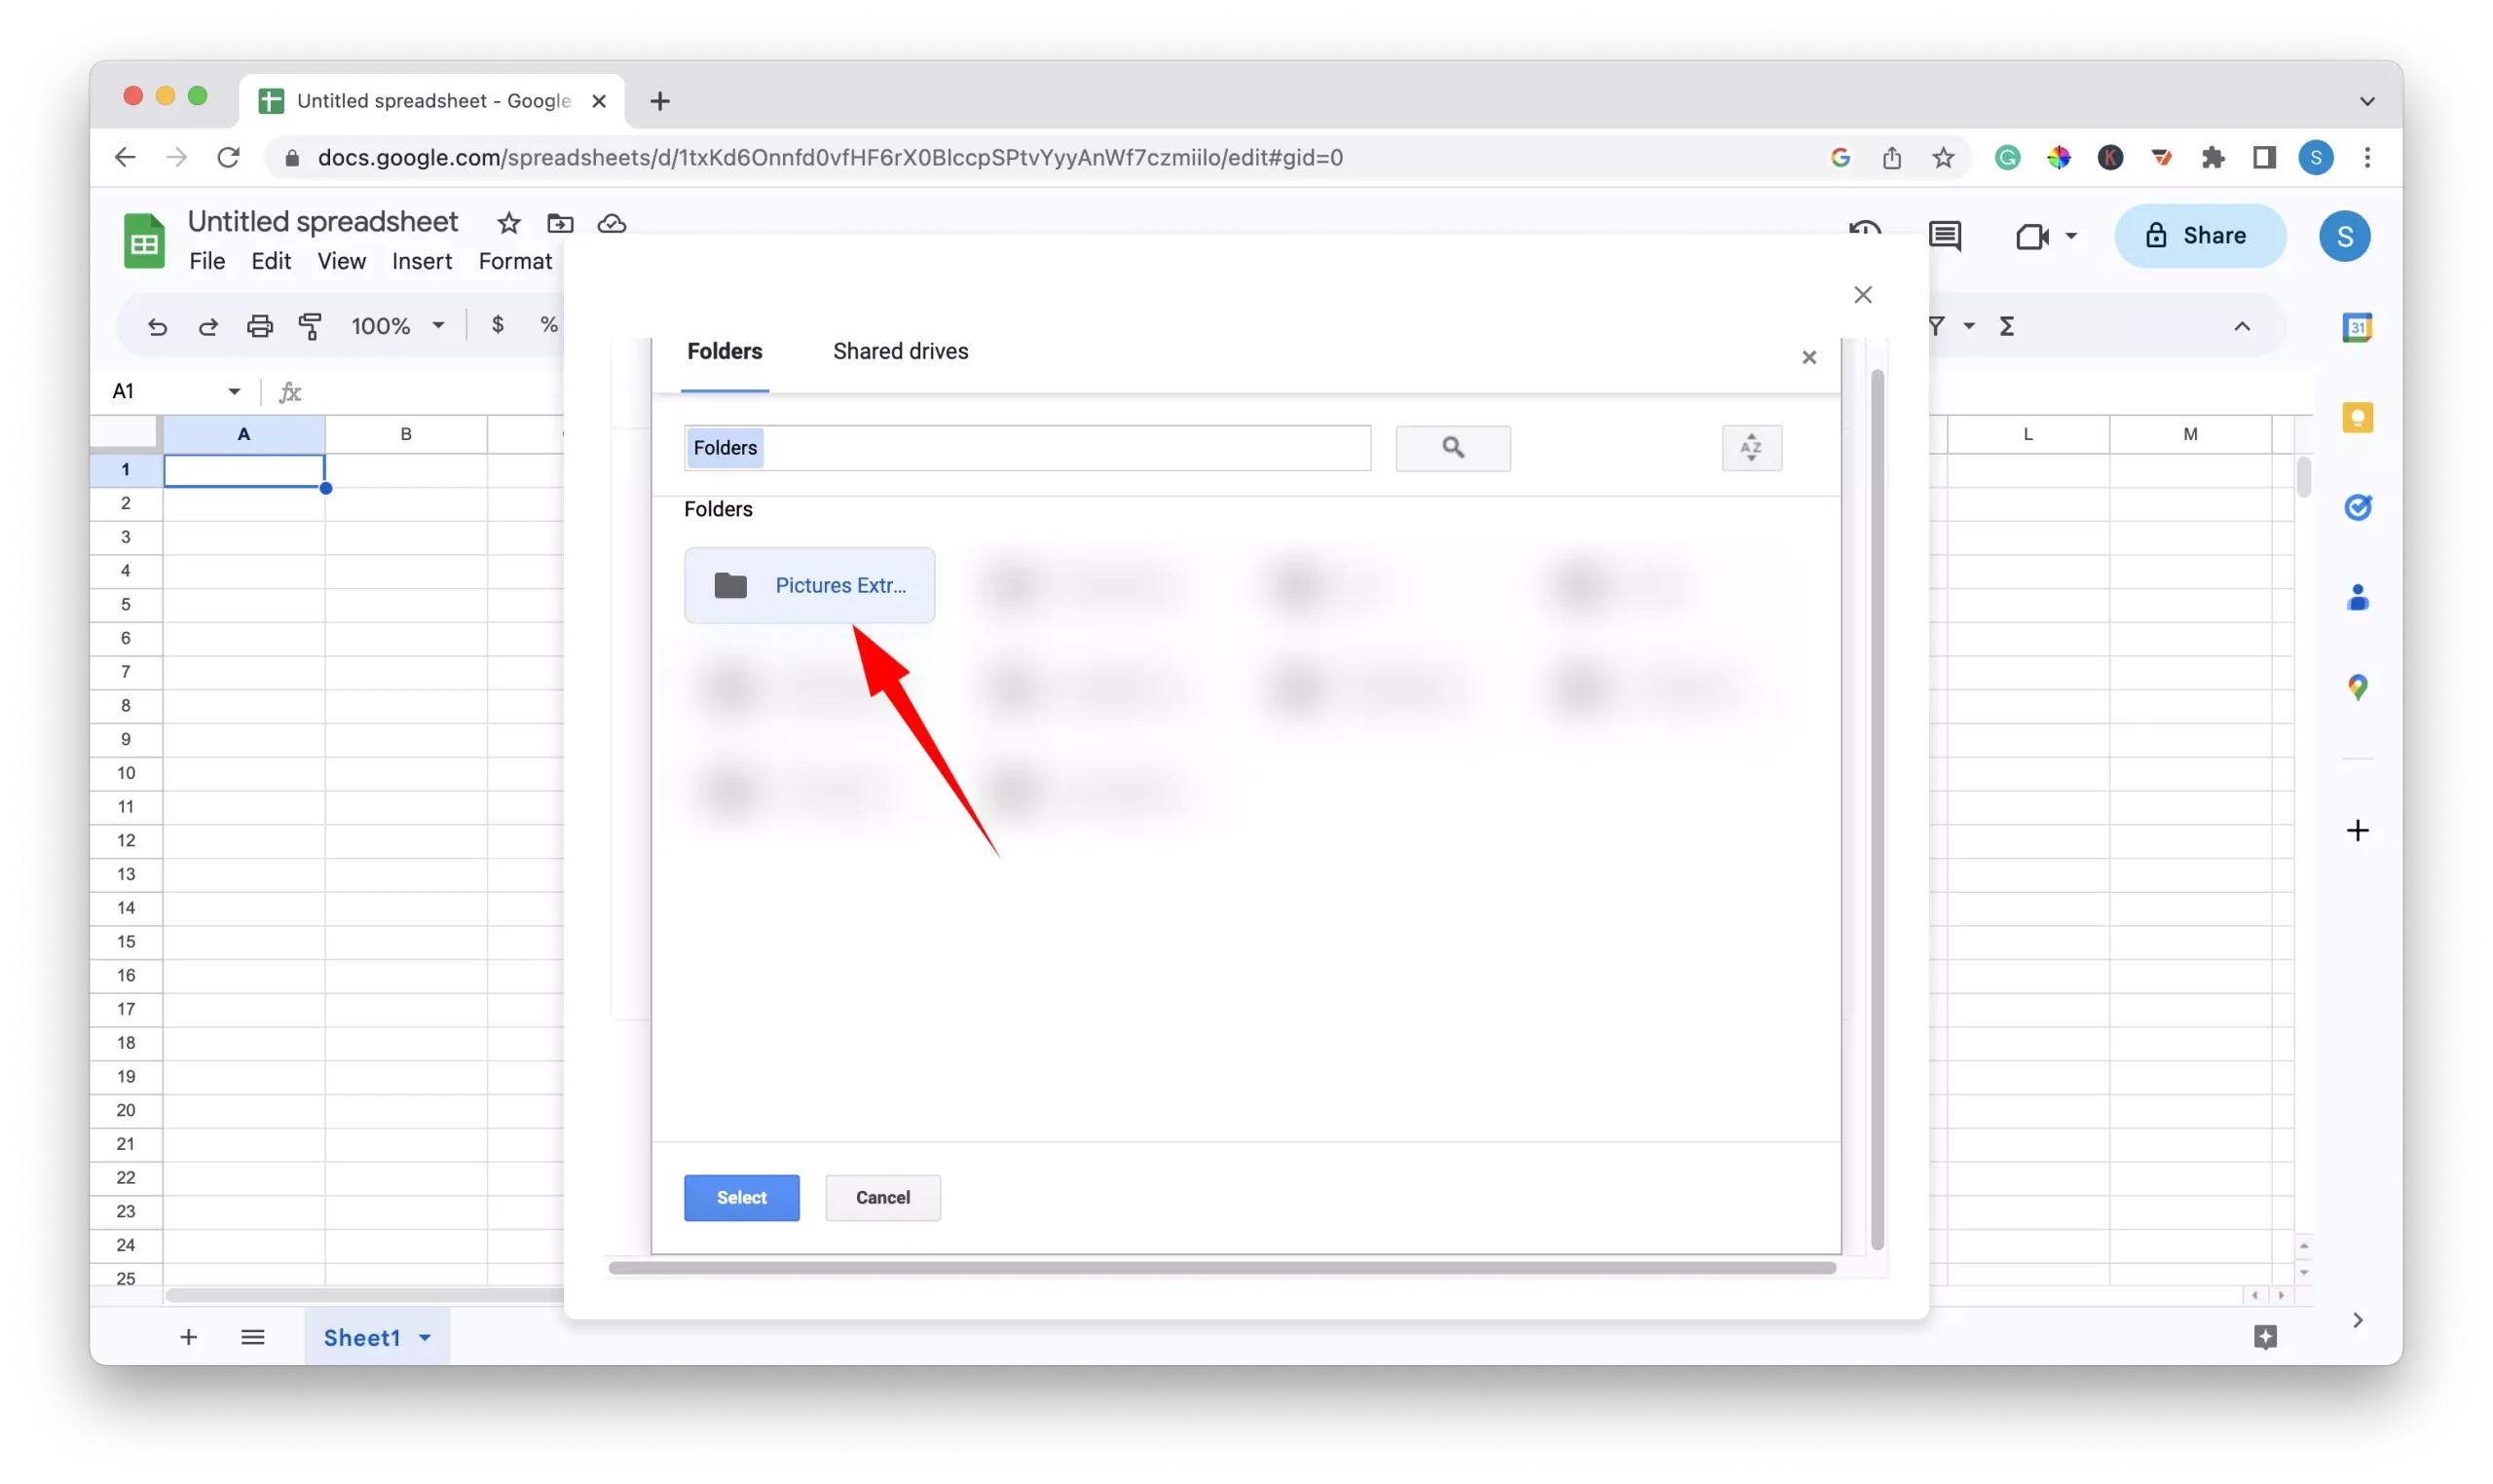
7 – Click the “Choose” button under the Google Drive tab.

8 – From the list of folders, click on the one you created to store your extracted pictures and then click on the “select” button.
9 – After selecting your folder click the “Continue” button.

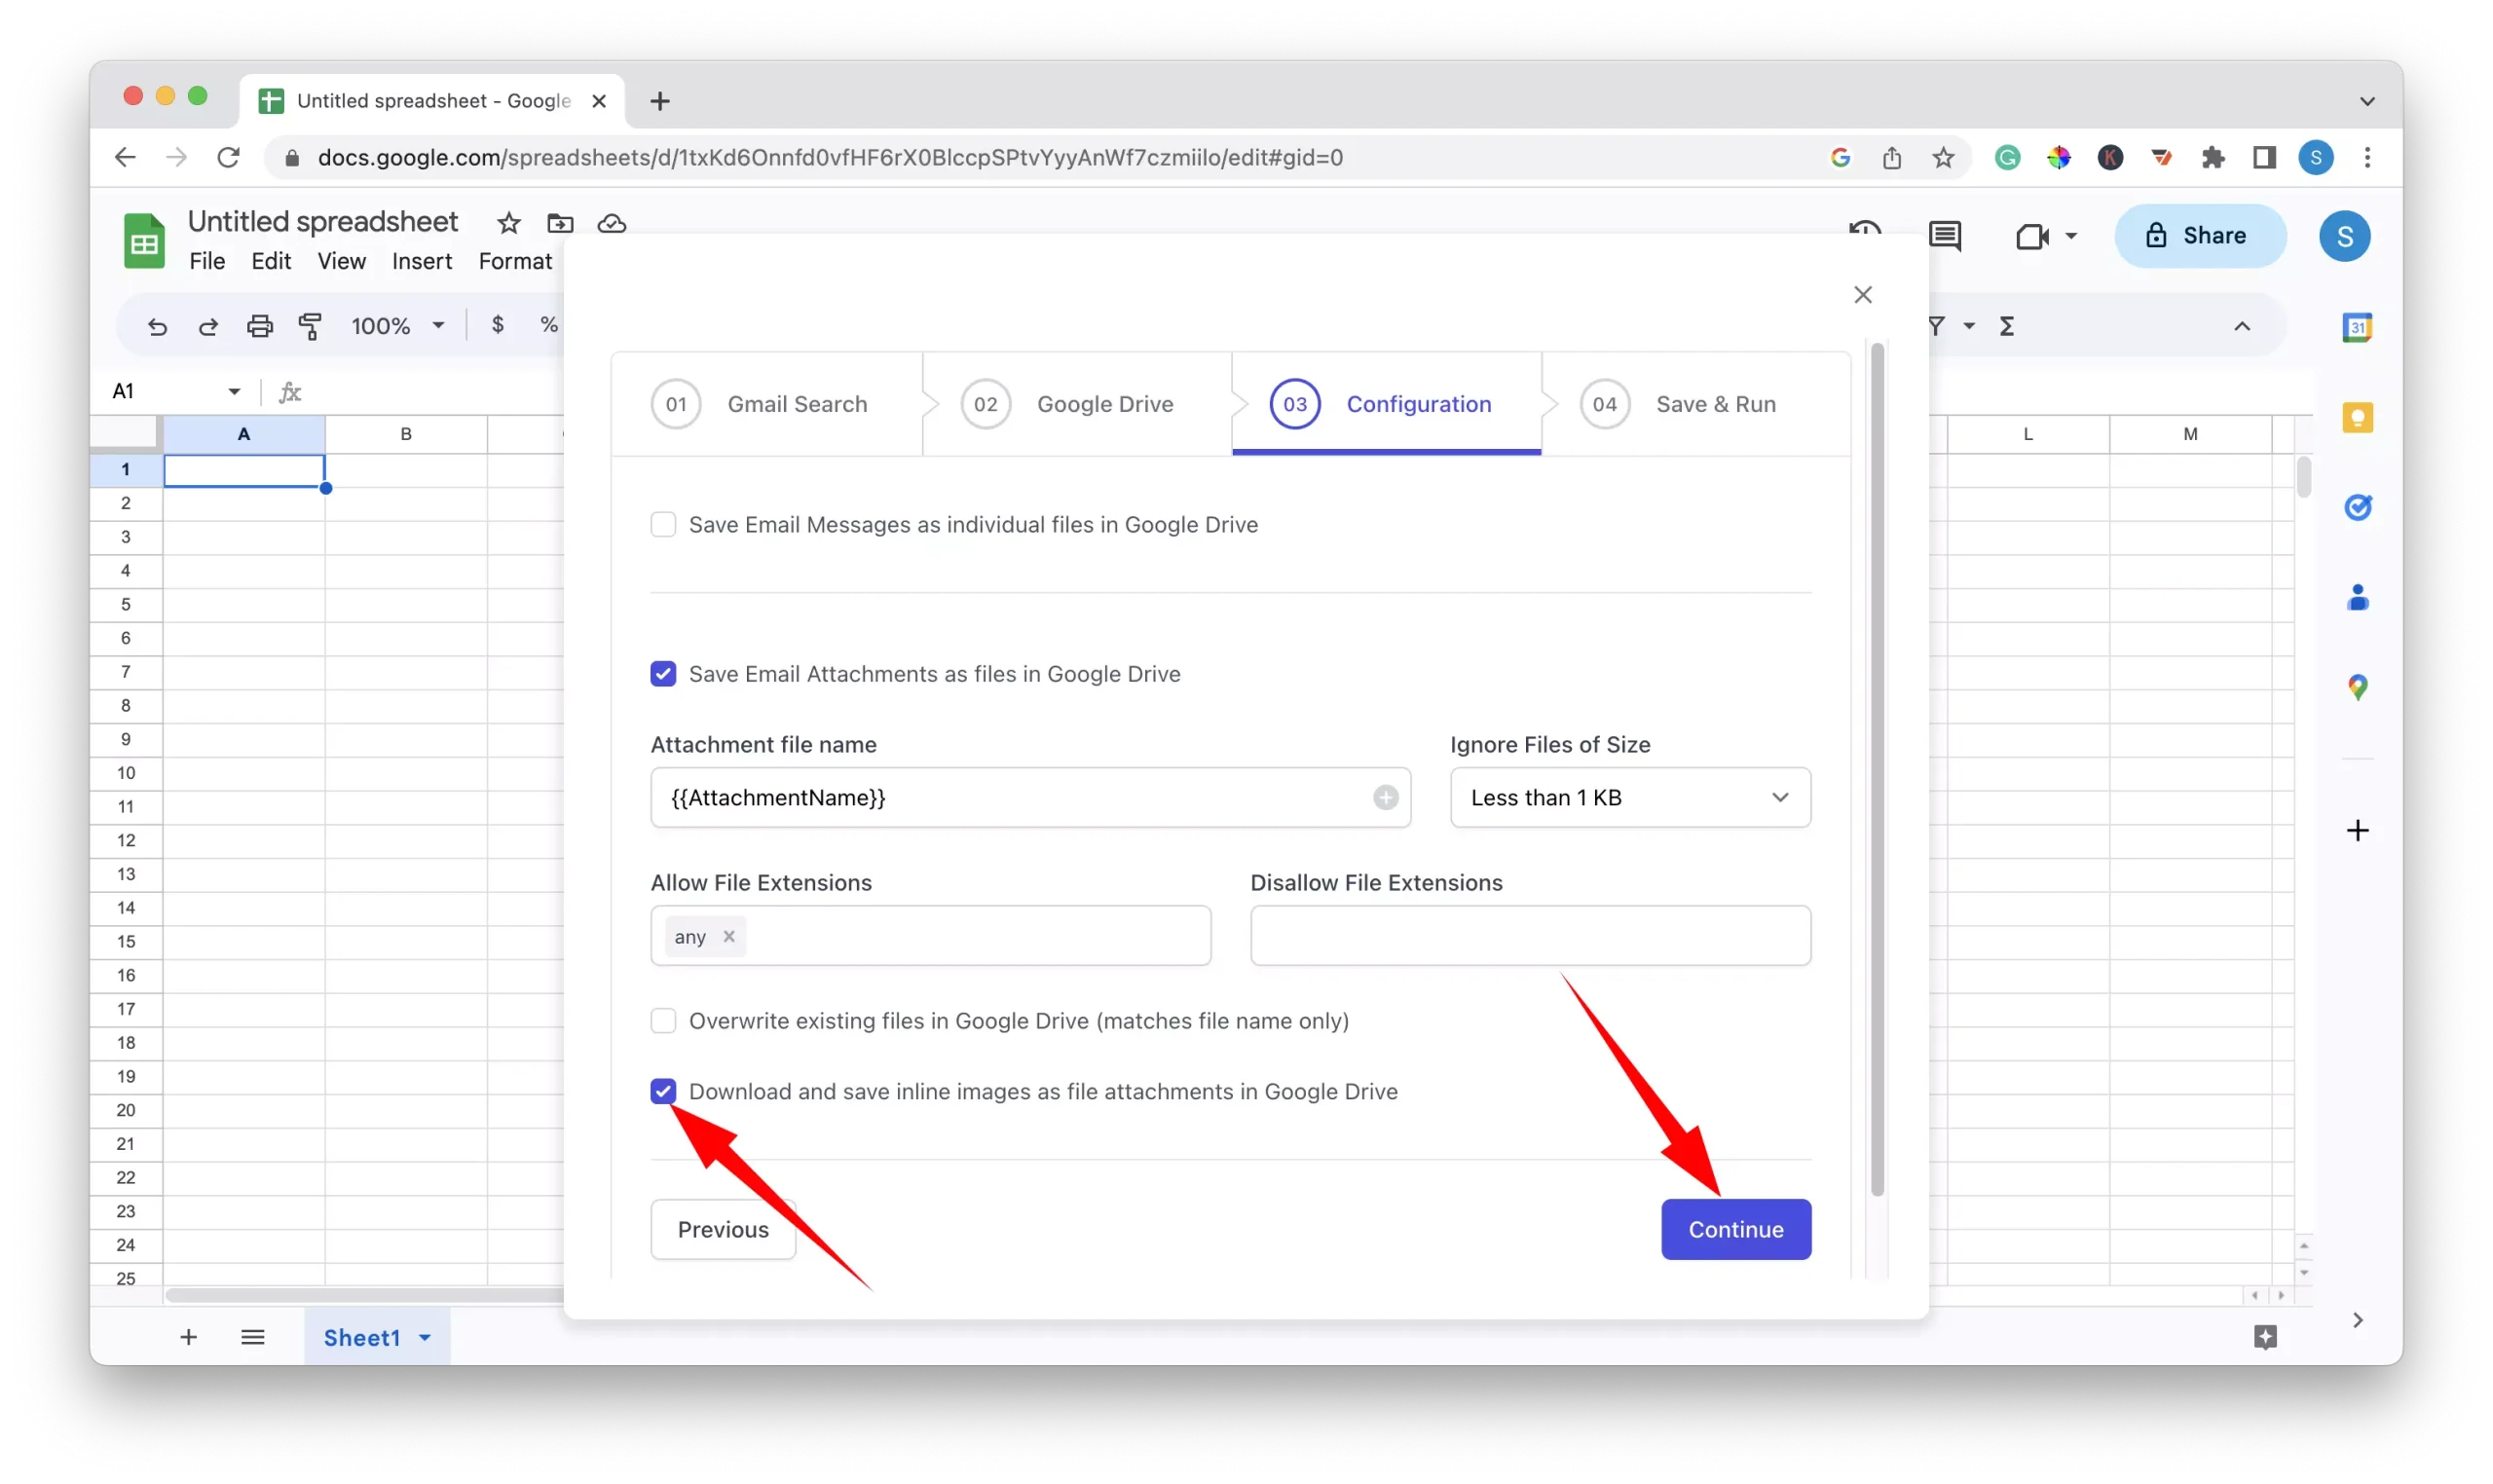
10 – Under the configure tab, deselect the “Save Email Messages as individual files in Google Drive” option.

11 – Select the “Download and save inline images as file attachments in Google Drive” and click the “Continue” button.
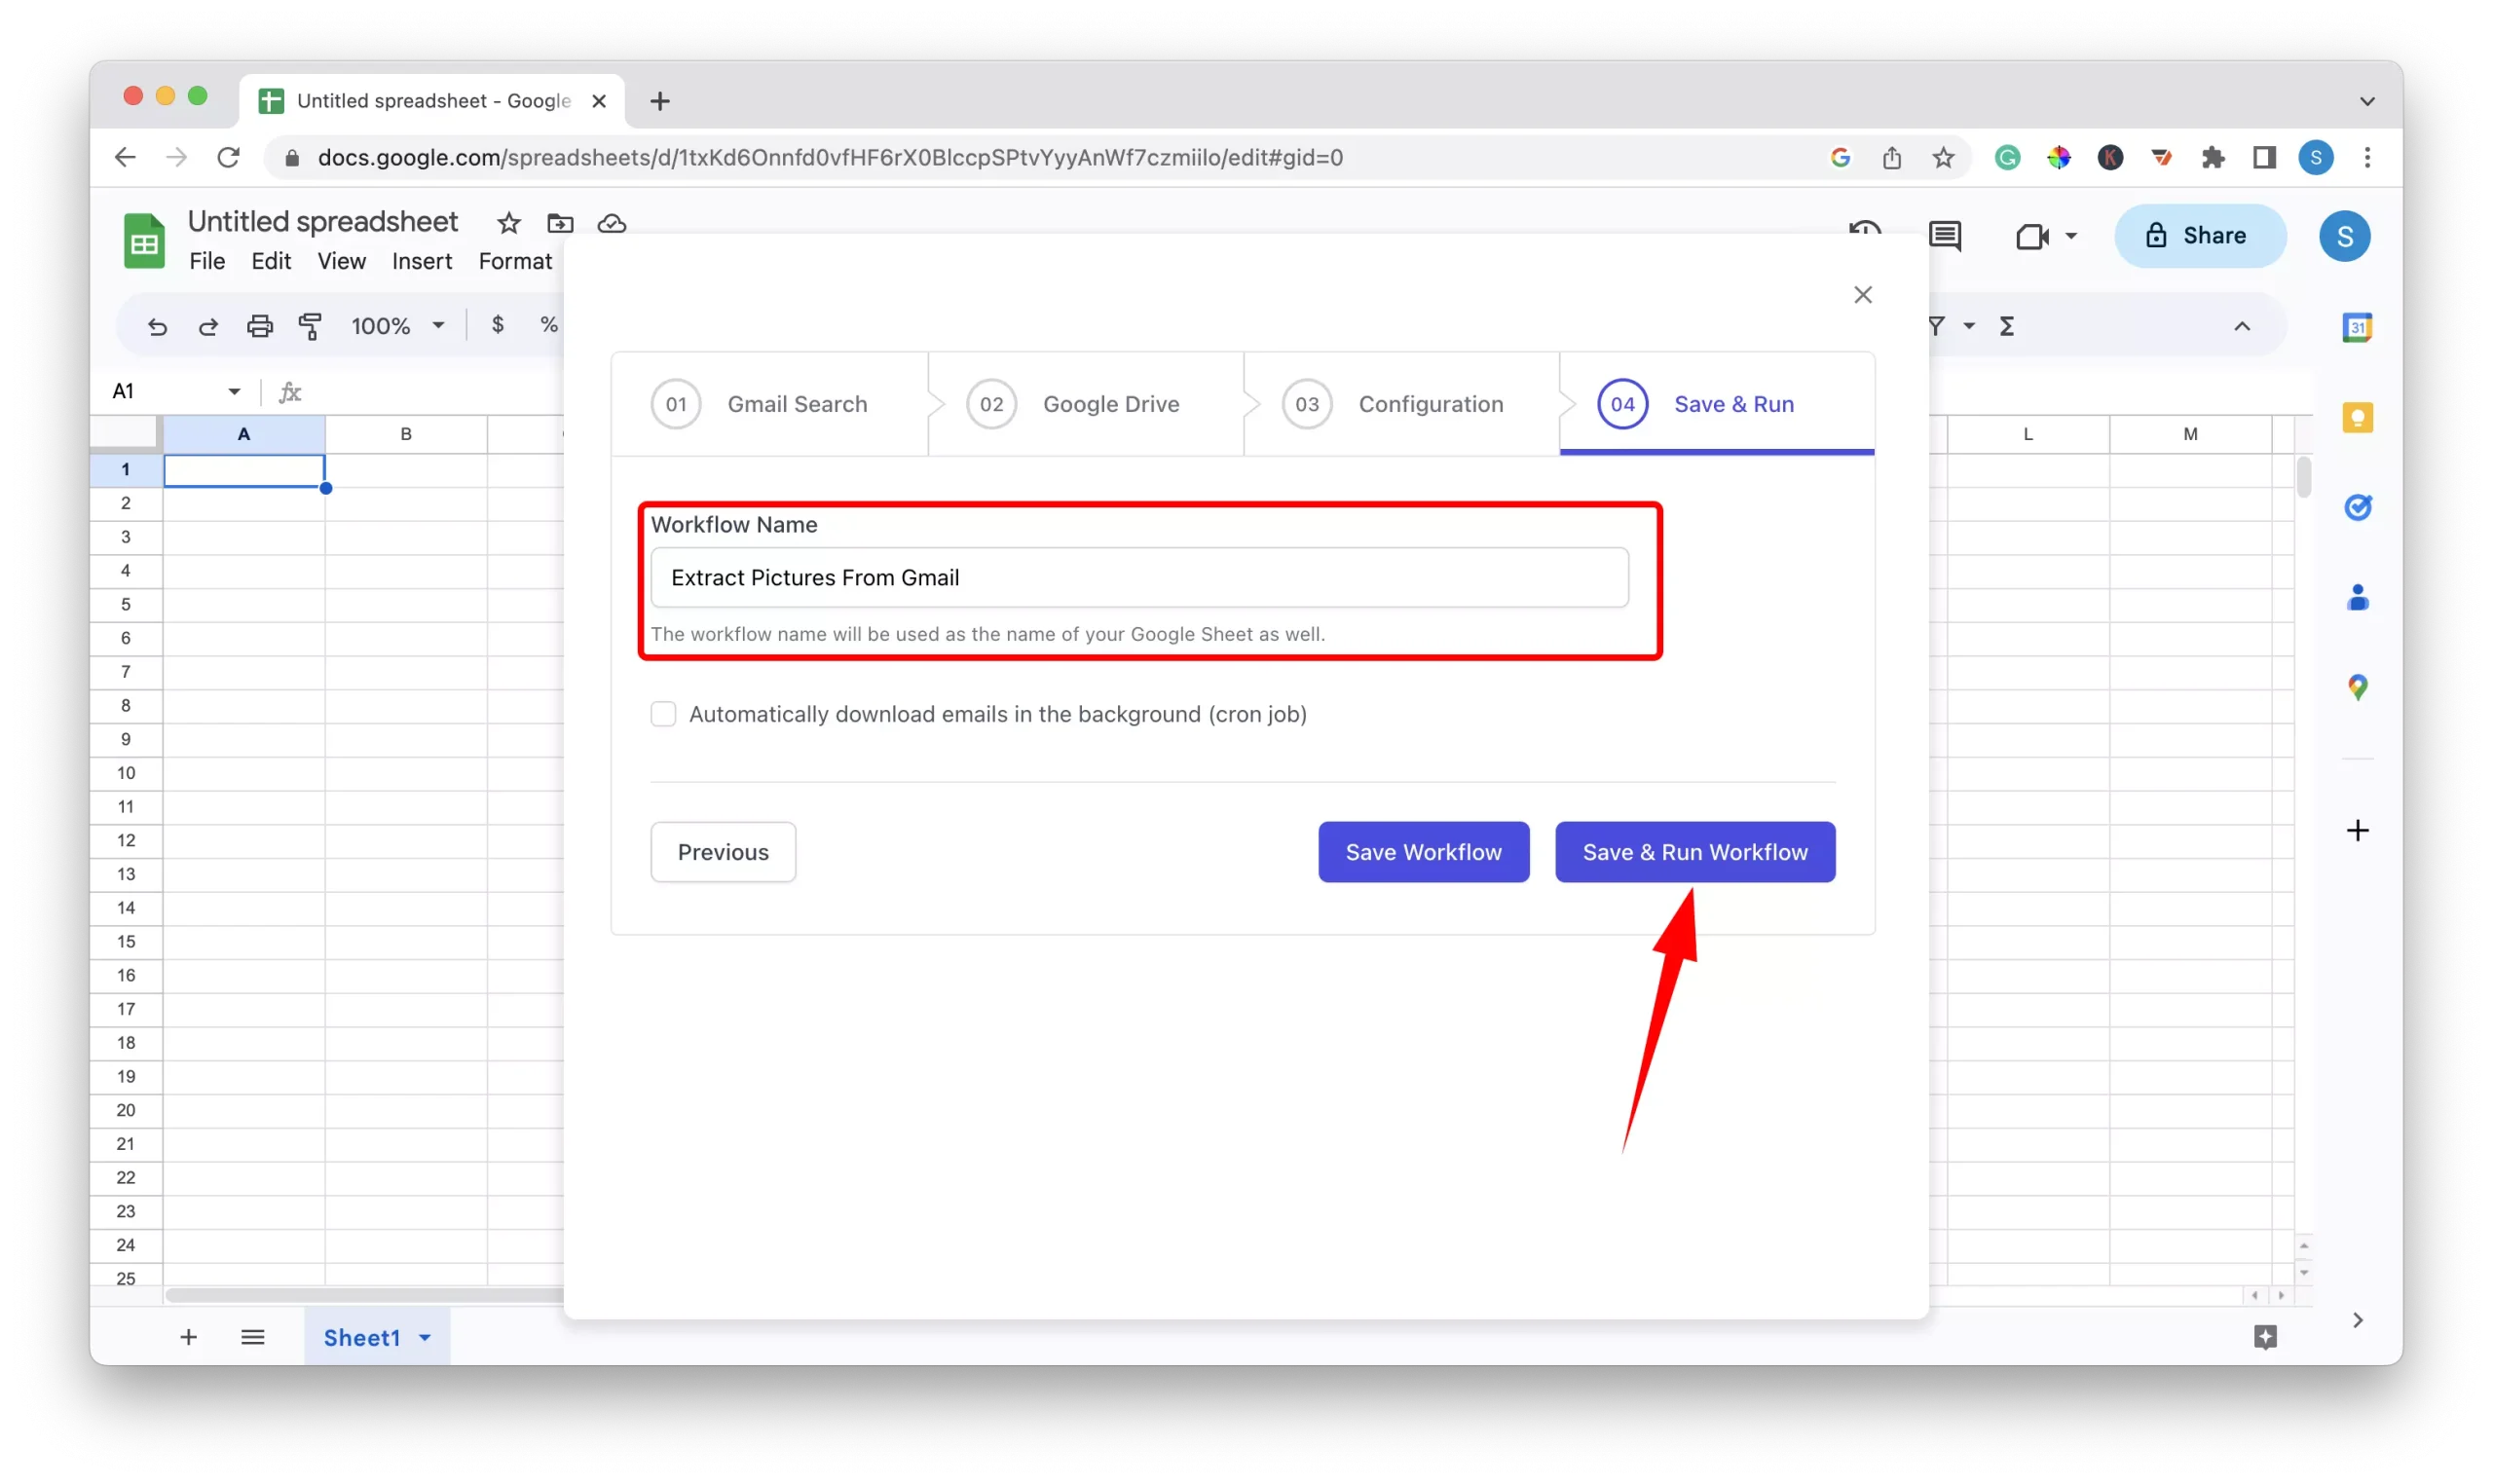
12 – Name the workflow, then click the “save & run workflow” button.
13 – After the extraction process, click the link under the folder path tab in the Google Sheet to view your extracted photos.