Gmail does not have a built-in feature to edit or sign pdf files. To edit PDF files in Gmail, you will need to use a third-party application, Gmail extension, or an online PDF editor.
In this article, I will show you how to fill, edit and add signatures to PDF files that you have received in Gmail.
How To Edit PDF Attachments In Gmail Using DocHub
Step 1 – Install DocHub
1 – Log in to your Gmail inbox and open the email containing the PDF attachment.
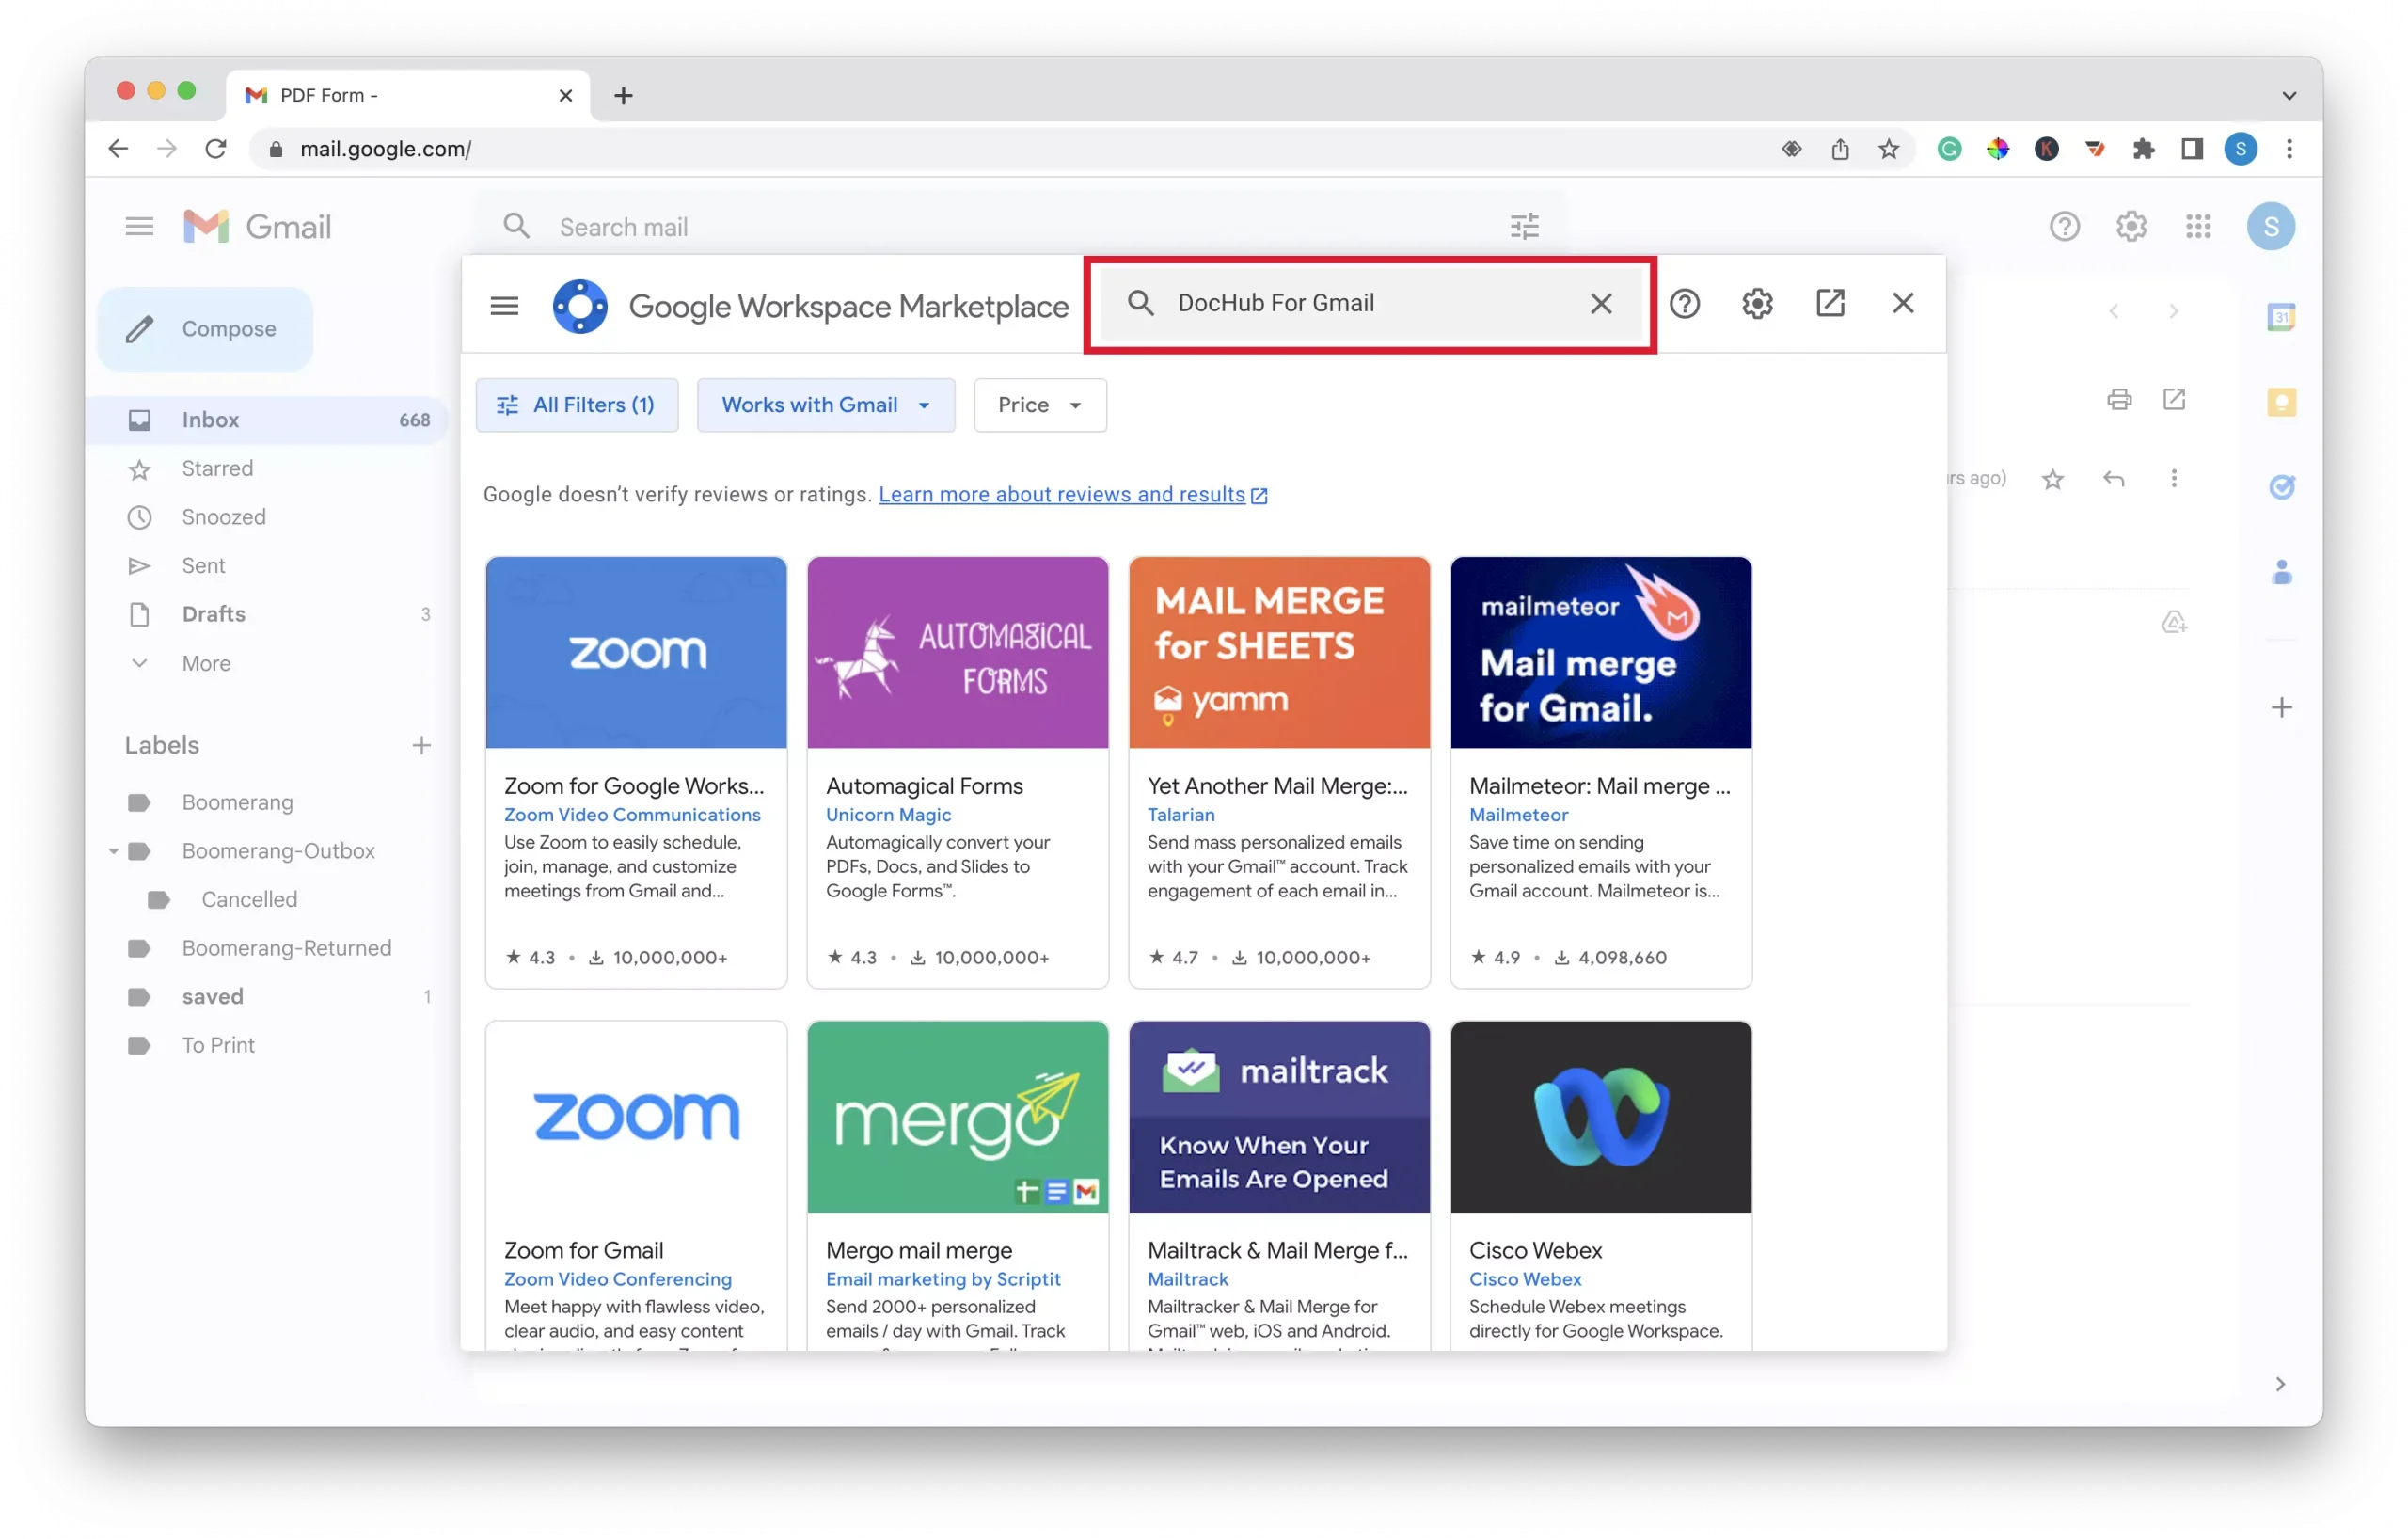
2 – Click the “Get add-ons icon” to the right of the page.

3 – Type in “Dochub for Gmail” in the search bar.
4 – Click on “Dochub for Gmail” from the list of search results.
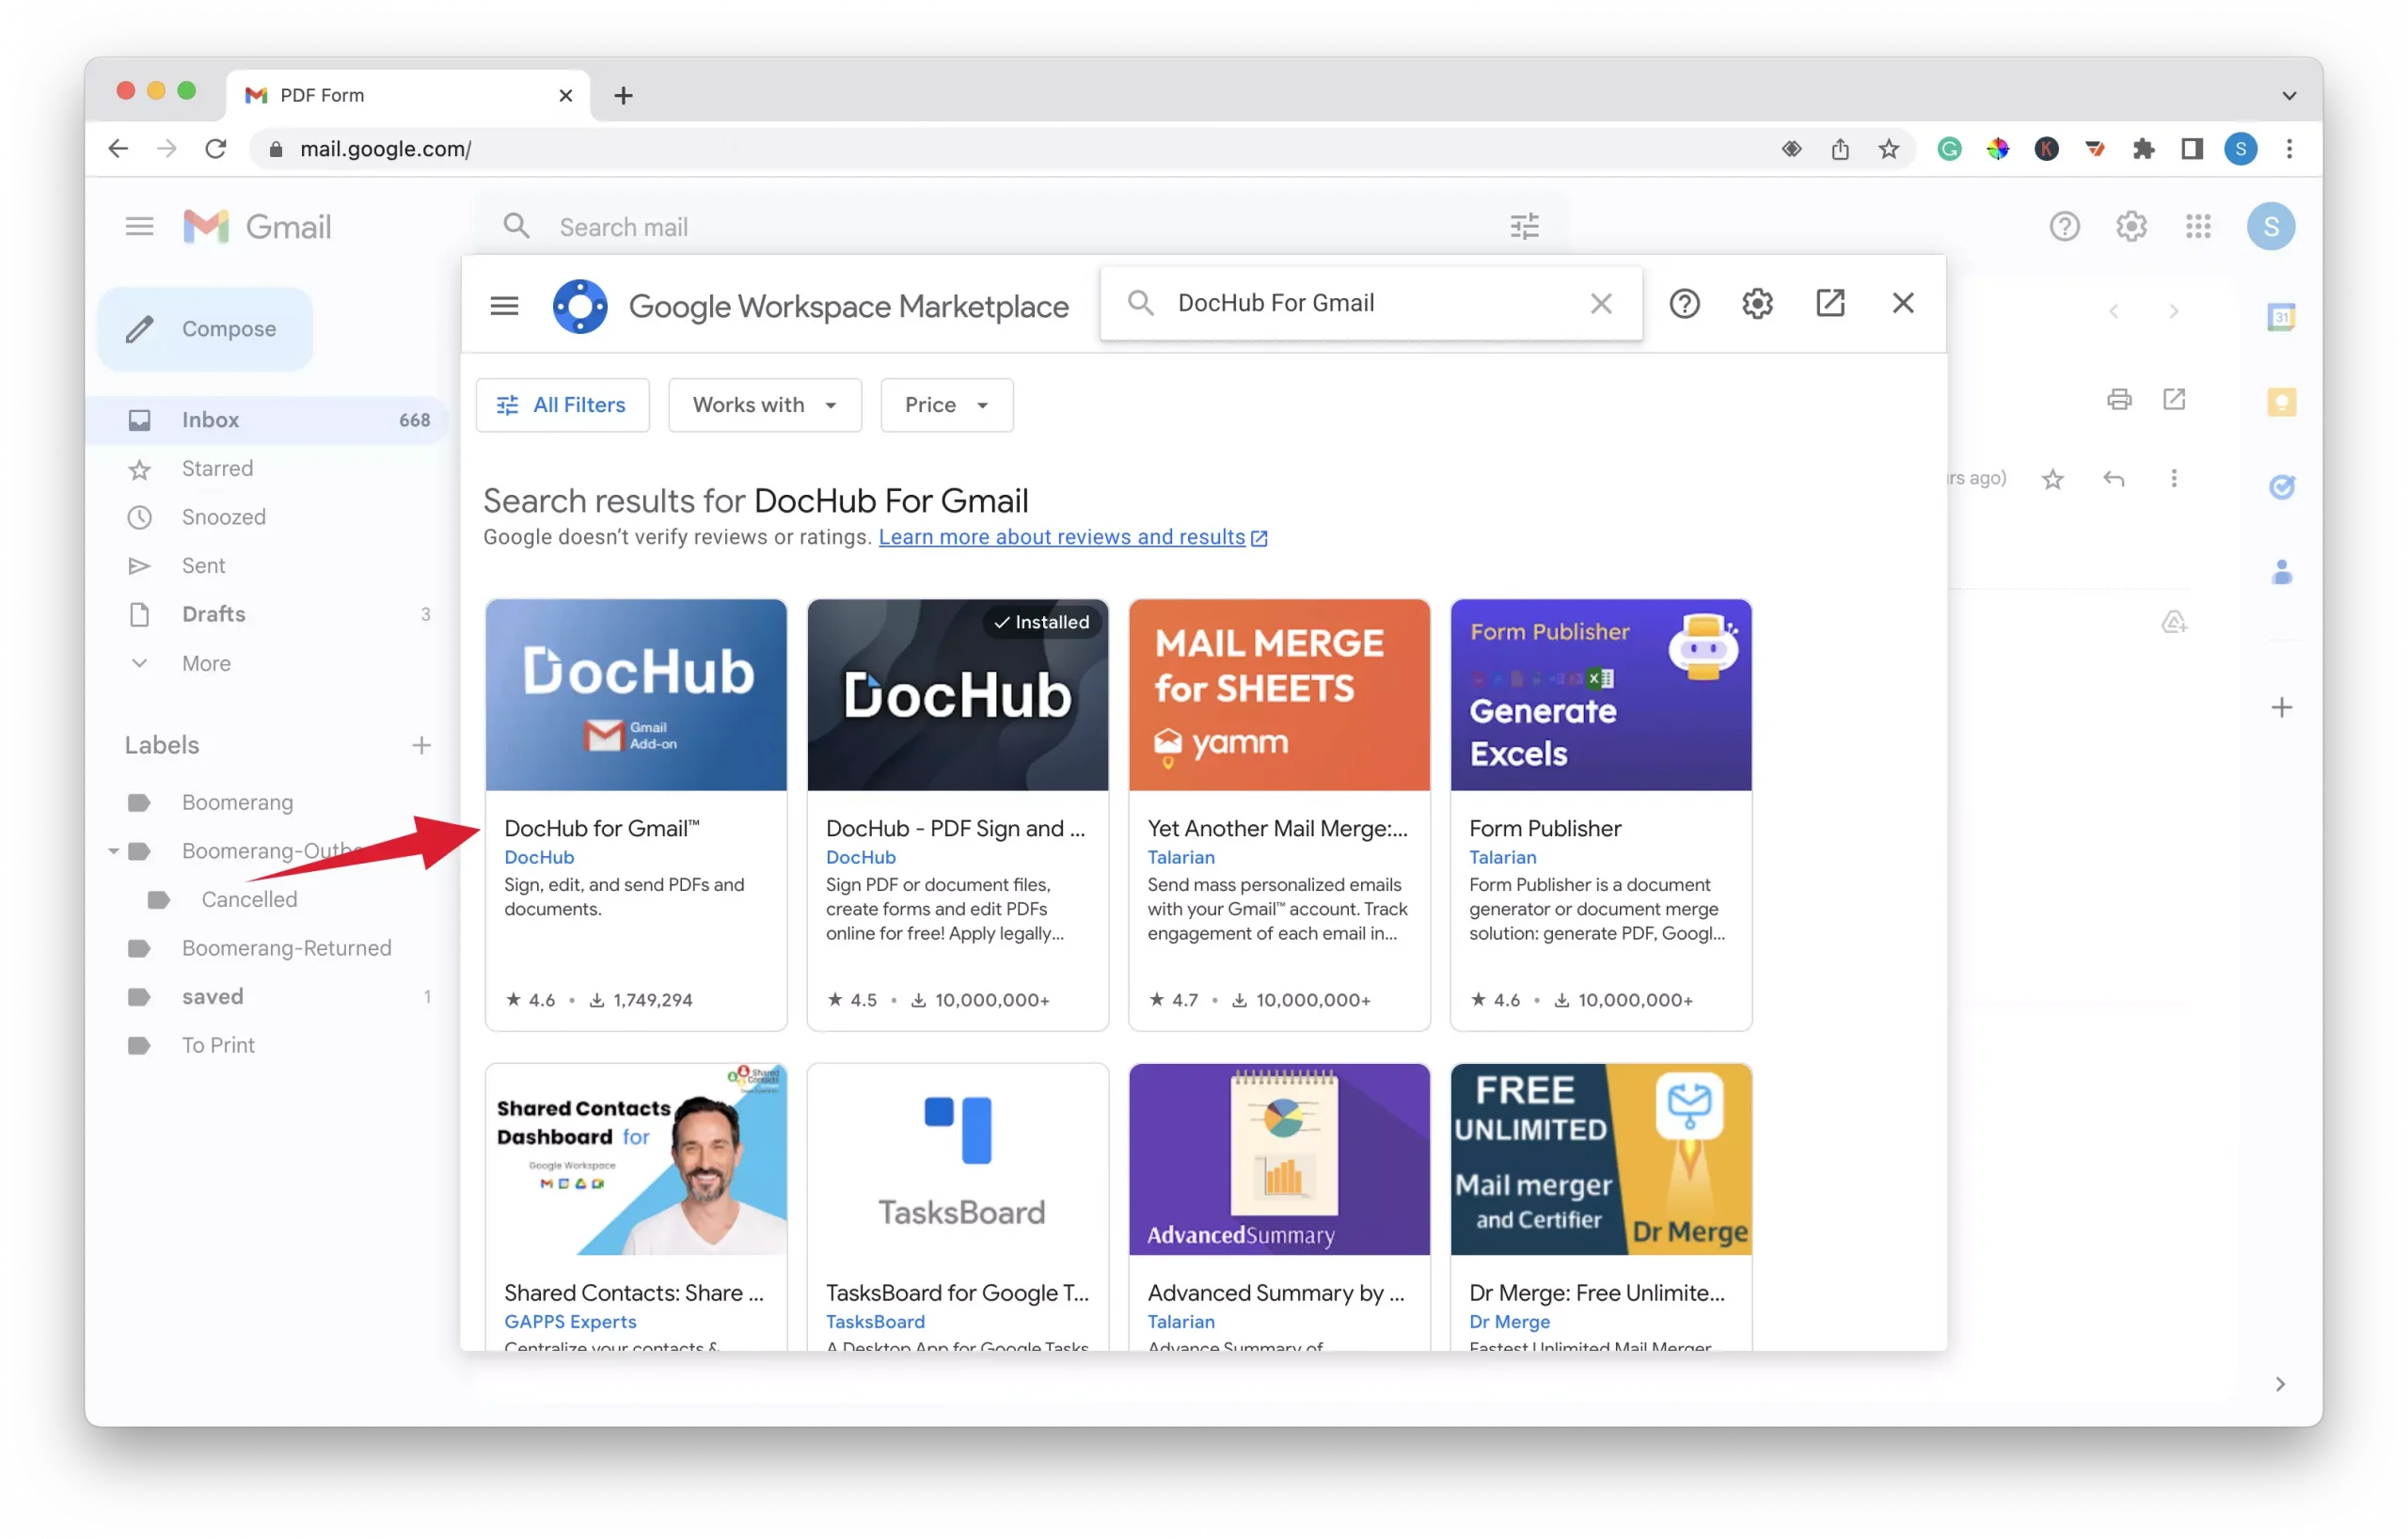
5 – Click the “Install” button on the “Add-ons” page.

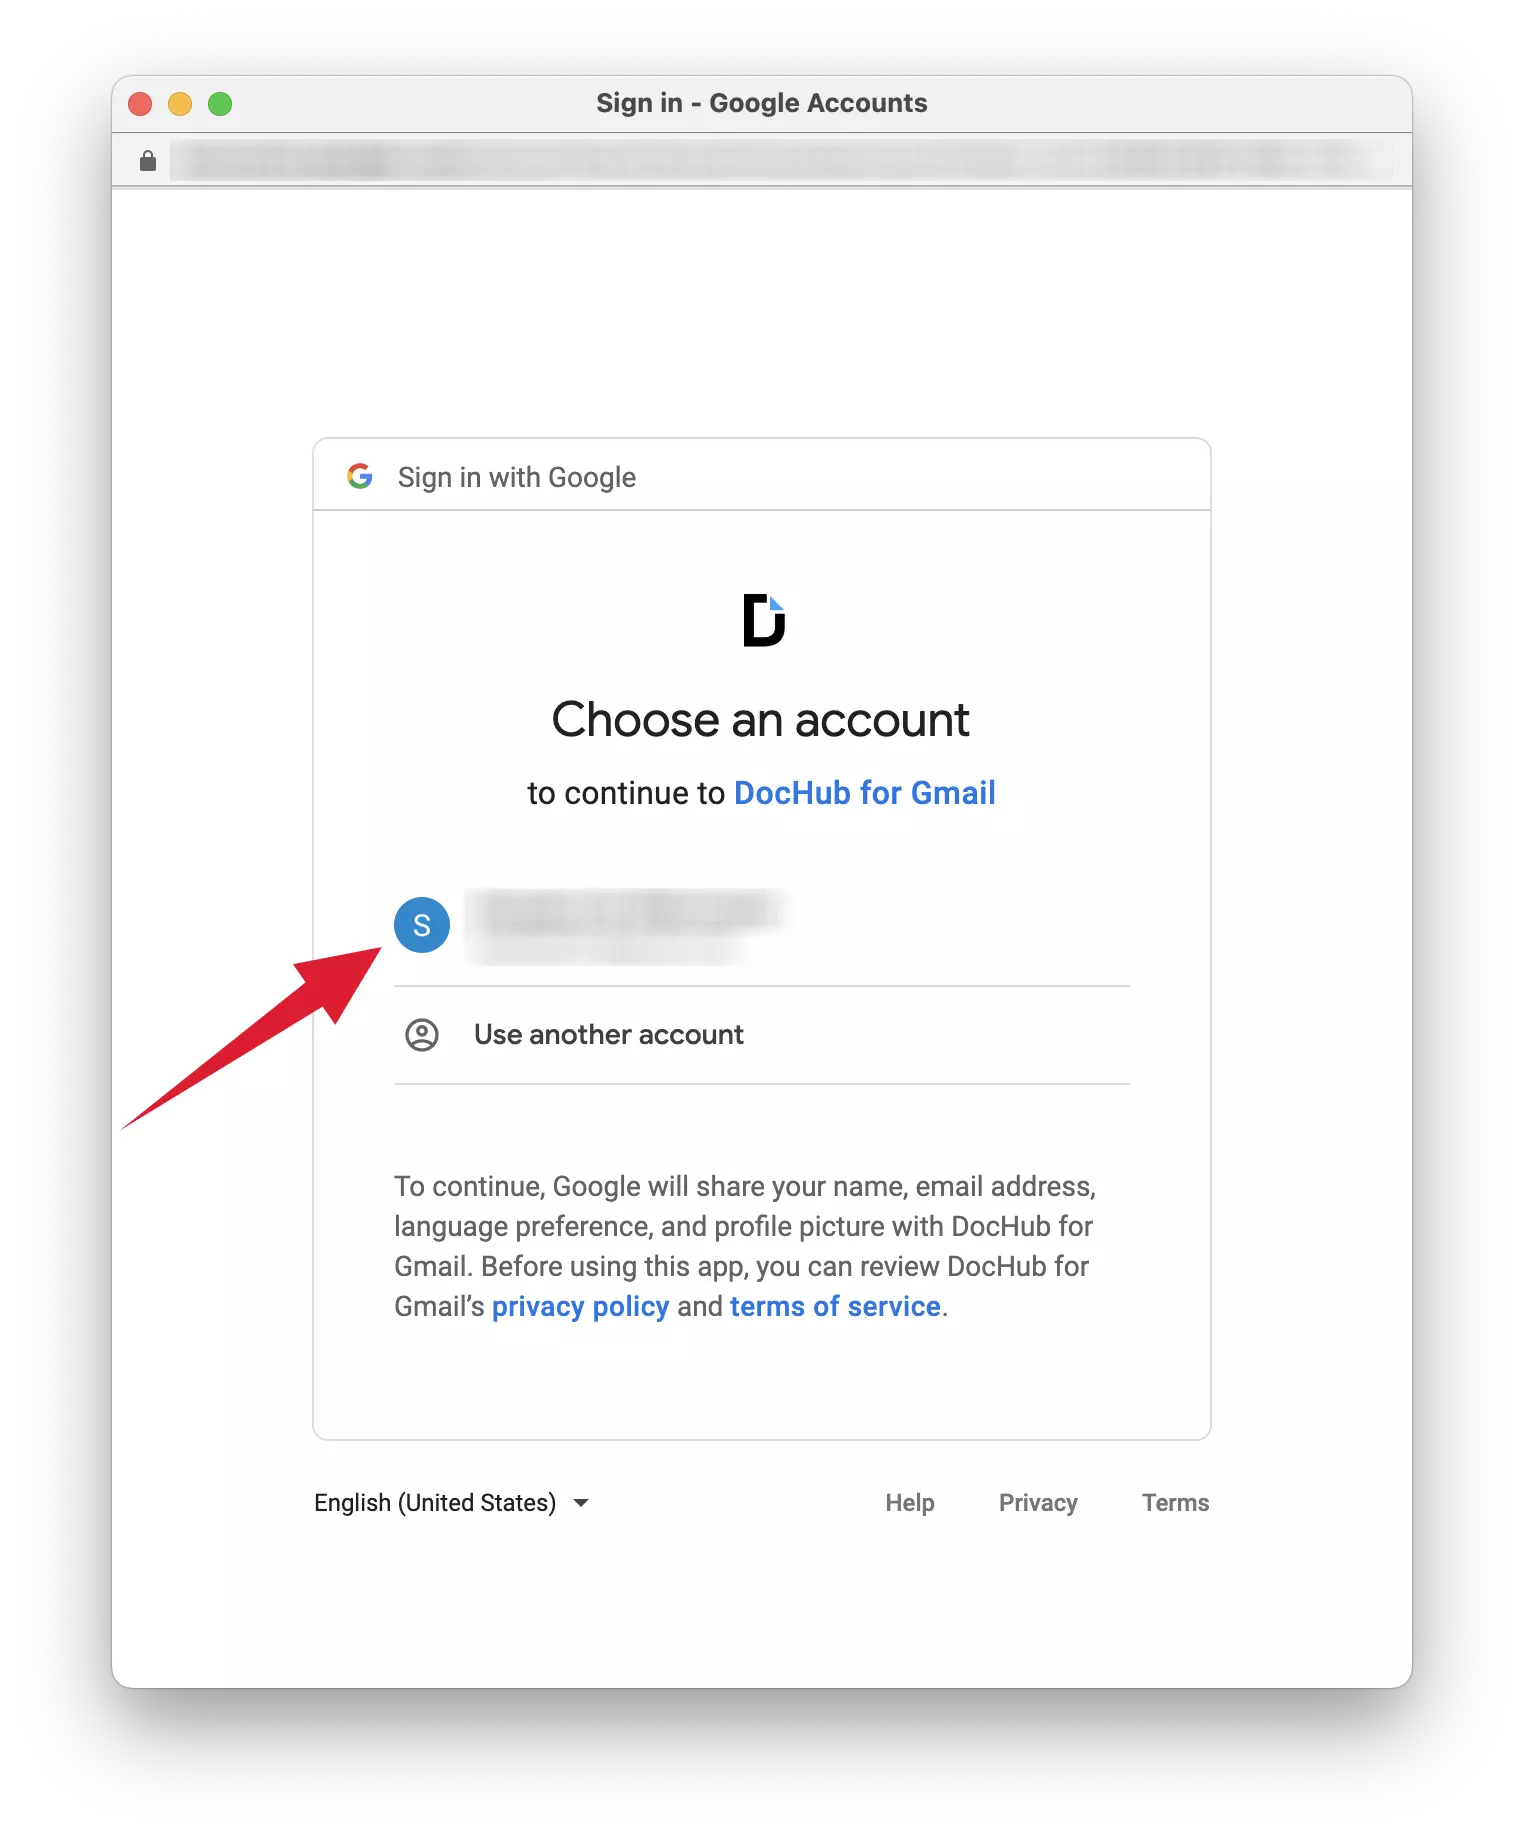
6 – Select the Google account you want to use with DocHub.
7 – Click the “Allow” button on the permissions page.
8 – Return to the email containing the PDF attachment.
Step 2 – Create a DocHub Account
1 – Click the Dochub icon on the add-ons panel

2 – In the Dochub panel, click the “Sign In” button.

3 – Click the “Sign-in With Google” button.

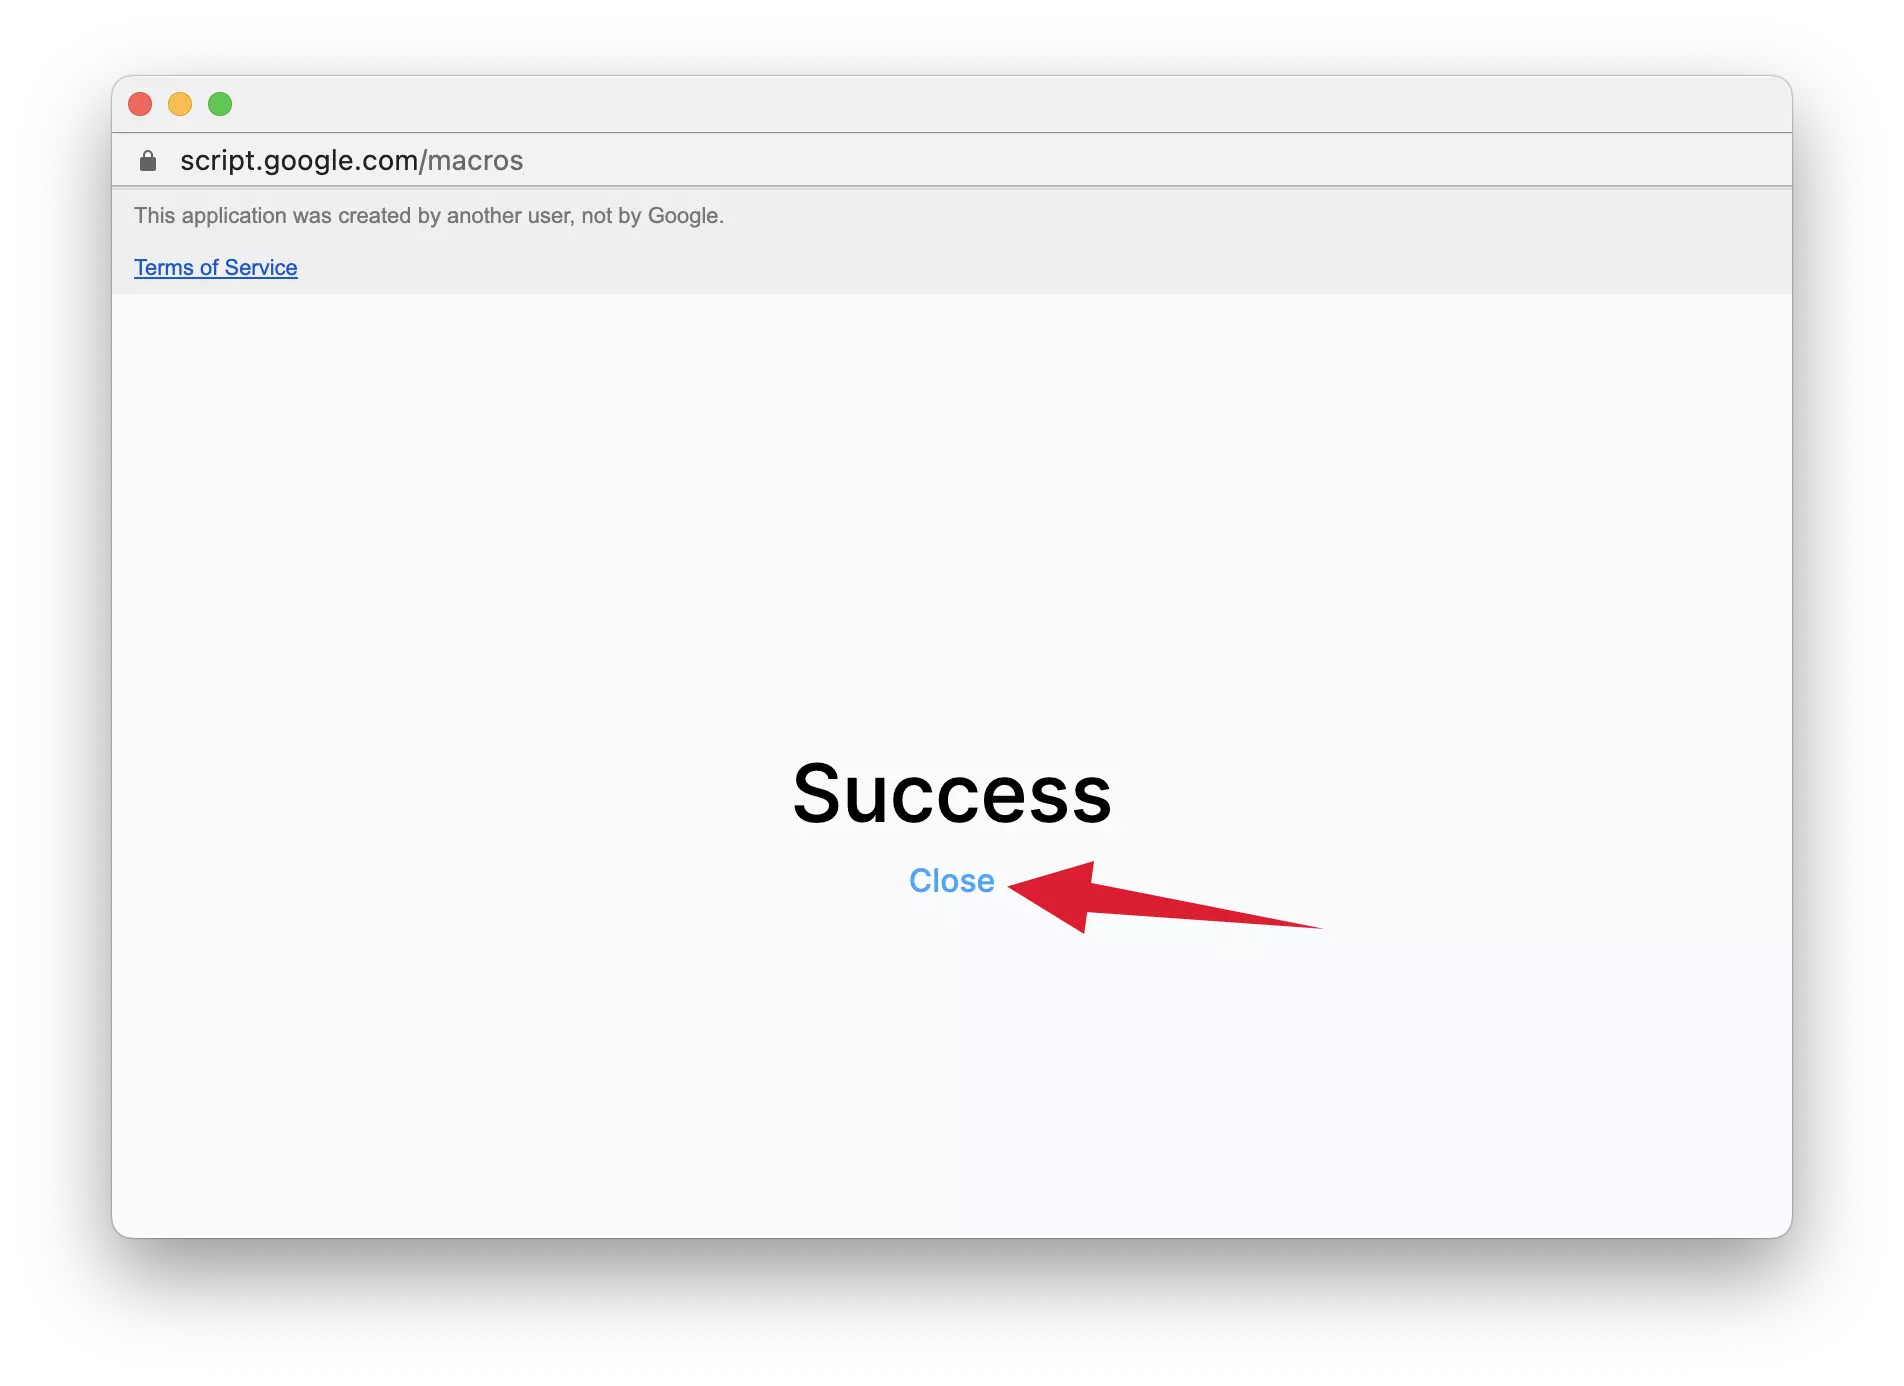
4 – Click the “Close” button on the success page.
Step 3 – Edit the PDF attachment With DocHub
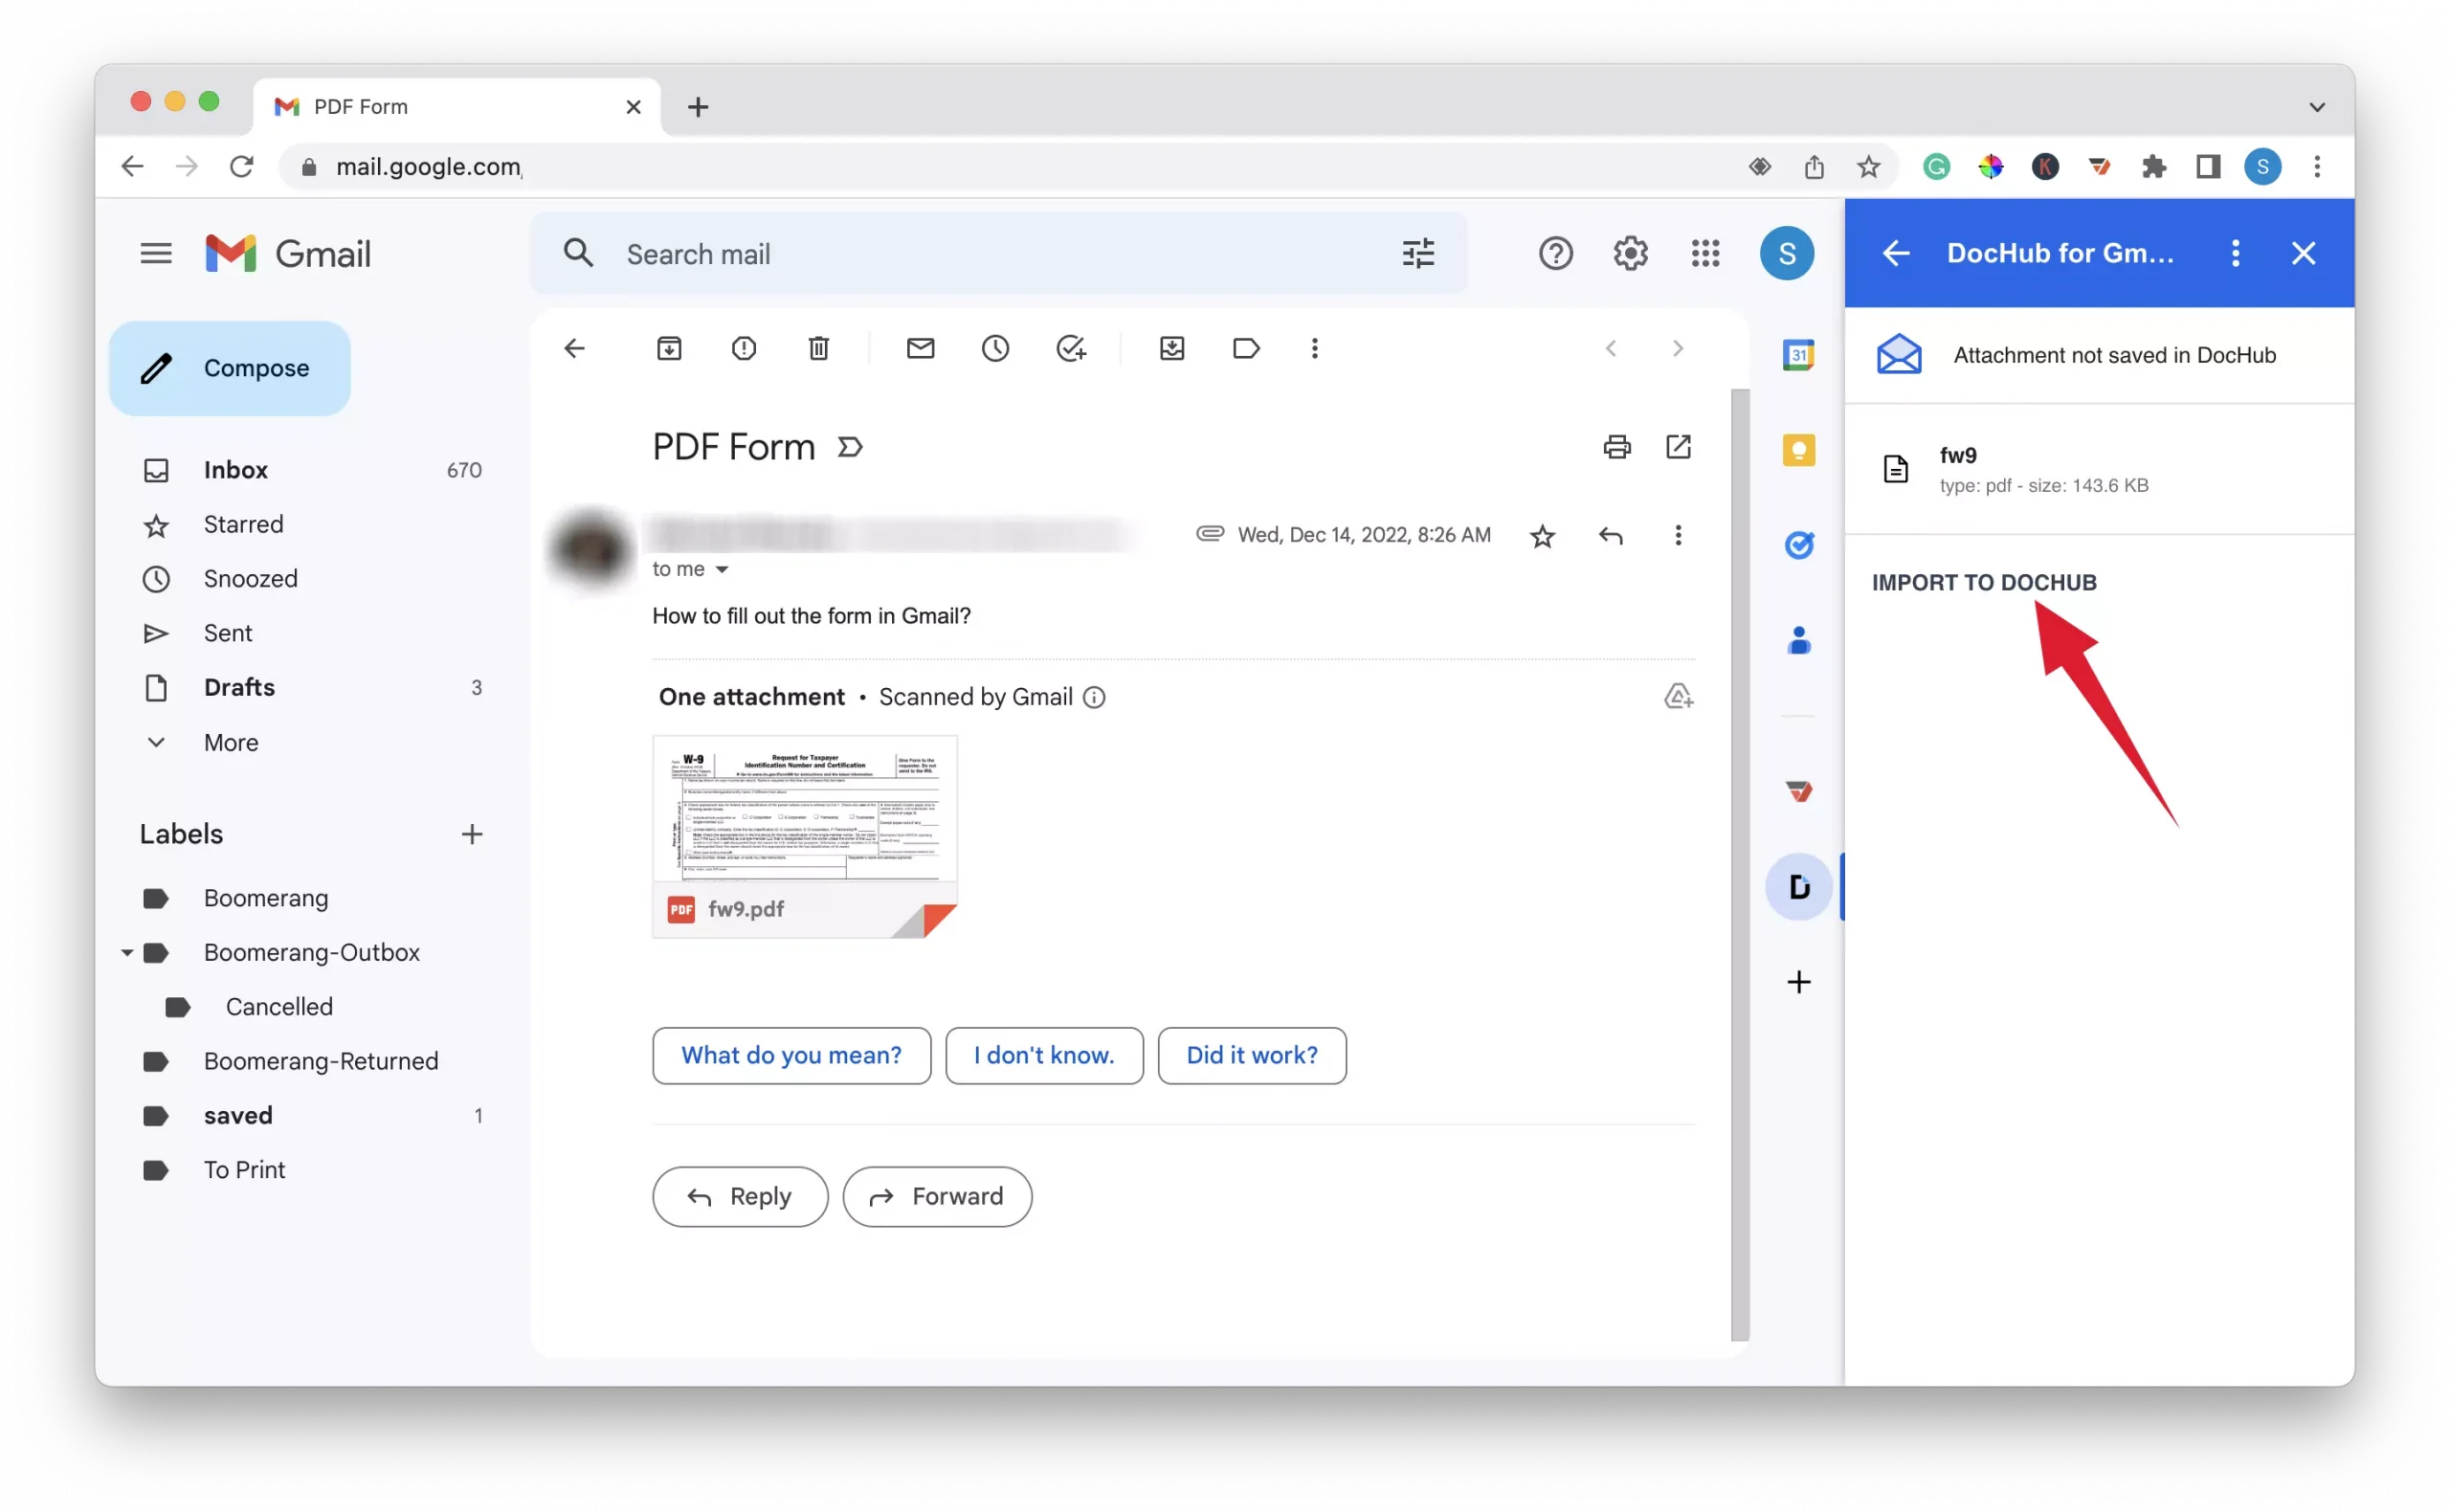
1 – Select the PDF attachment you wish to edit from the list of files in the DocHub panel.

2 – Click the “Import To Dochub” link after selecting the PDF attachment.
3 – In the new tab, click the “Sign In With Google” button.
4 – Select the google account that you previously connected to Dochub.
5 – Click the “Continue” button to give Dochub additional access to your Google Account to import the attachment. After this, the pop-up window will close and the document you imported will open in a new tab.

6 – Make your desired edits to the PDF attachment.

Step 4 – Email Edited PDF Attachment From DocHub
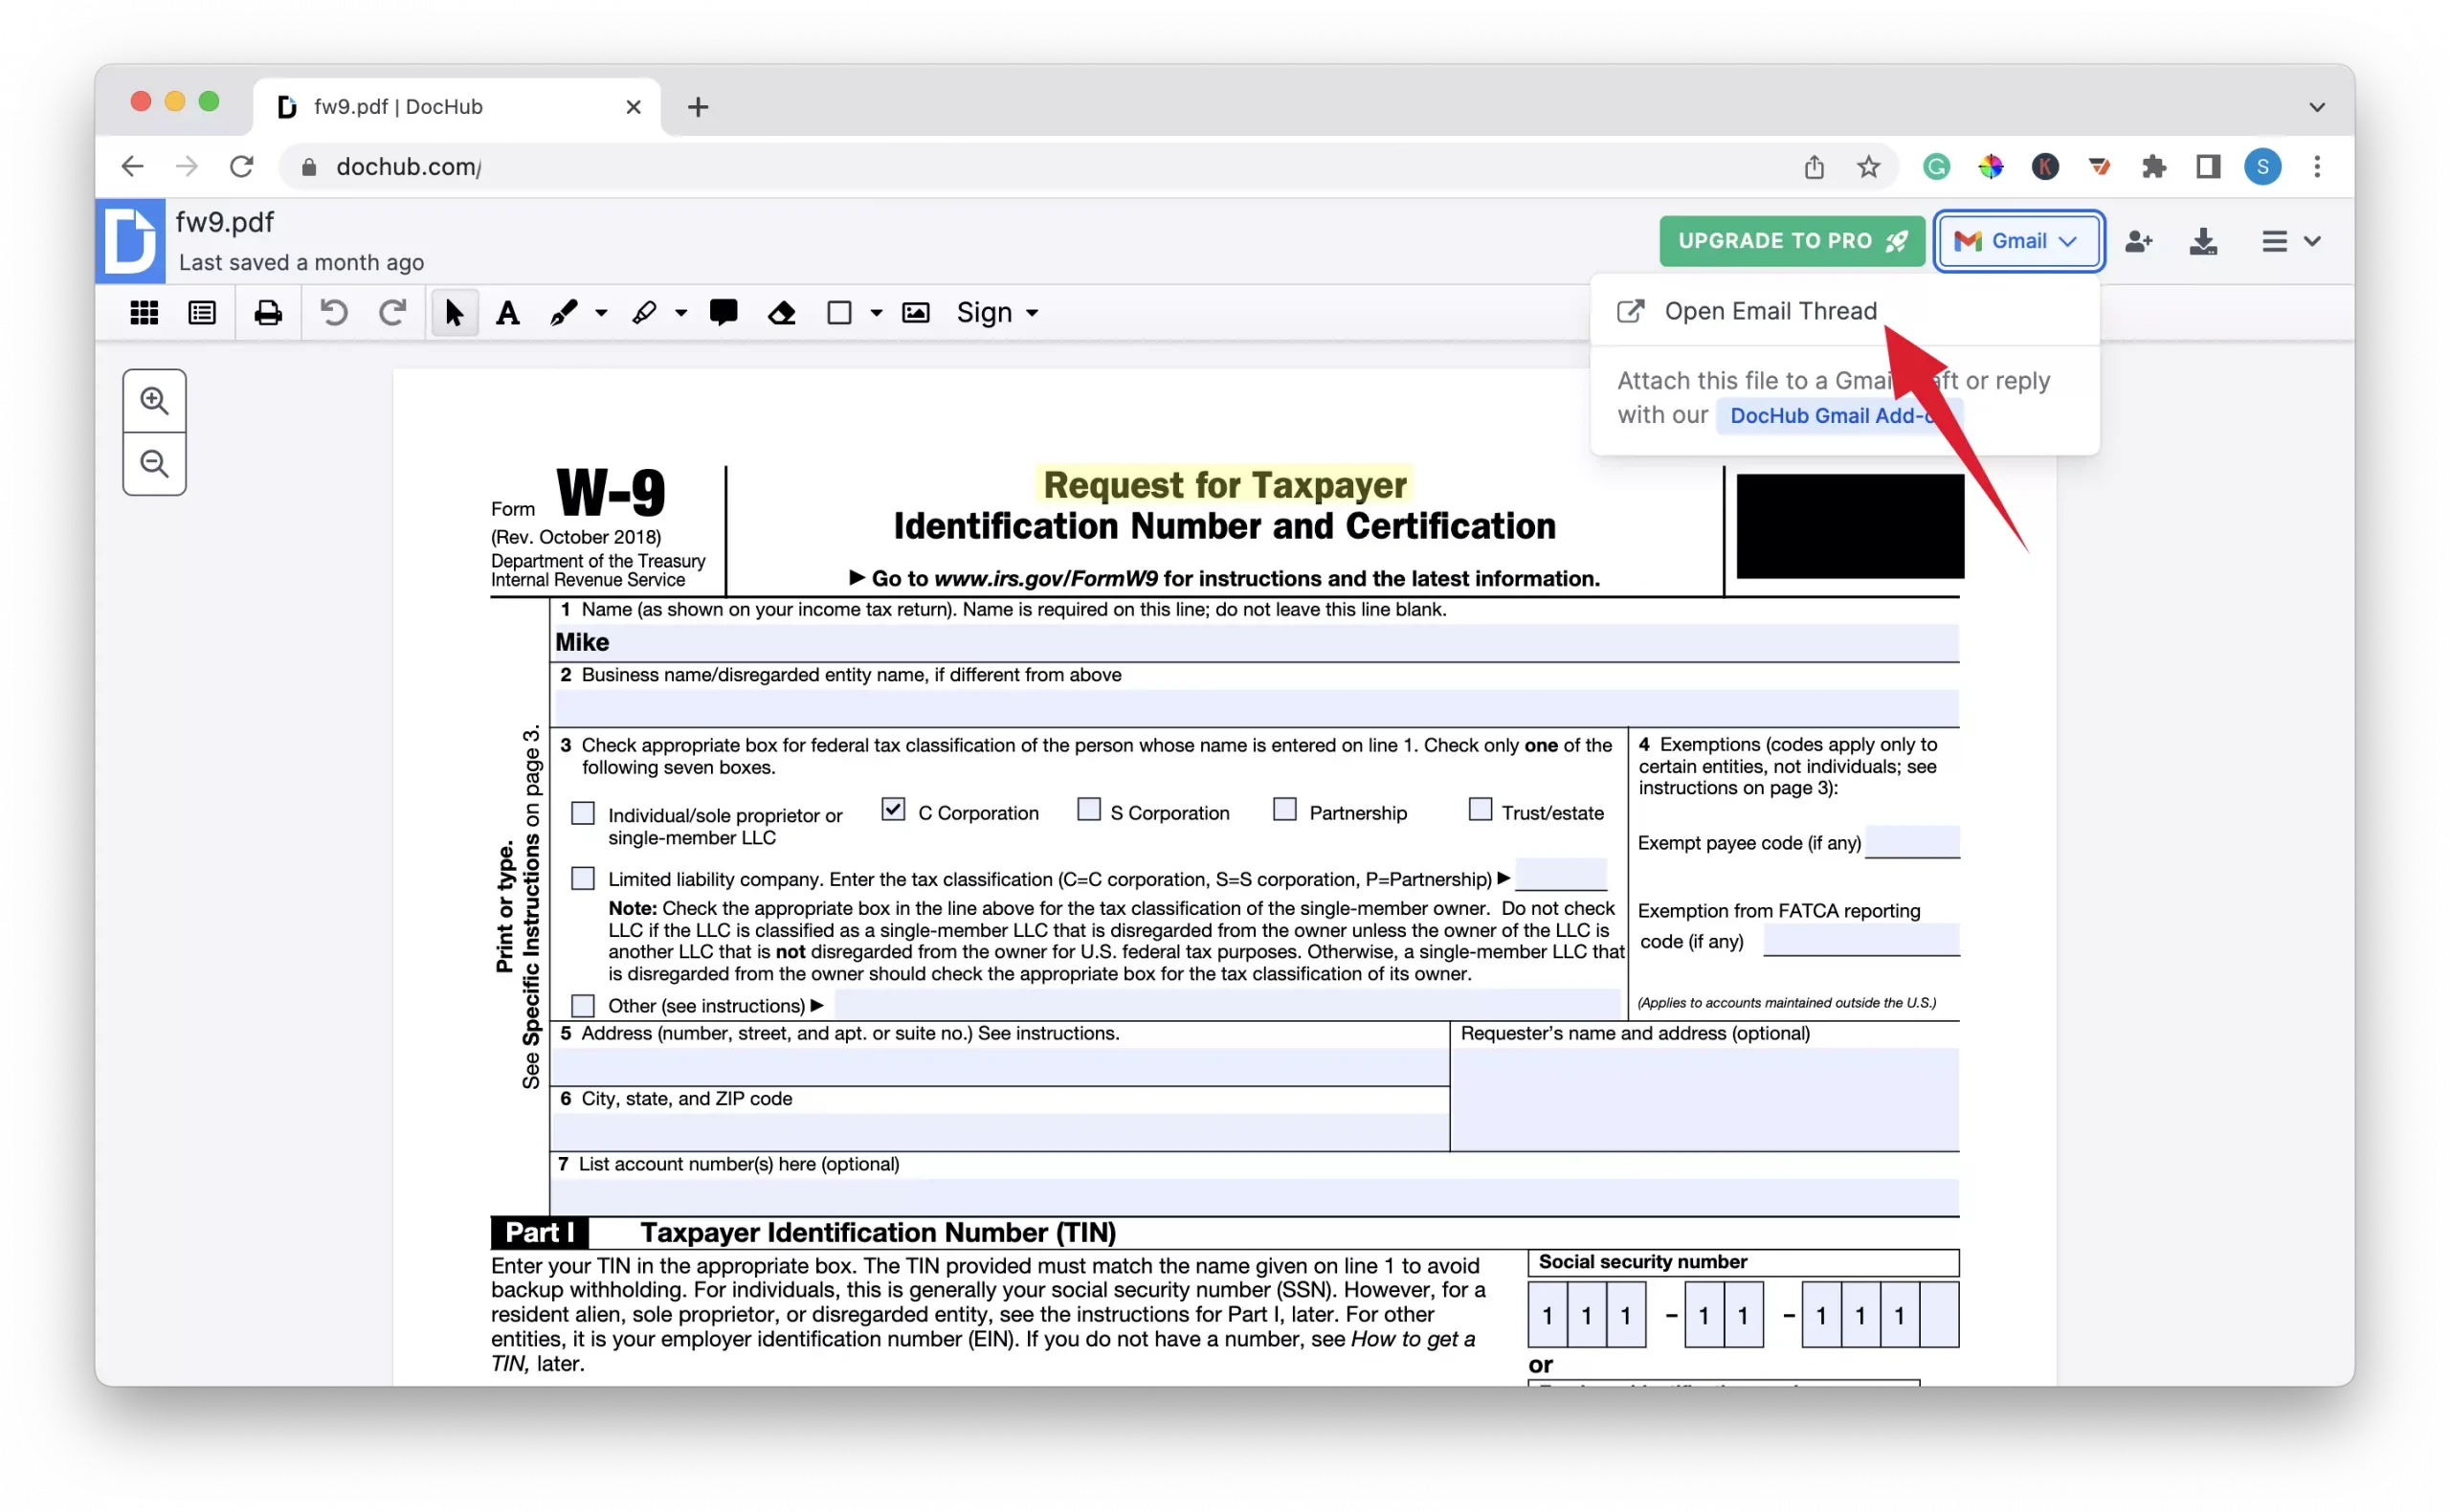
1 – After editing the PDF attachment, click the Gmail icon at the top right of the page and select the “Open Email Thread” option from the dropdown menu.
2 – Click the “Reply” button in the opened email thread.

3 – In the reply window, click on the Dochub icon.

4 – In the Dochub pop-up, select the edited pdf file.

5 – Once the correct file is selected, click the “Share” button.

6 – Send the email.

How To Edit PDF Attachments In Gmail Using pdfFiller
Step 1 – Install the pdfFiller For Gmail Addon
1 – Go to your Gmail inbox and open the email containing the PDF attachment.
2 – Click the “Get Add-ons” icon to the right of the page.
3 – Type “PDFfiller for Gmail” in the search bar, then press the enter key.

4- Click on “PDFfiller for Gmail” from the search results.

5 – Click the “Install” button on the add-ons page.

6 – Give the pdfFiller add-on permission to install on your Gmail account.
7 – Select the Google account that you would like to install pdfFiller on.
8 – Click “Allow” to give pdfFiller access to install on your selected google account.
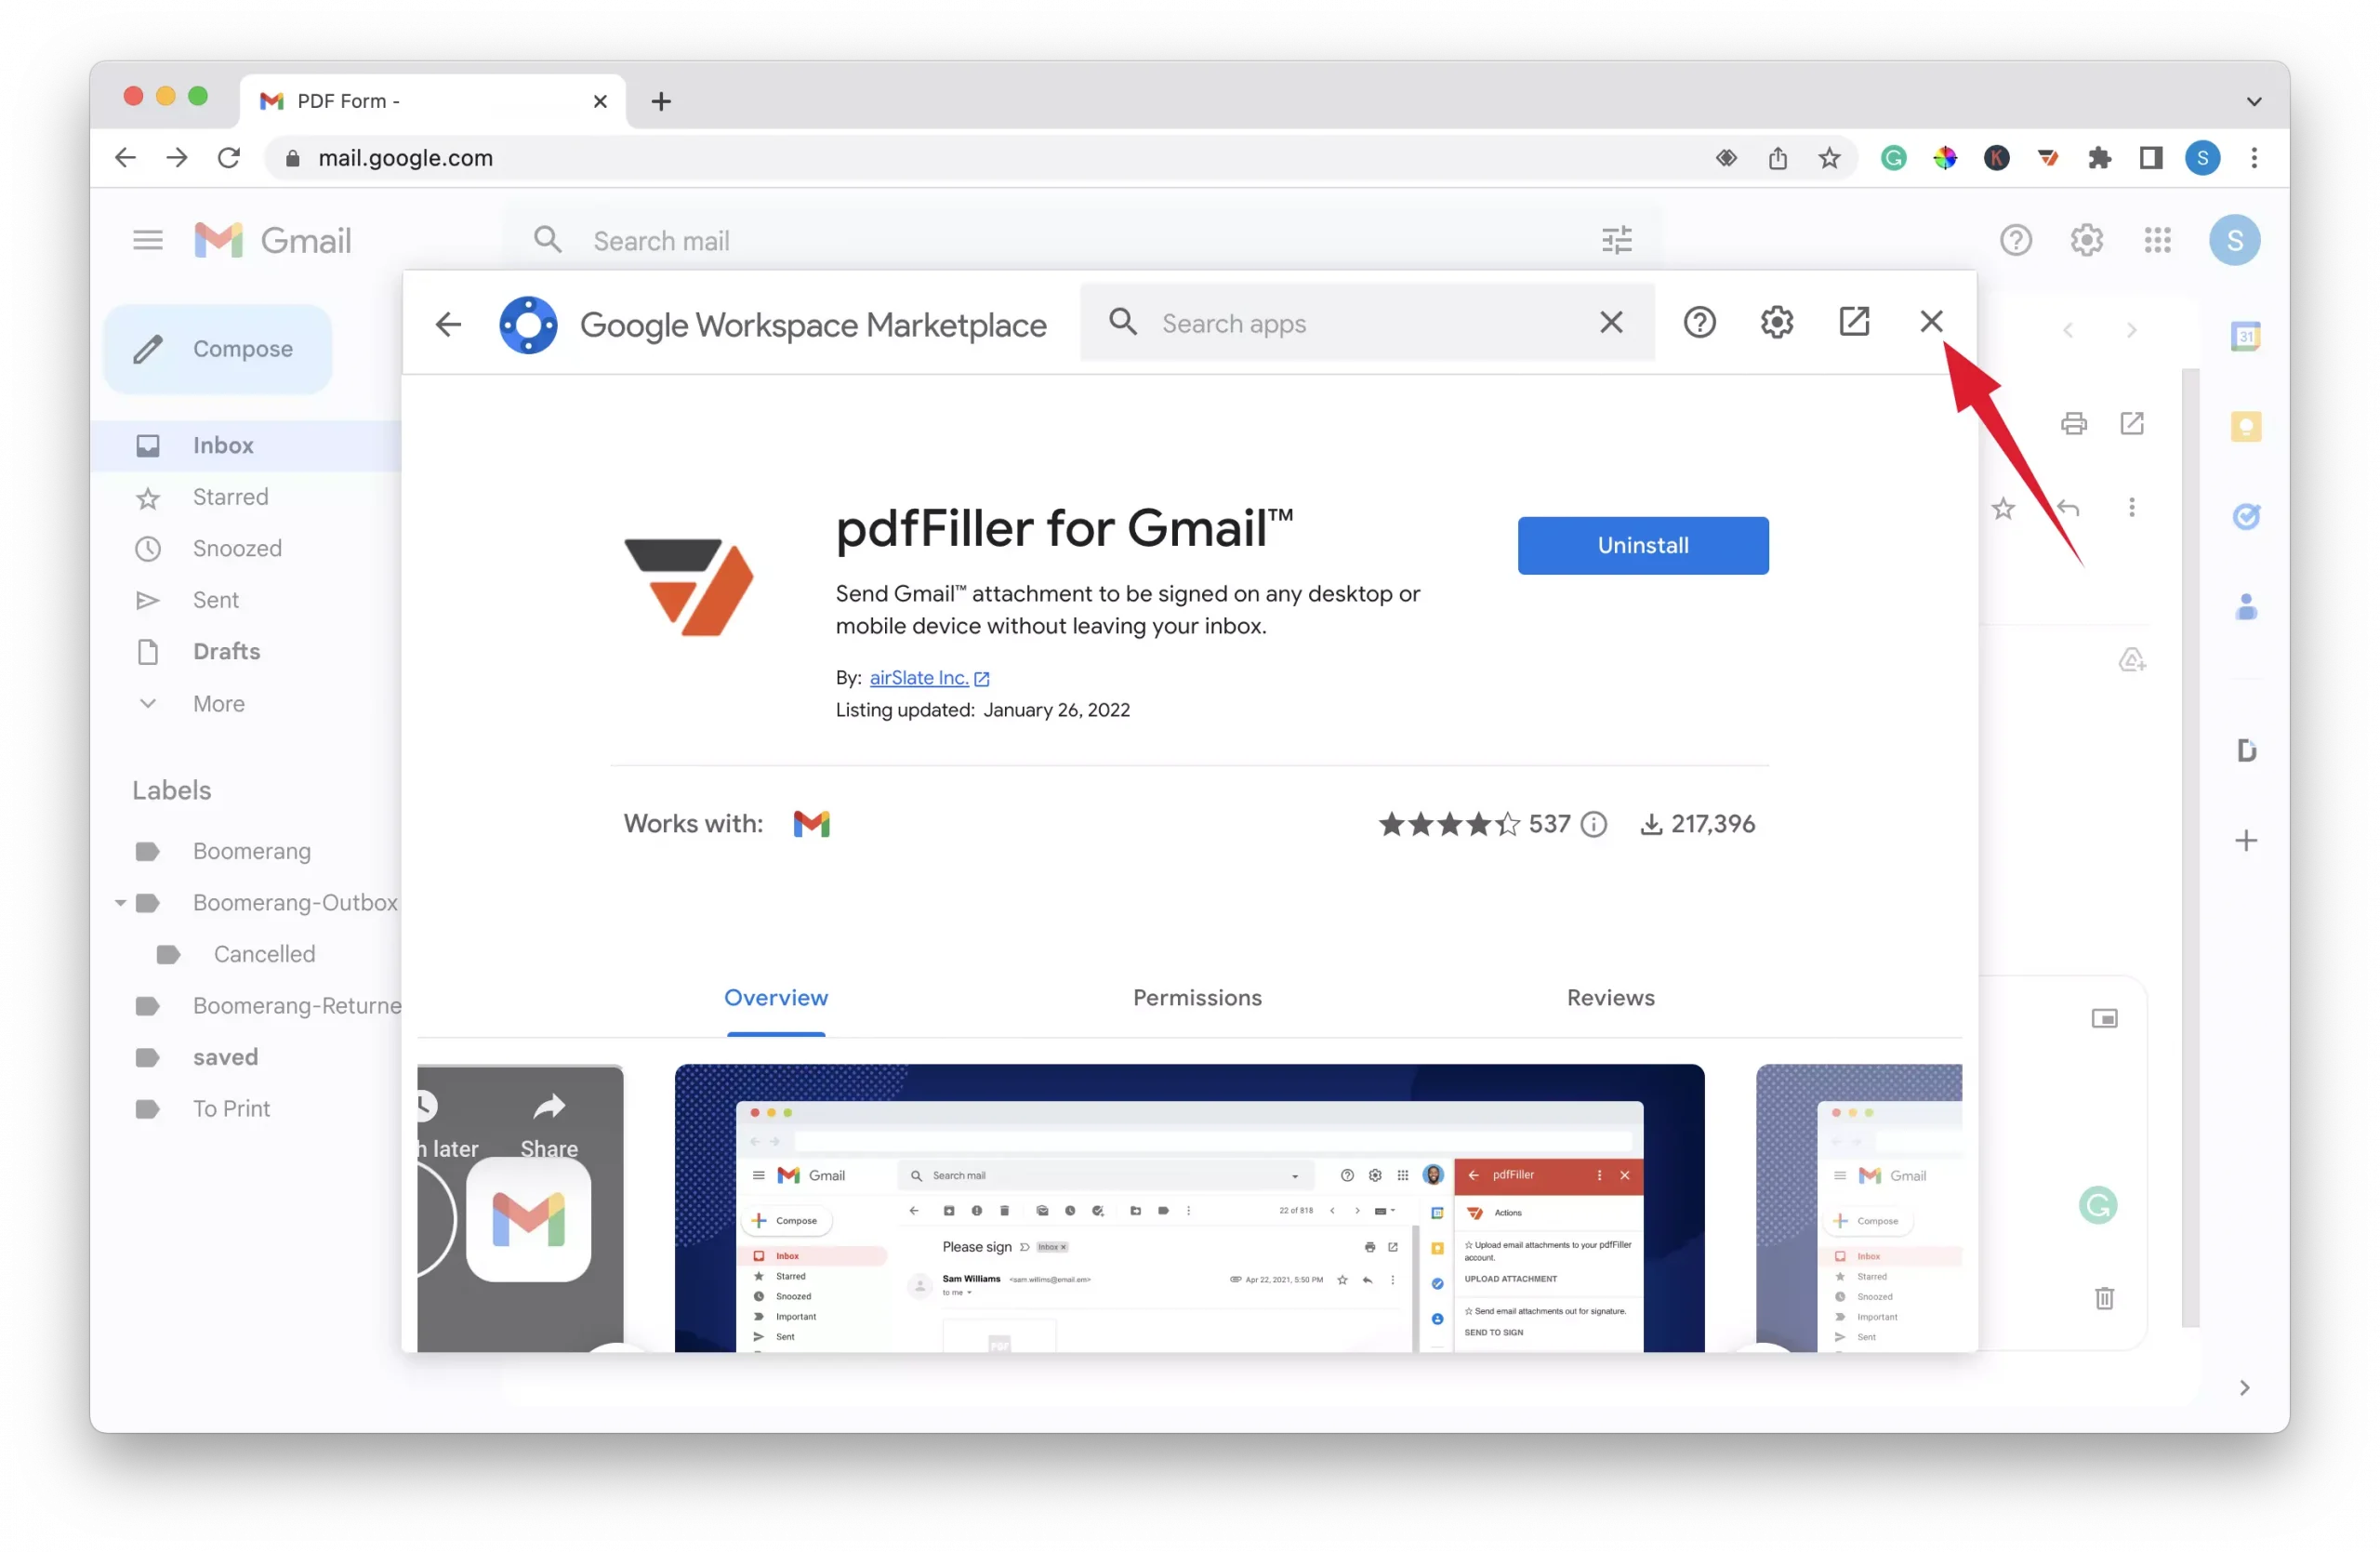
9 – Click the “X” icon to close the Google Workspace Marketplace pop-up and return to your inbox.
Step 2 – Create A pdfFiller Account
1 – Click the “pdfFiller for Gmail” icon in the menu to the right.

2 – Click the “Register” link in the pdfFiller side panel.

3 – Click the “Google” button located below the “Create Your Account” section.
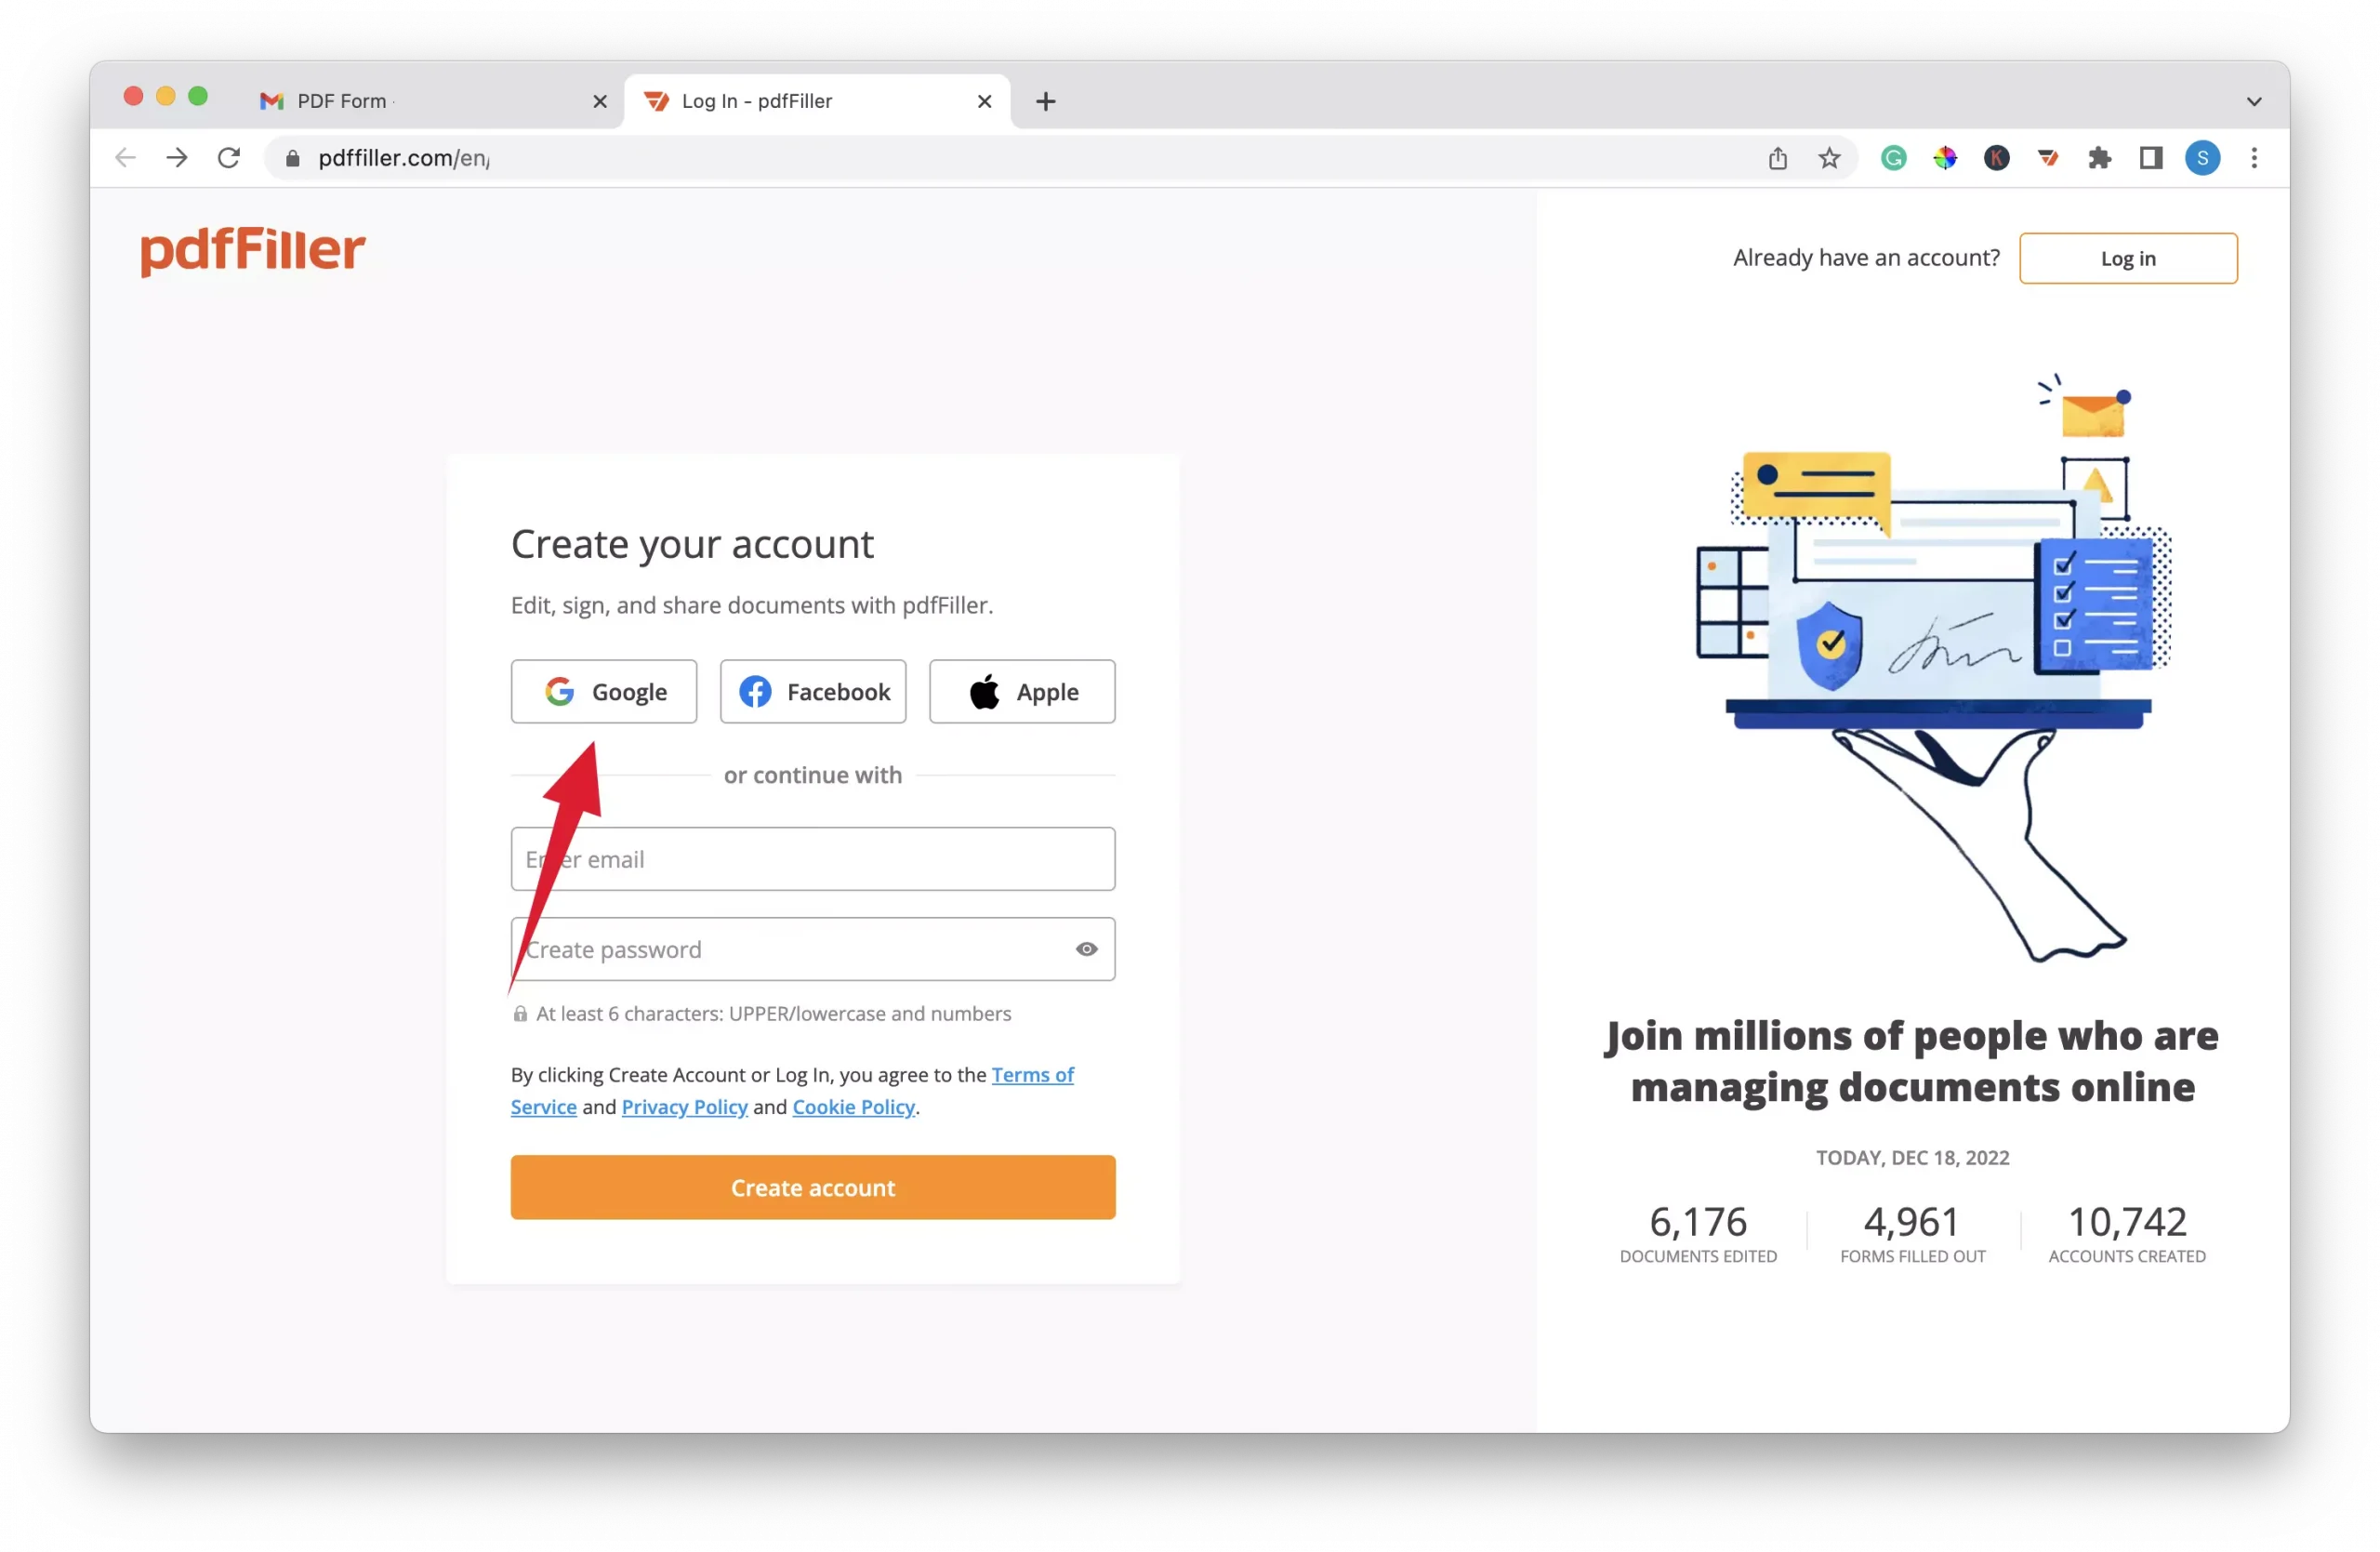
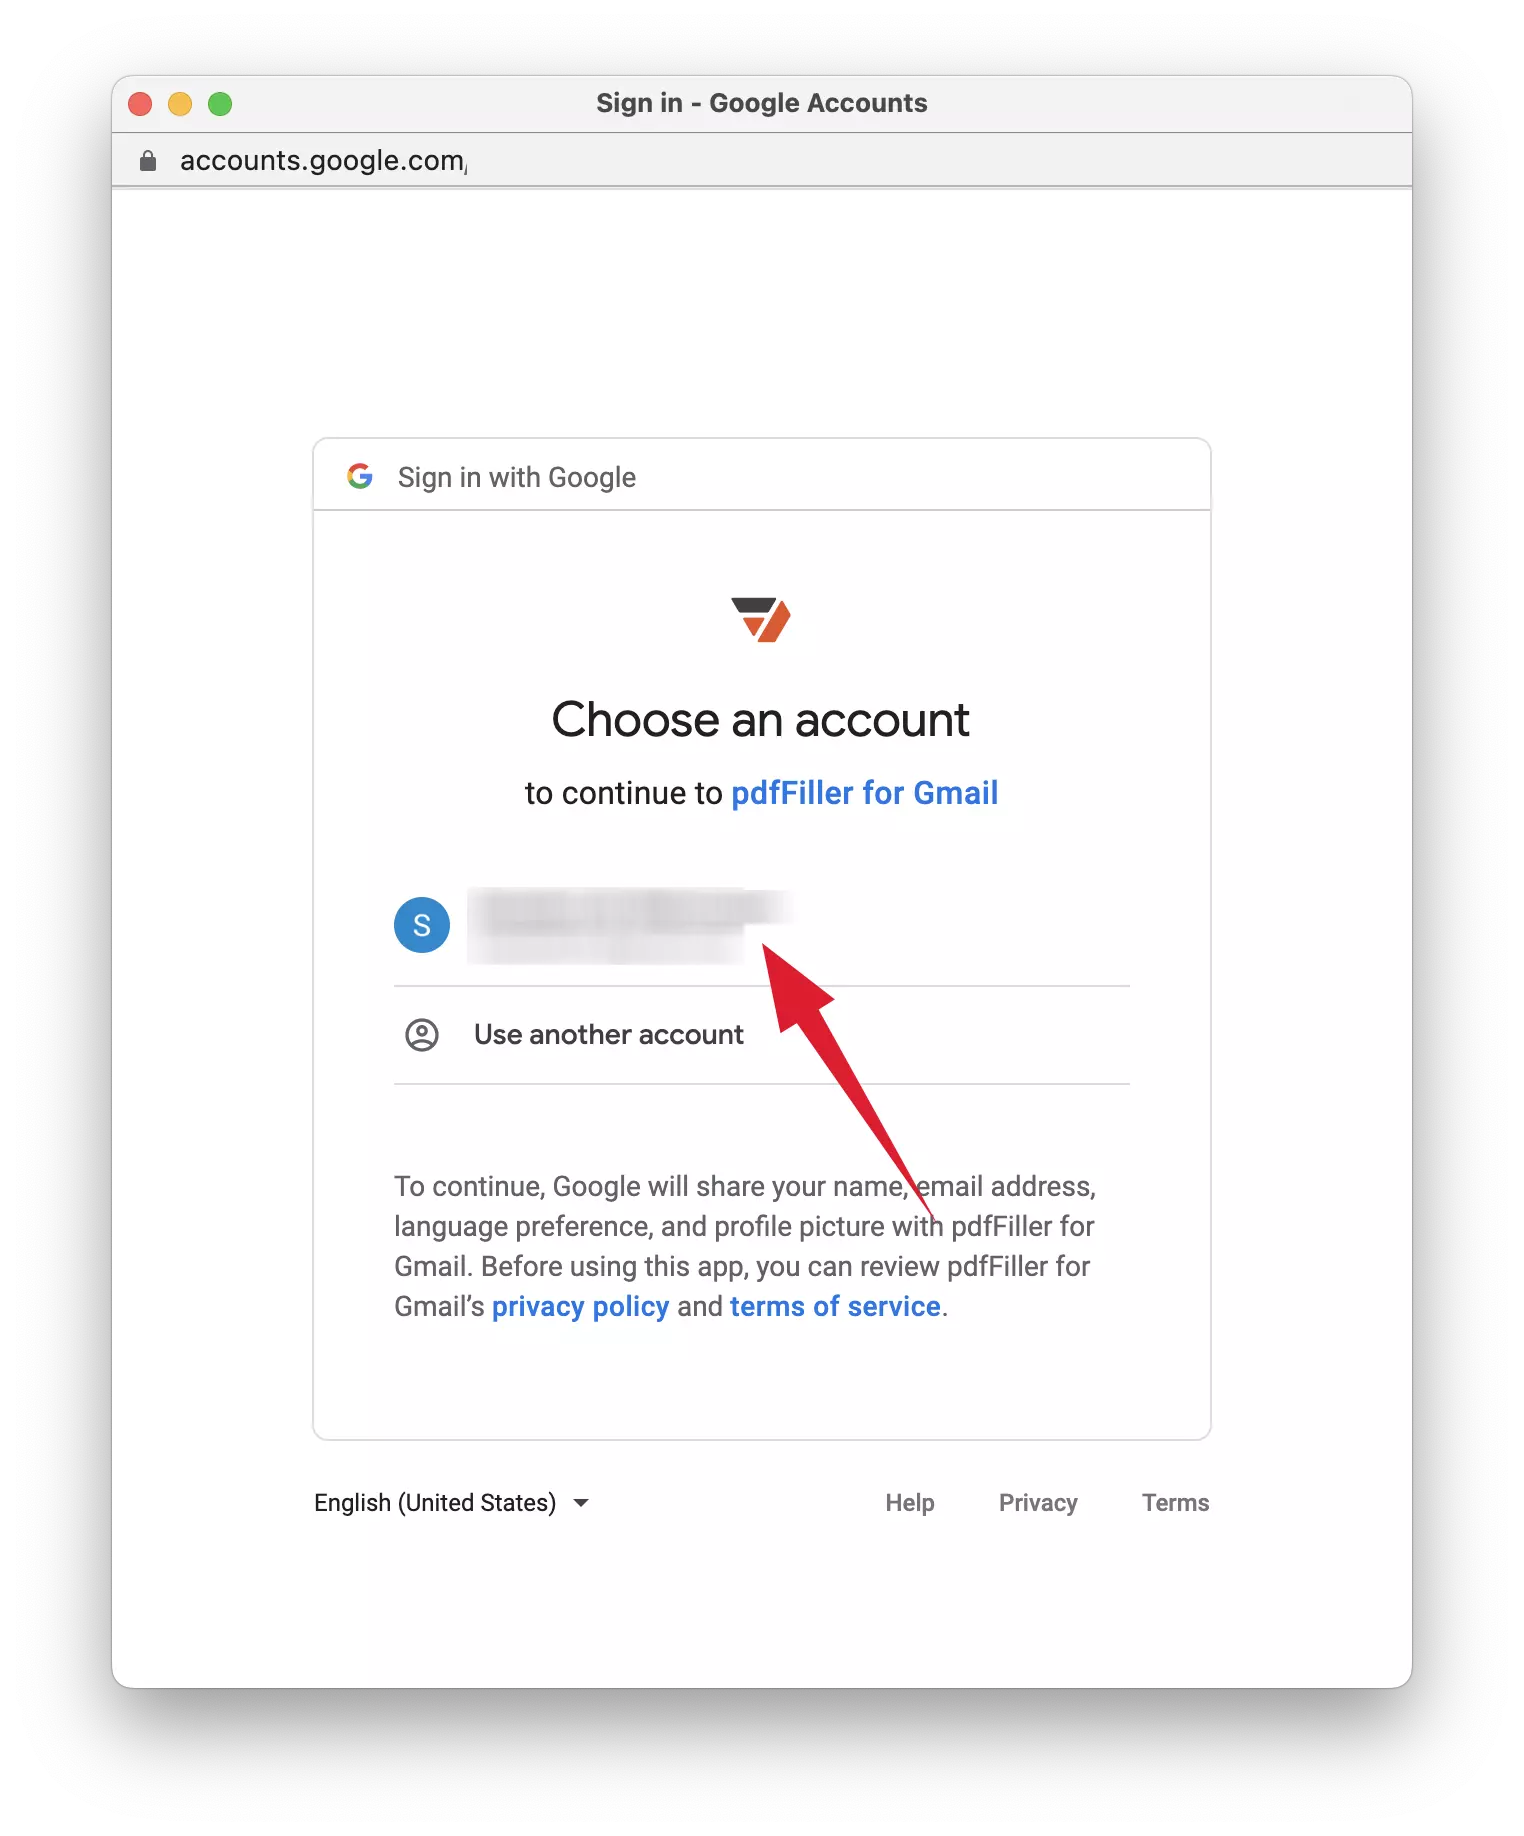
4 – Select the Google account you want to use to create your pdfFiller account.

5 – Allow Google to access your pdfFiller account, then close the tab and return to your inbox.

Step 3 – Edit the pdf attachment with pdfFiller
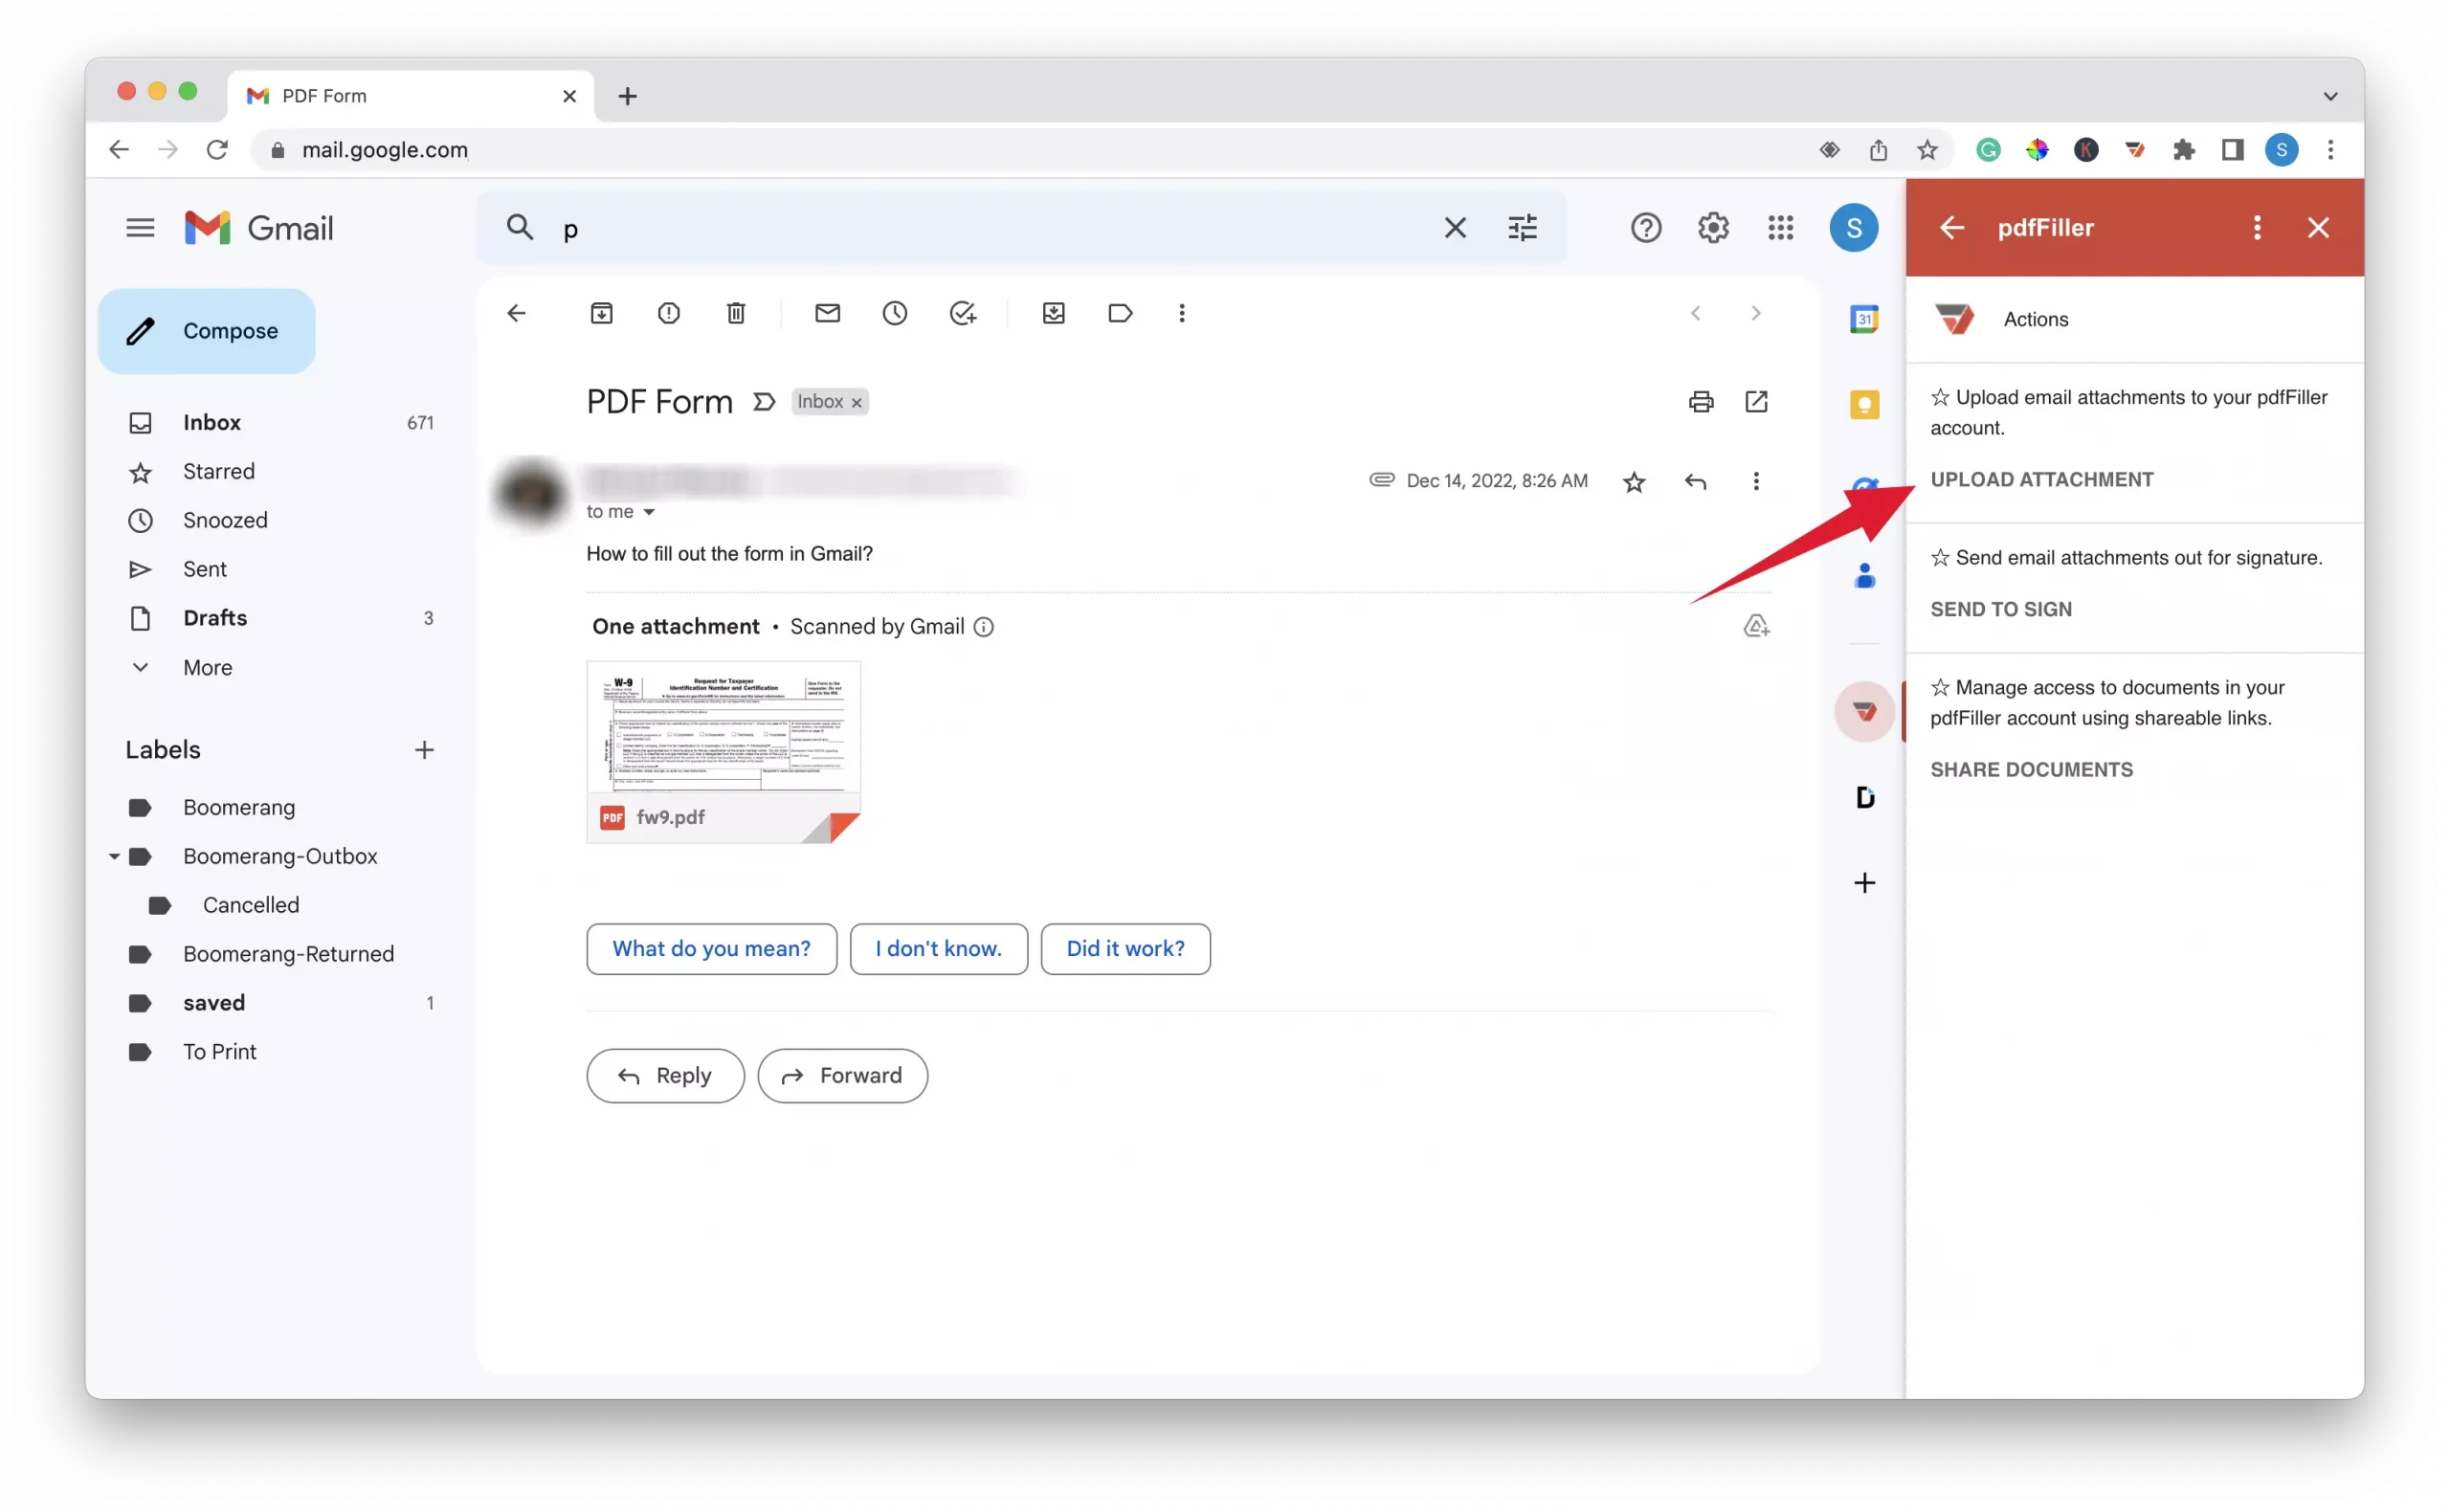
1 – Click the “Upload Attachment” button, located under the “Actions” heading in pdfFiller side panel.
2 – From the list of PDF files, select the file that you want to edit and click “Continue”.

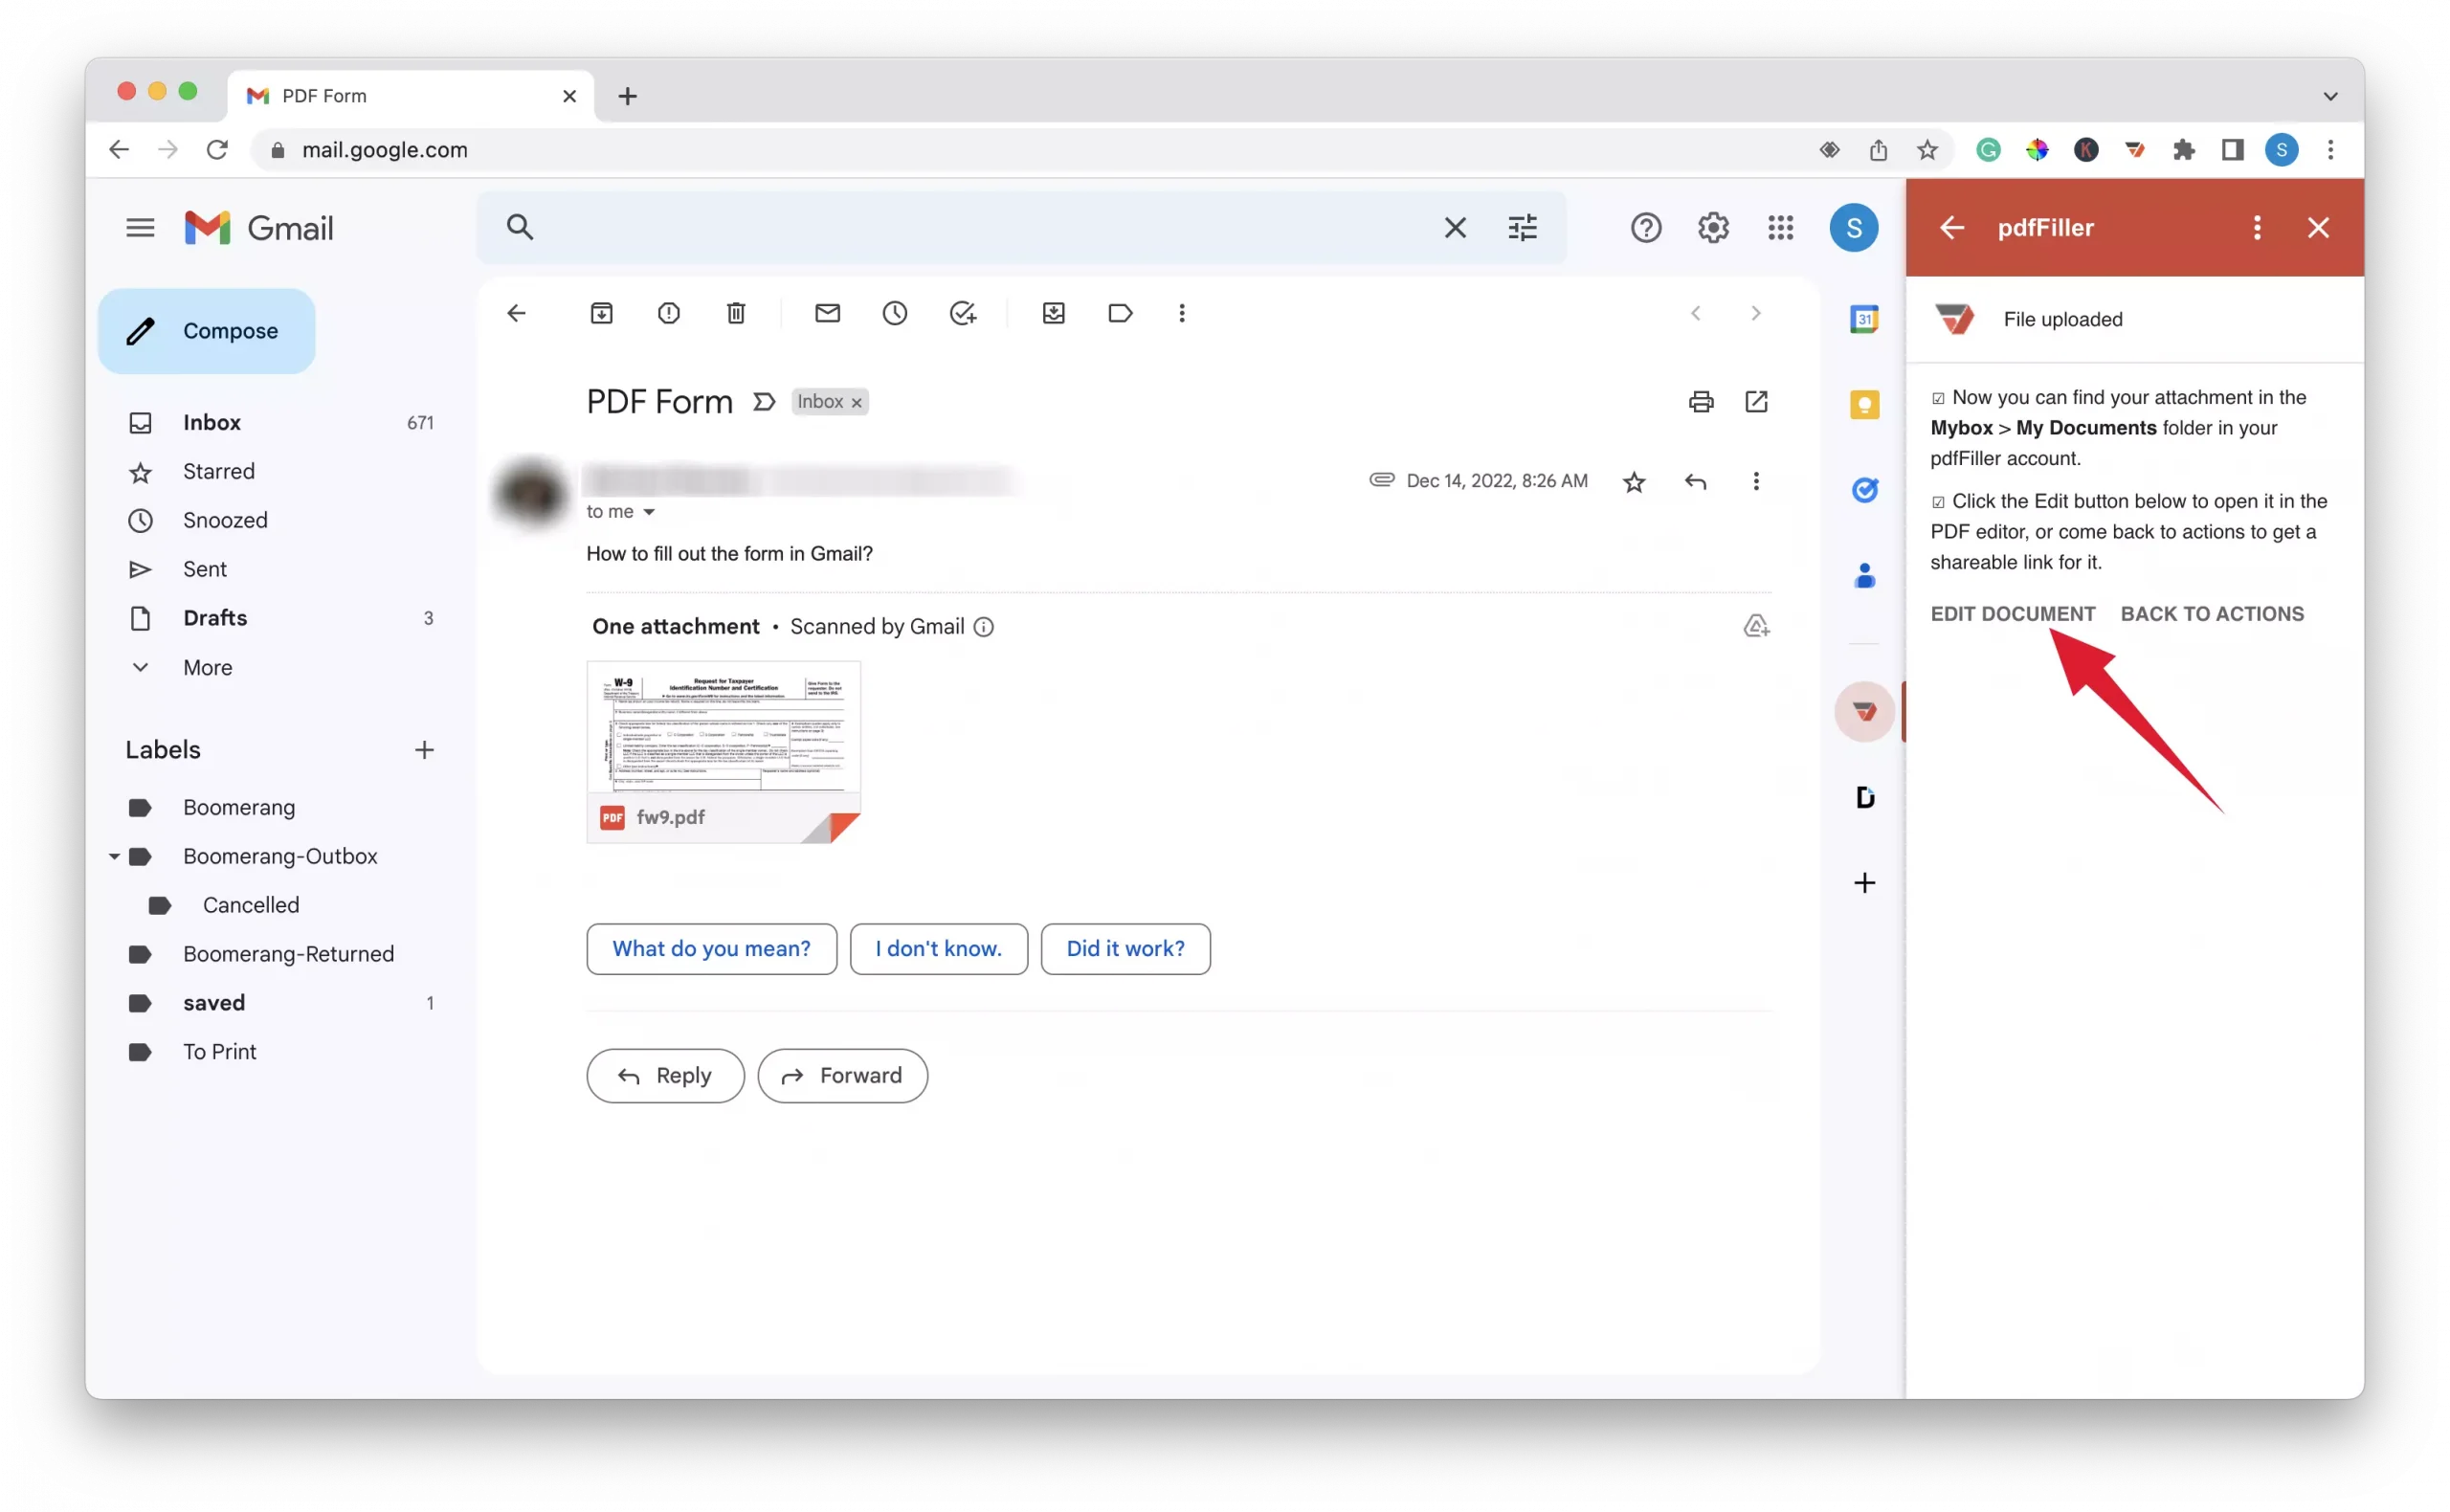
3 – Click the “Edit Document” button.
4 – In the new tab, make your desired edits, fill out the form or sign the document.
5 – Once finished, click the “Done” button at the top right of the page

Step 4 – Export The Edited PDF File From pdfFiller
To download your edited documents from PDFfiller, you must sign up for their 30-day free trial.
1 – On the pdfFiller dashboard select the edited PDF file and click “Download” from the list of options in the side menu. You will then be redirected to a membership page.

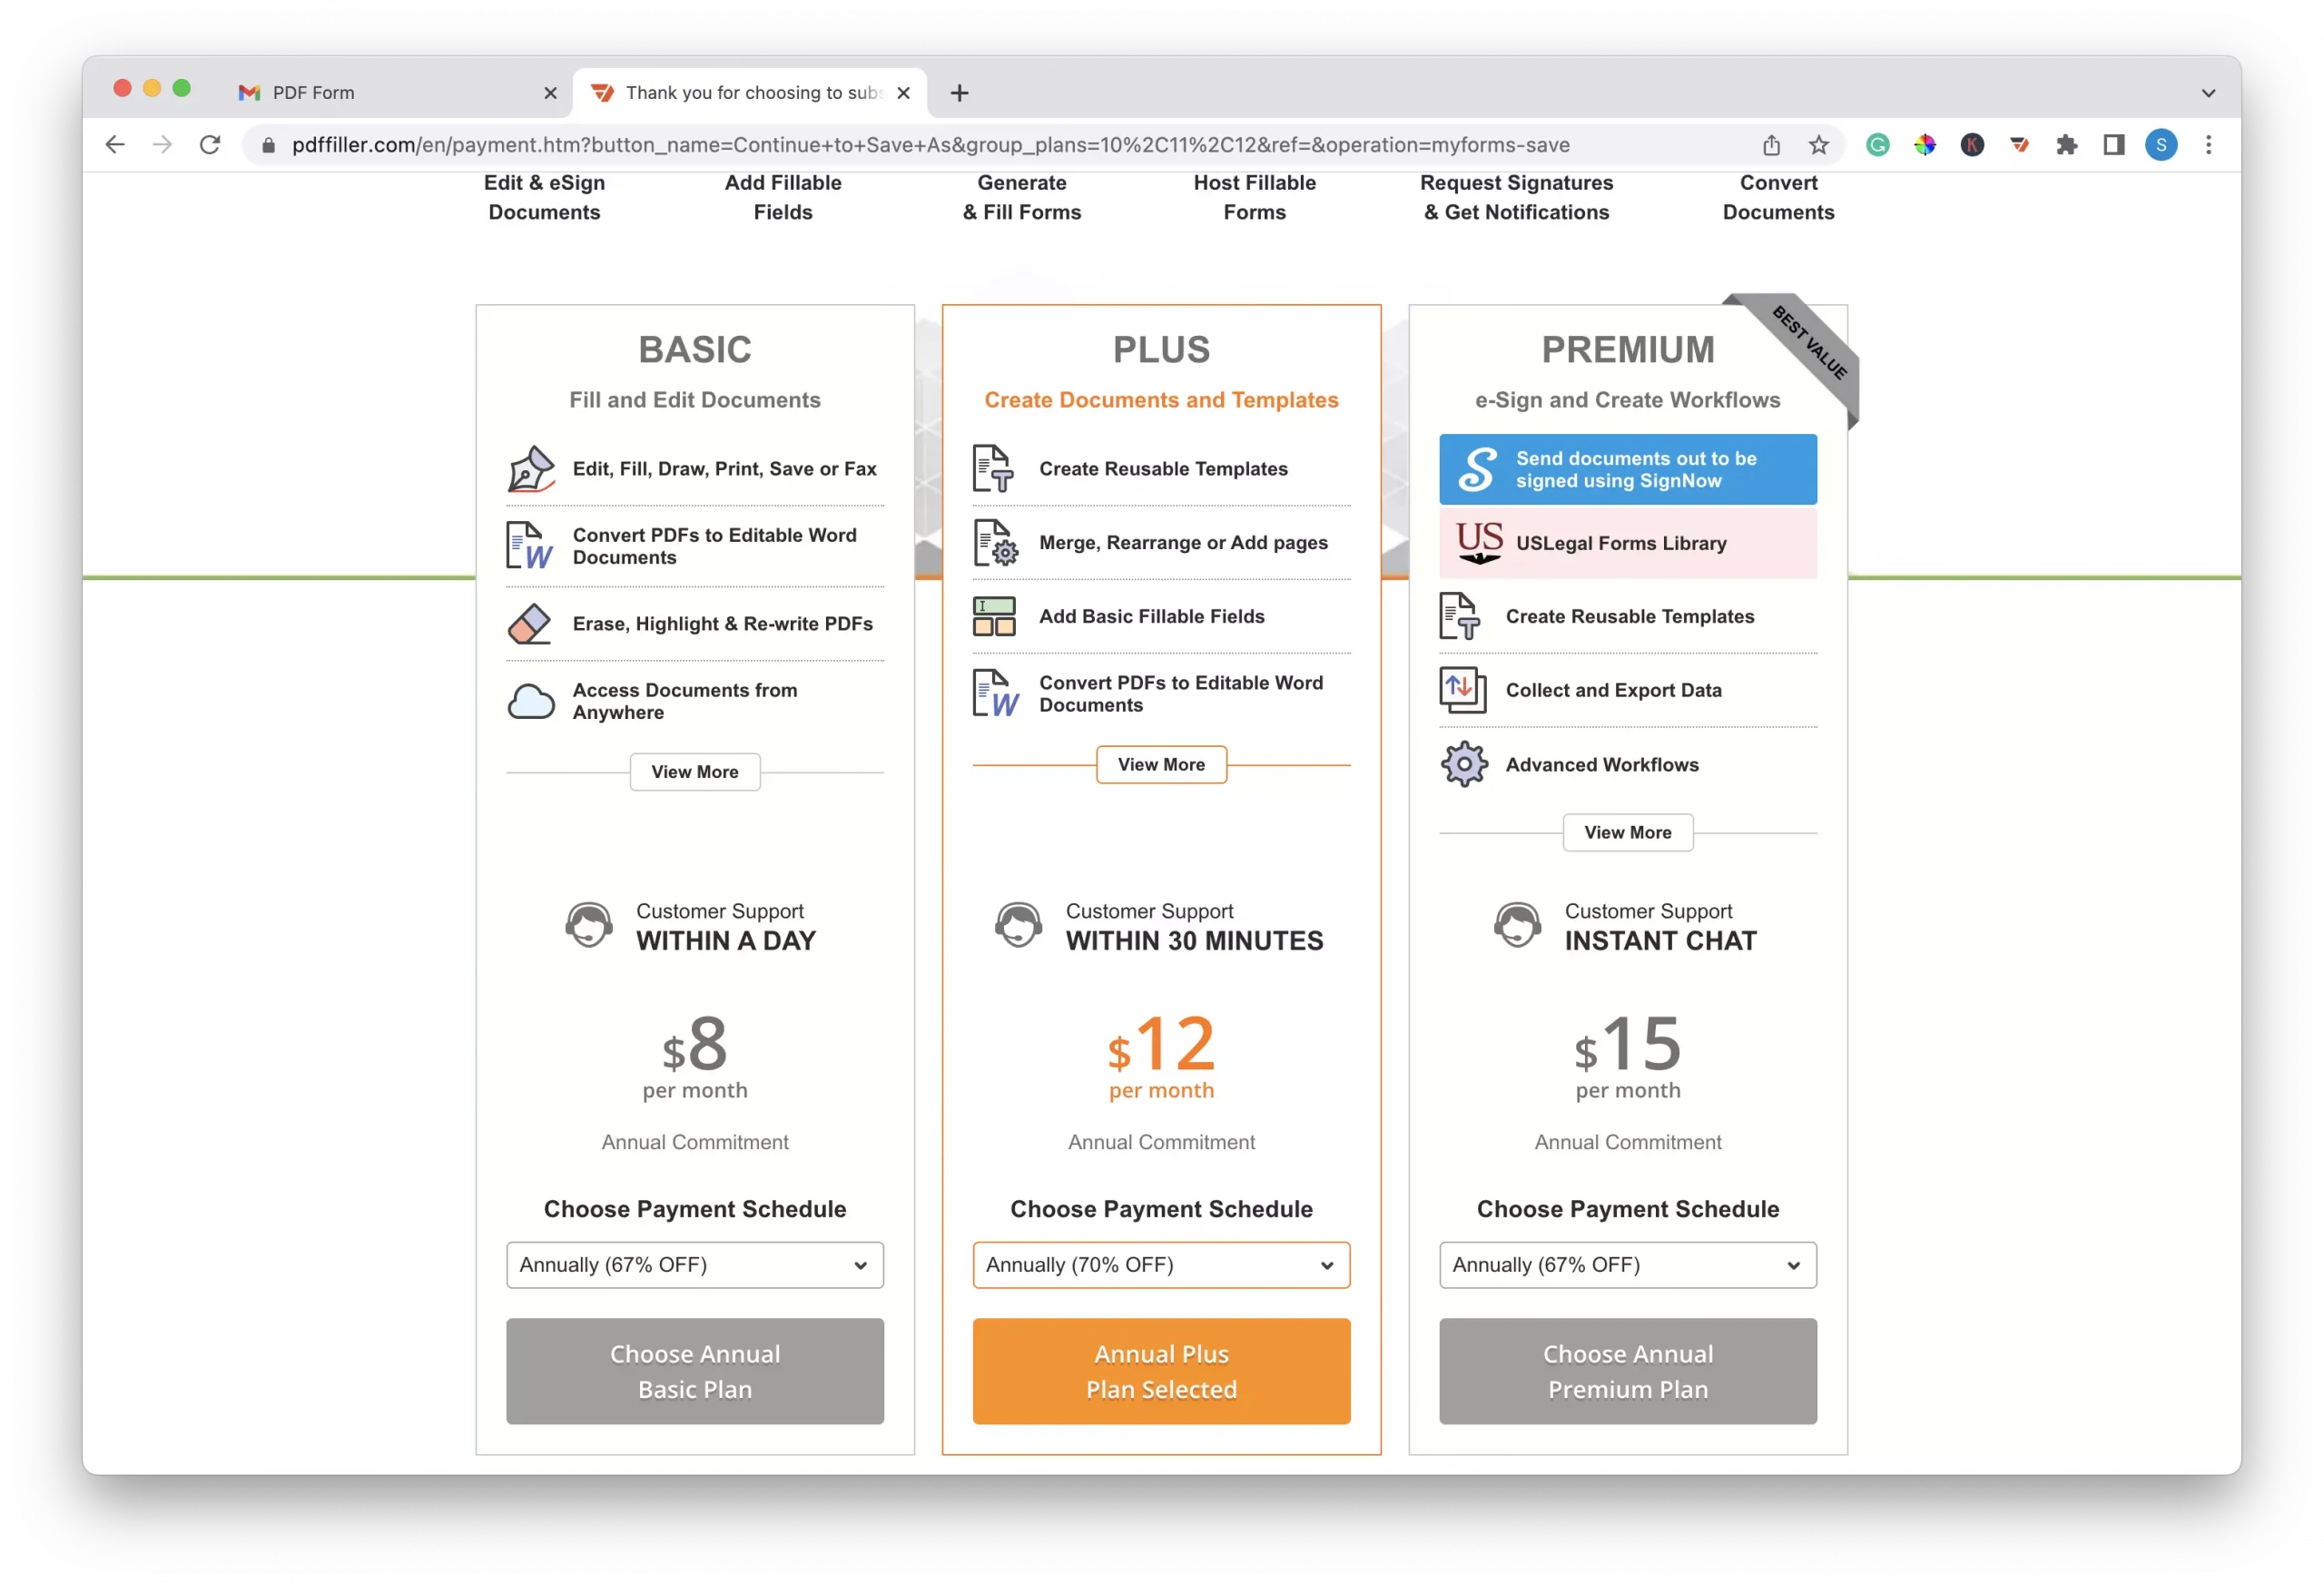
2 – On the membership page, select the plan that is best for you.
3 – Select your preferred payment method, accept the terms and conditions and click the “Start My Free 30-day Trial” button.

5 – Download your edited PDF file.
6 – Return to your Gmail inbox.
7 – Reply to the sender, attach the edited PDF file to the email, and click the send button.