This is how to print multiple emails in Gmail: Install the “Save Emails to PDF” Google Chrome extension. Use the extension to convert your emails into a single pdf file. Open the pdf file containing the emails and print it.
Below you will see the exact steps that I used to print multiple emails using this extension
Step 1 – Install The Save Emails To Pdf By CloudHQ Chrome Extension
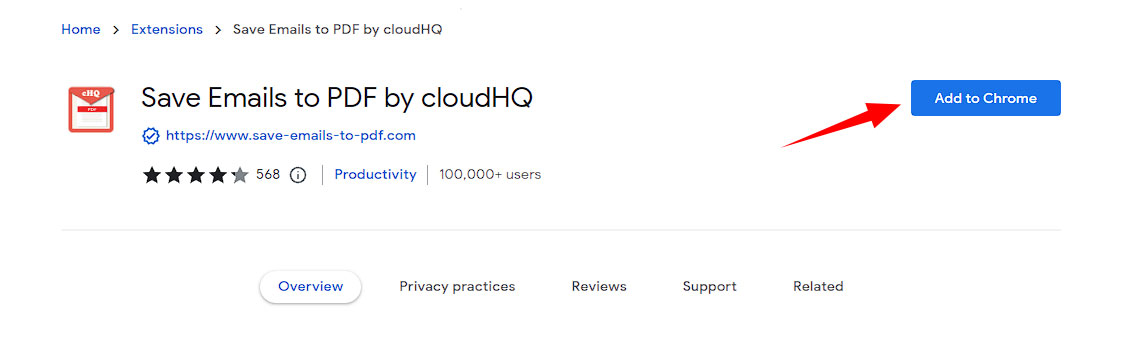
1 – Follow this link to the Save Emails To PDF By CloudHQ download page.
2 – Click on the “add to chrome” button on the extension page.
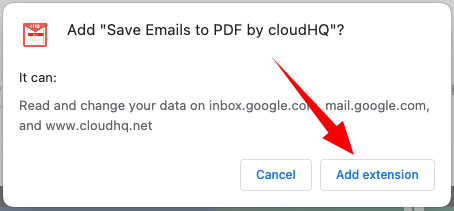
3 – In the pop-up confirmation box click on the “Add extension” button.
4 – After the extension is installed you will be redirected to your Gmail inbox.
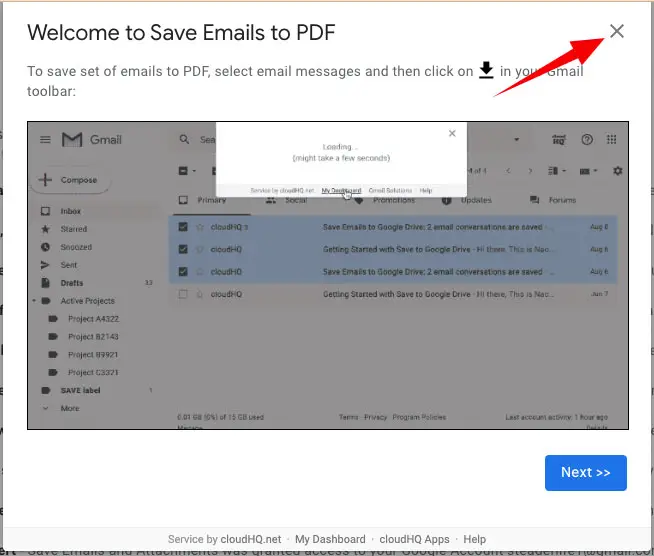
5 – On this page, you will see a welcome tutorial popup for the extension. Close it by clicking on the “x” icon at the top right of the popup.
Step 2 – Log In to Your CloudHQ Account
The following steps cover how to log in to a CloudHQ account from your Gmail inbox. If you don’t have a CloudHQ account you will need to create one.
I have written a tutorial that covers creating a CloudHQ account in another article. If you are having difficulties you can follow along with that tutorial linked here and then return to this one after you have created your account.
1 – From your Gmail inbox click on the CloudHQ logo at the top right of the page.

2 – Click on the “login to CloudHQ” button in the popup.

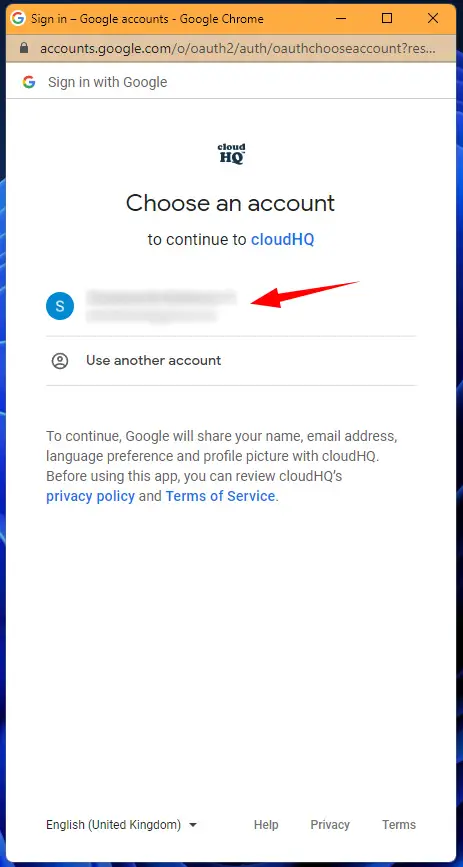
3 – Select the Gmail account that is connected to your CloudHQ account.
4 – After successfully logging in, you will be redirected back to your Gmail inbox.
Step 3 – Select Emails To Print.
There are two ways in which you can select emails to print with the Save Emails to PDF extension. You can either manually select each email or you can select all emails that have been sent by a particular sender.
Method 1 – Manually Select Emails In Gmail
1 – Click on the empty box to the left of the sender’s name for each email that you would like to select.

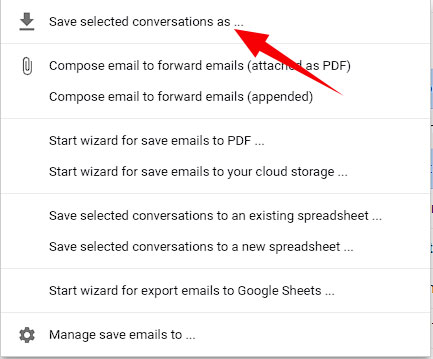
2 – After making your selection, click on the download icon in the menu below the search bar.

3 – Click on the “save selected conversations as” option in the dropdown menu.
Method 2 – Select All Emails Sent By A Particular Sender In Gmail
1 – Enter the sender’s name or email address In the search bar at the top of the page then press enter.

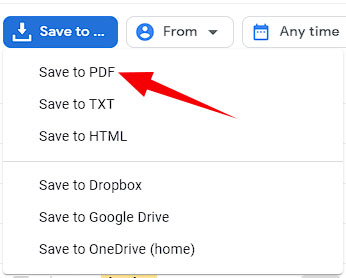
2 – Click on the “Save To” button under the search bar on the filtered page.

3 – In the dropdown menu click on the “Save to PDF” option.
Step 4 – Download and print selected Emails in Gmail
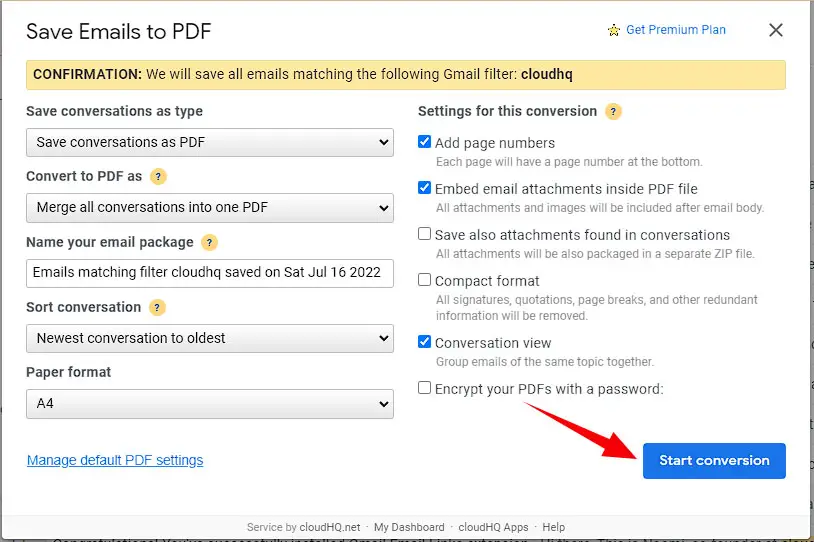
After clicking on either the “save selected conversations as” or “Save to PDF” option a popup will appear at the top of the page. We will use this popup to configure the PDF files.
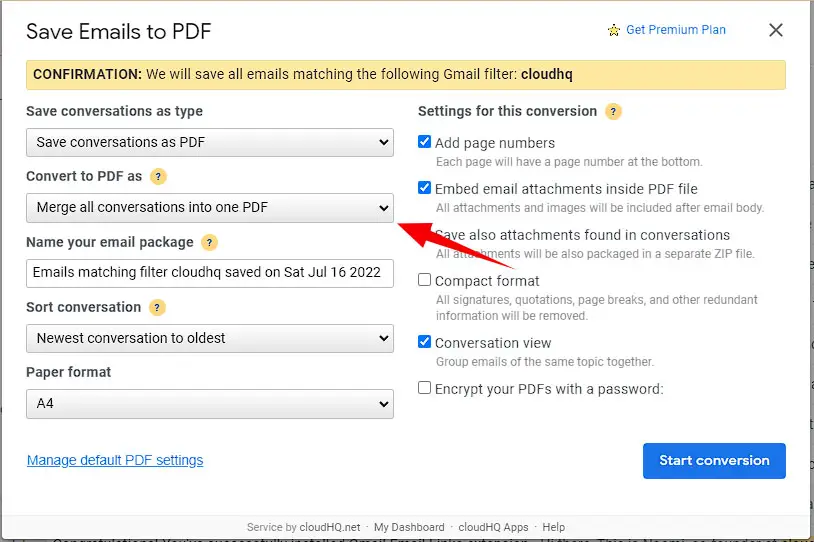
1 – Under the “Convert to PDF as” label select whether you would like to merge all emails into one pdf file or save each email in a separate file.
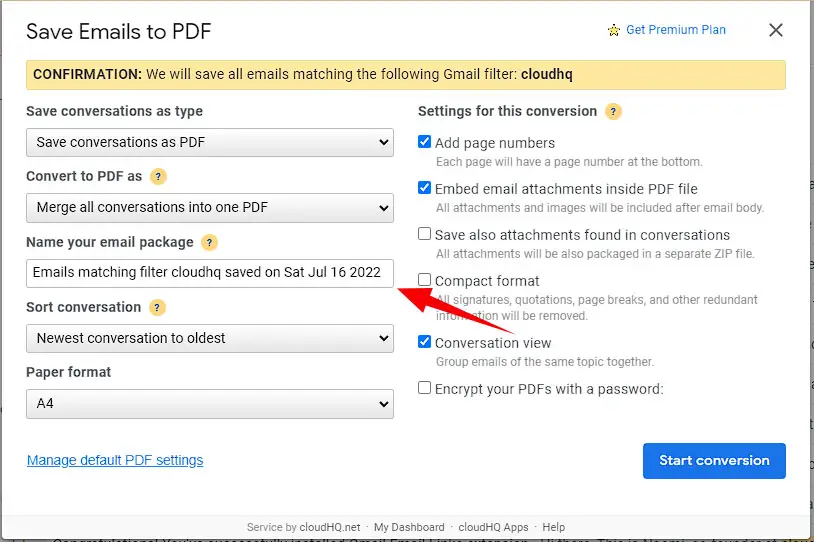
2 – Enter your desired file name under the “Name your email package” label.
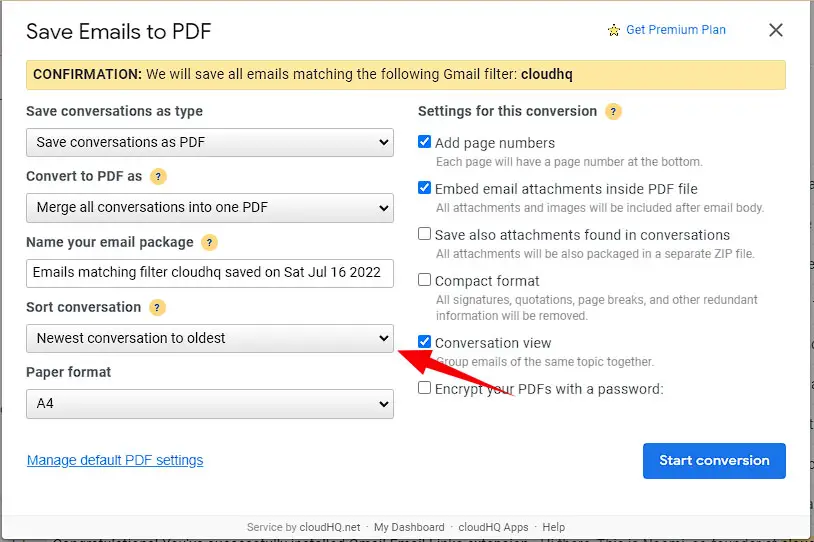
3 – Decide on the order of the emails within the pdf file by using the drop-down box under the “Sort Conversation” label.
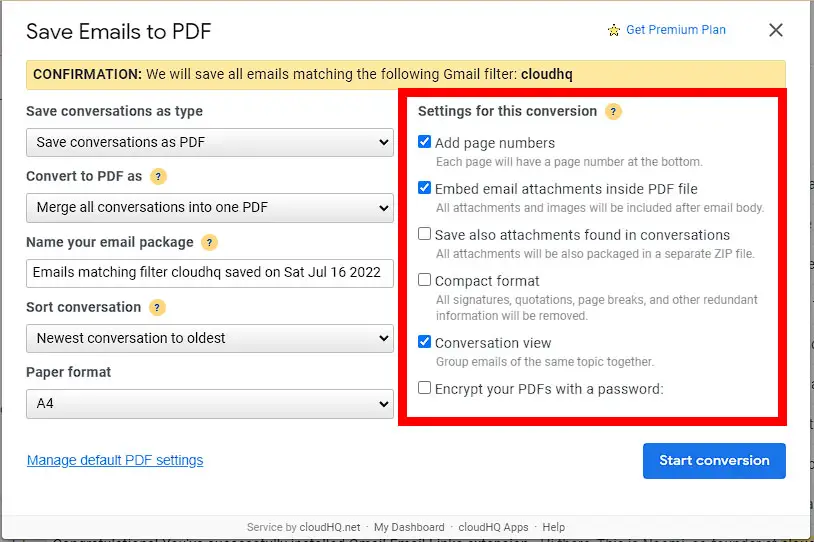
4 – Use the available options under the “Settings for this conversion” label to configure how the emails would be displayed.
5 – Click the “Start conversion button” to convert the emails into PDF.
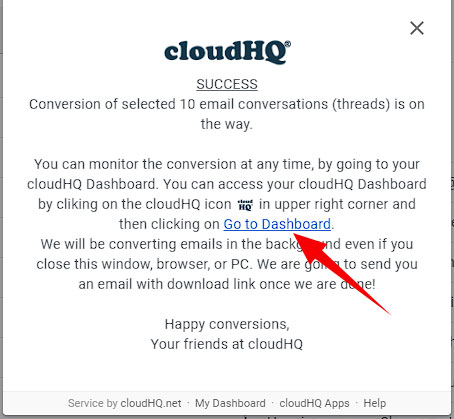
6 – Once the conversion has successfully started click on the go to dashboard link.
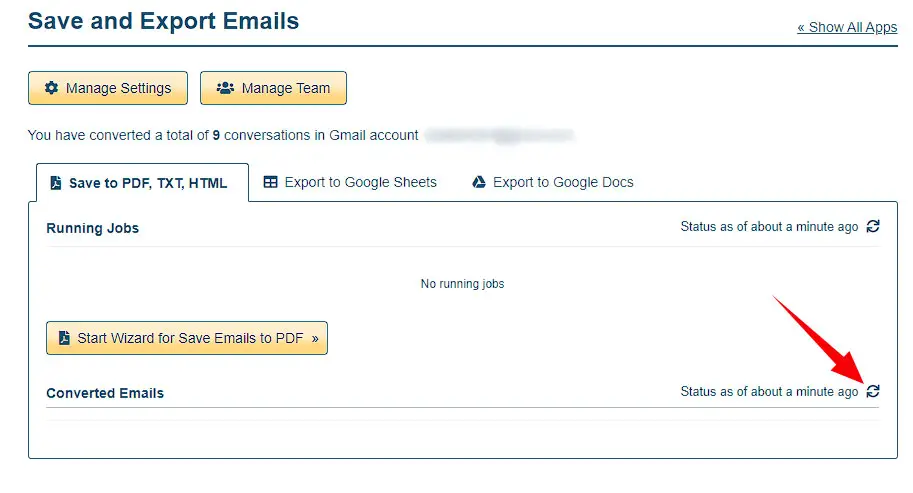
7 – Occasionally click on the refresh icon in the running Jobs section until the conversion is completed. You will know it is finished when it is no longer visible in the running jobs section.

8 – Click on the refresh icon in the Converted Emails section to update the list.
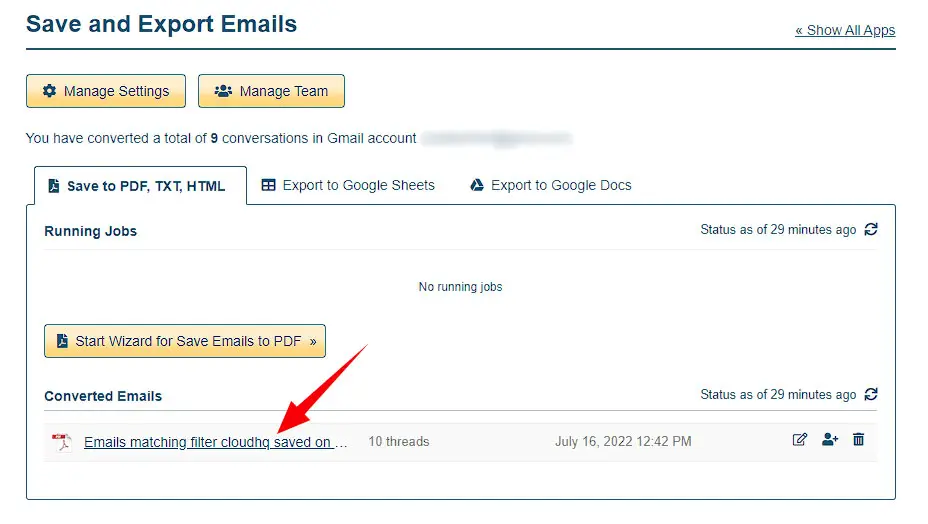
9 – Download the converted emails by clicking on the name of the pdf file in the Converted Emails Section.
10 – Locate and open the downloaded email file in your browser or a pdf viewer.
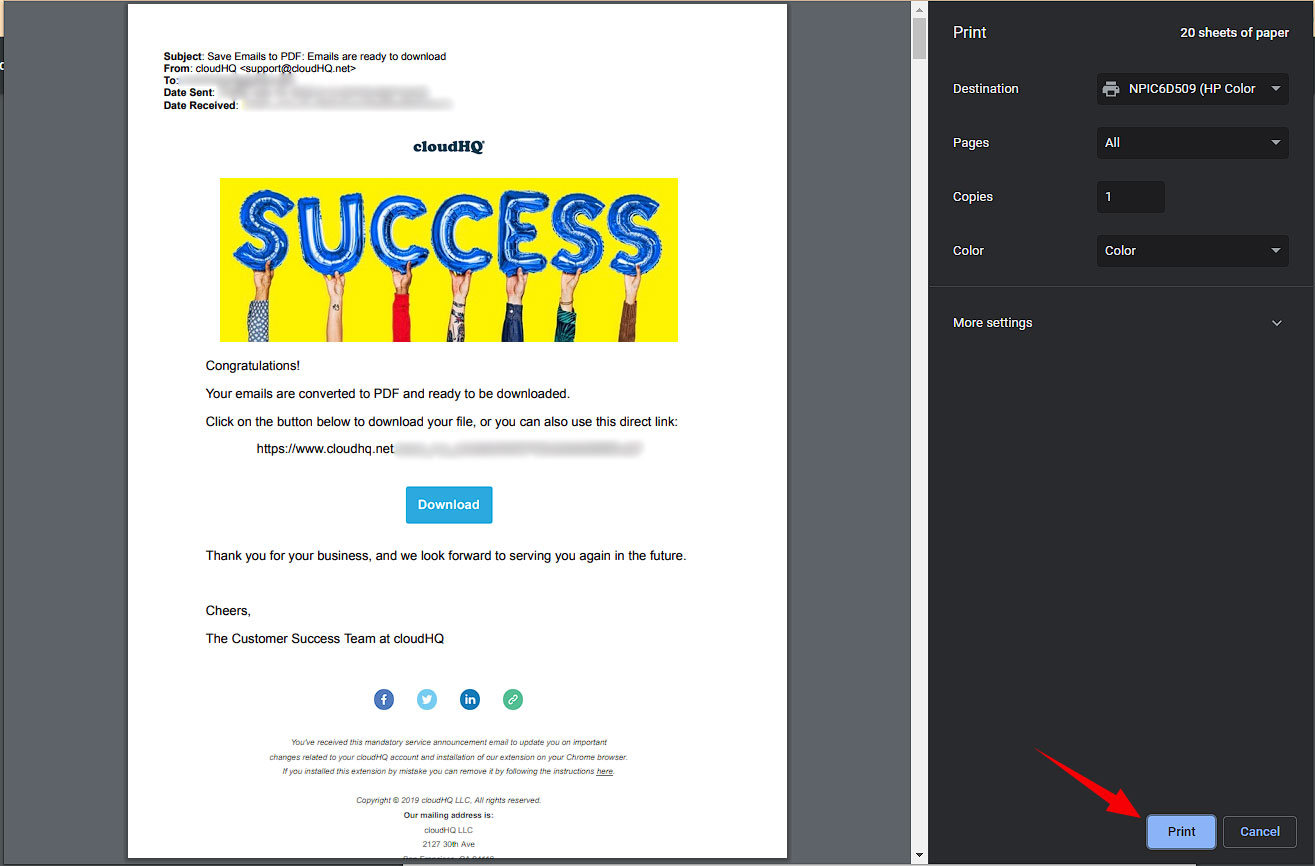
11 – Click on the print icon to the top right of the page

12 – Configure your print settings then click on the print button.