There is no straightforward way to hide emails in Gmail. However, you can use some of the built-in features in Gmail, such as archiving, muting, or email forwarding, as workarounds to hide emails.

In this article, we will go over 11 different methods that you can use to hide emails in Gmail.
The effectiveness of these hiding methods will vary based on how knowledgeable the person or persons that you are hiding these emails from are in using Gmail.
1 – Hide Emails By Archiving The Email Thread
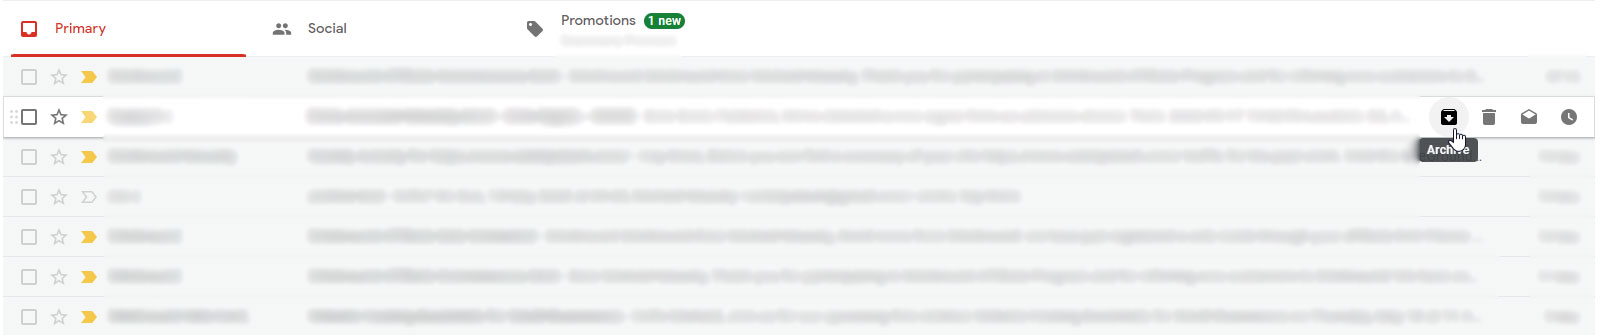
Step 1 – In your inbox find the email that you would like to hide and hover your mouse pointer over it.
Step 2 – In the menu to the right that appears only when you hover your mouse pointer over the email, click on the archive icon.
Step 2a – Alternatively, you can open the email, and in the menu to the top under the search bar click on the archive button.

Pros of using the archive feature to hide emails:
- Archived emails are removed from your inbox.
Cons of using the archive feature to hide emails:
- Archived emails will return to your inbox when activity happens within the email thread.
- Archived emails can be found in the all mail folder.
- Archived emails can be found by typing “NOT label:inbox” in the search bar.
2 – Hide Emails By Muting The Email Thread
Step 1 – locate the email that you will like to hide and open it.
Step 2 – Click on the ellipsis (the three vertical dots) located in the menu bar under the search bar.
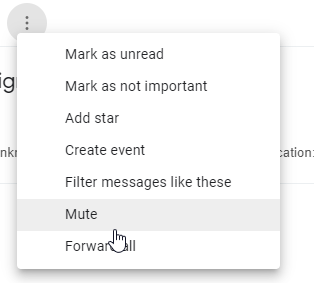
Step 3 – In the popup menu click the mute button.

Pros of using the mute feature in Gmail to hide emails:
- Muted emails will be removed from your inbox.
- Muted emails will not return to your inbox if there is any activity happening within the email thread.
- You will not receive any notifications from a muted email thread.
Cons of using the mute feature to hide emails:
- Muted emails can be found in the all mail folder.
- Muted emails can easily be searched for by typing “is:mute” in the search bar:
3 – Use The Gmail Labels Feature To Hide Emails
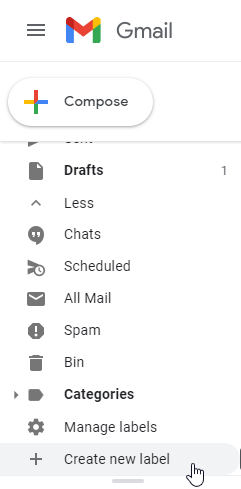
Step 1 – In the menu to the left click on create a new label.
Step 2 – Give the label a name that will make someone who is looking for something just glance over it and not be drawn to click it. Then click on the create button when you are done.

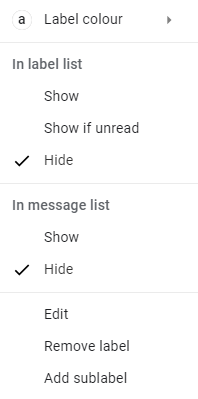
Step 3 – Locate the label in the menu to the right, hover your mouse pointer over it and click on the ellipsis (the three vertical dots) to the right of it.
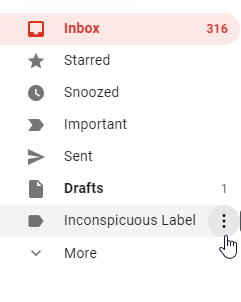
Step 4 – In the popout menu under the headings “in label list” and “in message list” select the hide option for each one.
Step 5 – Open the email that you would like to hide.
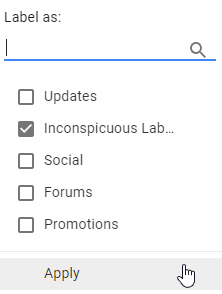
Step 6 – Click on the label icon in the top menu under the search bar.

Step 7 – In the pop-out menu uncheck the default label and select the custom label that you’ve just made and click apply.
Step 8 – Click the “X” next to the inbox label that is located to the right of the subject of the email.

Pros of using custom labels to hide emails:
- Emails with your custom labels are removed from your inbox.
- Emails with the custom label won’t return to your inbox.
- The exact search query for custom label emails is harder to guess in the search bar.
Cons of using the custom label feature to hide emails.
- An email with a custom label can be found in the all mail folder.
- Labeled emails that are removed from the inbox can be found by typing the “NOT label:inbox” query in the search bar along with some others on this list.
4 – Download A Copy Of The Email And Save It In A Hidden Location
Step 1 – Open the email that you would like to hide.
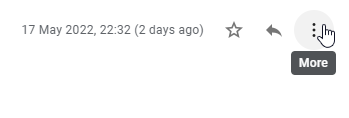
Step 2 – Click on the ellipsis (the three vertical dots) to the right of the email.
Step 3 – In the pop-out menu click on the download message button.
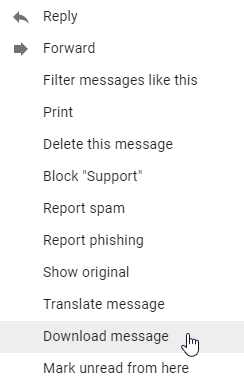
Step 4 – The email will then be downloaded and saved as an EML file.

Step 5 – Upload the email file to a cloud storage service that you alone have access to or save it locally in a hidden folder on your computer.
Step 6 – Remove the email from your inbox and bin folder.
Pros of hiding an email by downloading a copy of the email:
- Downloaded emails will only be accessible by you.
- Most casual users don’t know how to open an EML file.
Cons of hiding an email by downloading a copy of the email:
- If someone gains access to your hidden storage locations they will find the email.
5 – Save The Email As A PDF And Save It In A Hidden Location
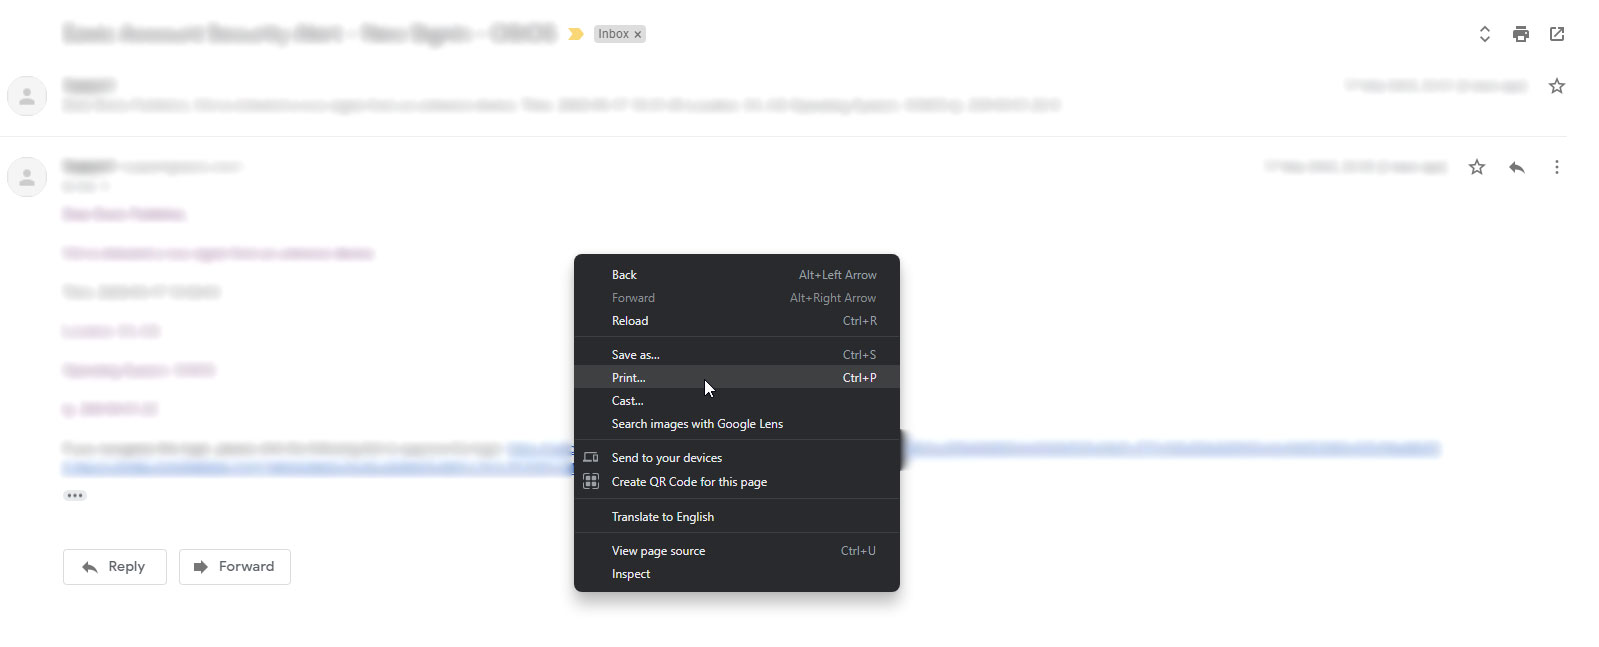
Step 1 – Open the email that you would like to hide.
Step 2 – Right-click on the body of the email and select print.
Step 3 – Change the print option to save as PDF and click on save.
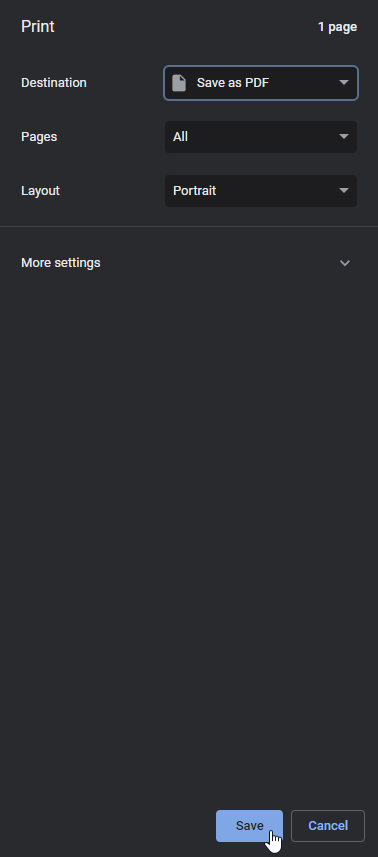
Step 4 – Delete the email from your inbox.

Step 5 – Delete the email from the bin folder.

Step 6 – Upload the pdf file to a secure cloud server or place it within a hidden folder on your device.
Pros of hiding an email by saving it as a pdf:
- Only you will have access to the hidden emails
Cons of hiding an email by saving it as a pdf:
- If your hidden folder or storage is compromised the person or persons will find the emails that you were trying to hide.
6 – Print Out The Email And Hide The Physical Copy
Step 1 – Open the email that you would like to hide.
Step 2 – Right-click within the body and click on print.
Step 3 – Select the printer that you would like to print from then click print.
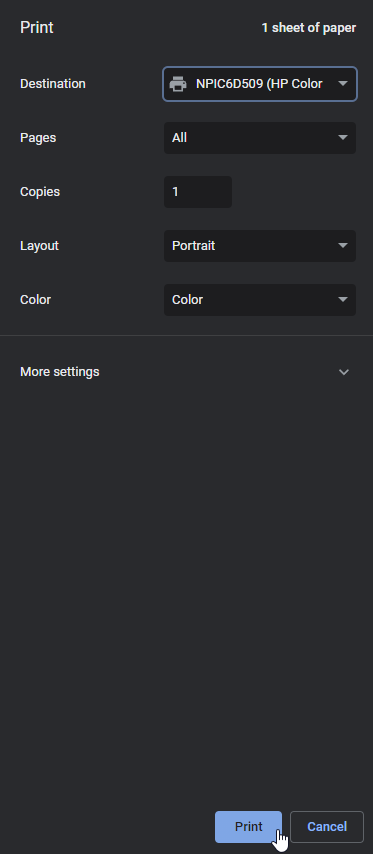
Step 4 – Secure the printed documents in a hidden location within your home or office.
Step 5 – Delete the email from your Gmail account.
Pros of hiding an email by printing a physical copy:
- Once your secret hiding place remains a secret no one will find them.
Cons of hiding an email by printing a physical copy:
- Once your hiding place is compromised all your hidden emails will be found.
7 – Delete The Email And Remove It From Your Trash
This method can be useful if you can remember the important information within the email or if you have made a copy of the email.
Step 1 – Read the email that you want to hide and note the important information or make a copy of it using one of the last three methods mentioned before this one.
Step 2 – Within the opened email click on the trashcan icon in the top menu to delete it. This will move the email to the bin folder.
Step 3 – In the menu to the left click on the bin folder.
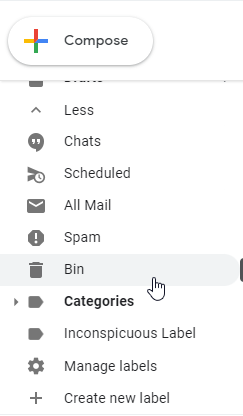
Step 4 – Within the bin folder select the email that you just deleted by clicking on the checkbox to the left of the yellow importance marker or email subject. Once the email is selected click on the delete forever button located at the top of the page.
Pros of hiding an email and deleting it:
- If you did not make a copy of the email there will be no record of that email on your account.
Cons of hiding an email and deleting it:
- If a copy of the email wasn’t made information could be lost forever.
8 – Manually Forward The Email From Gmail To A Secret Email Address
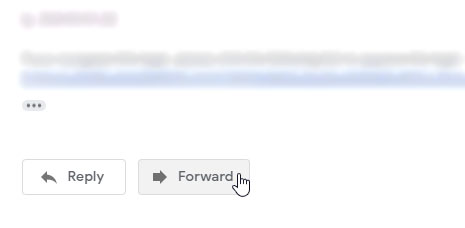
Step 1 – Open the email that you would like to hide.
Step 2 – Click on the forward button located at the bottom of the page.
Step 3 – In the “To” field enter the email address that you would like to forward the email to and click send.
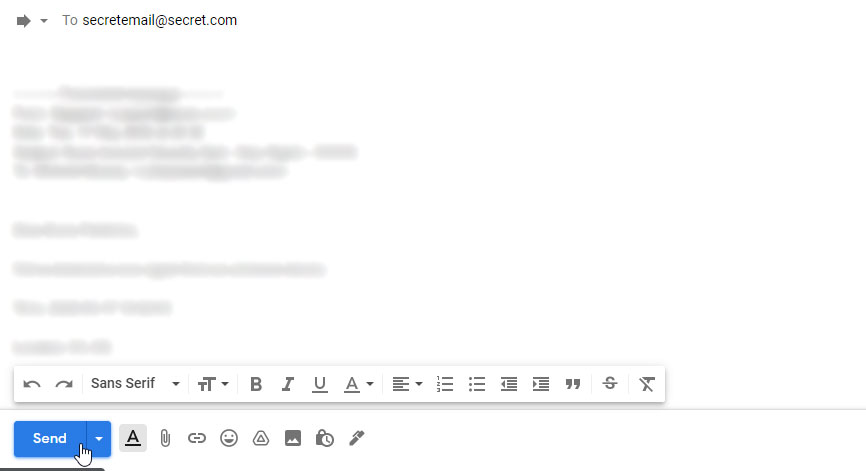
Step 4 – Delete the email from your inbox and sent folders then deleted it forever from the bin folder.
Pros of hiding an email by manually forwarding it to another email address:
- If the email is properly deleted from your Gmail account there will be no record of it ever being there.
Cons of hiding an email by manually forwarding it to another email address:
- If the people who you are trying to hide the email from ever find out about your secret email address they will be able to find the hidden emails.
9 – Hide Gmail Emails Using Automatic Email Forwarding
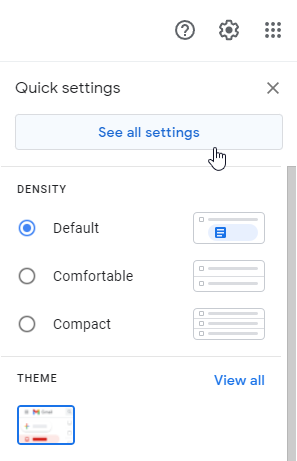
Step 1 – Click on the gear icon to the top right then click on see all settings.
Step 2 – Navigate to the Forwarding and POP/IMAP tab.

Step 3 – Click on the add forwarding address button.

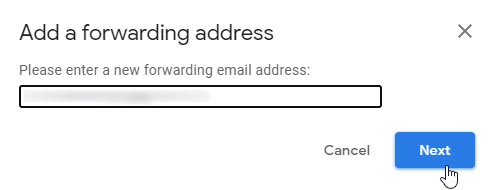
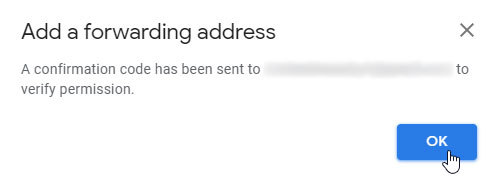
Step 4 – Enter the email address that you would like to automatically forward emails to in the field provided then click next.
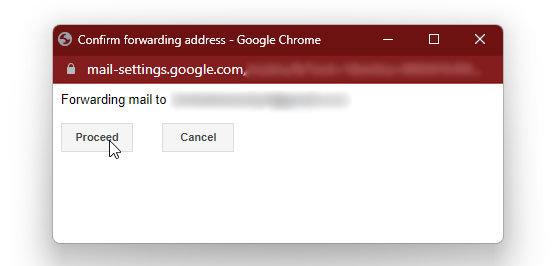
Step 5 – In the confirm forwarding address window, check to see if the email you entered is correct then click on proceed.
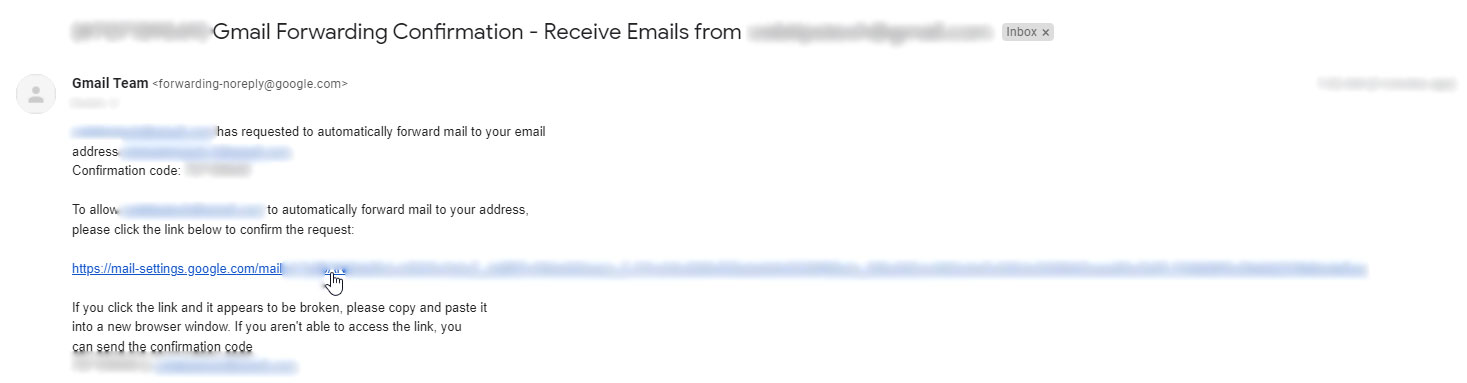
Step 6 – In a new tab log into the email account that you will be forwarding the emails to locate the confirmation email from Google Team.

Step 7 – Open the confirmation email and click on the link within it.
Step 8 – On the confirmation page click on the confirm button.

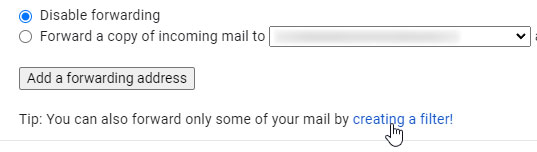
Step 9 – Return to the settings page of Gmail and refresh the page. You will now see that the email you enter is in the forwarding field.

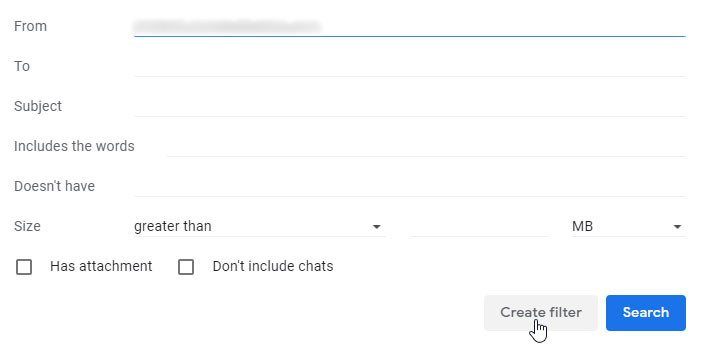
Step 10 – Next click on the create a filter link.
Step 11 – In the “From” field enter the email address that is sending you the emails that you would like to hide and then click on the create filter button.
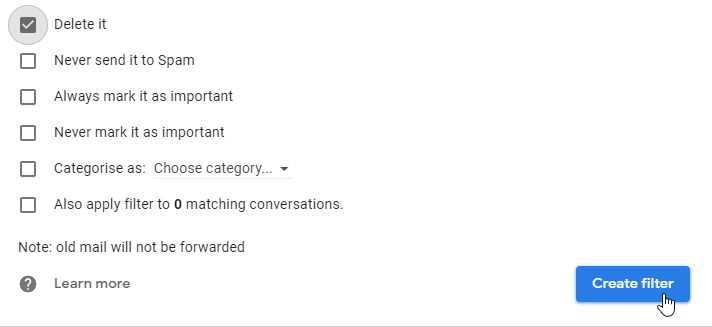
Step 12 – Next select forward it to and choose the forwarding email that you added.

Step 13 – Select the delete option then click on the create filter button.
Pros of Hiding emails using the automatic email forwarding feature in Gmail:
- Emails from the specific address are forwarded to your new email and automatically placed in the bin folder.
- Once the people you are hiding these emails from don’t have access to the forwarded email they won’t find them.
Cons of Hiding emails using the automatic email forwarding feature in Gmail:
- You will have to manually empty the bin folder every time you receive an email from that address.
- If you don’t empty the bin folder manually the email can be found there for 30 days.
- If your email account is shared and other people check it before you they can find your hidden emails in the bin folder.
- For the next 7 days, there will be a notice stating that a filter was created and it will show the email address that is set in the filter.

10 – Log Out Of Your Gmail Account After Checking Your Email
Step 1 – Check the email that you would prefer to be hidden.
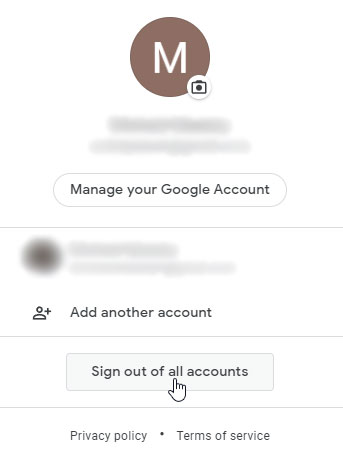
Step 2 – Click on your account photo to the top right.
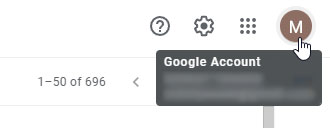
Step 3 – In the popout menu click on sign out.
Pros of hiding emails by logging out of your account:
- Once you remember to log out no one will be able to see your emails.
Cons of hiding emails by logging out of your account:
- If you forget to log out your emails can be found.
11 – Create A New Secret Email Address.
Create a new email address that only you know and have access to, then contact the person or persons that are sending you these emails that you will like to hide and have them send you emails to your new secret email address and stop them from sending them to your compromised Gmail account email. Then when you are done checking and replying to emails remember to Follow the tenth method on this list and log out.
Pros of hiding emails by creating a new email address:
- You won’t have a reason to hide emails.
Cons of hiding emails by creating a new email address:
- If you don’t log out of this hidden account your secret emails can be found.