To save your Gmail password in Google Chrome, first navigate to the Google Chrome settings page, once there, select ‘Autofill’ from the menu options. Next, choose ‘Password Manager’ and manually add your Gmail password to securely store it.

In this article, we will walk you through the step-by-step process of saving your Gmail password in the Google Chrome password manager.
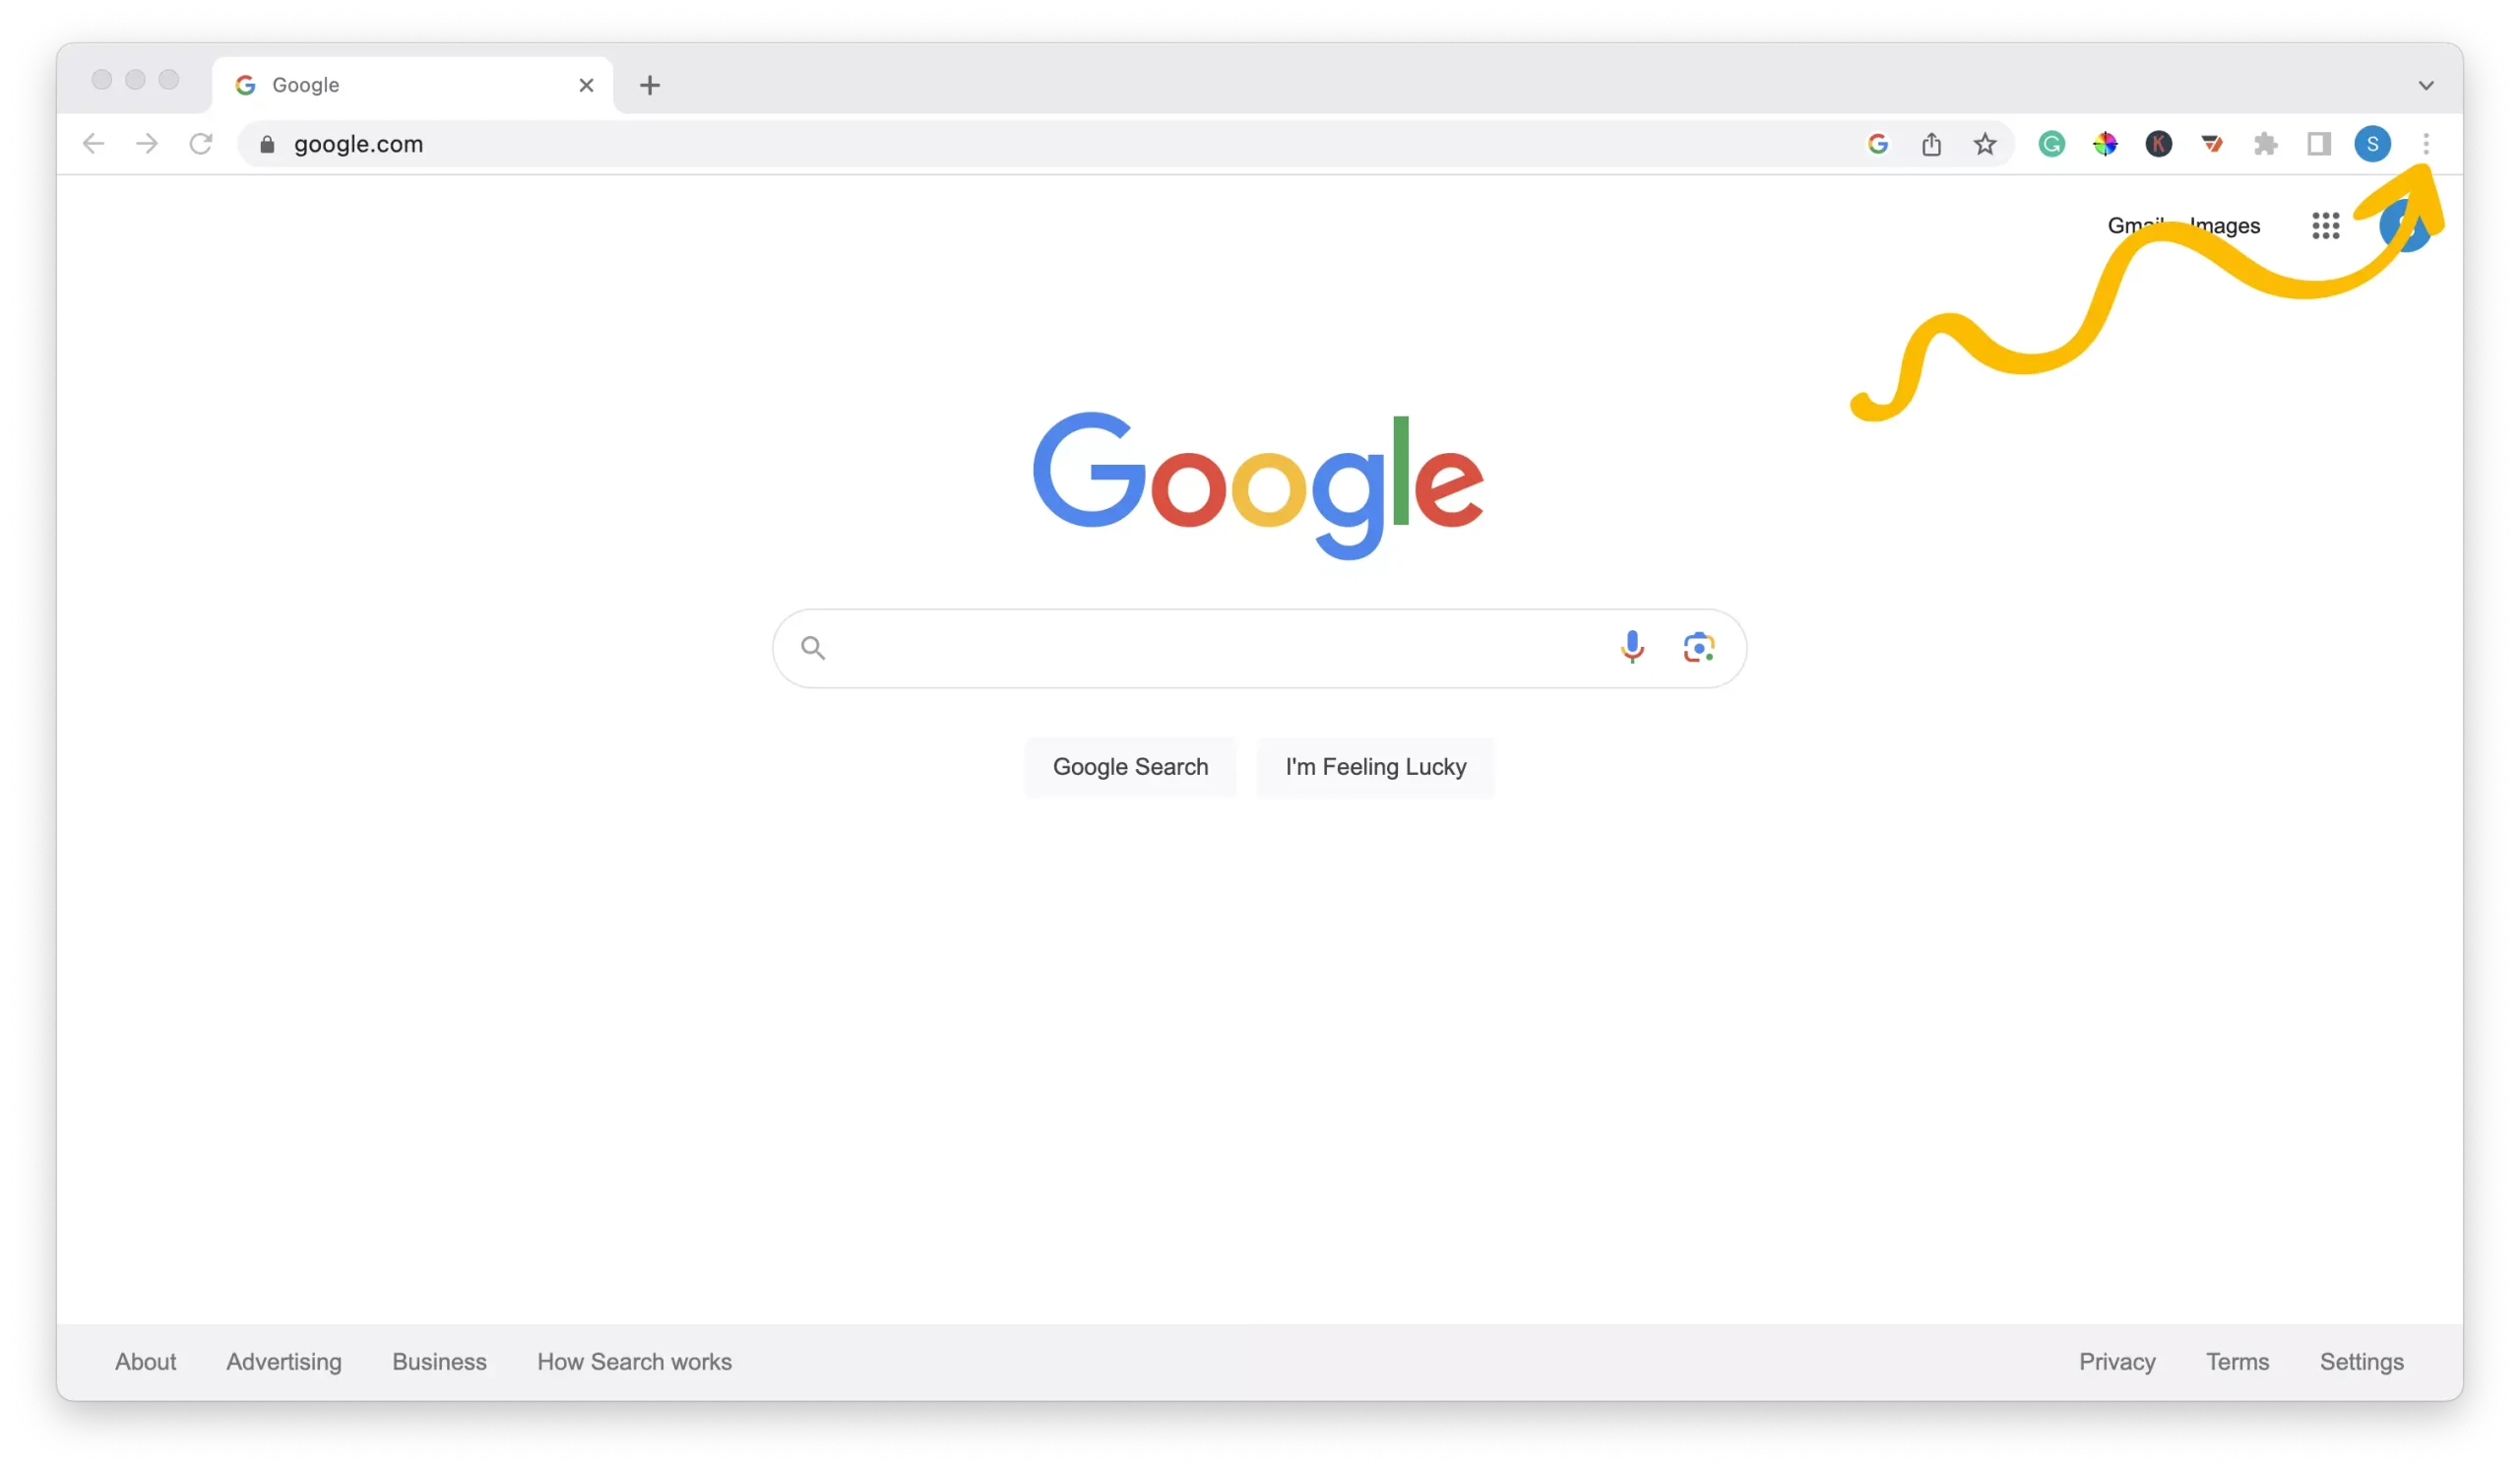
Step 1 – Access The Google Chrome Settings
1 – Open the Google Chrome web browser on your device.
2 – Click on the ellipsis (three-dot icon) at the top right corner of the browser window to open the dropdown menu.
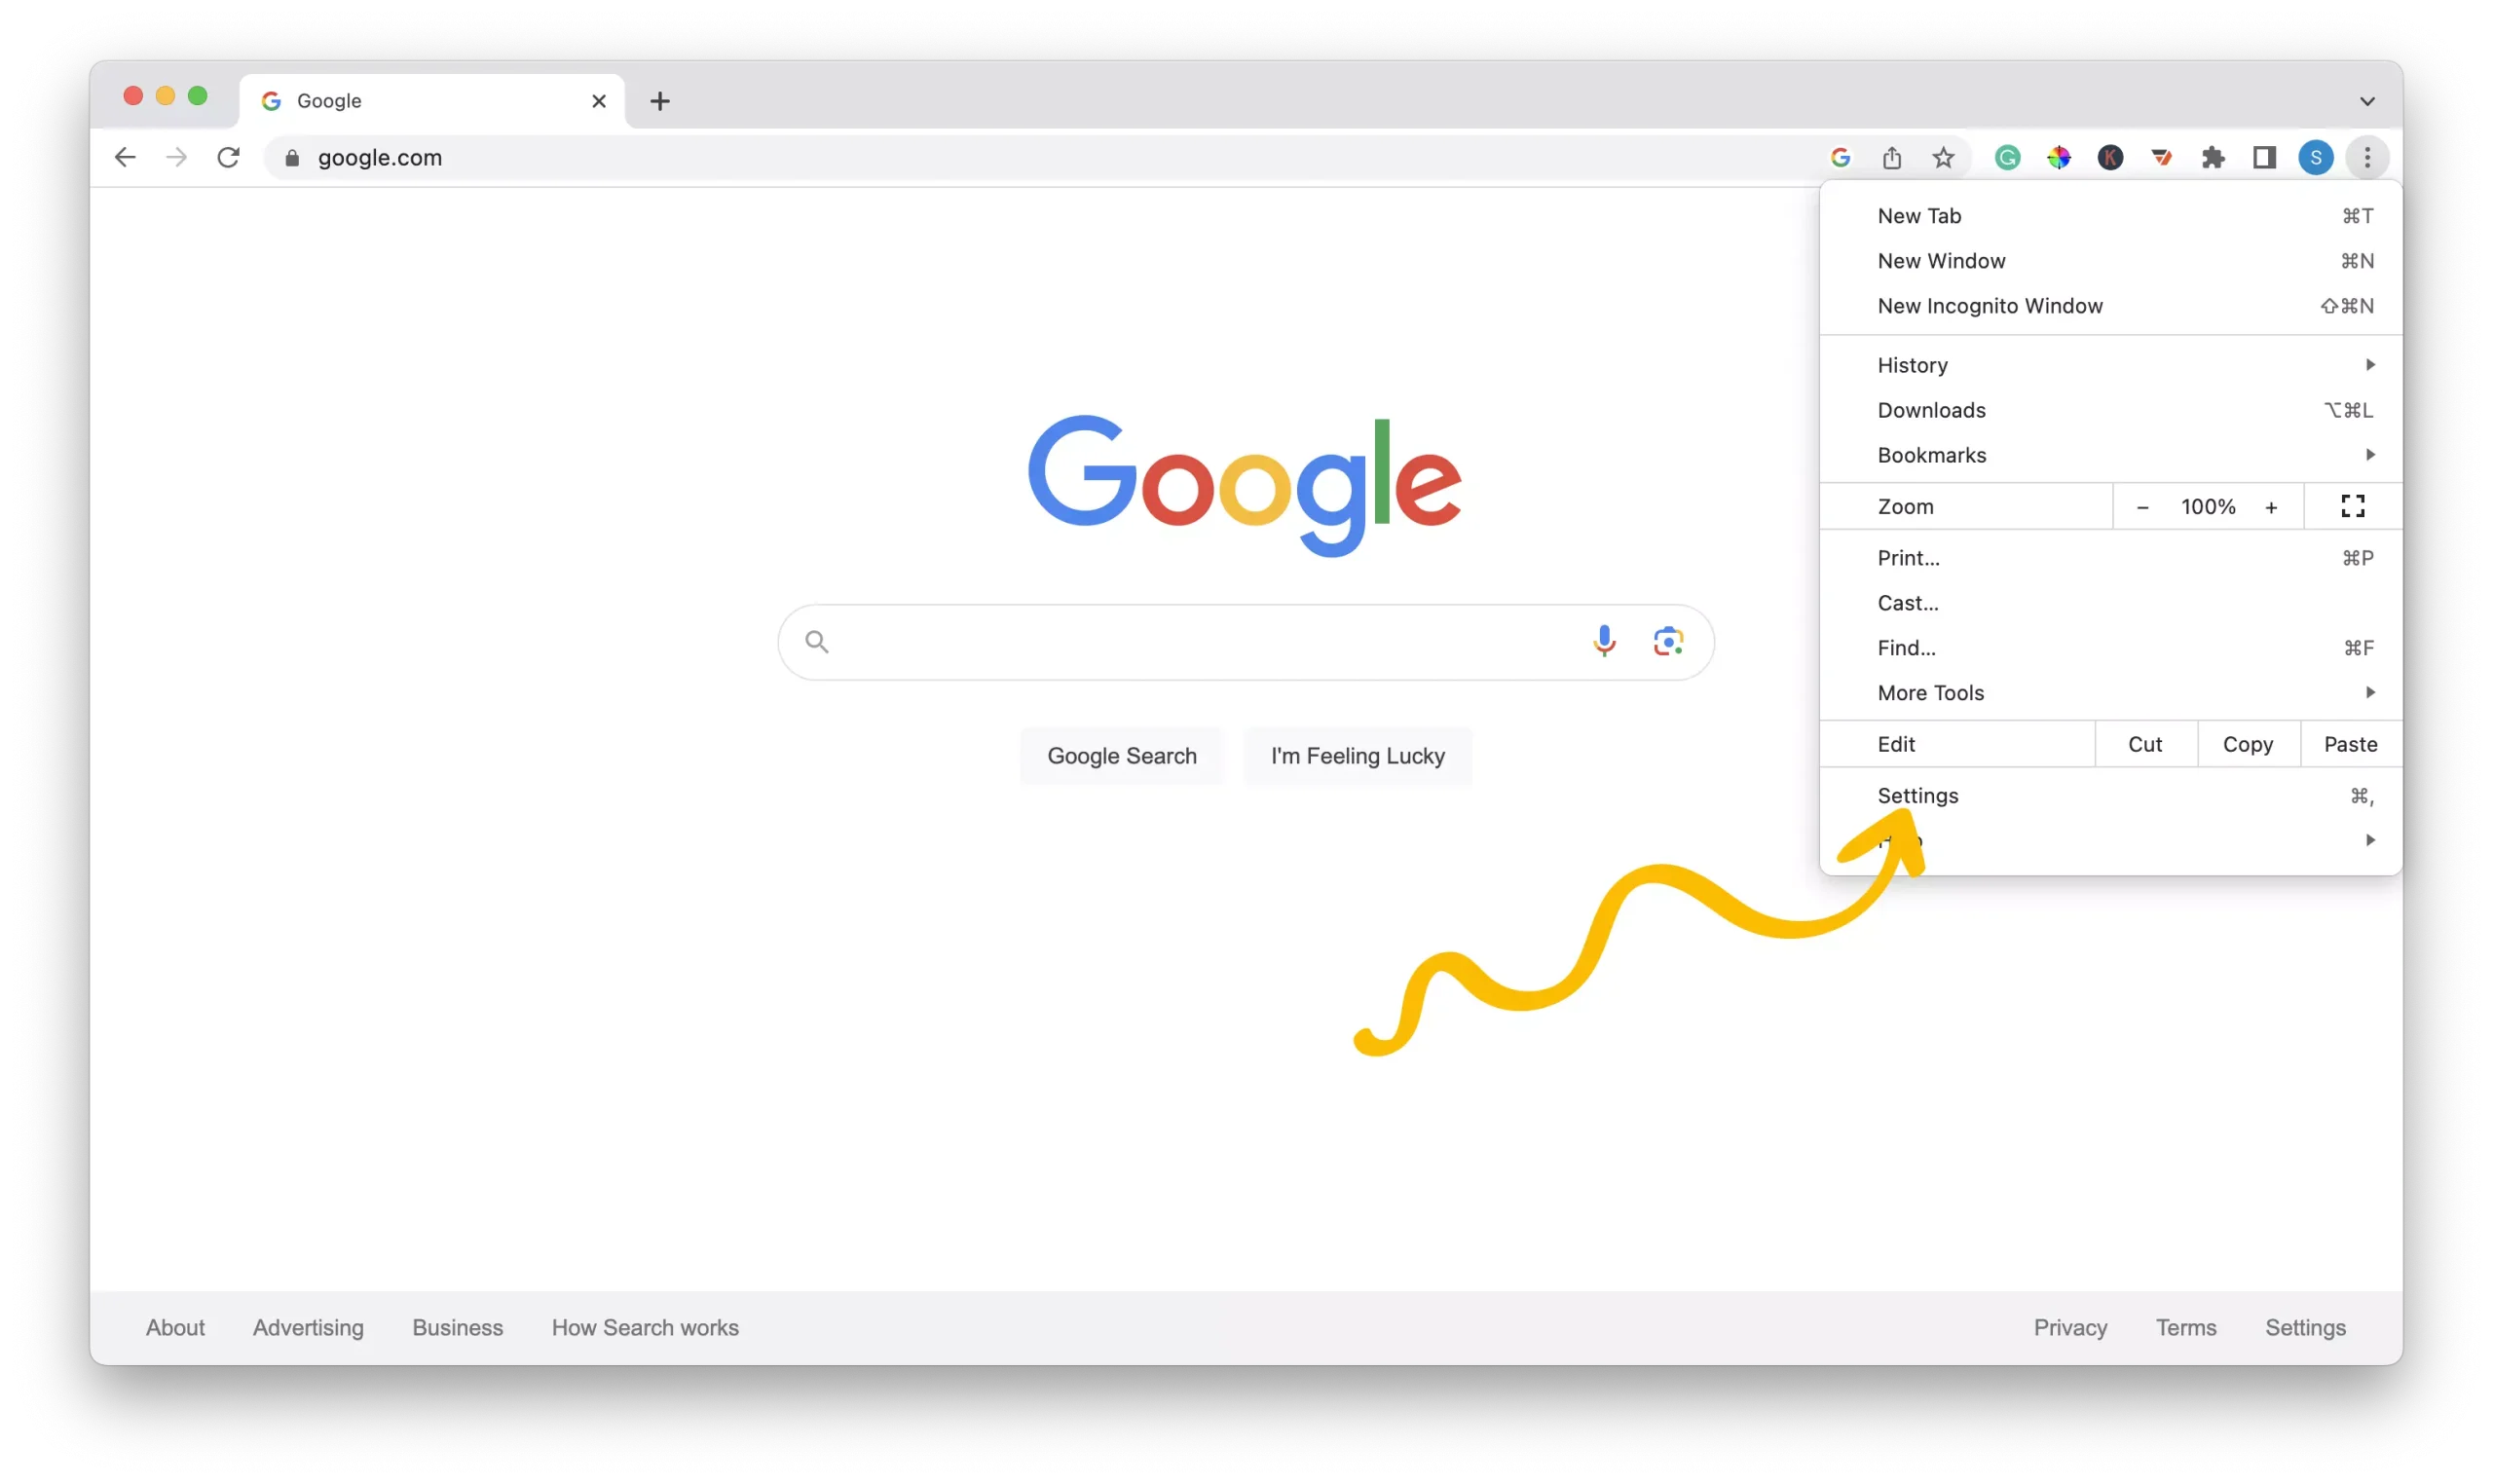
3 – From the menu options, select “Settings” to proceed.
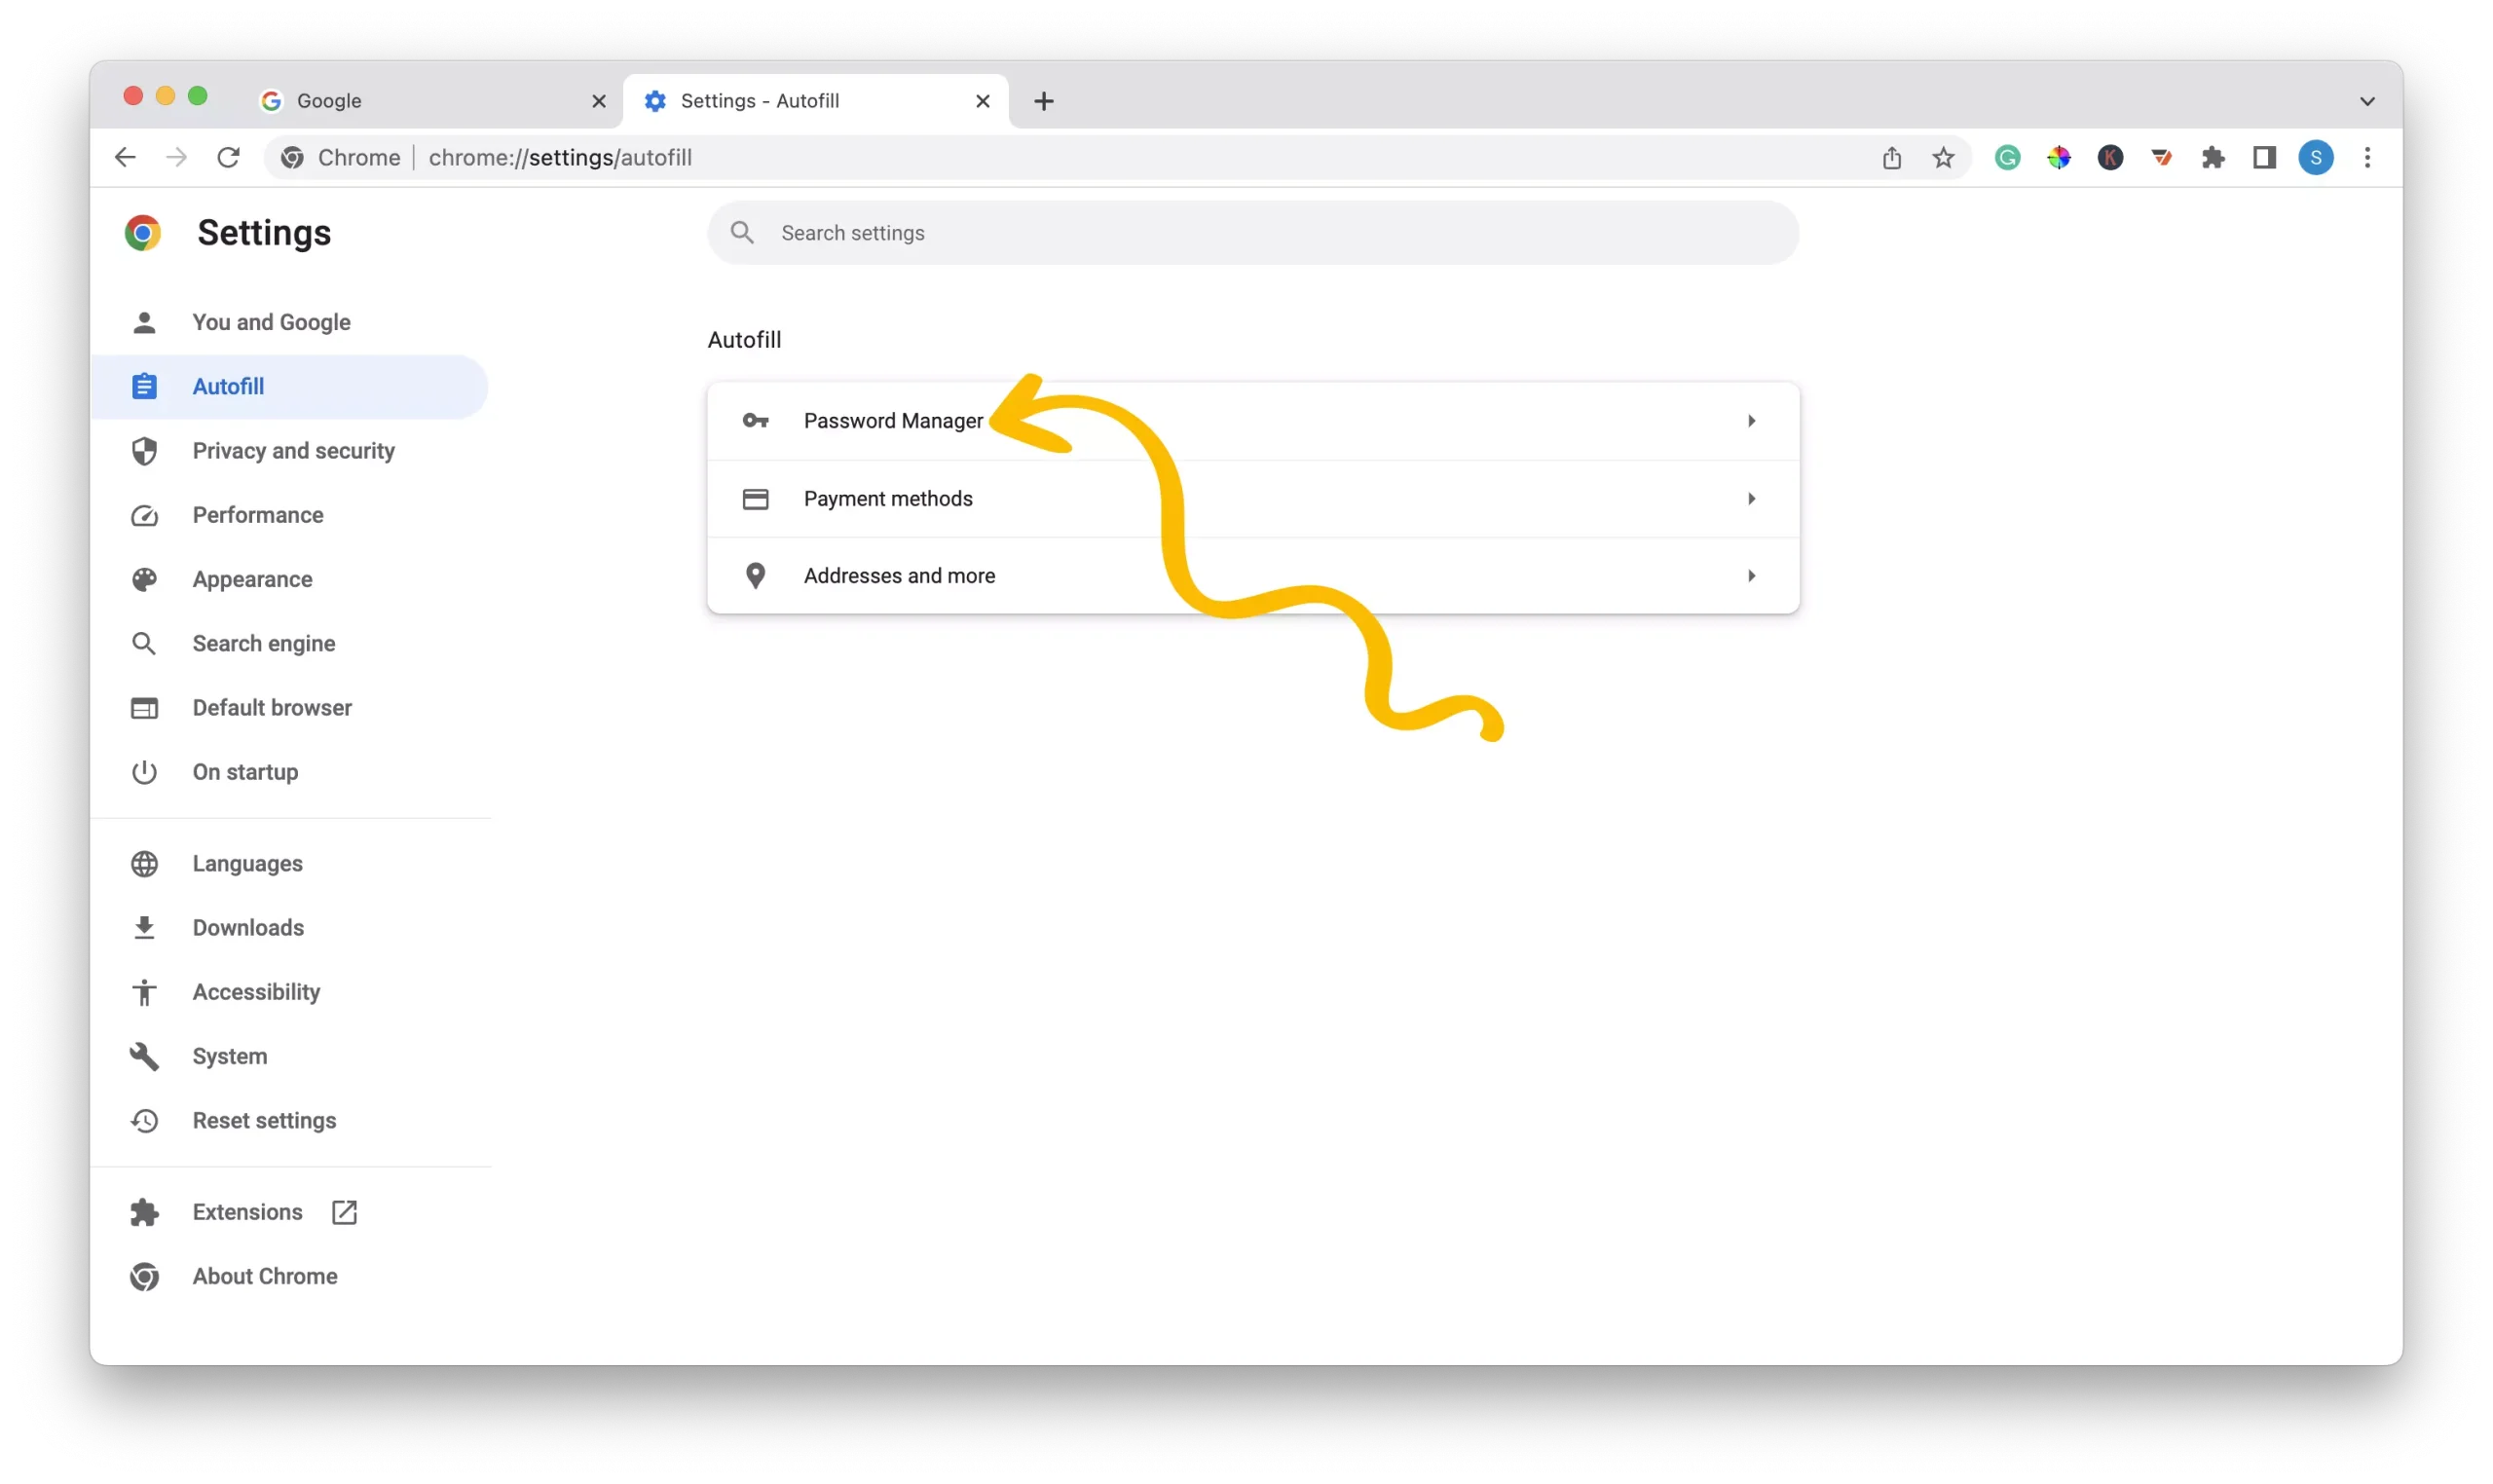
Step 2 – Navigate To The Password Manager
1 – Look for the menu located on the left side of the page and click on “Autofill”.

2 – Within the Autofill section, locate and click on the “Password Manager” option.
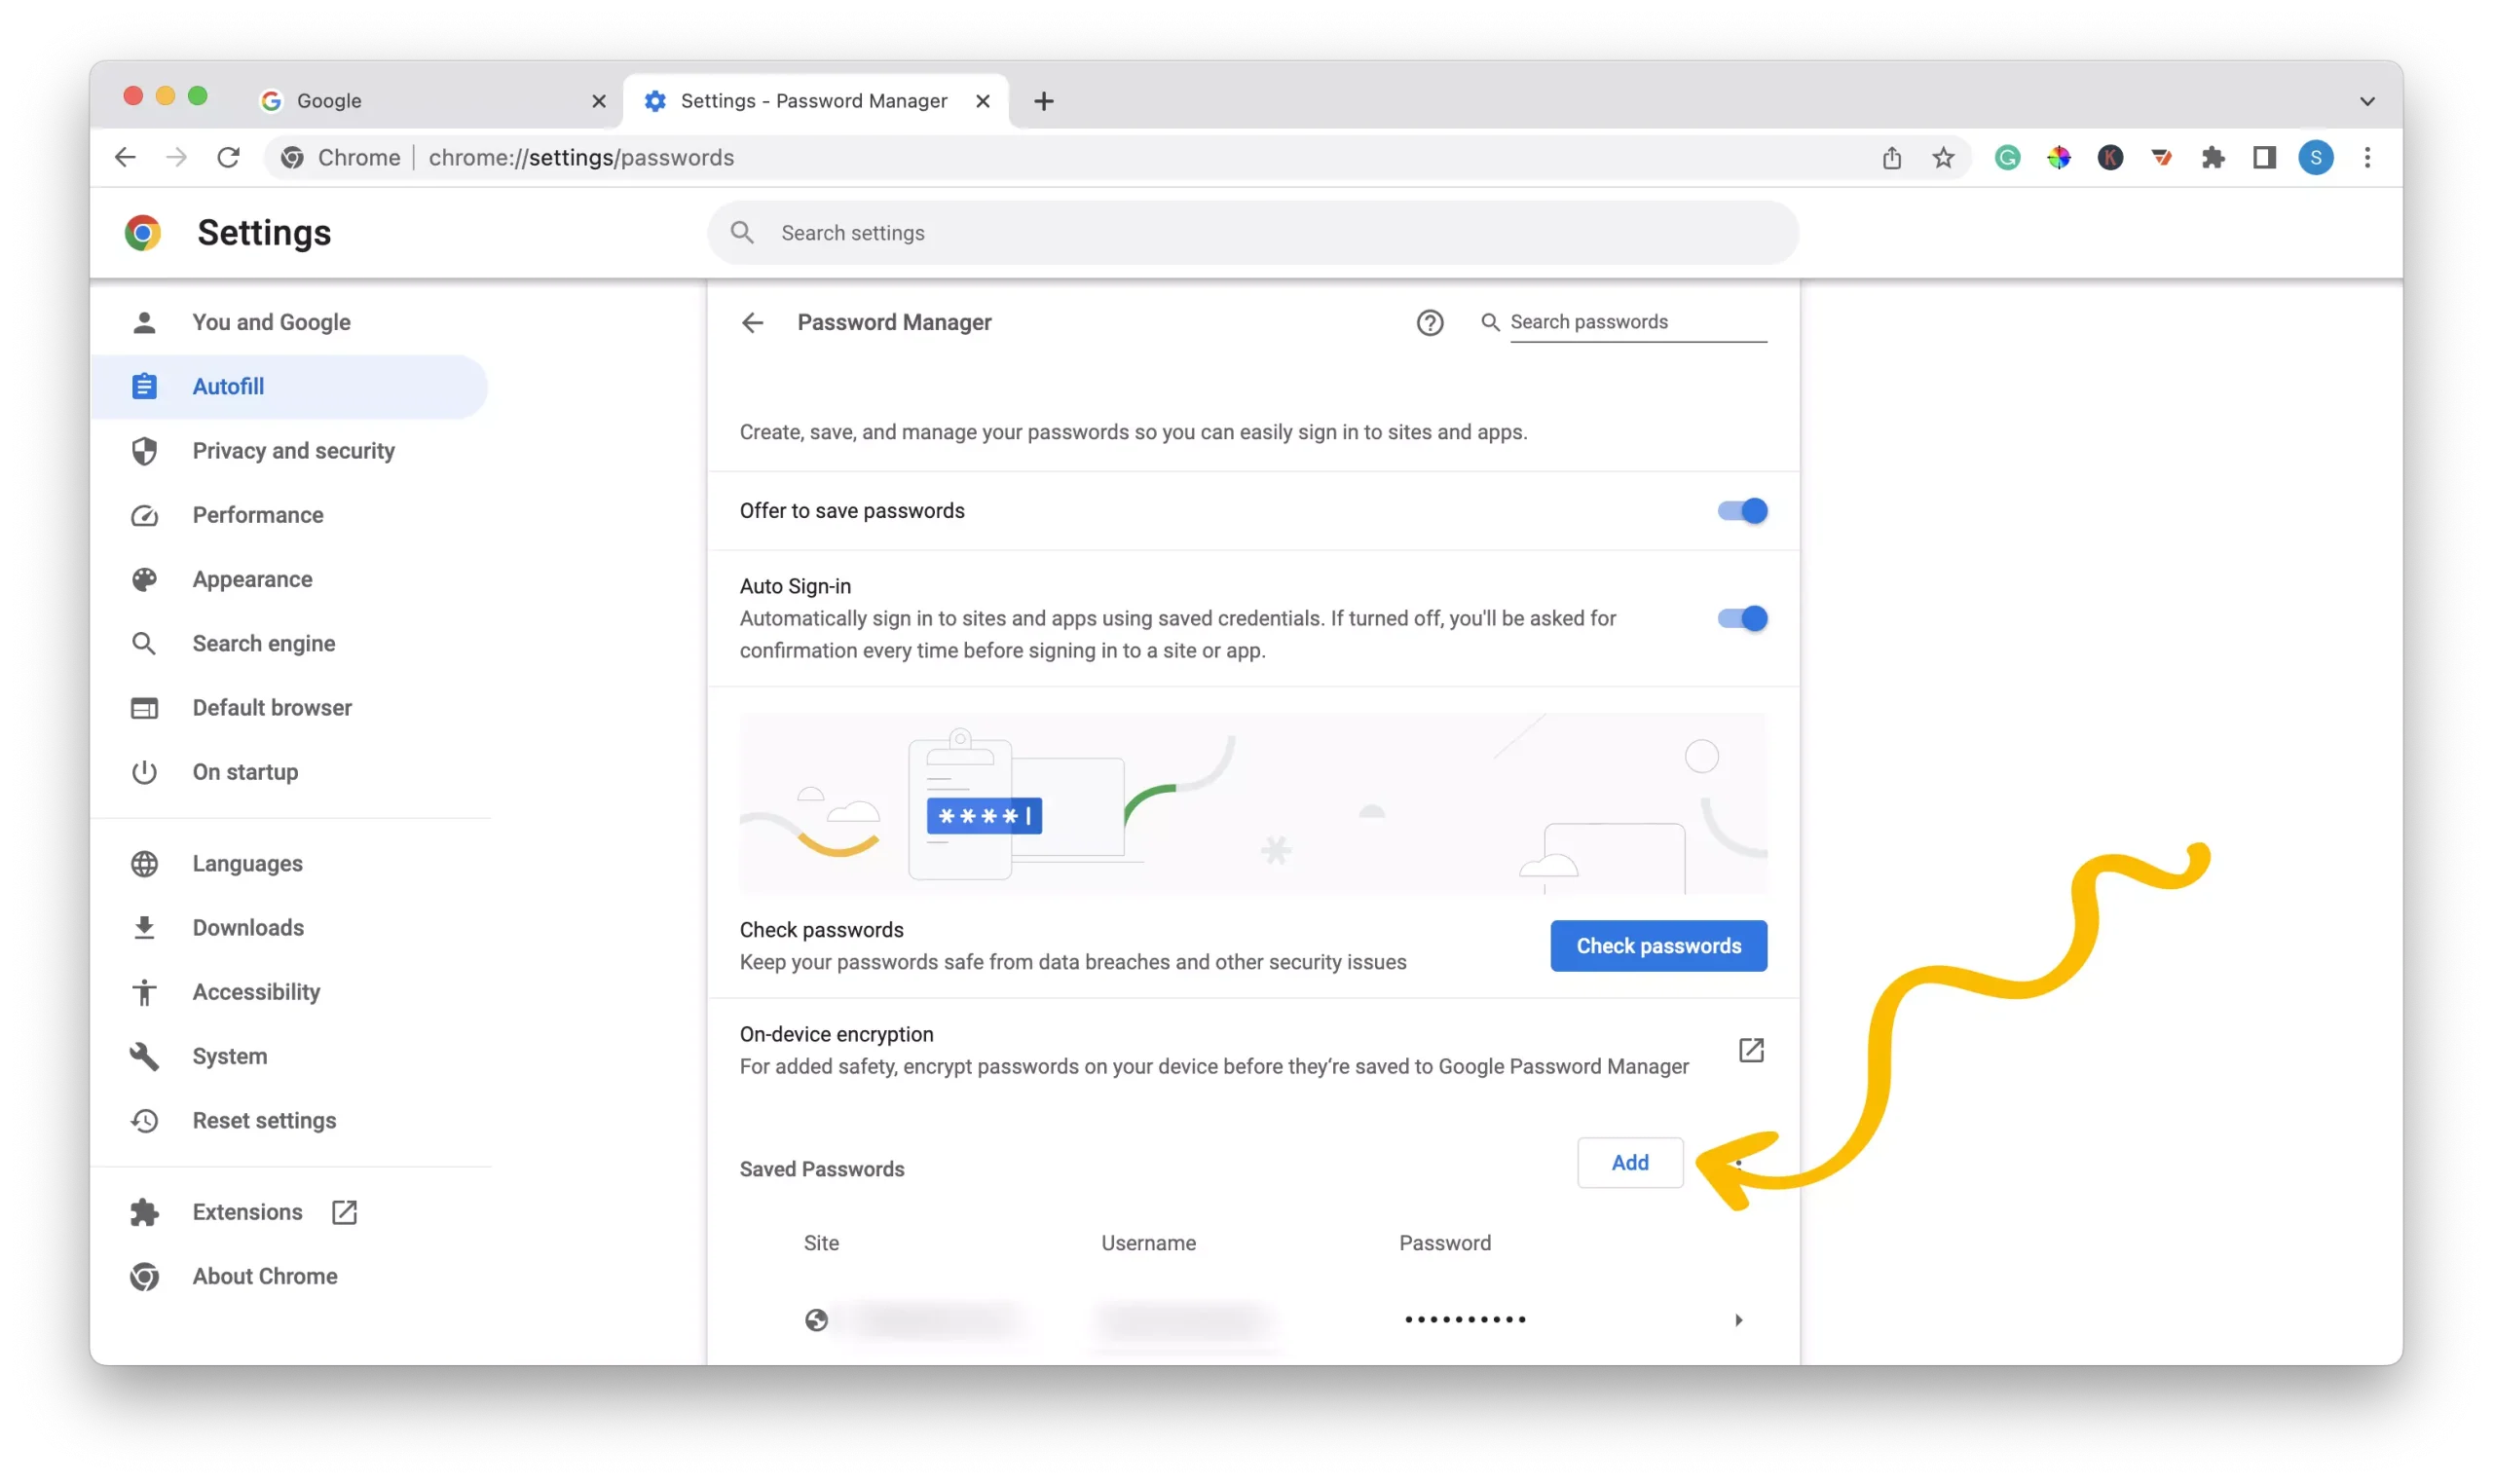
Step 3 – Add Your Gmail Password
1 – Within the password manager, locate the “Add” button positioned to the right of the “Saved Passwords” title and click on it.
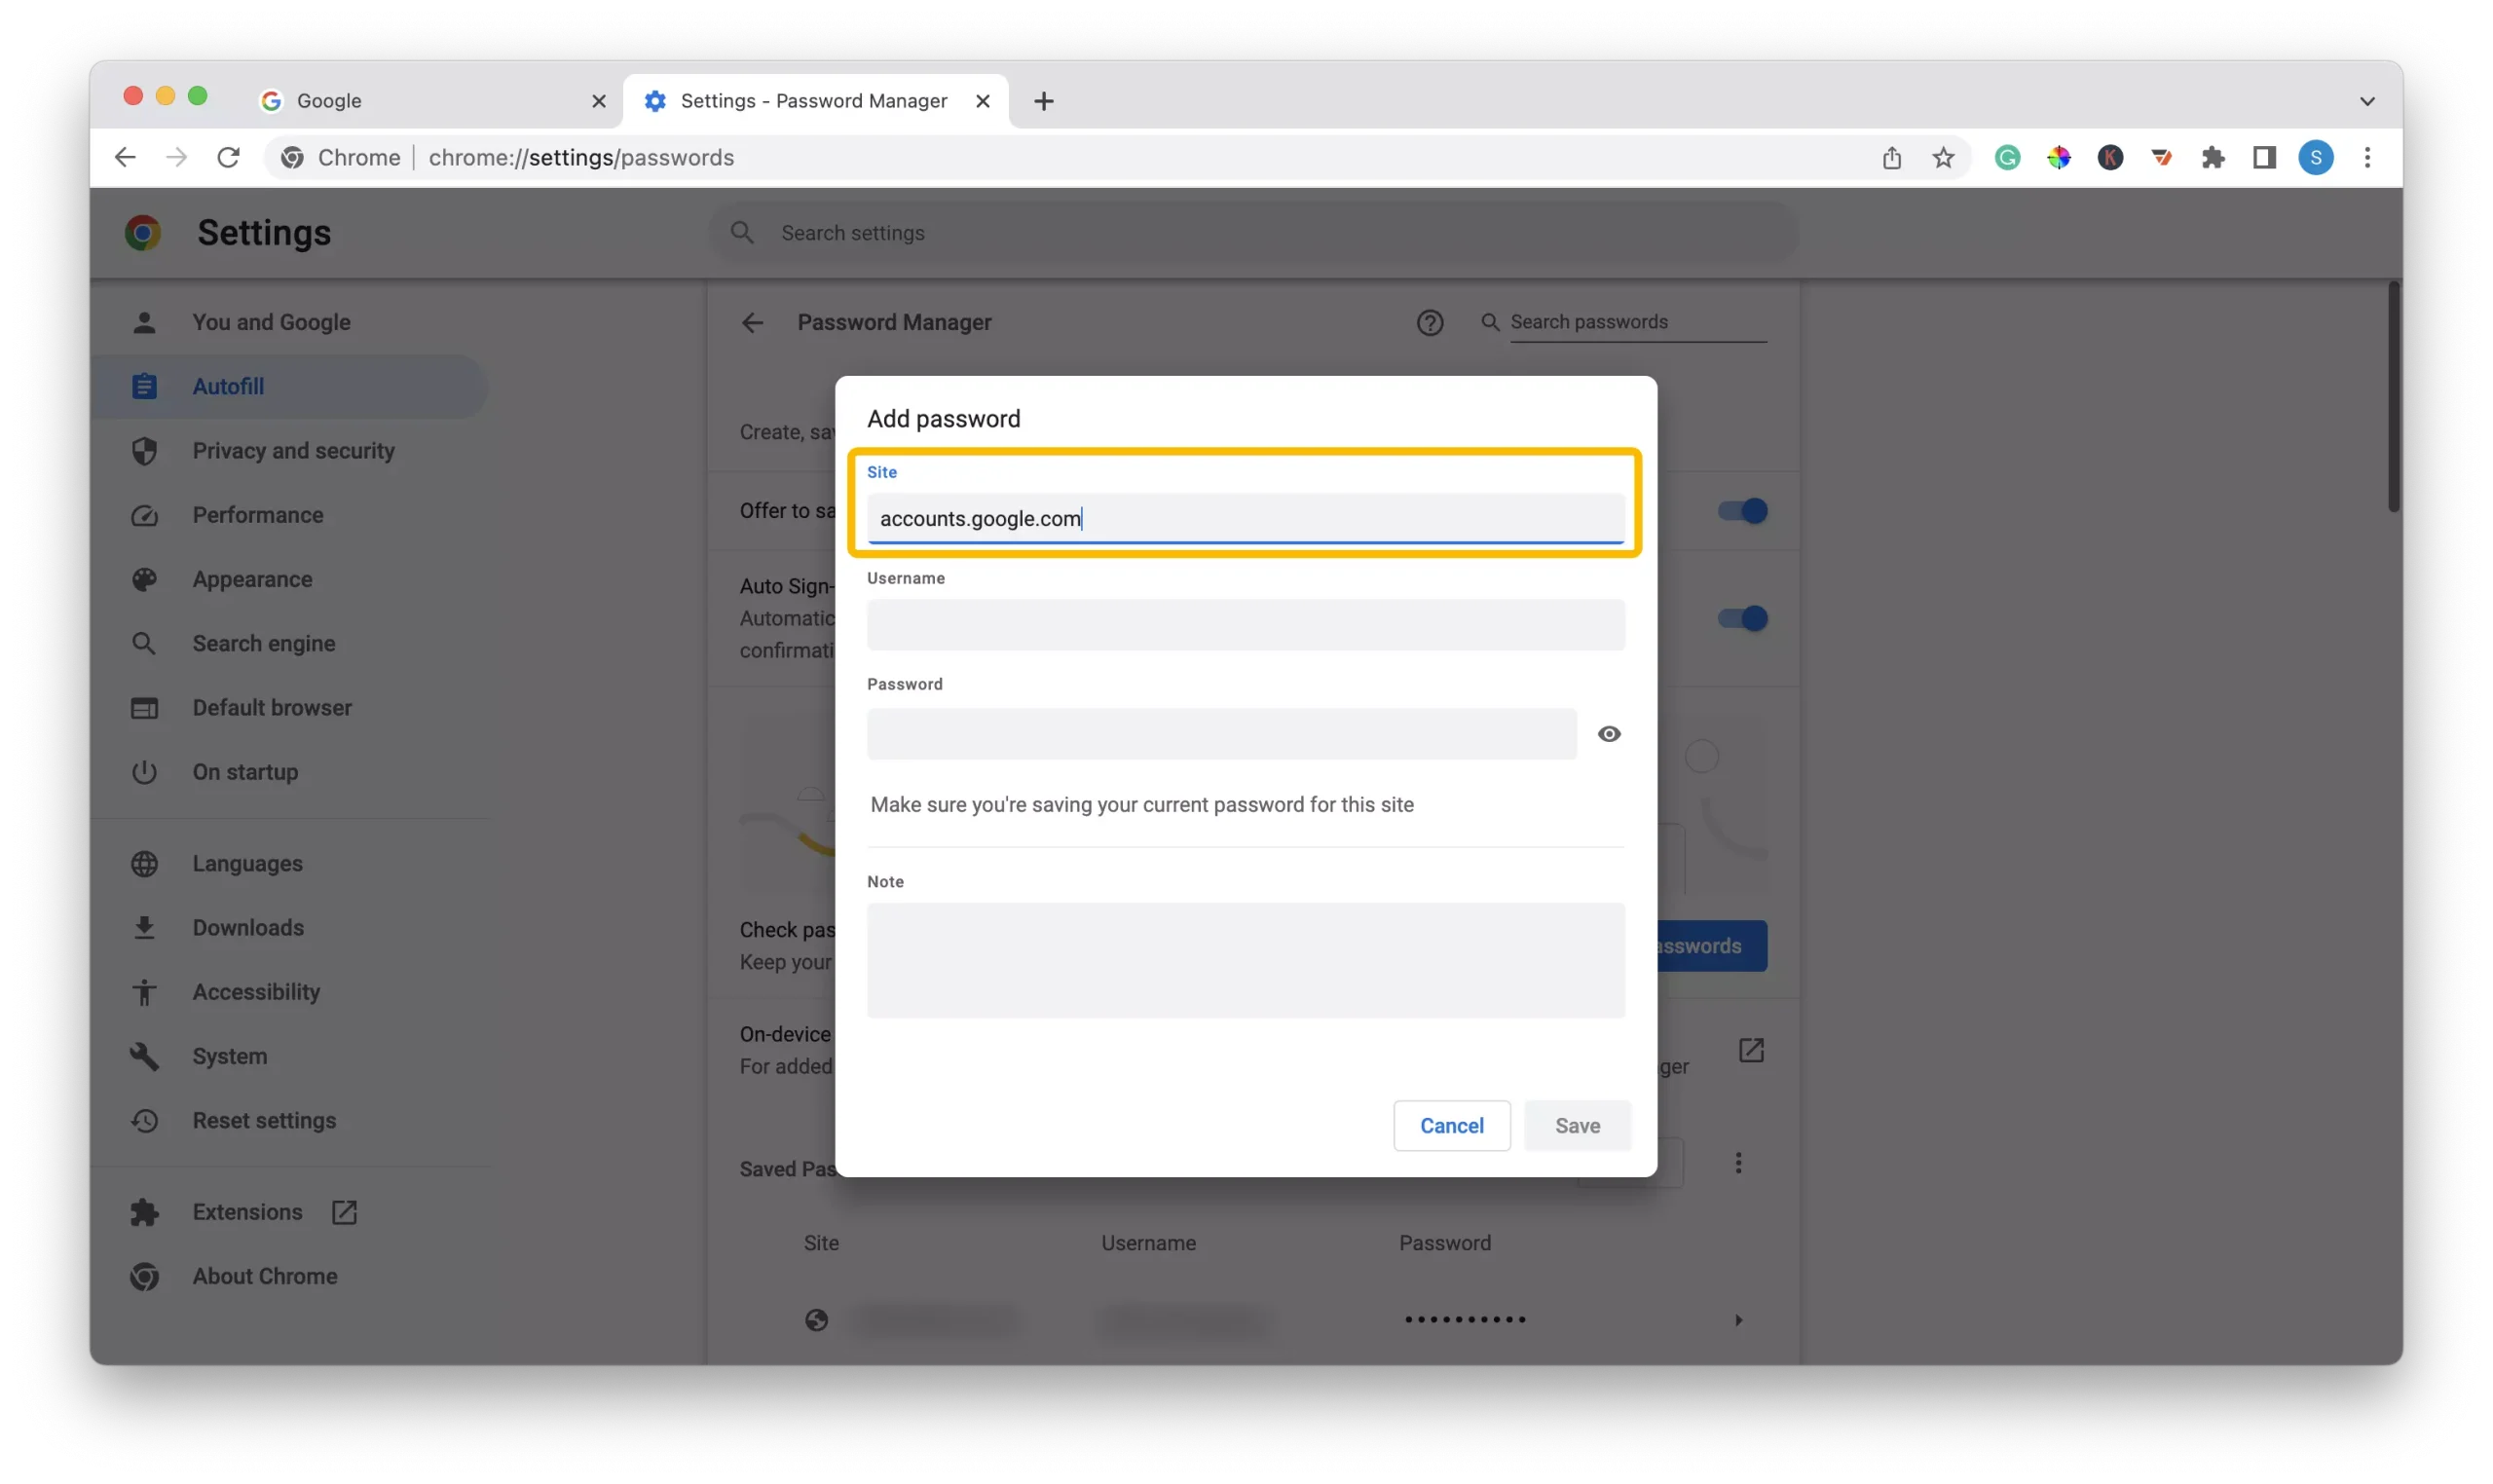
2 – In the “Site” field, enter “accounts.google.com” as this is the login page for Gmail.
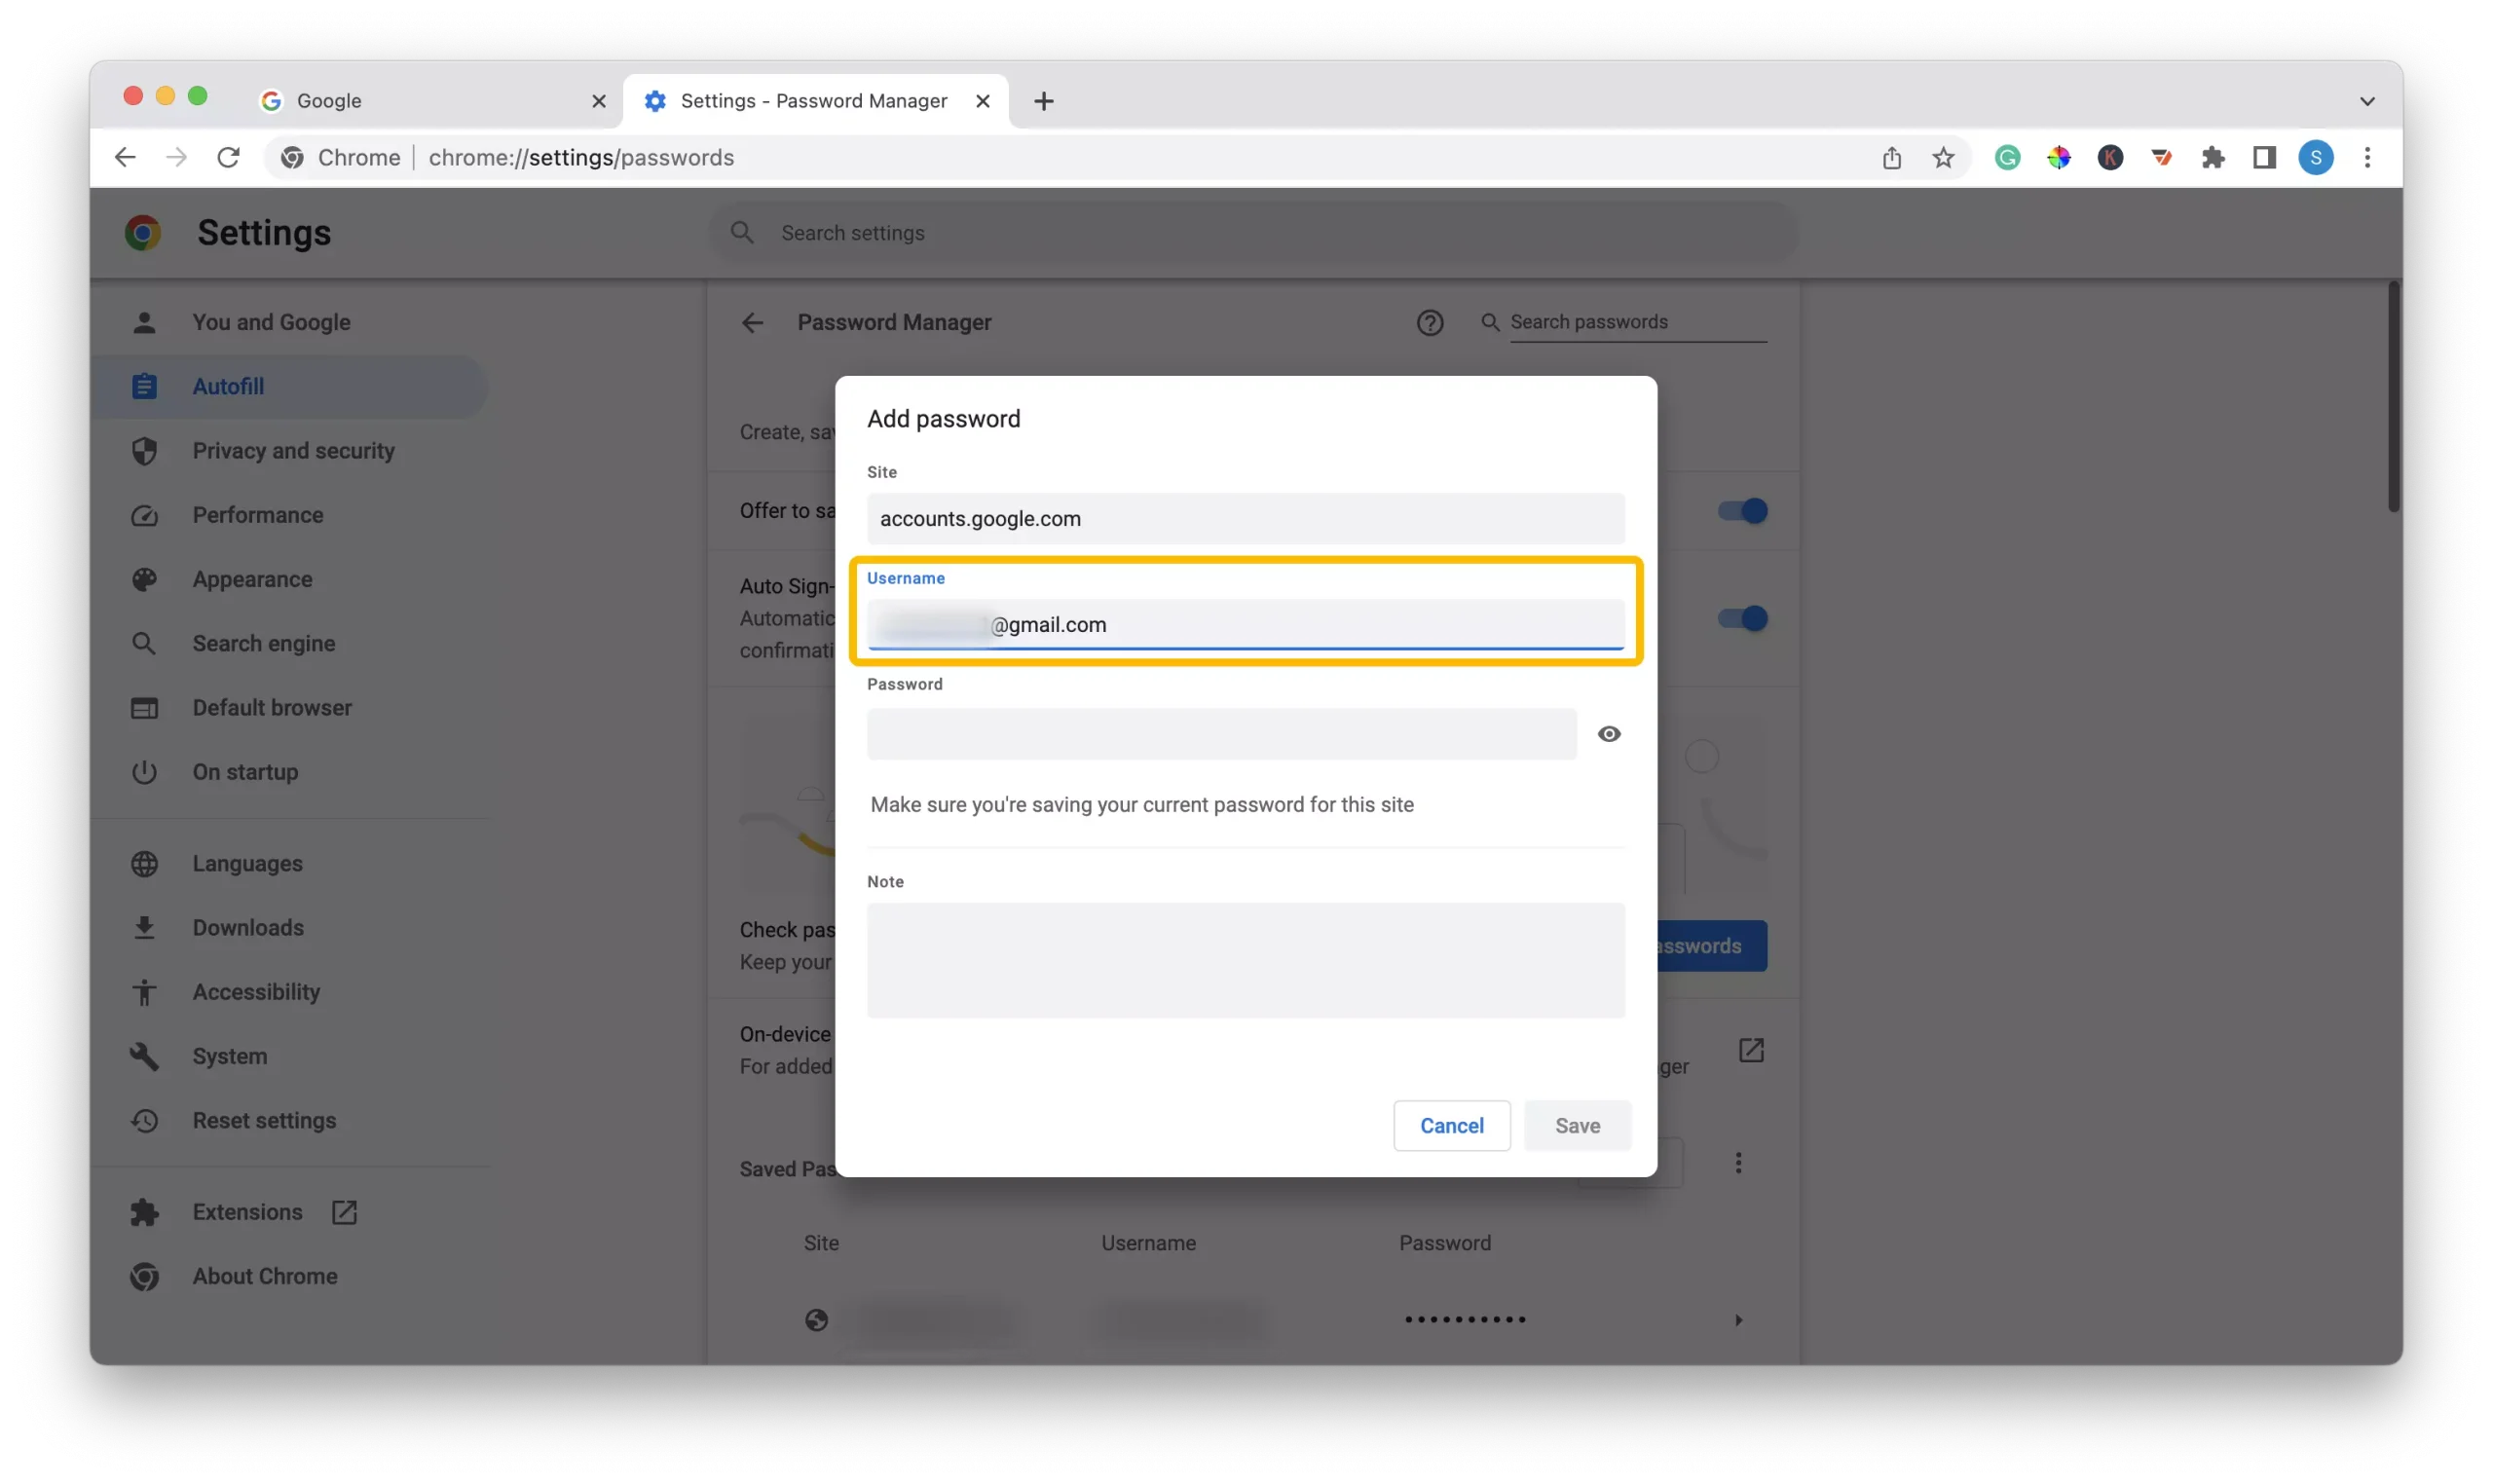
3 – In the “Username” field, enter the Gmail email address associated with your account.
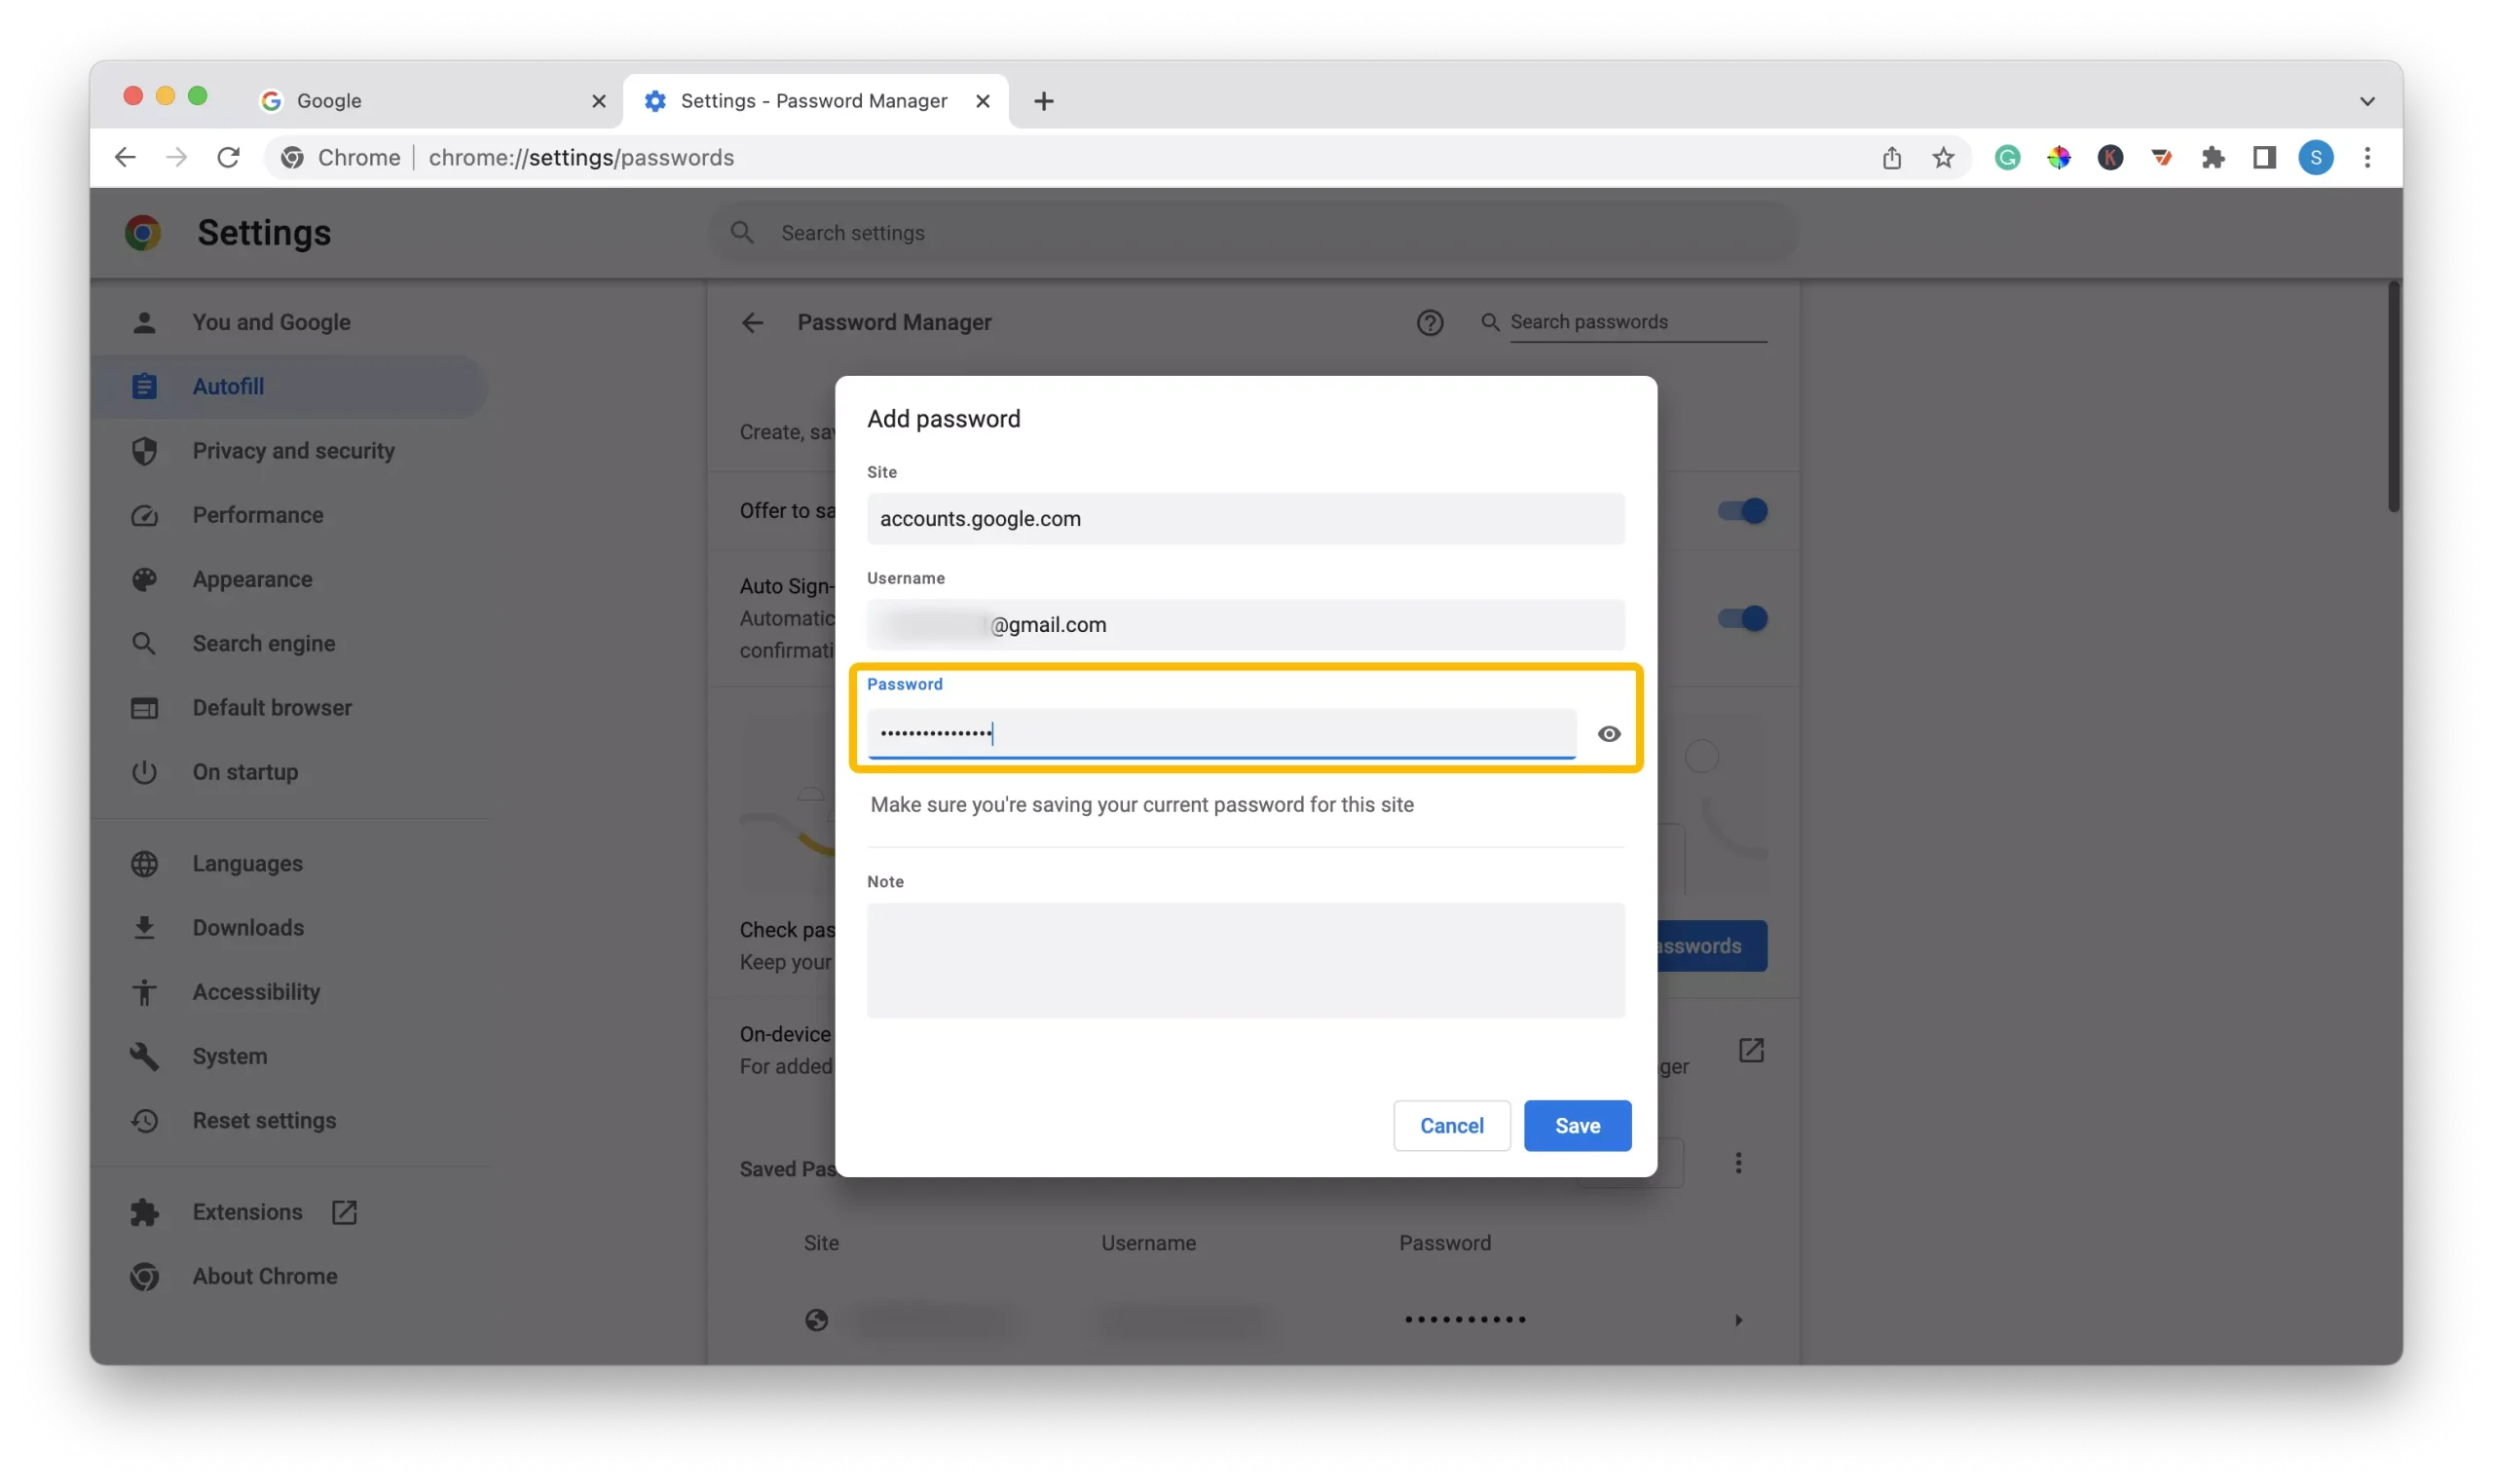
4 – In the “Password” field, enter your Gmail account password.
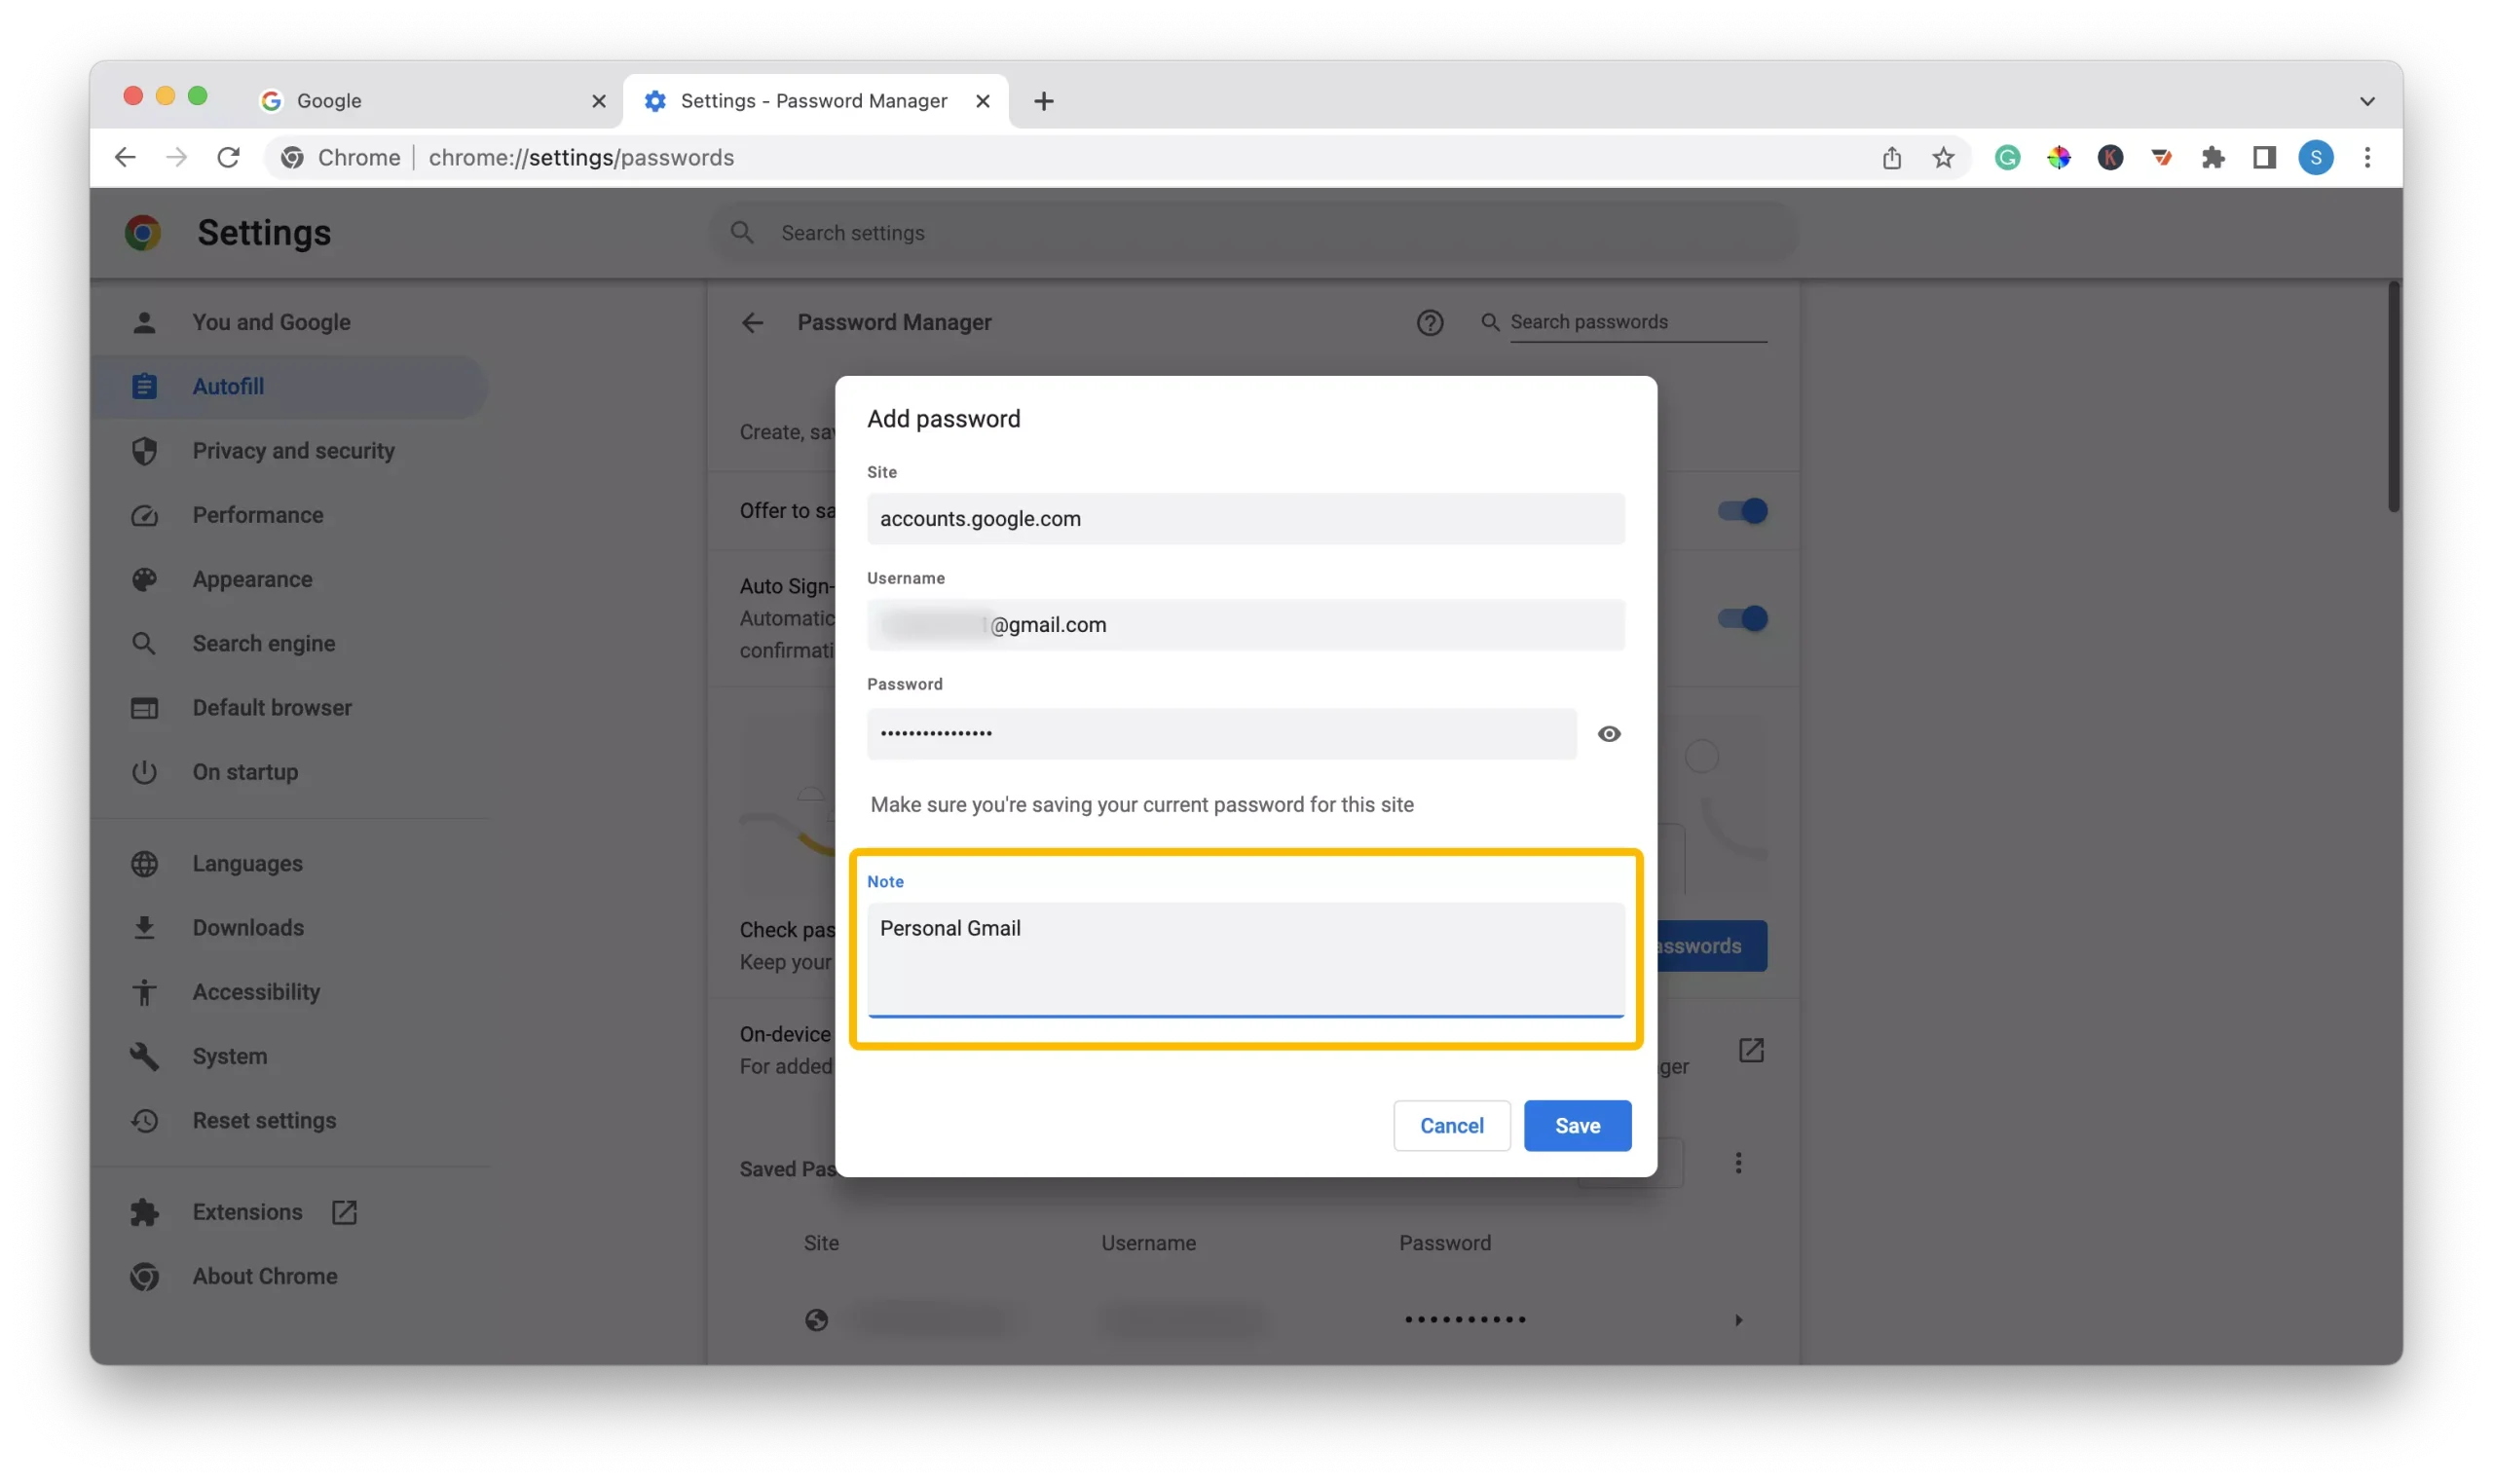
5 – If you have multiple Gmail accounts and need to distinguish between them, you can utilize the “Notes” field. Enter a descriptive label such as “Your Name Gmail account” to help you remember which password corresponds to each account.
6 – Repeat steps 1 to 5 for any additional Gmail accounts you have.

